You know that feeling when you scroll past a bathroom on Pinterest and just… stop? It looks so luxuriously simple, but you know a thousand tiny decisions went into it. The bathtub shower combo, once a purely functional compromise, has become a major design moment. Forget the clunky inserts of the past; 2026 is all about creating an integrated, spa-like experience right in your own home. We’ve filtered through hundreds of real homes to bring you 25 distinct takes on the modern tub-shower setup. And stay until the end — we break down the most common mistakes that can ruin these looks. 📌 Save this to Pinterest for later — you’ll want to revisit these ideas.
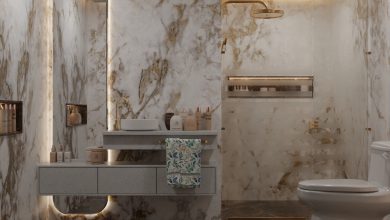
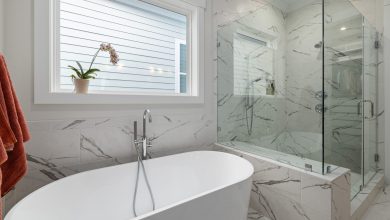
1. A Serene Wet Room with a Freestanding Tub and Marble-Look Tile
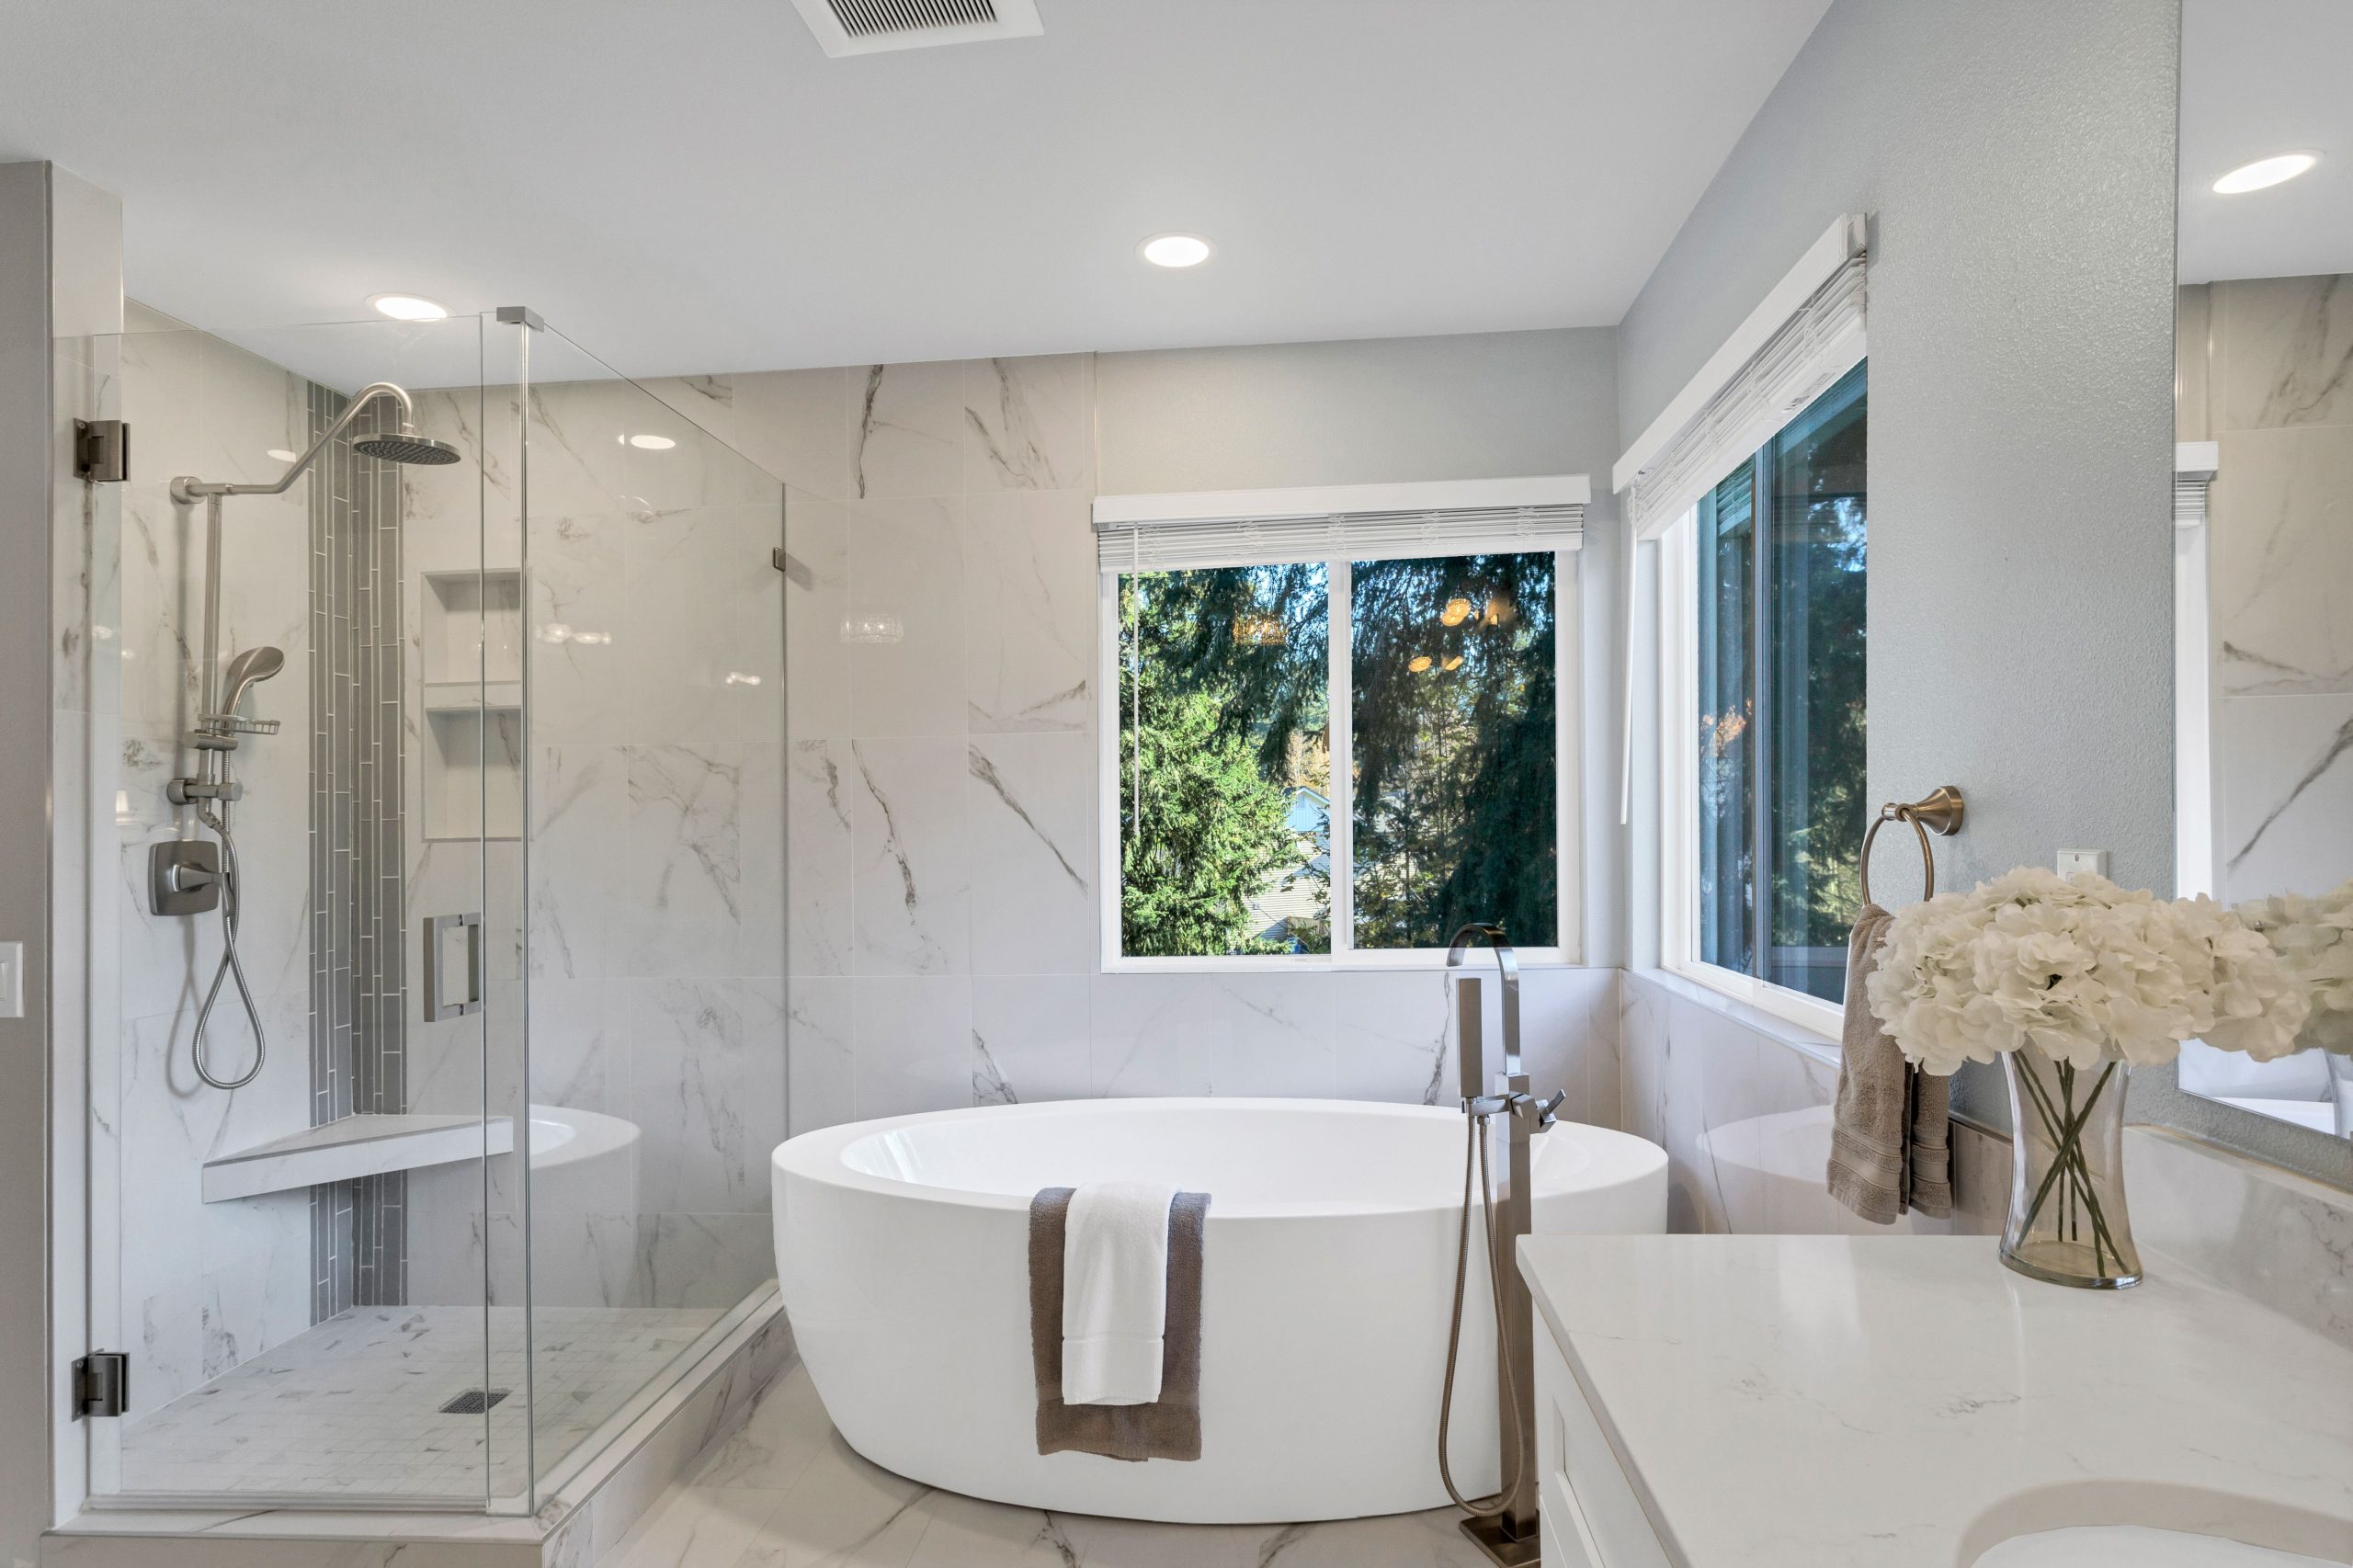
What makes this work is the “wet room” concept, where the freestanding tub and walk-in shower share one continuous, waterproofed space. Using the same large-format, white marble-look tiles across the walls and floor is a brilliant move. It erases visual boundaries, making the room feel significantly larger and more cohesive. The contrast between the soft, organic curve of the oval bathtub and the crisp, geometric lines of the glass shower enclosure creates a quiet, sculptural tension that feels both modern and timeless.
|
📋 Copy HEX 🔗 Share |
When you’re combining a tub and shower in an open, curbless design, water management is everything. To get this right, you must ensure the floor has a minimum slope of 1/4 inch per vertical foot toward the drain. For the cleanest look that also happens to be the most effective, opt for a linear drain installed flush against the wall under the shower fixtures. This placement keeps it out of your direct footpath and creates a nearly invisible drainage solution that lets the beautiful tile be the star.
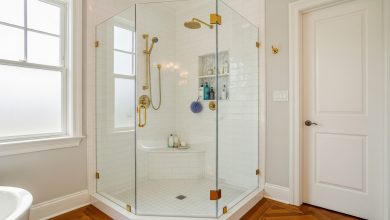
2. Space-Saving Corner Tub with a Curved Glass Shower
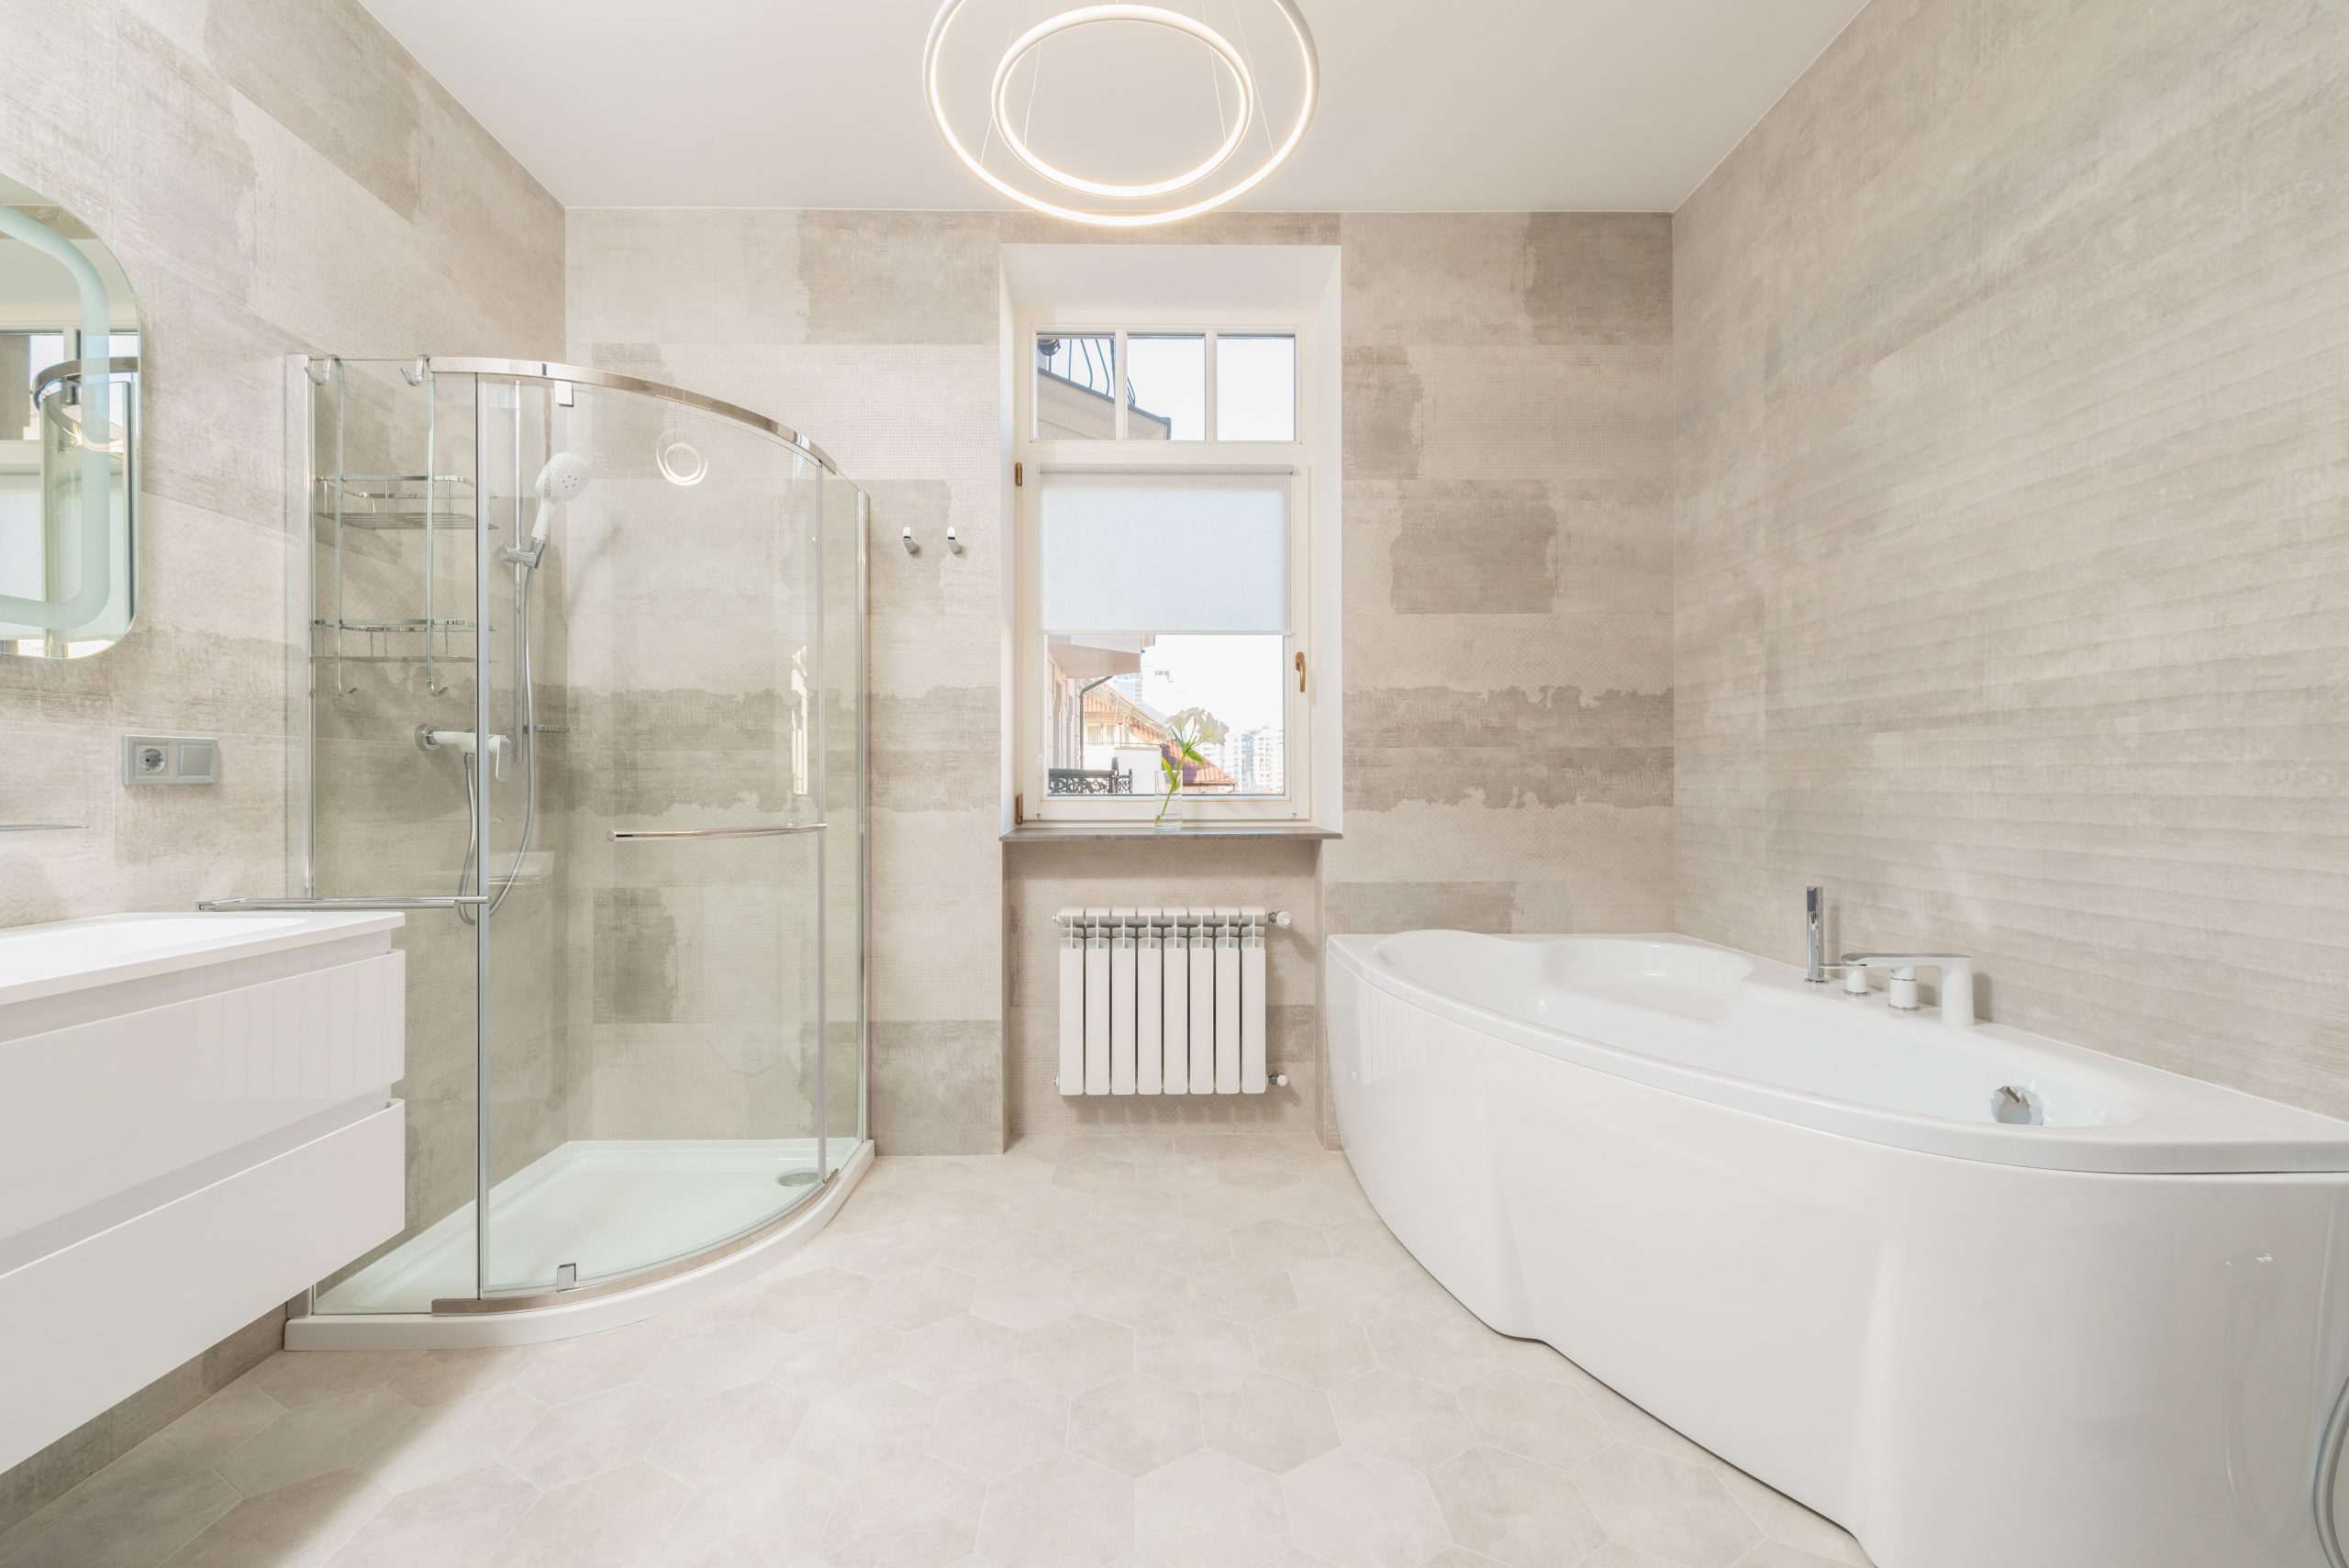
This layout is a fantastic solution for bathrooms that are more square than rectangular, typically in the 60-80 square foot range. A corner tub tucks neatly away, leaving more open floor space than a standard alcove tub would. The curved glass shower enclosure is the key here; its minimal footprint and transparent nature prevent the room from feeling crowded. This idea is best for rooms with at least an 8-foot ceiling to accommodate the modern, round ceiling fixture and prevent the space from feeling compressed.
|
📋 Copy HEX 🔗 Share |
Let’s be honest: curved glass looks amazing, but it can be a pain to clean. Squeegeeing a curved surface is more awkward than a flat one, and you’ll want to do it after every shower to prevent water spots, especially if you have hard water. Also, while this corner setup is a great space-saver, the entry and exit path to the tub can be a little tight. Make sure you have clear, comfortable access without having to squeeze past the toilet or vanity.
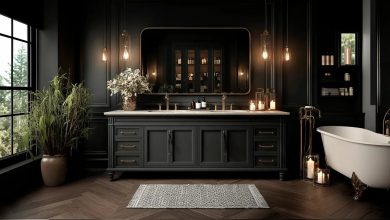
3. Rustic Wood-Paneled Tub with Classic White Subway Tile
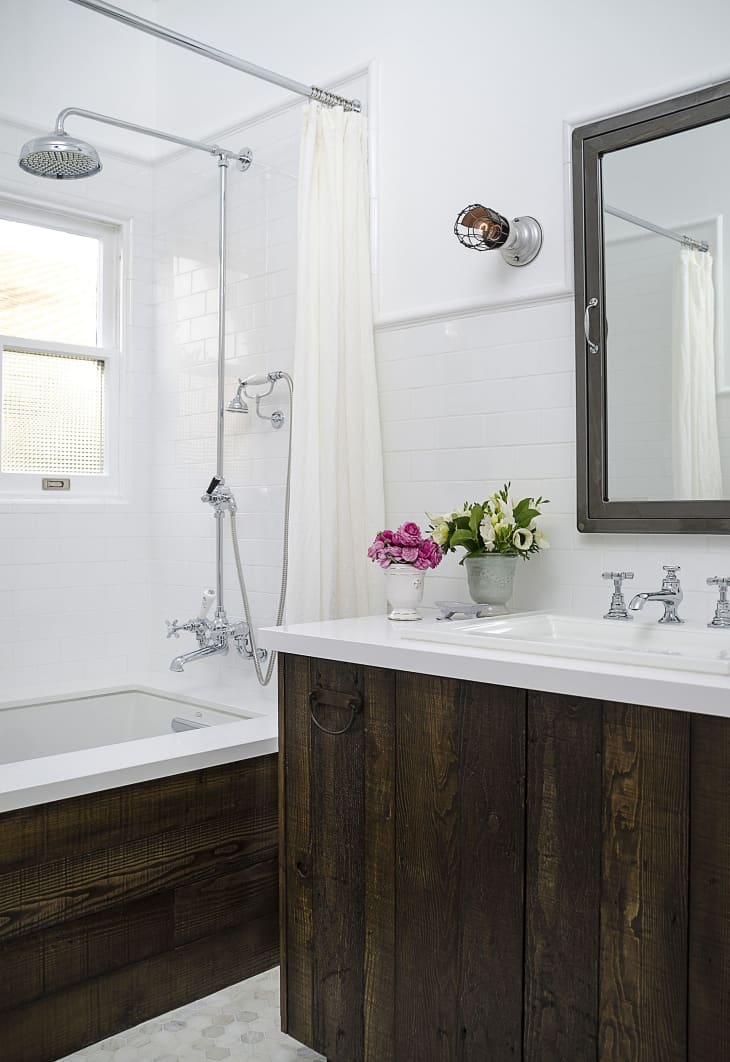
You don’t need a massive budget to get this warm, rustic-meets-classic vibe. The dark wood paneling on the tub and vanity is the star, and you can recreate it for less. Instead of custom woodworking, consider using reclaimed wood planks or even a high-quality LVP (Luxury Vinyl Plank) flooring product designed for bathrooms. Paired with timeless and affordable white subway tiles (you can find these for a steal at any home improvement store), you get a high-impact look that feels custom and expensive without the hefty price tag. For the vanity, a salvaged vintage dresser painted dark and sealed for moisture protection can be a perfect stand-in.
|
📋 Copy HEX 🔗 Share |
The visual recipe here is a perfect balance of texture and simplicity. It’s about 50% timeless classics (the white subway and hexagon tiles), 40% rustic warmth (the rich, dark wood grain), and 10% clean, modern hardware (the polished chrome fixtures). You could easily change the entire feel by swapping one element. Imagine replacing the dark wood with a smooth, painted navy panel and brass fixtures—the room would instantly shift from rustic to nautical chic, proving how robust this underlying formula is.
4. Minimalist Gray Tile Bathroom with Illuminated Storage Niche
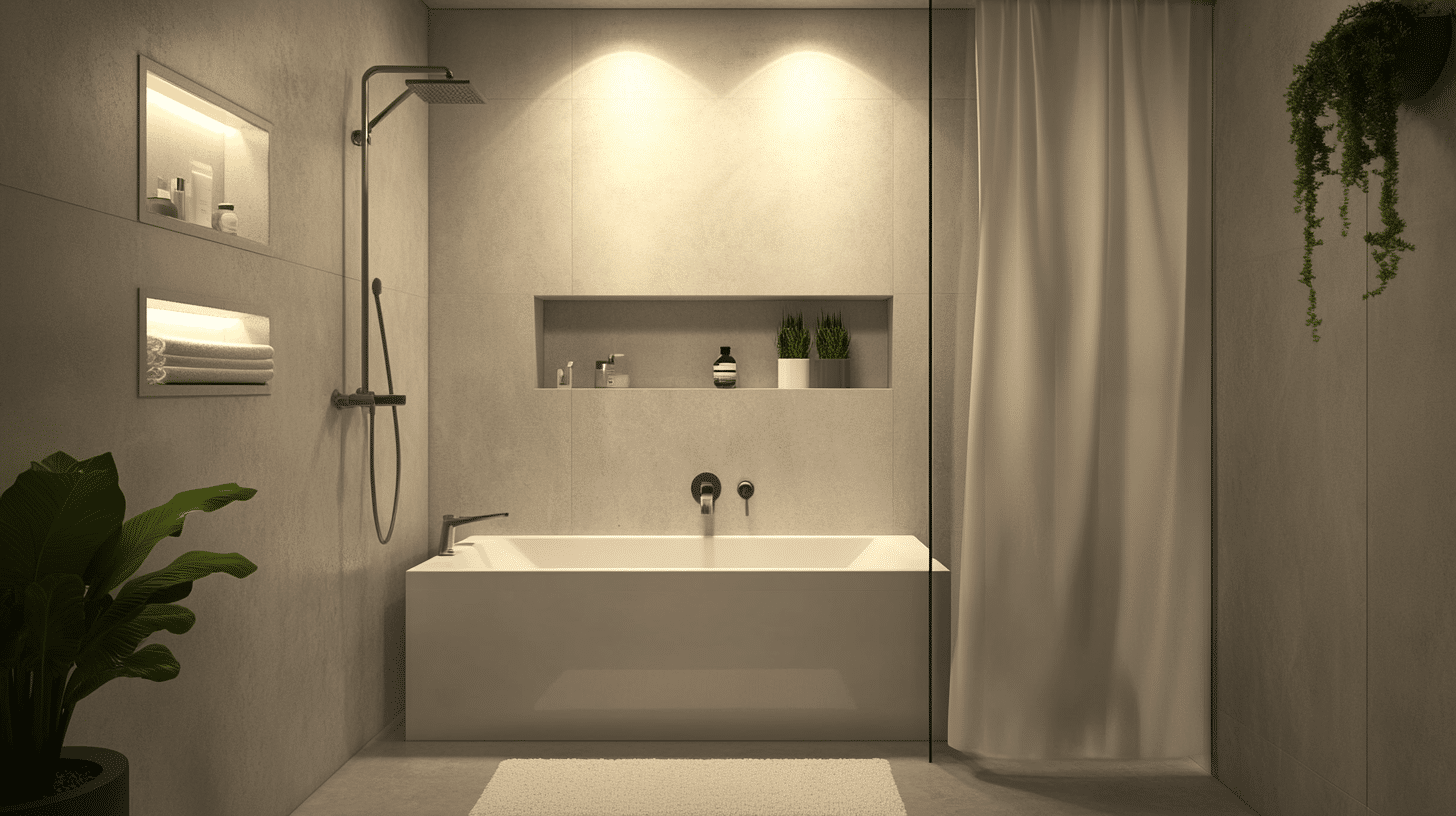
The single element that elevates this entire design from standard to special is the illuminated built-in niche. Without it, you’d have a perfectly nice, minimalist gray bathroom. With it, you have a feature that adds depth, warmth, and a touch of hotel-like luxury. The soft glow turns everyday toiletries into a curated display and provides gentle ambient lighting, transforming a purely functional storage spot into a major design statement. It’s a detail that says “custom” and “thoughtfully designed.”
|
📋 Copy HEX 🔗 Share |
Want to recreate that glowing storage nook? It’s more straightforward than you think. Here’s a quick guide for installing a waterproof LED channel inside your shower niche. (Time: 2-3 hours; Cost: $50-$150).
- Frame out your niche between wall studs before you put up your tile backer board. Standard niche height is 12-16 inches.
- Install a waterproof, low-voltage LED strip light into an aluminum channel with a diffuser. Run the wiring through the wall to a switch outside the wet area.
- Waterproof the entire niche using a membrane system like Schluter-KERDI, ensuring all seams are sealed.
- Tile the niche as you tile the rest of the wall, making sure to create a slight slope on the bottom shelf for drainage.
- Caulk all corners and edges with 100% silicone sealant for a watertight finish.
5. Airy Walk-in Shower Beside a Freestanding Tub with a Wood Vanity
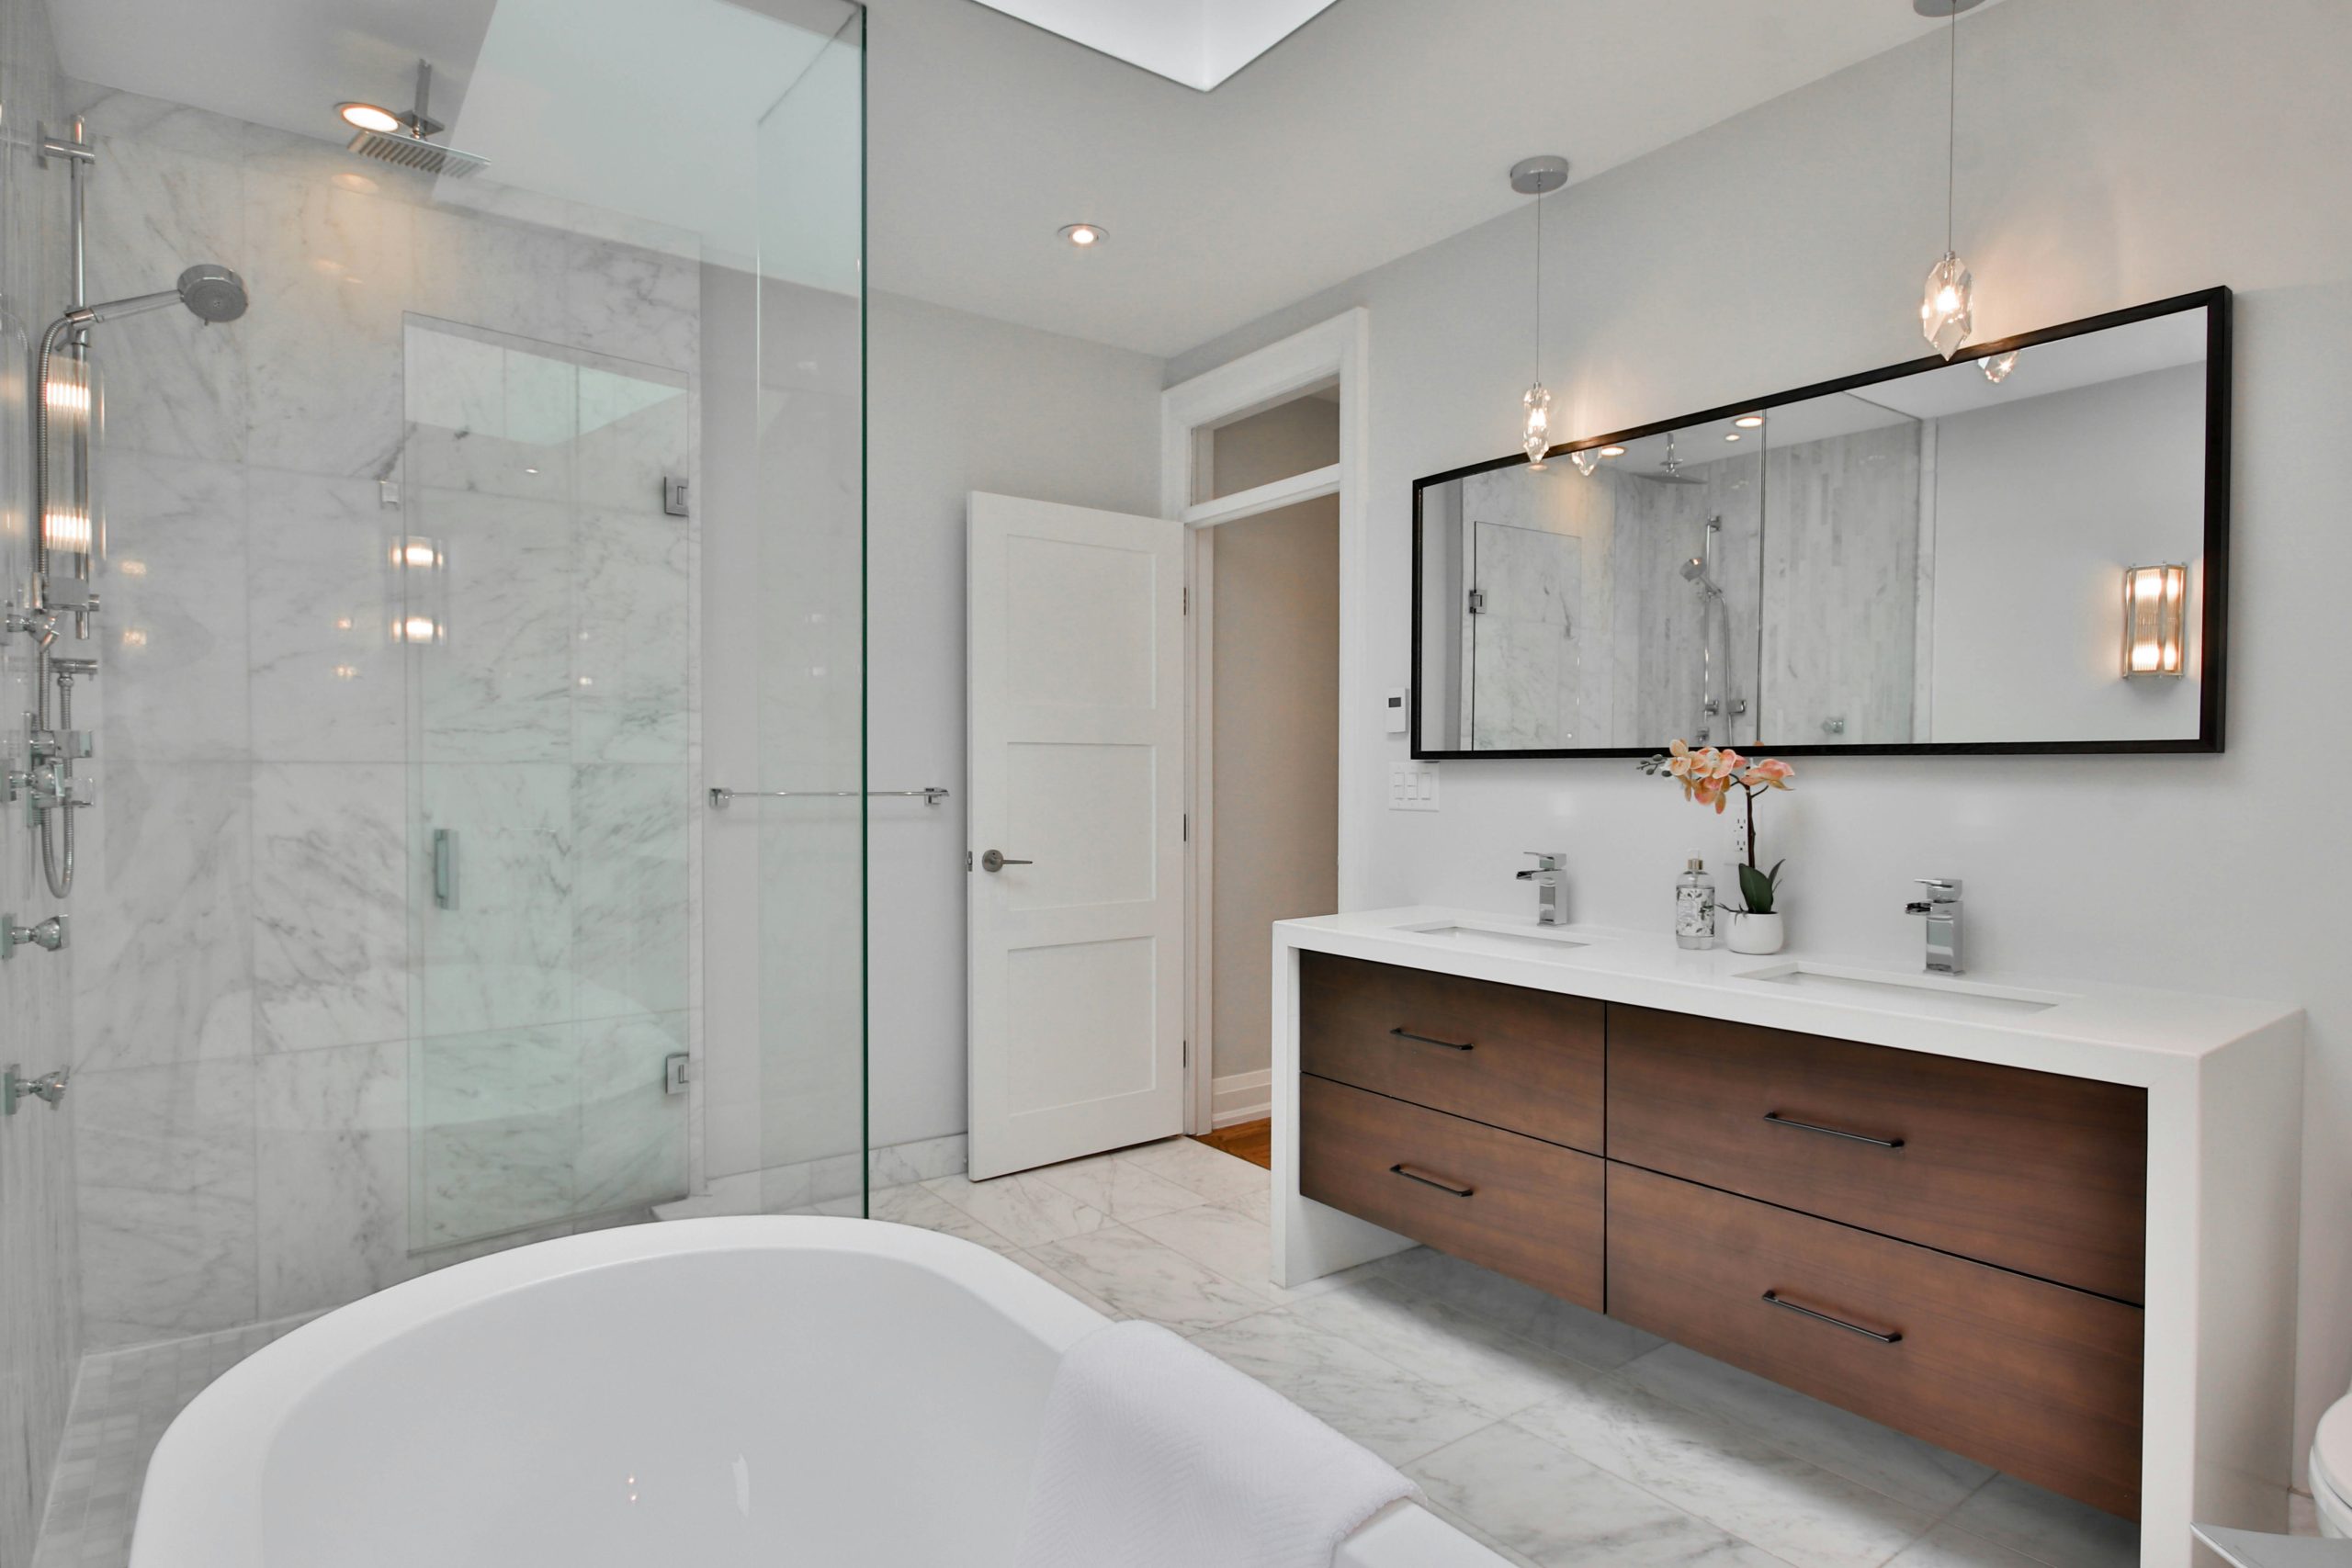
This layout succeeds by creating distinct zones without closing off the space. The floating wood vanity provides a warm, organic counterpoint to the cool, sleek marble and glass of the bathing area. The large, black-framed mirror serves as a powerful anchor, defining the vanity zone and adding a touch of graphic punch that breaks up the expanse of pale tile. The shared material palette—white, gray, and wood—ensures the different functional areas feel connected. This is a more open take on the wet room seen in Idea #1, offering a bit more separation.
|
📋 Copy HEX 🔗 Share |
When placing a freestanding tub near a glass shower, the spacing is critical for both aesthetics and cleaning. Leave a minimum of 6-8 inches between the tub rim and the glass panel. This provides enough room to easily clean the glass and the sides of the tub. Any less, and it becomes an impossible-to-reach dust trap. Any more, and the two elements can start to feel disconnected. This “breathing room” is a small detail that makes a world of difference in daily maintenance.
6. High-Contrast Black and White Bath with Integrated Freestanding Tub
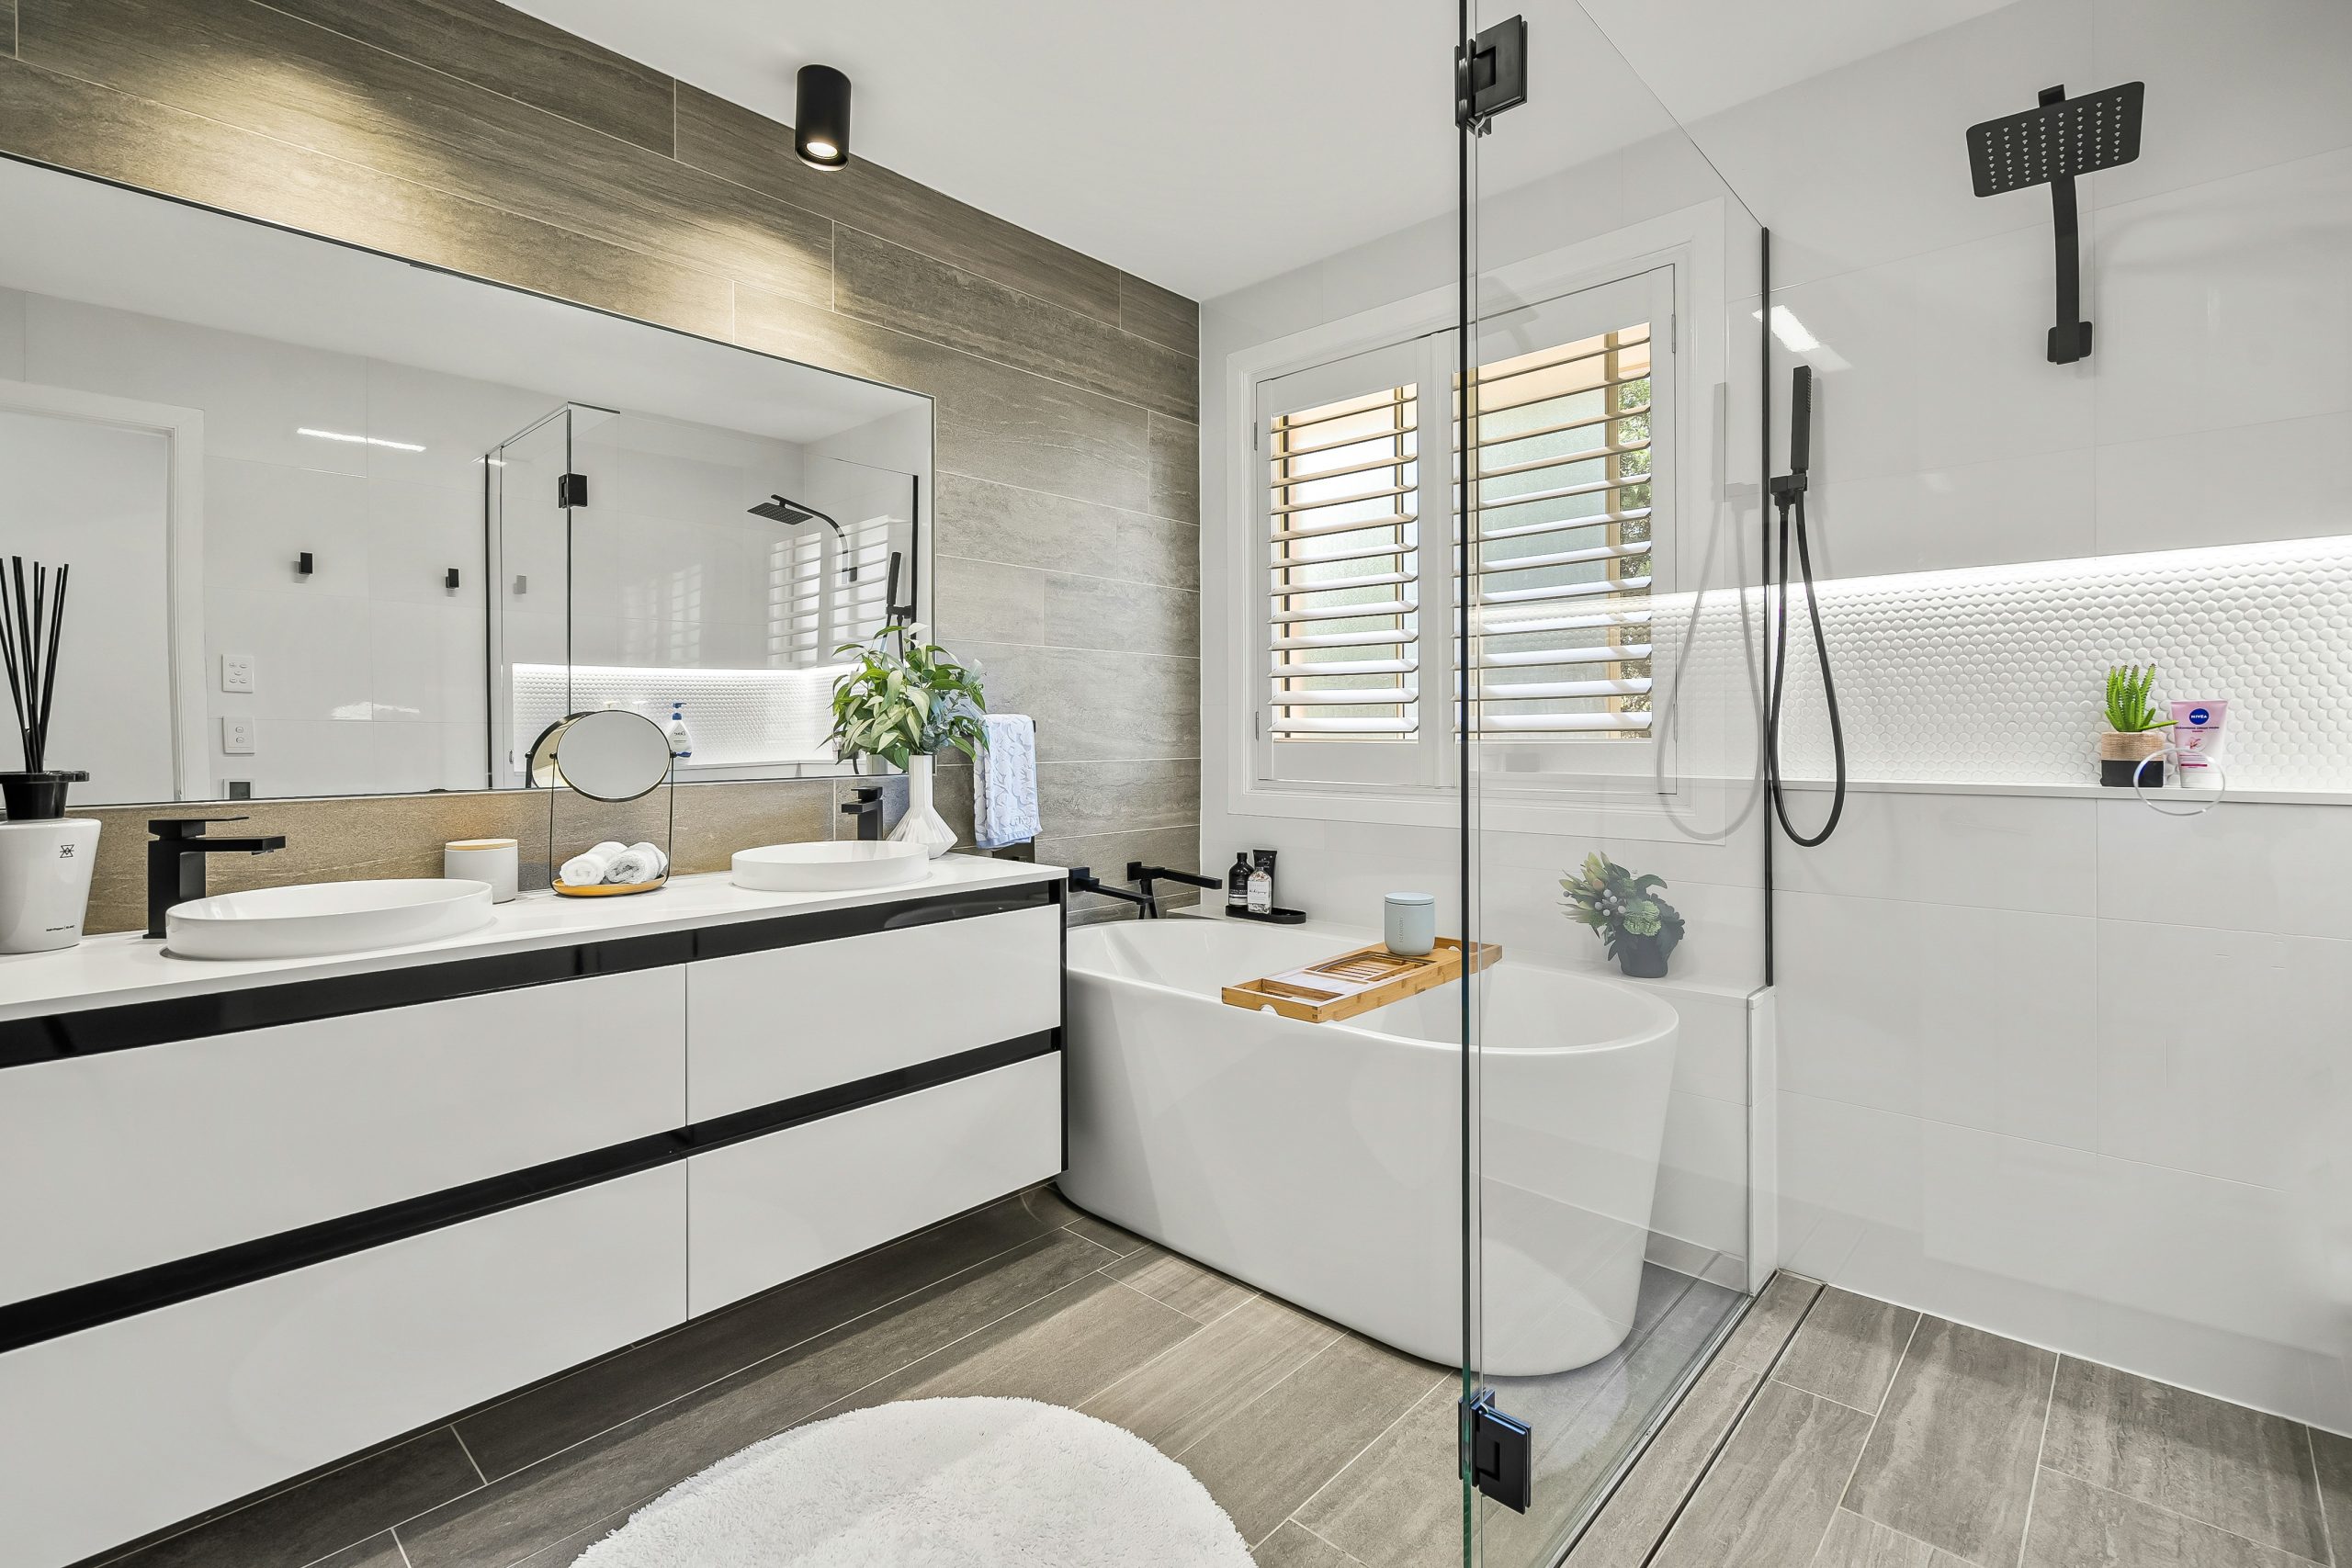
The formula for this striking look is a disciplined 60/30/10 rule. It’s 60% clean white (the tub, floor tiles, and basins), providing a bright, expansive base. Then, 30% is dedicated to textural gray (the large-format wall tiles), which adds depth and a modern edge. Finally, 10% is a strategic use of matte black (the fixtures and vanity accents), creating sharp, graphic focal points. The small touch of warm wood in the tray and shutter prevents the scheme from feeling too sterile. You could swap the gray tiles for a concrete finish to lean more industrial or switch the black fixtures to brass for a glam twist.
|
📋 Copy HEX 🔗 Share |
Matte black fixtures are undeniably chic, but they are magnets for water spots and fingerprints. If you live in an area with hard water, be prepared to wipe it down daily to avoid a buildup of white mineral deposits. A microfiber cloth is your best friend here. Similarly, dark gray grout can show soap scum more readily than a lighter grout. Using a pH-neutral daily shower cleaner can drastically cut down on scrubbing time. This look is stunning, but it asks for a little more diligence to keep it looking pristine.
7. Bright Marble-Tiled Alcove with Dark Fixtures and Glass Panel
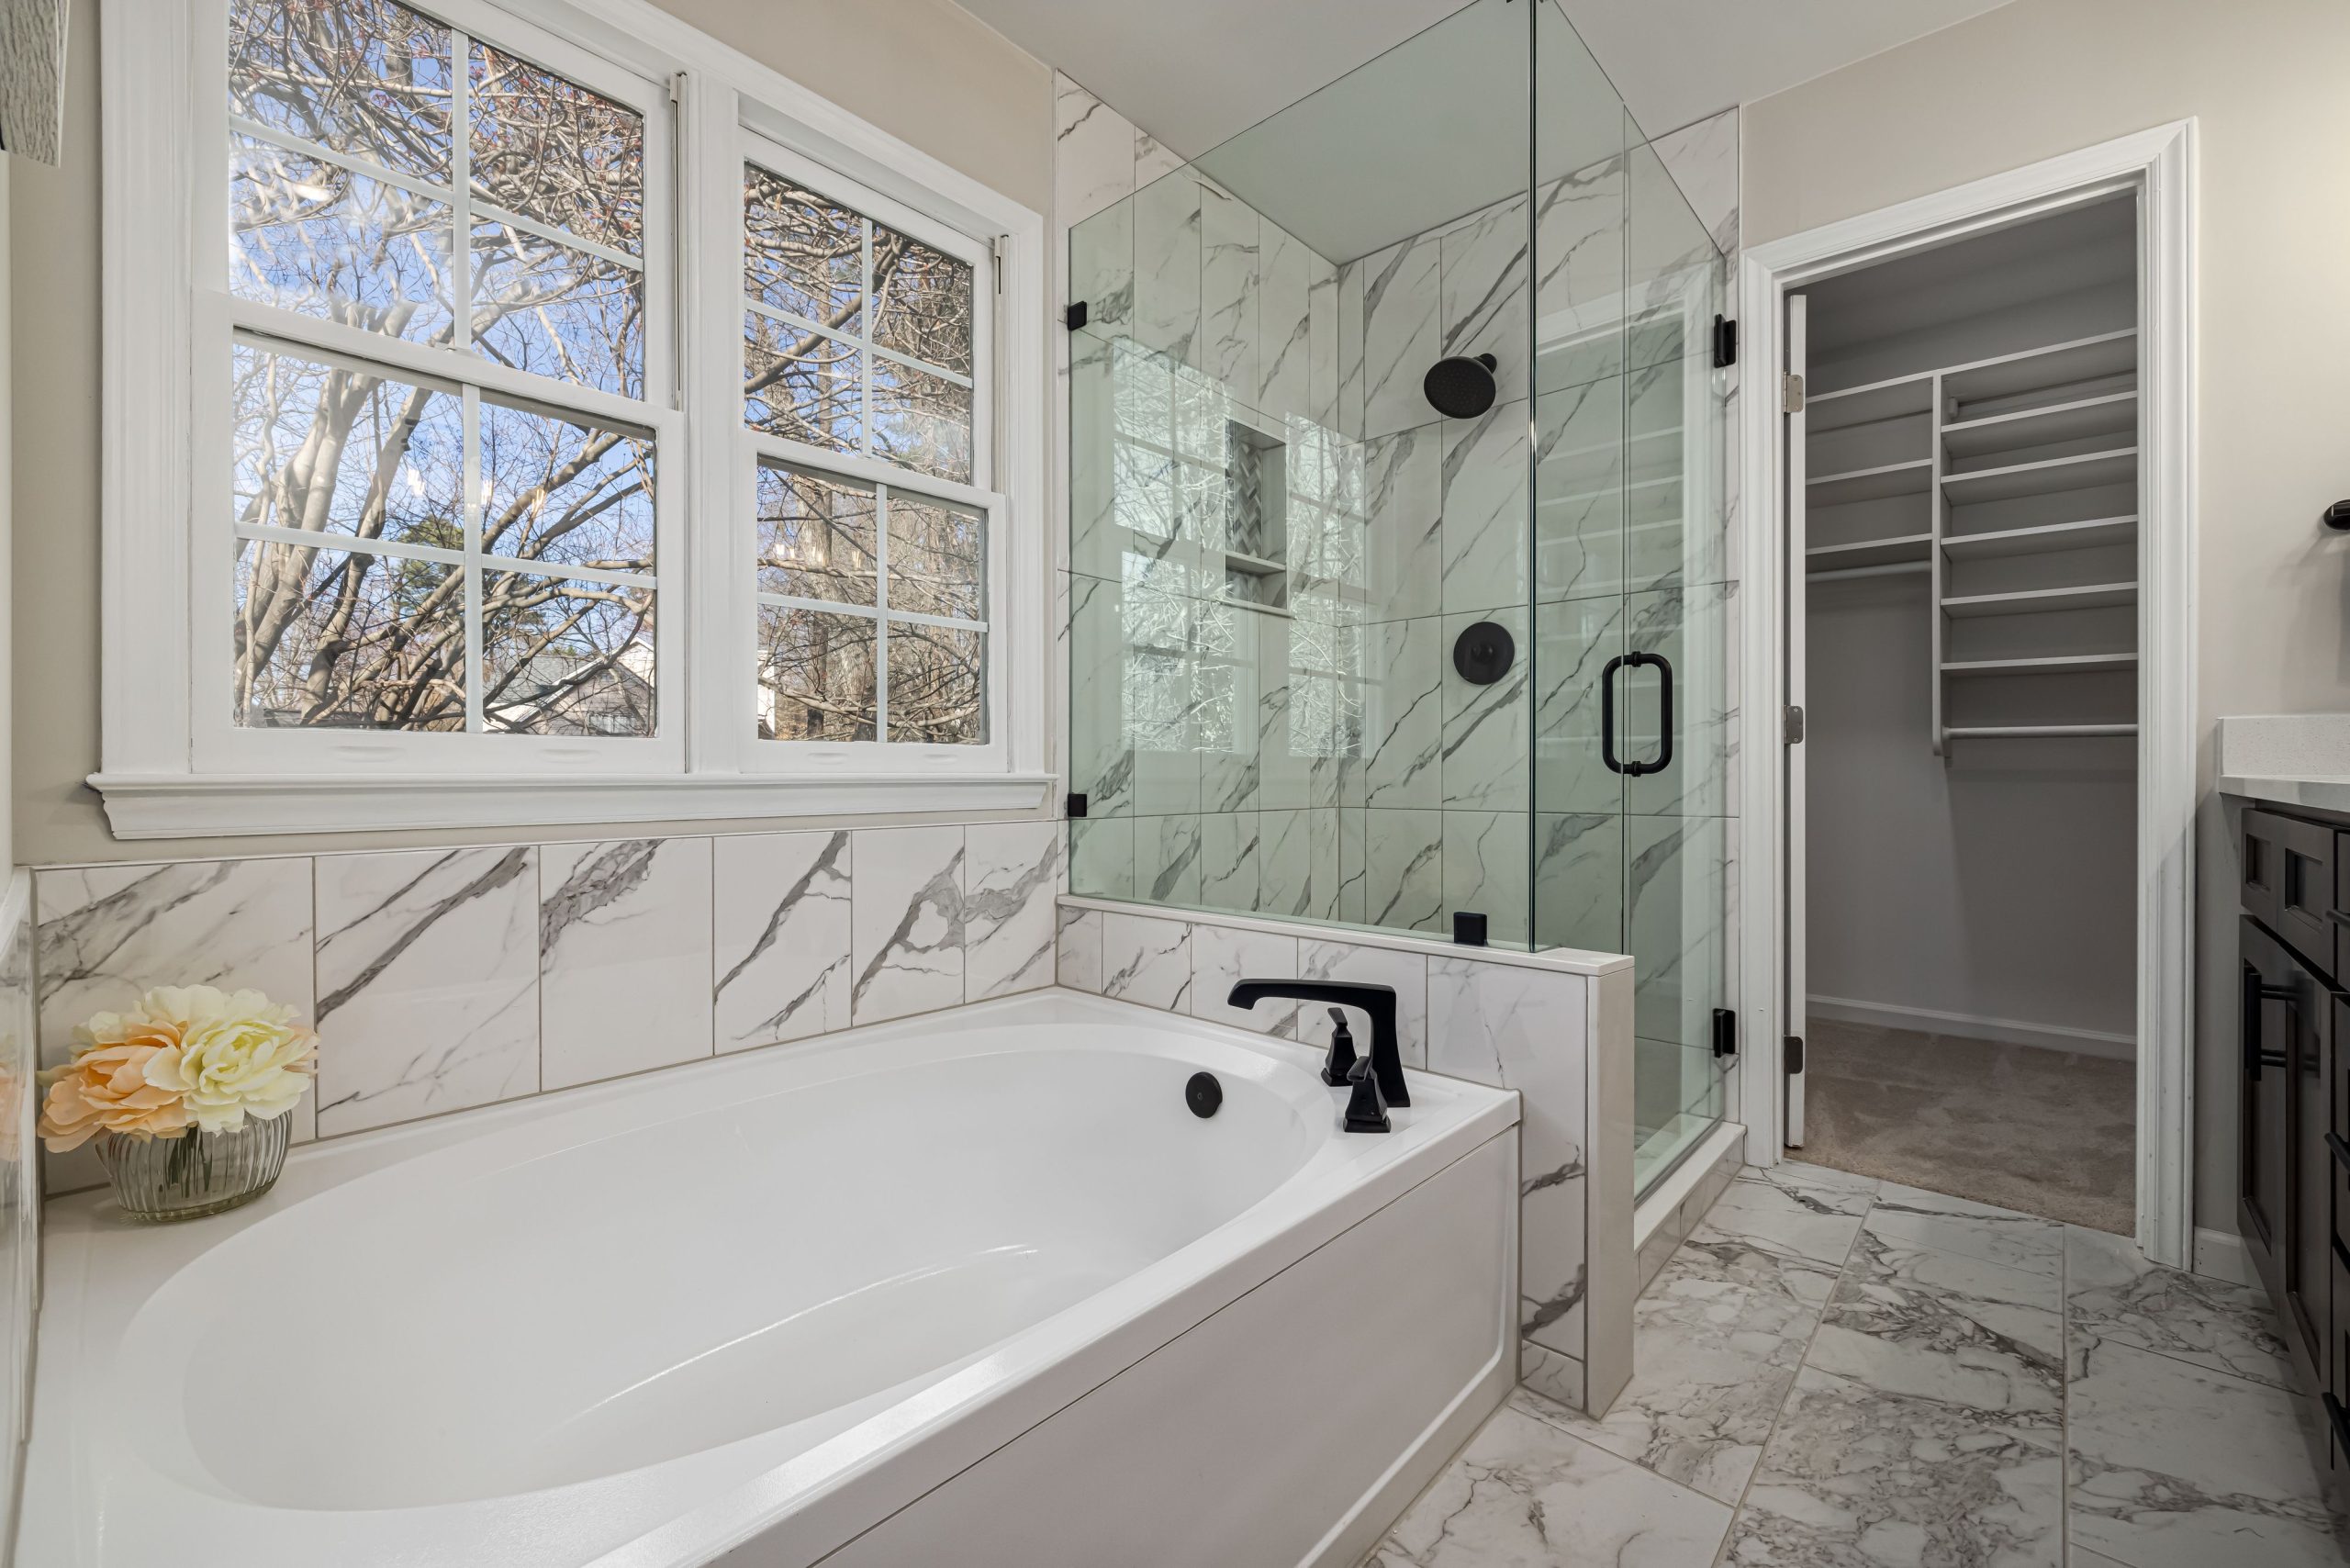
The bold, black-framed glass panel is the hero of this design. While the marble-look tile is beautiful, it’s the dark metal that gives the space its modern, graphic personality. It acts like eyeliner for the room, defining the shower space and turning a simple glass partition into a strong focal point. Imagine it with chrome or nickel fixtures; the effect would be much softer and less memorable. The black provides a necessary anchor and a contemporary edge that keeps the classic marble feeling fresh and current, similar to the strategy in Idea #21.
|
📋 Copy HEX 🔗 Share |
8. Mixed-Tile Bathroom with Light Wood Vanity and Hexagon Accents
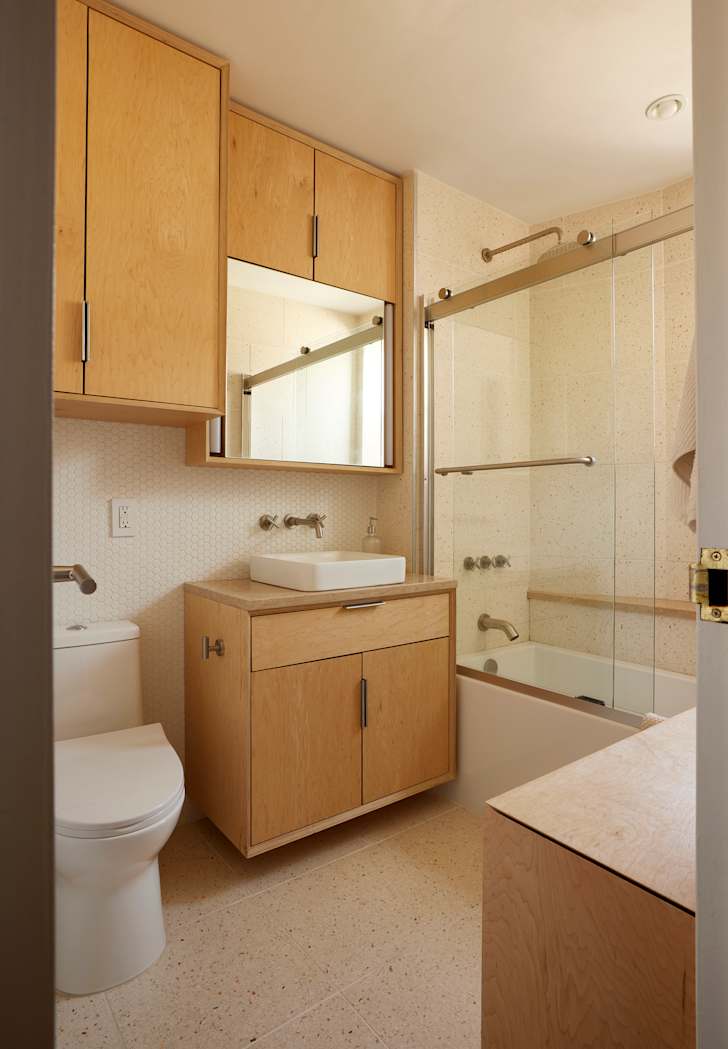
This bathroom design works because it masters the art of mixing patterns and materials without creating chaos. The key is sticking to a tight, light-and-bright color palette. The small white hexagon tiles, large speckled terrazzo-style tiles, and warm wood tones all live in the same neutral family. The variation in scale—small hex, large-format rectangles, and linear wood grain—creates interest and texture, while the consistent color story ensures the final look is cohesive and calming rather than busy and overwhelming.
|
📋 Copy HEX 🔗 Share |
The use of terrazzo, or terrazzo-look tile, is a huge trend that continues to evolve. Originally a staple of mid-century design, it’s back in a big way for its durability and visual texture. What makes it feel so 2026 is its application alongside other materials like the clean hex tiles and minimalist wood vanity. It’s less about a full retro throwback and more about using its warm, speckled pattern to add personality to otherwise minimalist spaces. It shows we’re moving away from sterile, all-white bathrooms and craving a bit more character.
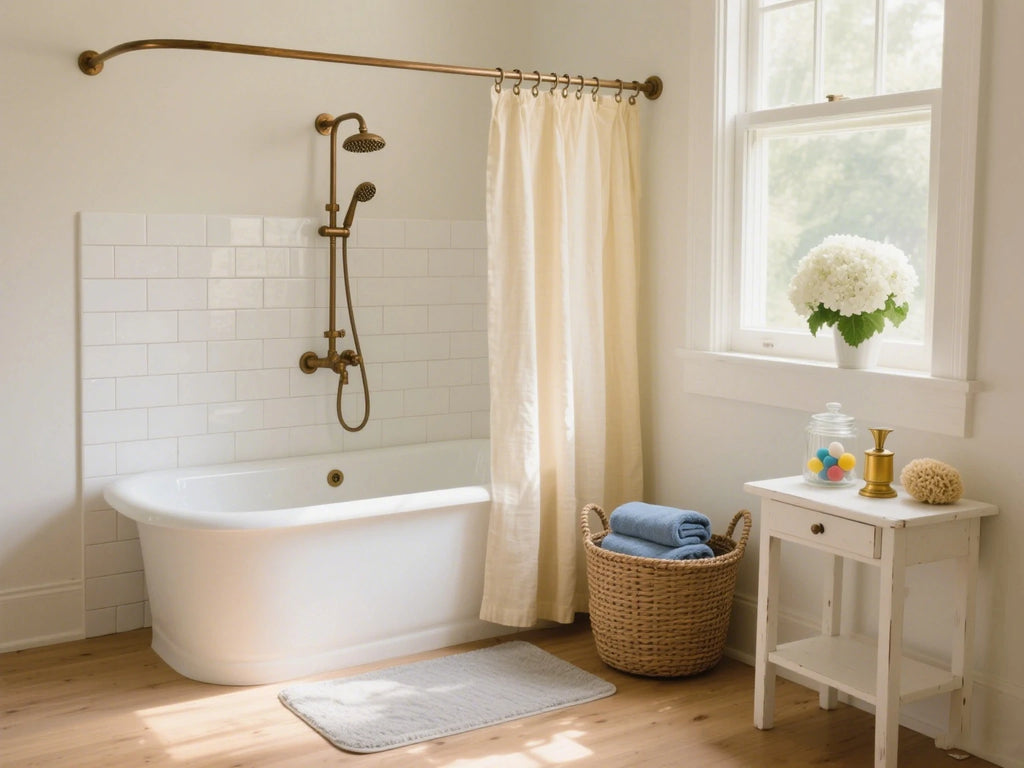
9. Vintage-Inspired Freestanding Tub with Brass Fixtures and Subway Tile
When installing a shower over a freestanding tub, the shower curtain ring is just as important as the plumbing. To prevent water from escaping, the ring should have a diameter that is at least 6-8 inches wider than the tub at its widest point. This allows the curtain to hang comfortably inside the tub basin without billowing outwards. For a classic look like this, an oval-shaped brass rod not only complements the vintage fixtures but also provides the best coverage for an oval-shaped tub.
|
📋 Copy HEX 🔗 Share |
Before you commit to this beautiful, classic look, check a few key things. This setup requires more floor space than a standard alcove tub, so it’s not ideal for very small bathrooms.
- Measure your space carefully. You need at least 12 inches of clearance around the tub for cleaning and movement.
- Check your floor’s integrity. A cast iron freestanding tub filled with water is incredibly heavy. Ensure your floor joists can handle the load, especially in older homes.
- Confirm your plumbing plan. Floor-mounted or wall-mounted tub fillers and drain locations are less forgiving than those for a standard tub, so plan the layout with your plumber in advance.
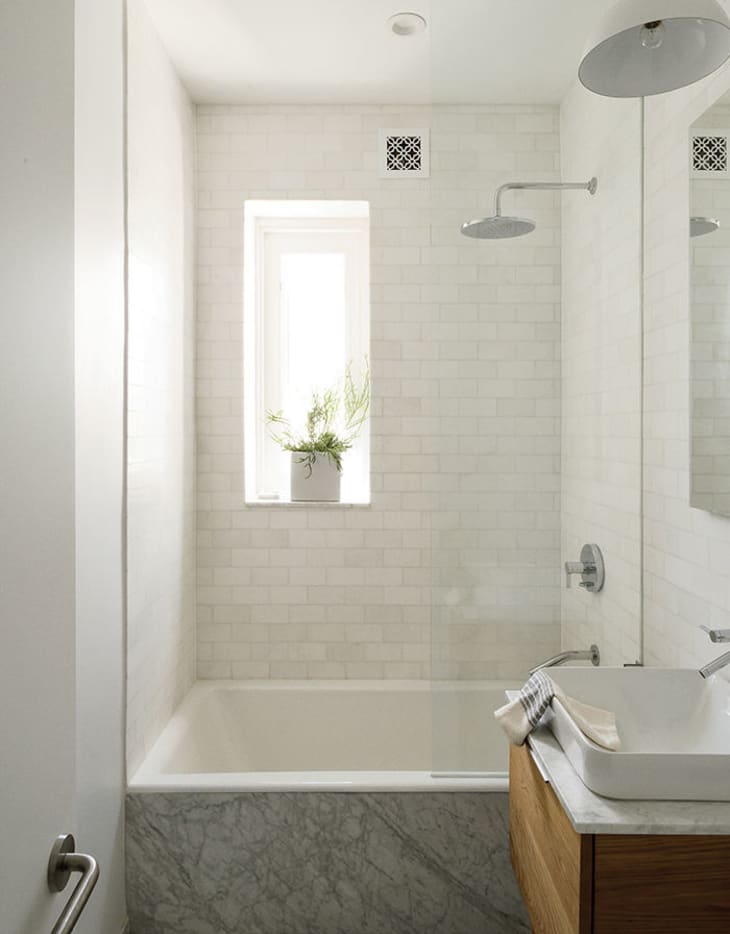
10. Compact and Bright with Subway Tile and a Floating Wood Vanity
This look is incredibly achievable on a tight budget. White subway tile is one of the most cost-effective and timeless materials you can buy. To get the high-end feel of the recessed tub with a marble panel, look for large-format porcelain tiles that mimic marble—they are a fraction of the cost of a real slab. A floating wood vanity from a big-box store or even IKEA can give you that custom look for under $300. This is all about using standard, affordable materials in a clean, intentional way to create a polished result and is a great option for smaller spaces, unlike the layout in Idea #2.
|
📋 Copy HEX 🔗 Share |
The beauty of this design lies in its efficiency, making it perfect for bathrooms under 60 square feet. A floating vanity is a small-space superhero; by showing the floor underneath, it creates the illusion of a larger, more open room. The simple, recessed alcove tub is the most space-efficient tub style available. Using large, white subway tiles also helps, as fewer grout lines make the wall feel less busy and more expansive. This is a masterclass in making a compact bathroom feel functional and uncluttered.
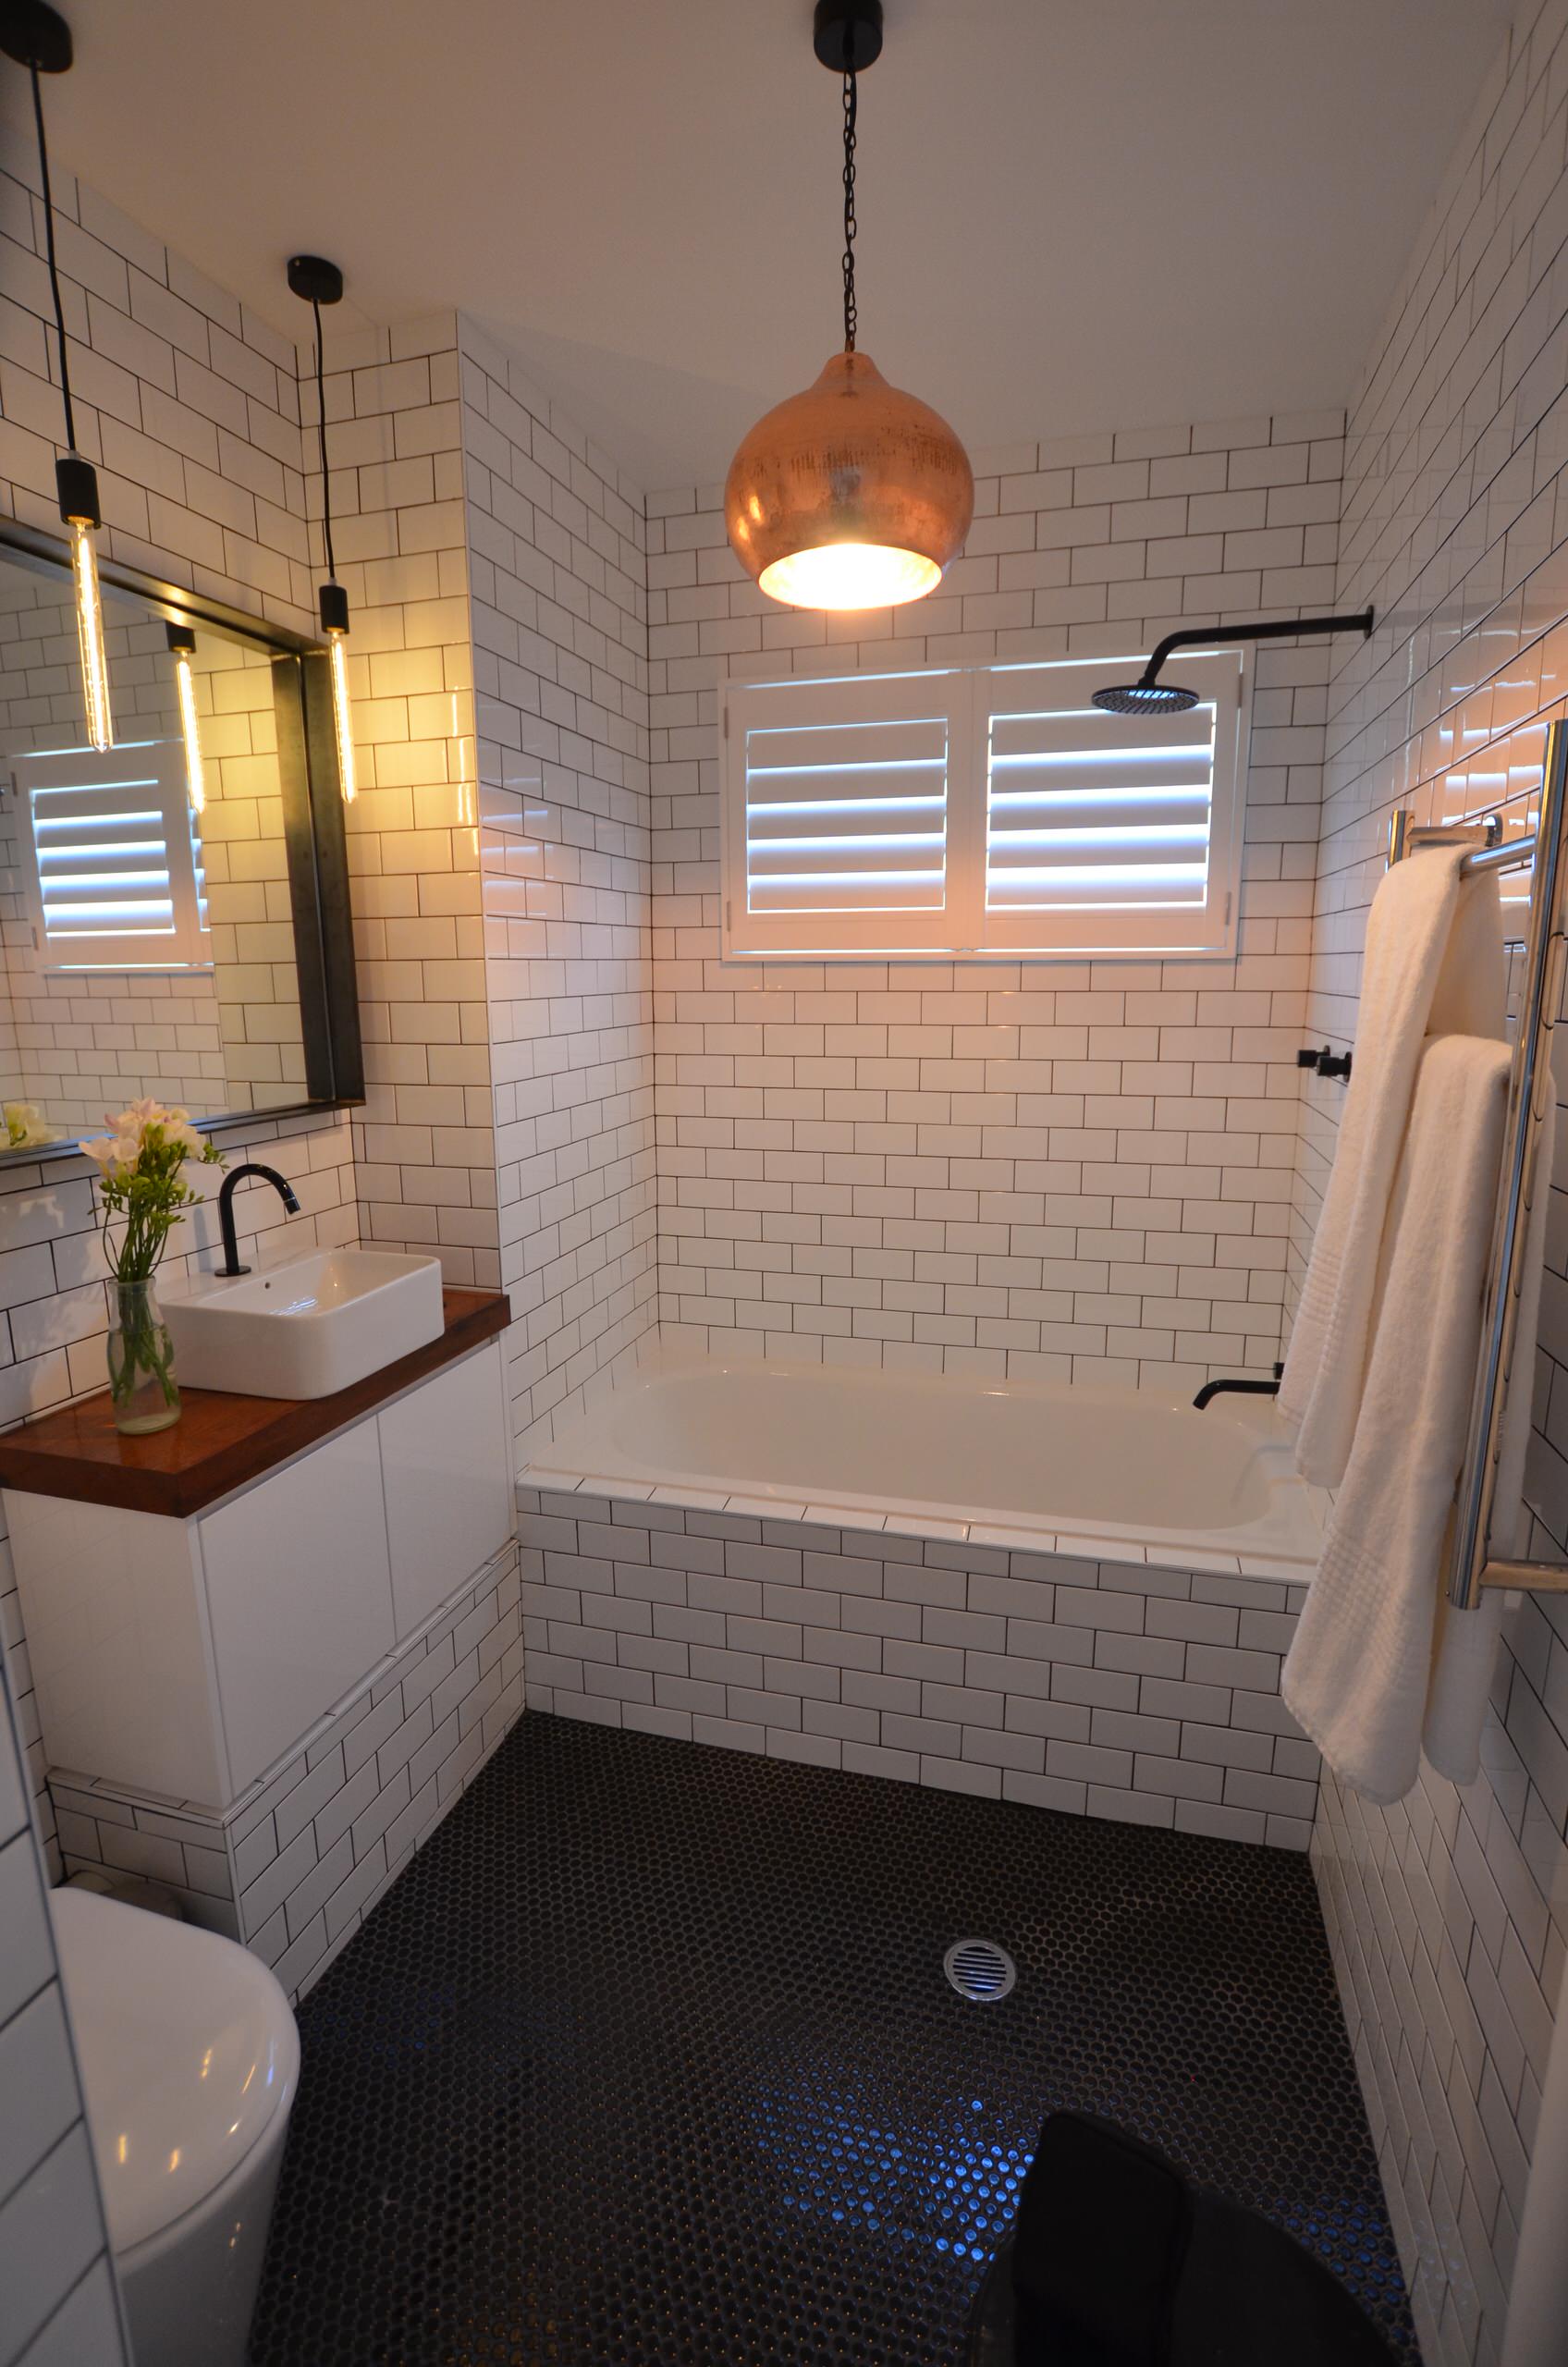
11. Modern Contrast with Subway Tiles, Hex Floors, and Copper Lighting
This bathroom’s success is a game of strategic contrasts. It’s approximately 70% classic monochrome (the white subway walls and black hex floors), creating a strong, graphic foundation. Then, 20% is dedicated to warm, natural texture (the dark wood vanity top), which keeps the black and white from feeling too stark. The final, crucial 10% is the metallic accent (the copper and brassy pendant lights). This injection of warm metal is unexpected and instantly elevates the design, adding a layer of sophisticated warmth and personality.
|
📋 Copy HEX 🔗 Share |
? It’s the lighting. Without the quirky combo of the copper pendant and the Edison bulbs, this would be a trendy but fairly standard black-and-white bathroom. The lighting is what gives it personality and a unique point of view. It’s a choice that says the homeowner isn’t just following a formula but is layering in elements they truly love. It proves that a single, well-chosen fixture can be the piece that ties a whole room together and gives it a soul.
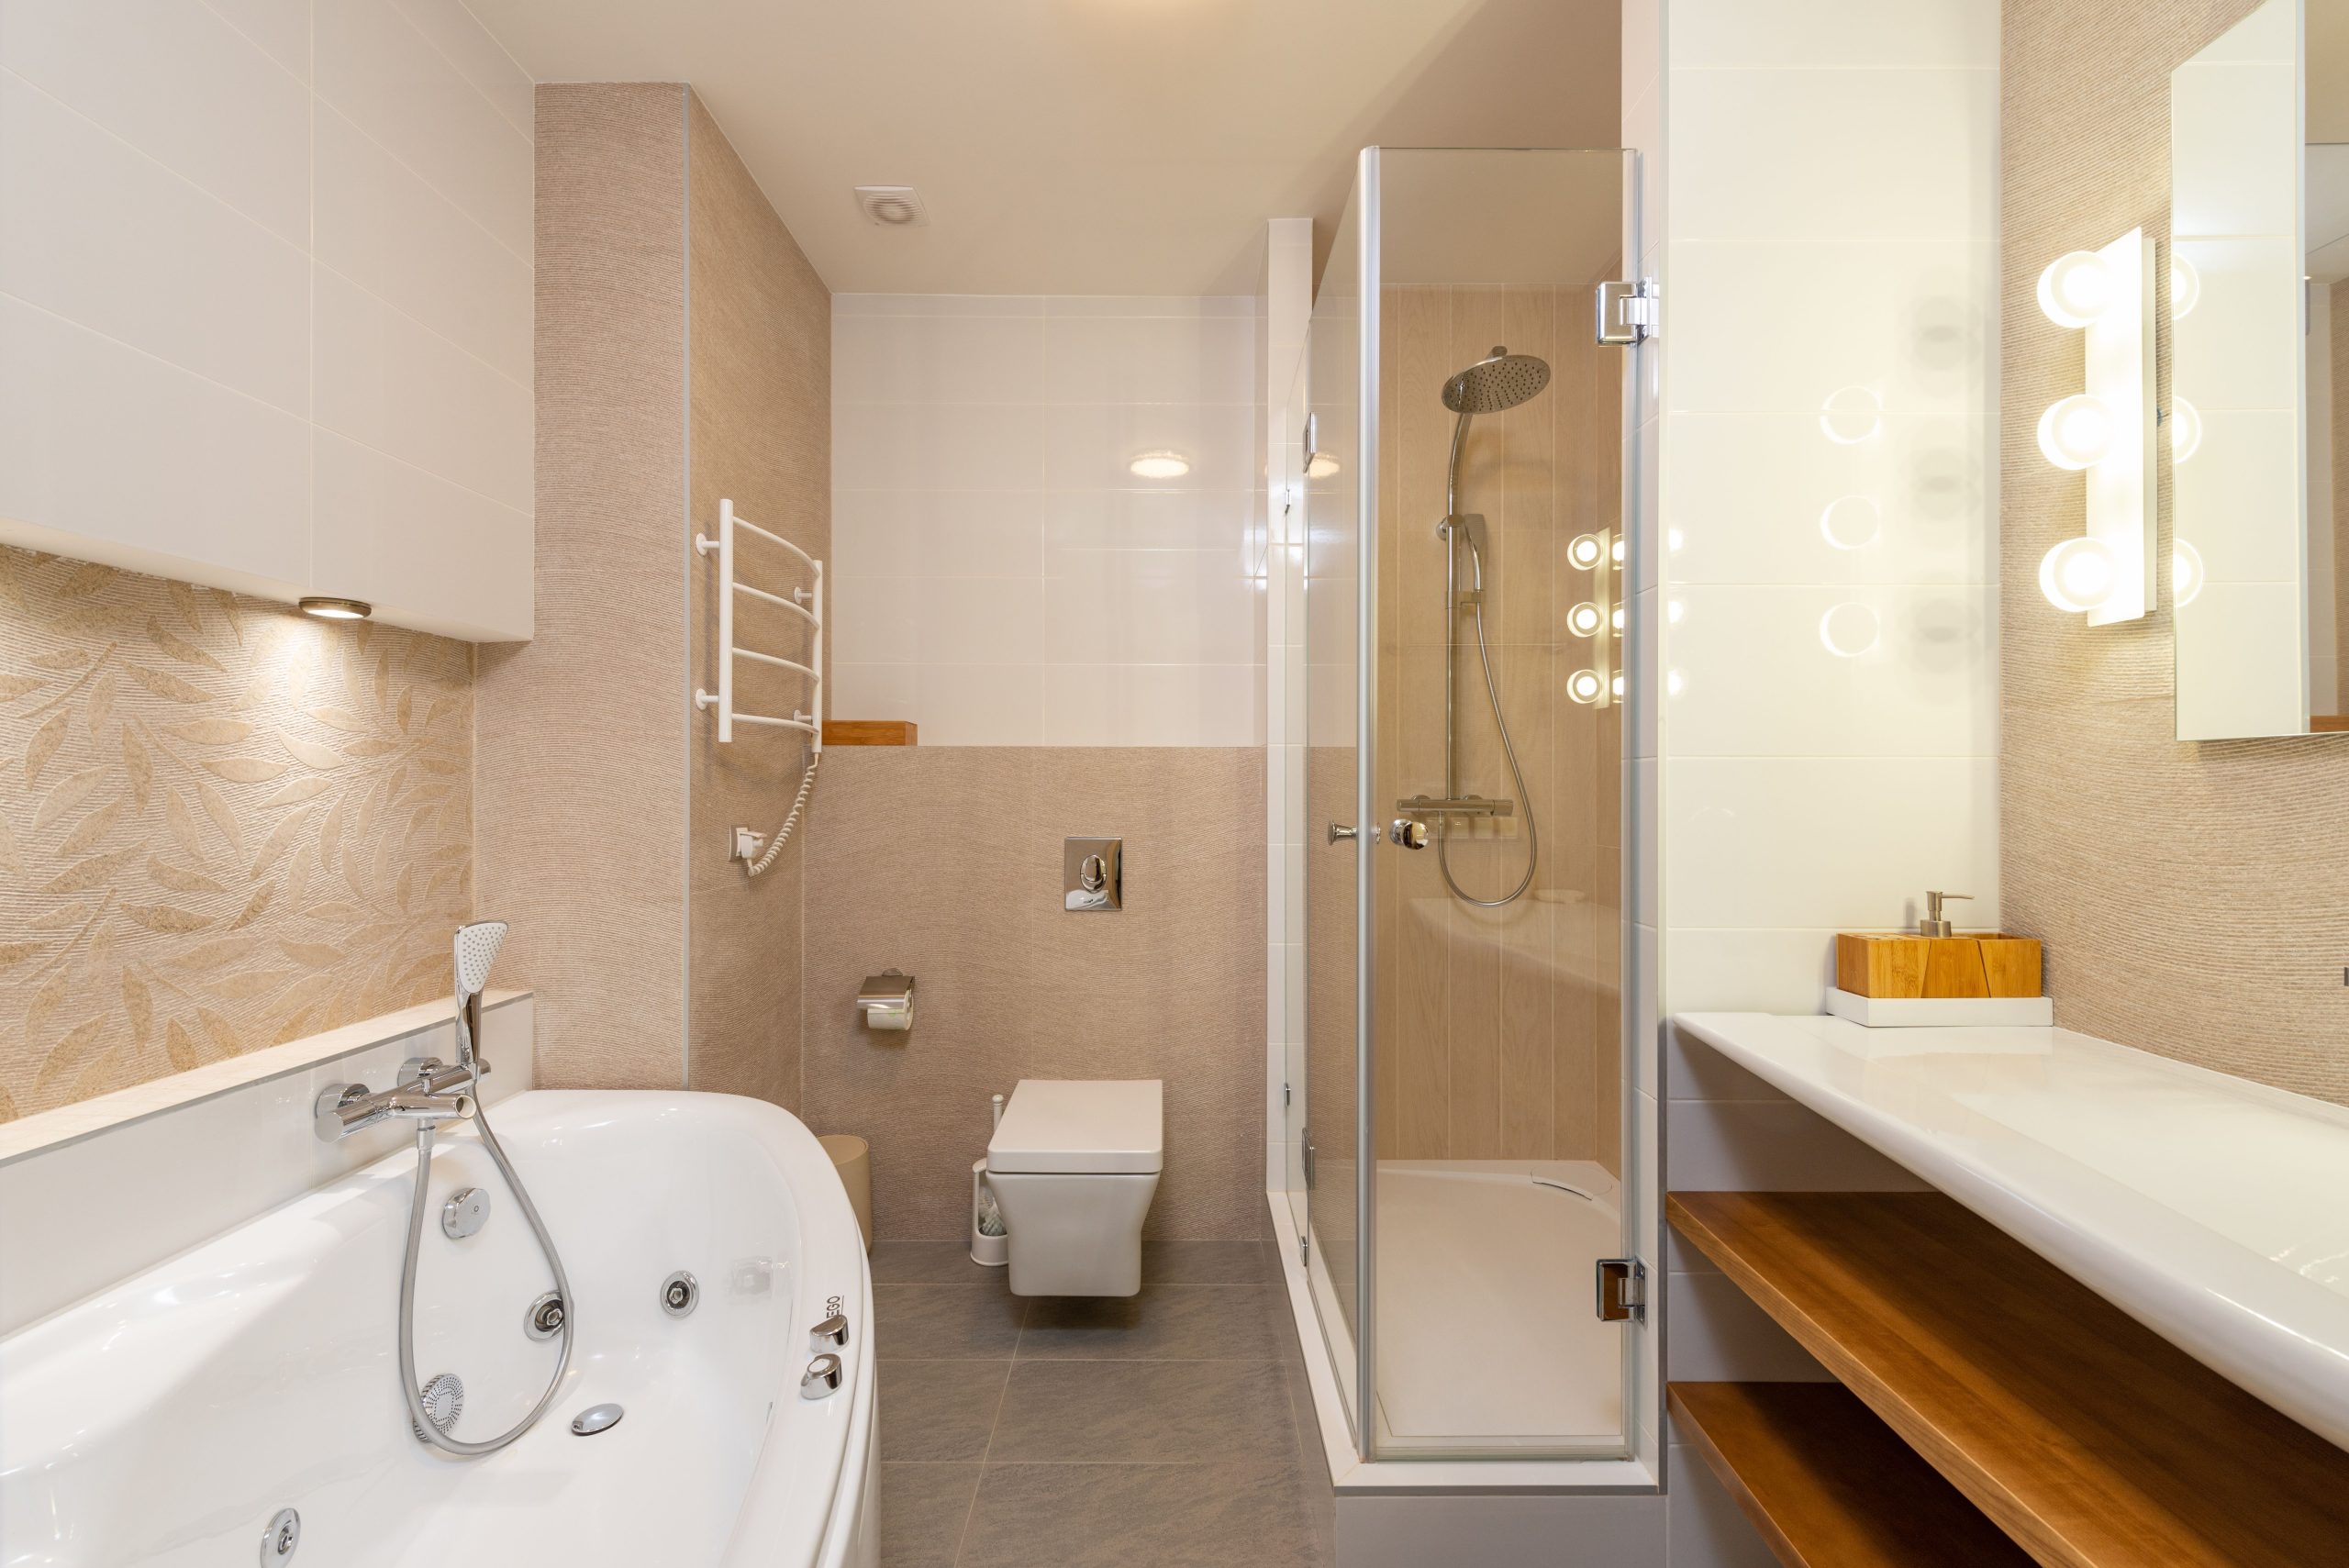
12. Compact Layout with a Corner Jacuzzi and Separate Glass Shower
That corner jacuzzi tub looks like the perfect spot to unwind, but jetted tubs require more maintenance than standard ones. The internal plumbing lines need to be cleaned regularly (at least once a month) with a specialized solution to prevent mildew and bacteria buildup. If you’re not committed to that routine, a simpler soaking tub might be a better choice. Also, while separating the tub and shower is great, be mindful of the clearance: the tight space between the toilet and the glass shower door could be an awkward squeeze for some.
|
📋 Copy HEX 🔗 Share |
Here’s a sample breakdown for a similar look, focusing on mid-range finishes. Prices can vary widely based on your location and contractor.
- Corner Jetted Tub: $1,200 – $2,500
- Glass Shower Enclosure: $1,000 – $2,200
- Tiling (Materials & Labor): $1,500 – $3,500
- Vanity & Toilet: $800 – $1,800
- Fixtures & Lighting: $700 – $1,500
- TOTAL: $5,200 – $11,500
- Budget Alternative: Swap the jetted tub for a standard corner soaker, use a shower curtain instead of glass, and opt for a pre-fab vanity to bring the total cost down by 40-50%.
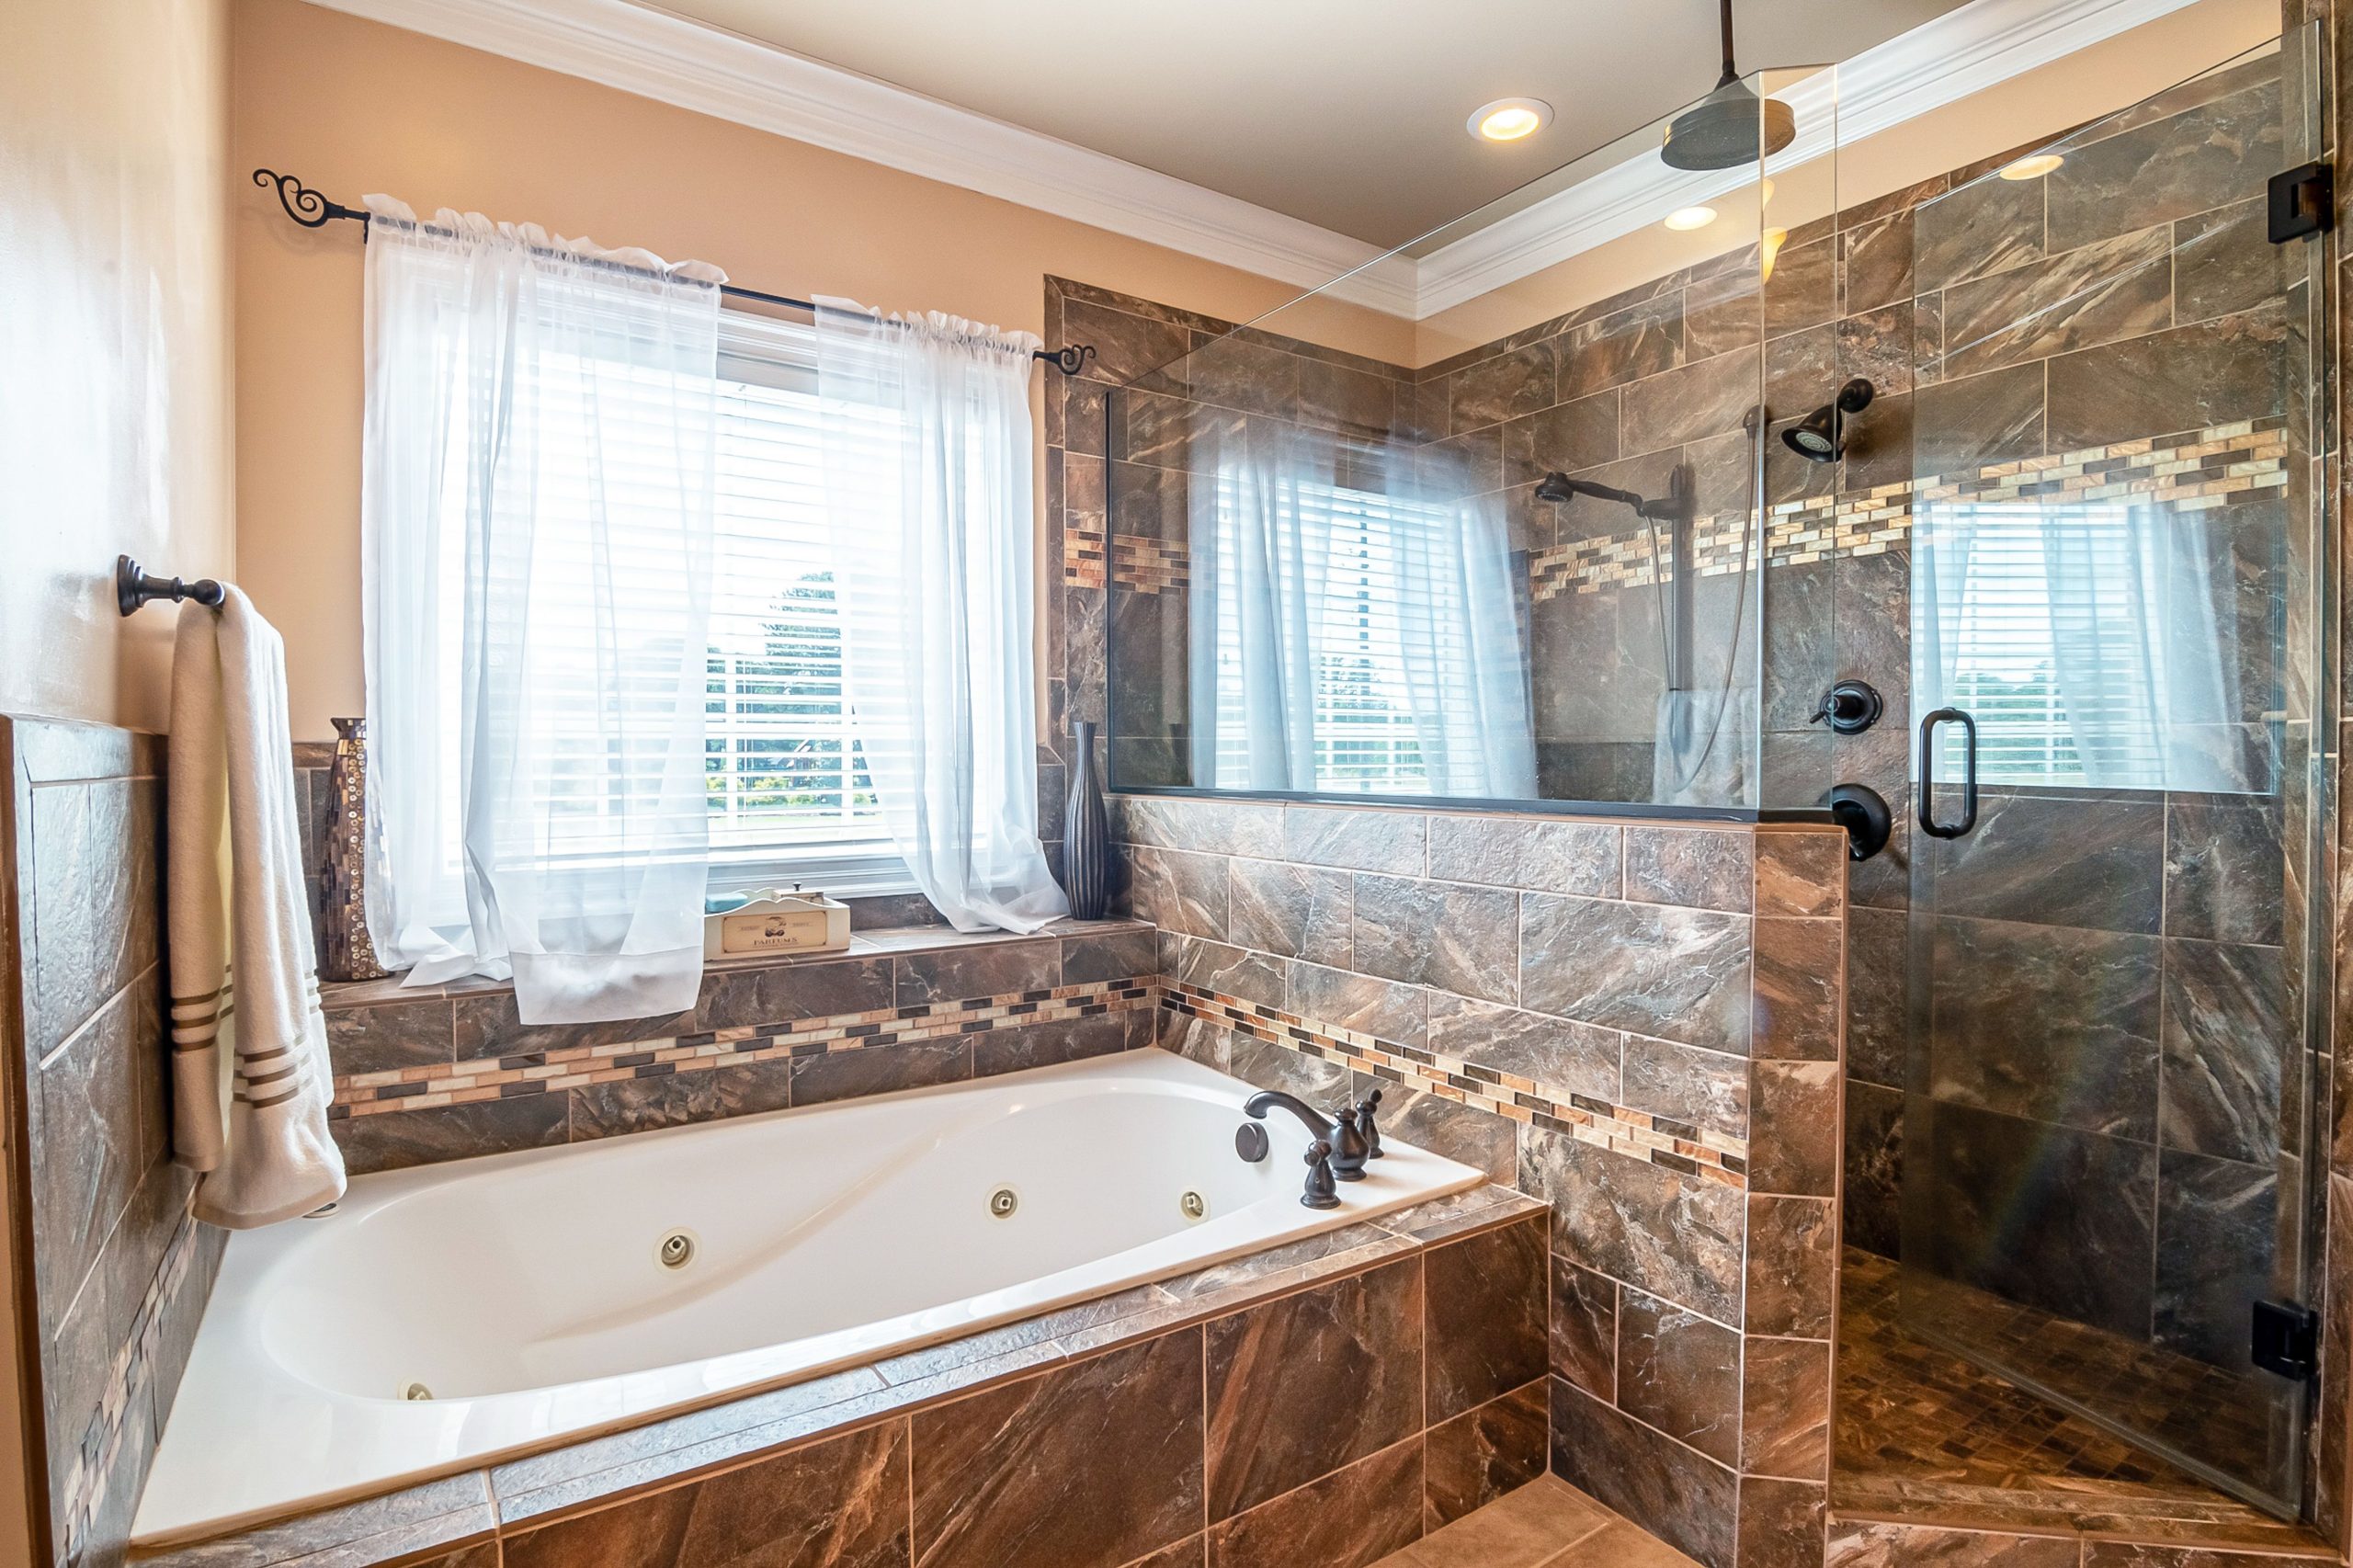
13. Cozy Earth-Toned Bathroom with Brown Marble-Look Tile
This bathroom feels so warm and enveloping because it fully commits to a monochromatic, earth-toned palette. Using the same large-format brown tile on the floor, walls, and tub surround creates a seamless, cave-like sense of enclosure. The genius is in the texture variation: the large polished tiles, the small matte mosaic accent band, and the smooth white tub all exist in the same color family but offer different tactile experiences. This layering of textures within one color is what gives the room its rich, sophisticated feel.
|
📋 Copy HEX 🔗 Share |
While beautiful, large-format polished tiles can be slippery when wet, which is a key consideration for a bathroom floor. Using bath mats is essential. The hundreds of grout lines in the mosaic accent tile, while visually interesting, also mean there are hundreds of places for mildew to potentially grow. Sealing the grout annually and using a daily shower spray will be your best defense. The dark metal fixtures are great at hiding smudges but can show hard water spots if not wiped down regularly.
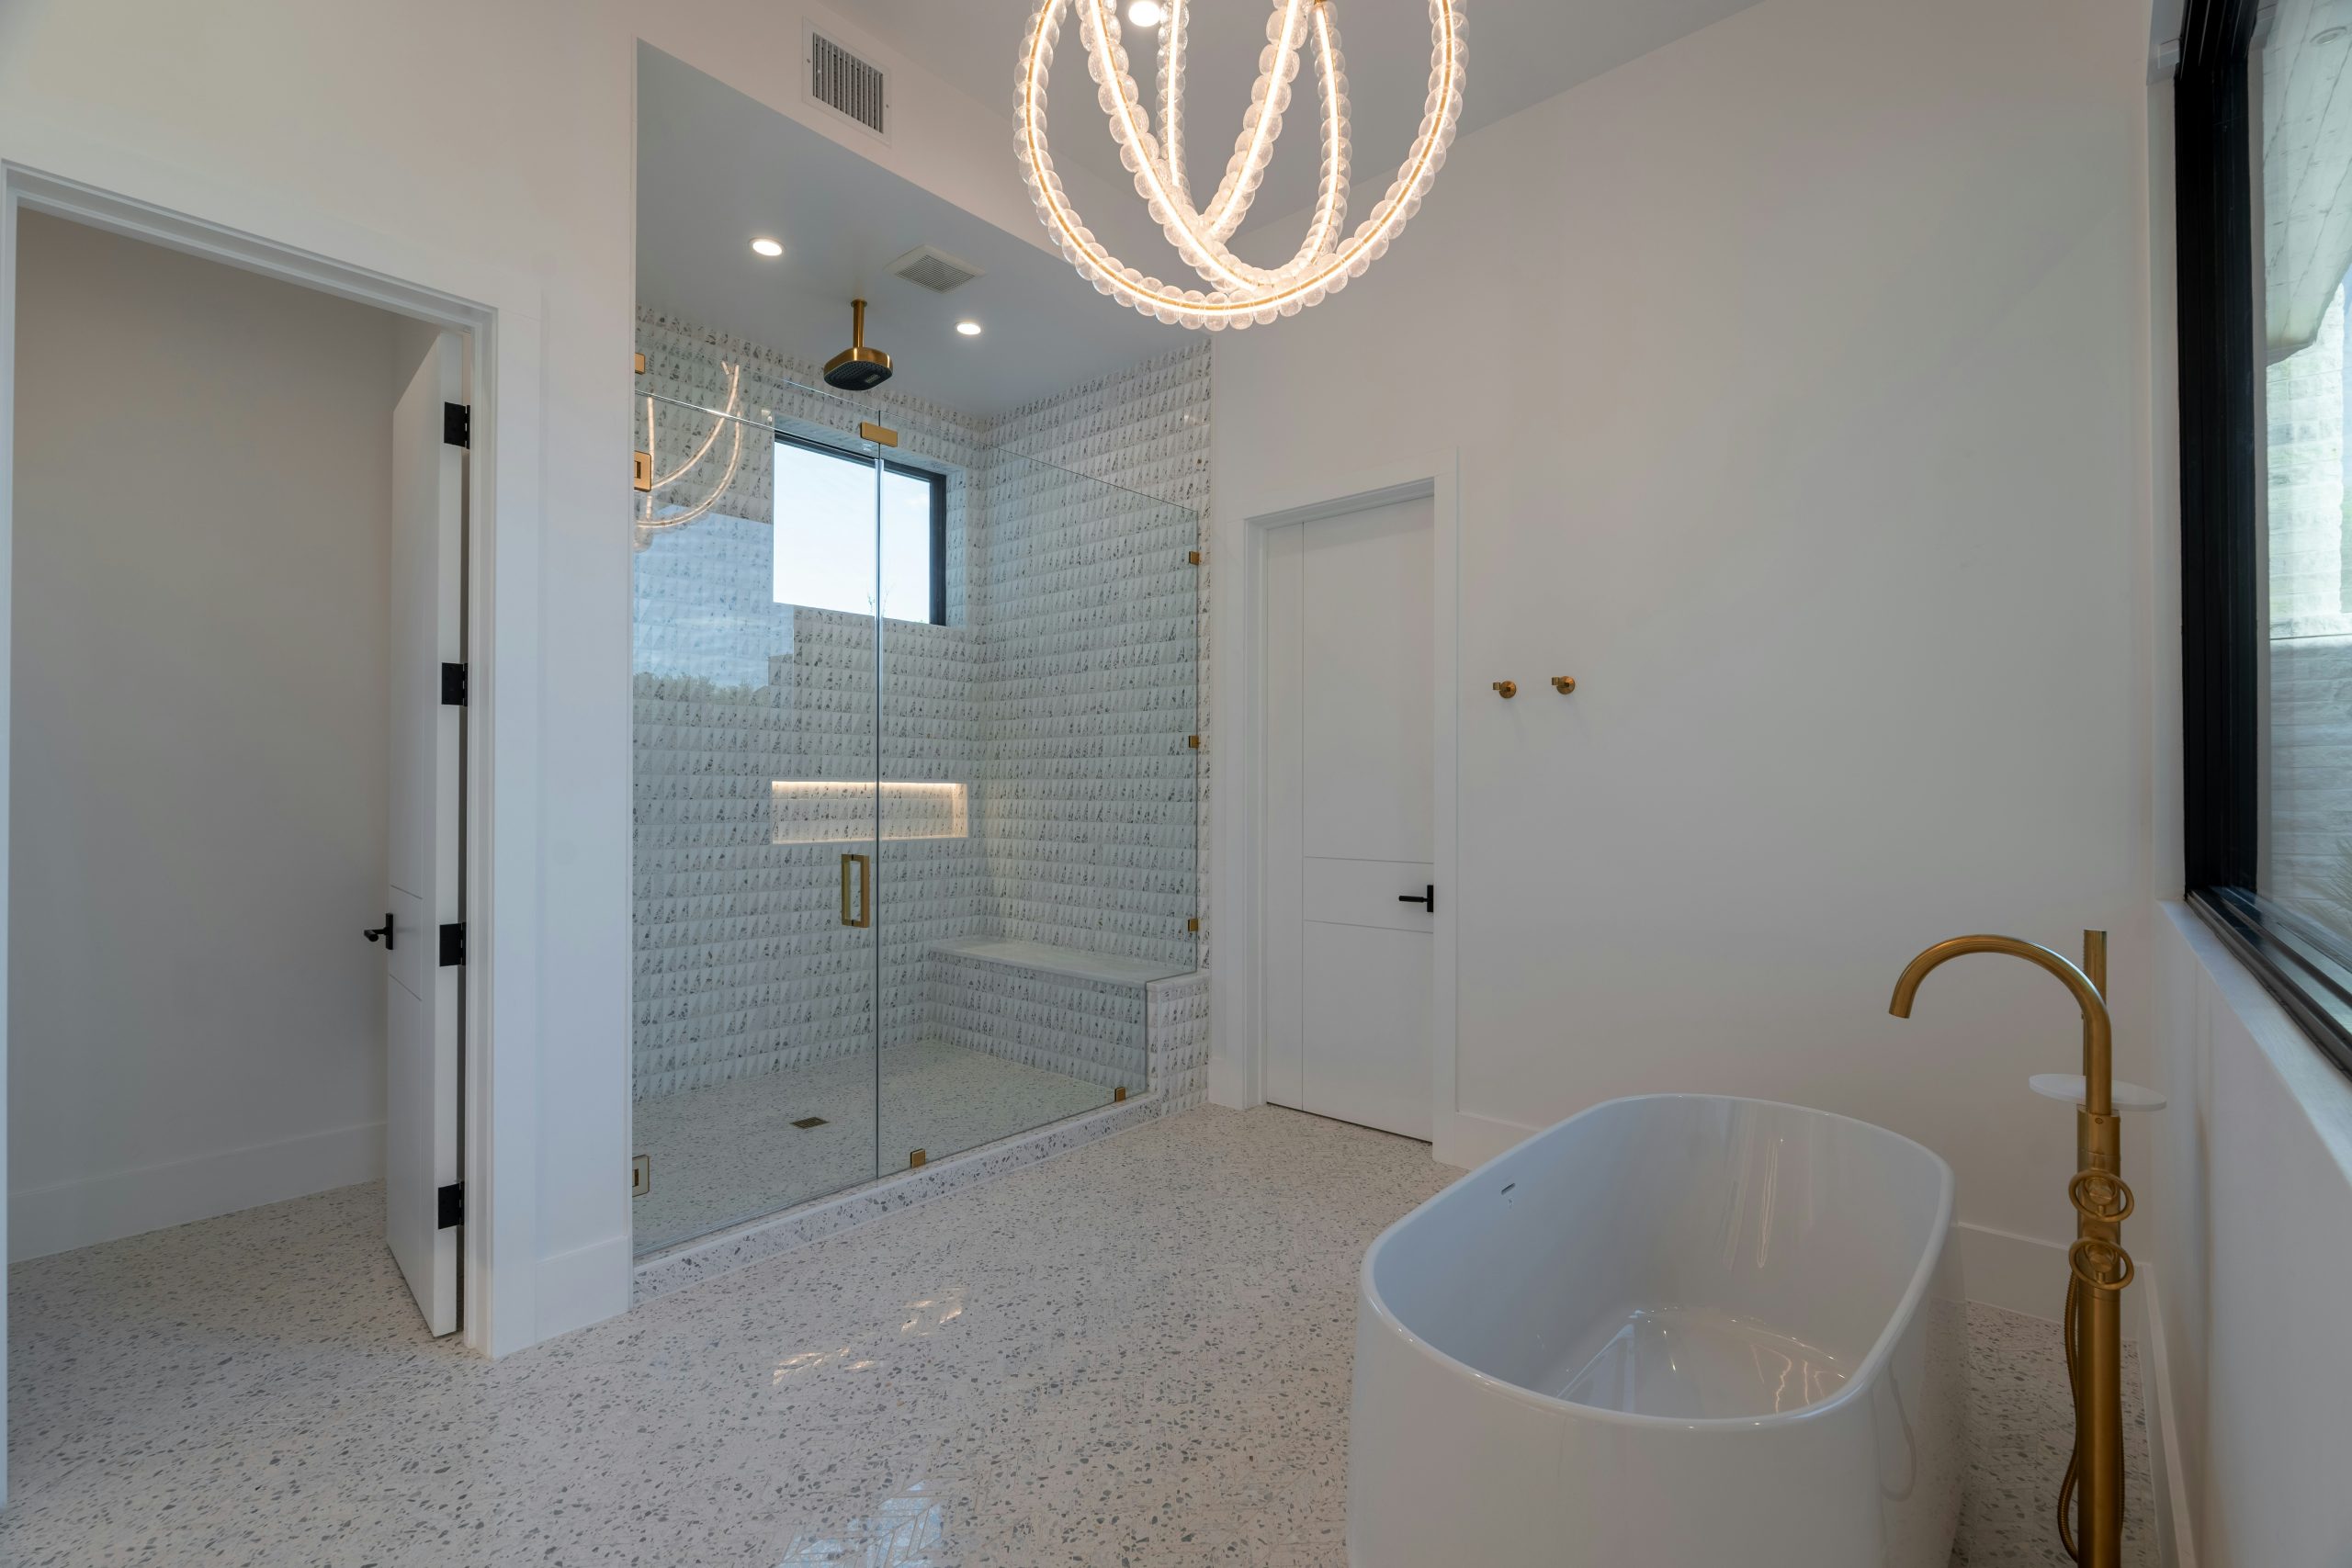
14. Luxurious White Bath with Brass Fixtures and Patterned Shower Tile
We’re seeing a major trend towards “statement showers,” and this bathroom is a perfect example. For years, the focus was on the tub, but now designers are turning the shower into the primary focal point. Using a bold, textured, and patterned tile exclusively within the shower enclosure—as seen here with the stunning white and grey relief tile—creates a jewel-box effect. The move towards warm metals like brass for fixtures, which we also see in Idea #22, complements this trend, adding a layer of warmth and luxury that feels very current.
|
📋 Copy HEX 🔗 Share |
When using a tall, floor-mounted tub filler like this gorgeous brass one, placement is everything. The spout should extend over the edge of the bathtub by at least one inch, but no more than four inches. This ensures the water flows cleanly into the tub without excessive splashing. More importantly, position the faucet so it doesn’t create a tripping hazard or an obstacle when getting in and out of the tub. A placement near the drain end or centered on the wall-facing side is usually safest.
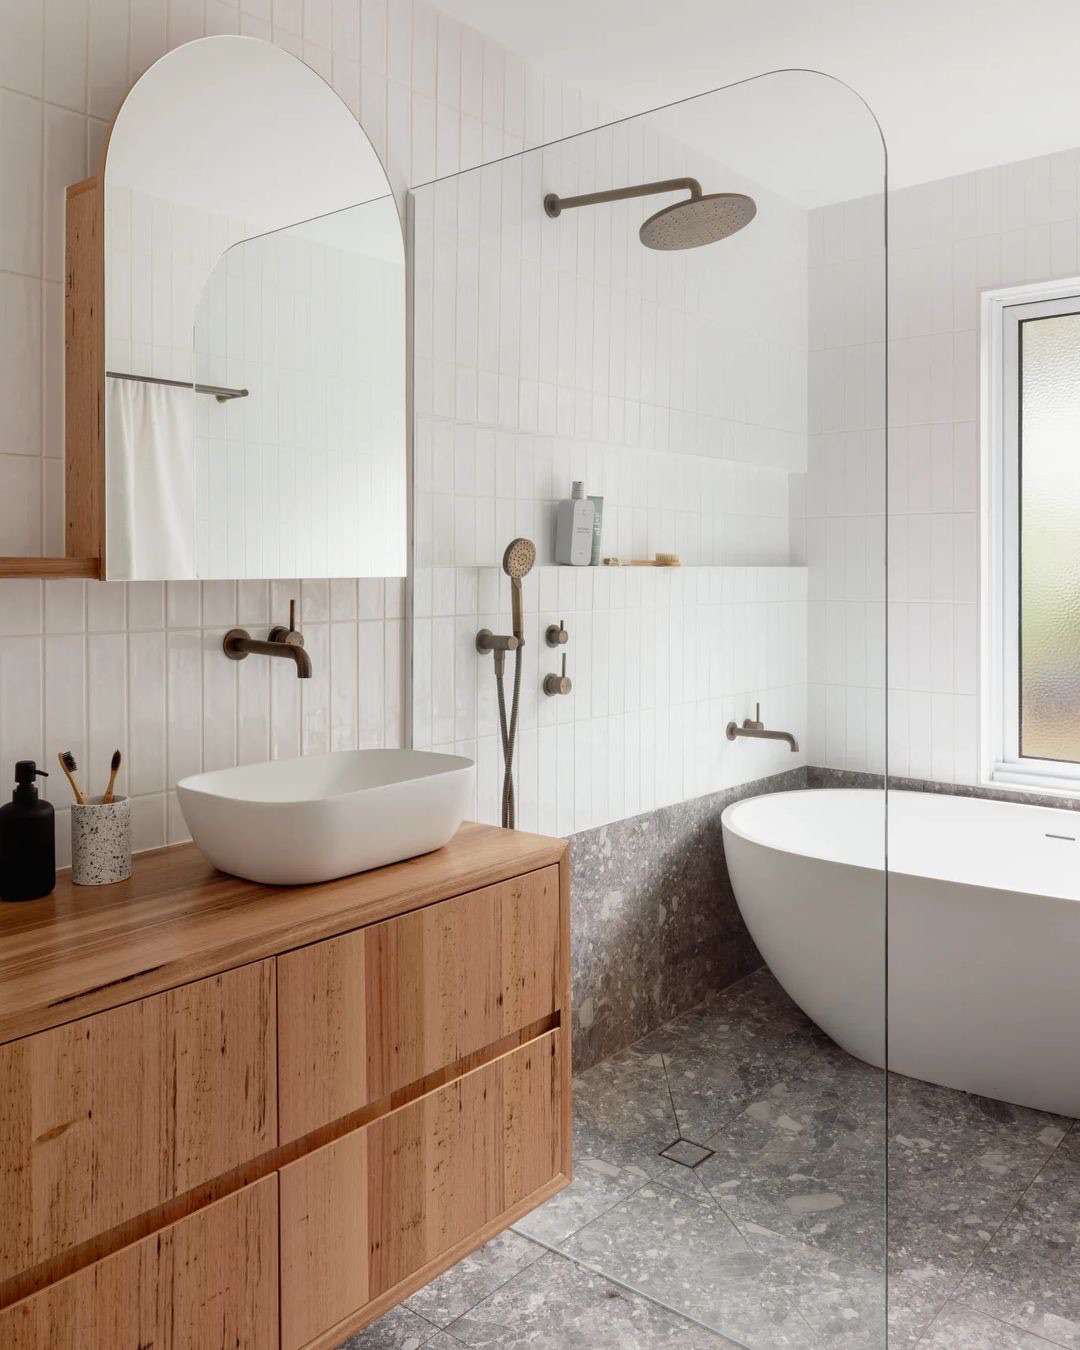
15. Minimalist Wet Room with Terrazzo, a Curved Glass Panel, and an Arched Mirror
This serene space is a study in soft geometry. The formula is about 50% textural base (the grey terrazzo on the floor and lower walls), 40% clean lines (the simple white rectangular wall tiles and light wood vanity), and 10% curves. This final 10%—the curved glass panel, the oval tub, the arched mirror—is what makes the room feel so gentle and welcoming. Without the curves, the minimalism could feel stark; with them, it feels soft and human. This is a great alternative to the dual-zone layout in Idea #24.
|
📋 Copy HEX 🔗 Share |
What truly makes this design sing is the curved glass panel. It’s a stunning piece of minimalist sculpture that serves a practical purpose. It separates the shower spray while maintaining a completely open, barrier-free feeling. The gentle arc mirrors the shape of the freestanding tub and the vanity mirror, creating a subtle, cohesive repetition of form. It’s a softer, more organic approach to a shower partition than a standard rectangular panel, and it defines the entire aesthetic of the room.
16. Modern Bathroom with Gray Wall Tiles and a Backlit Mirror
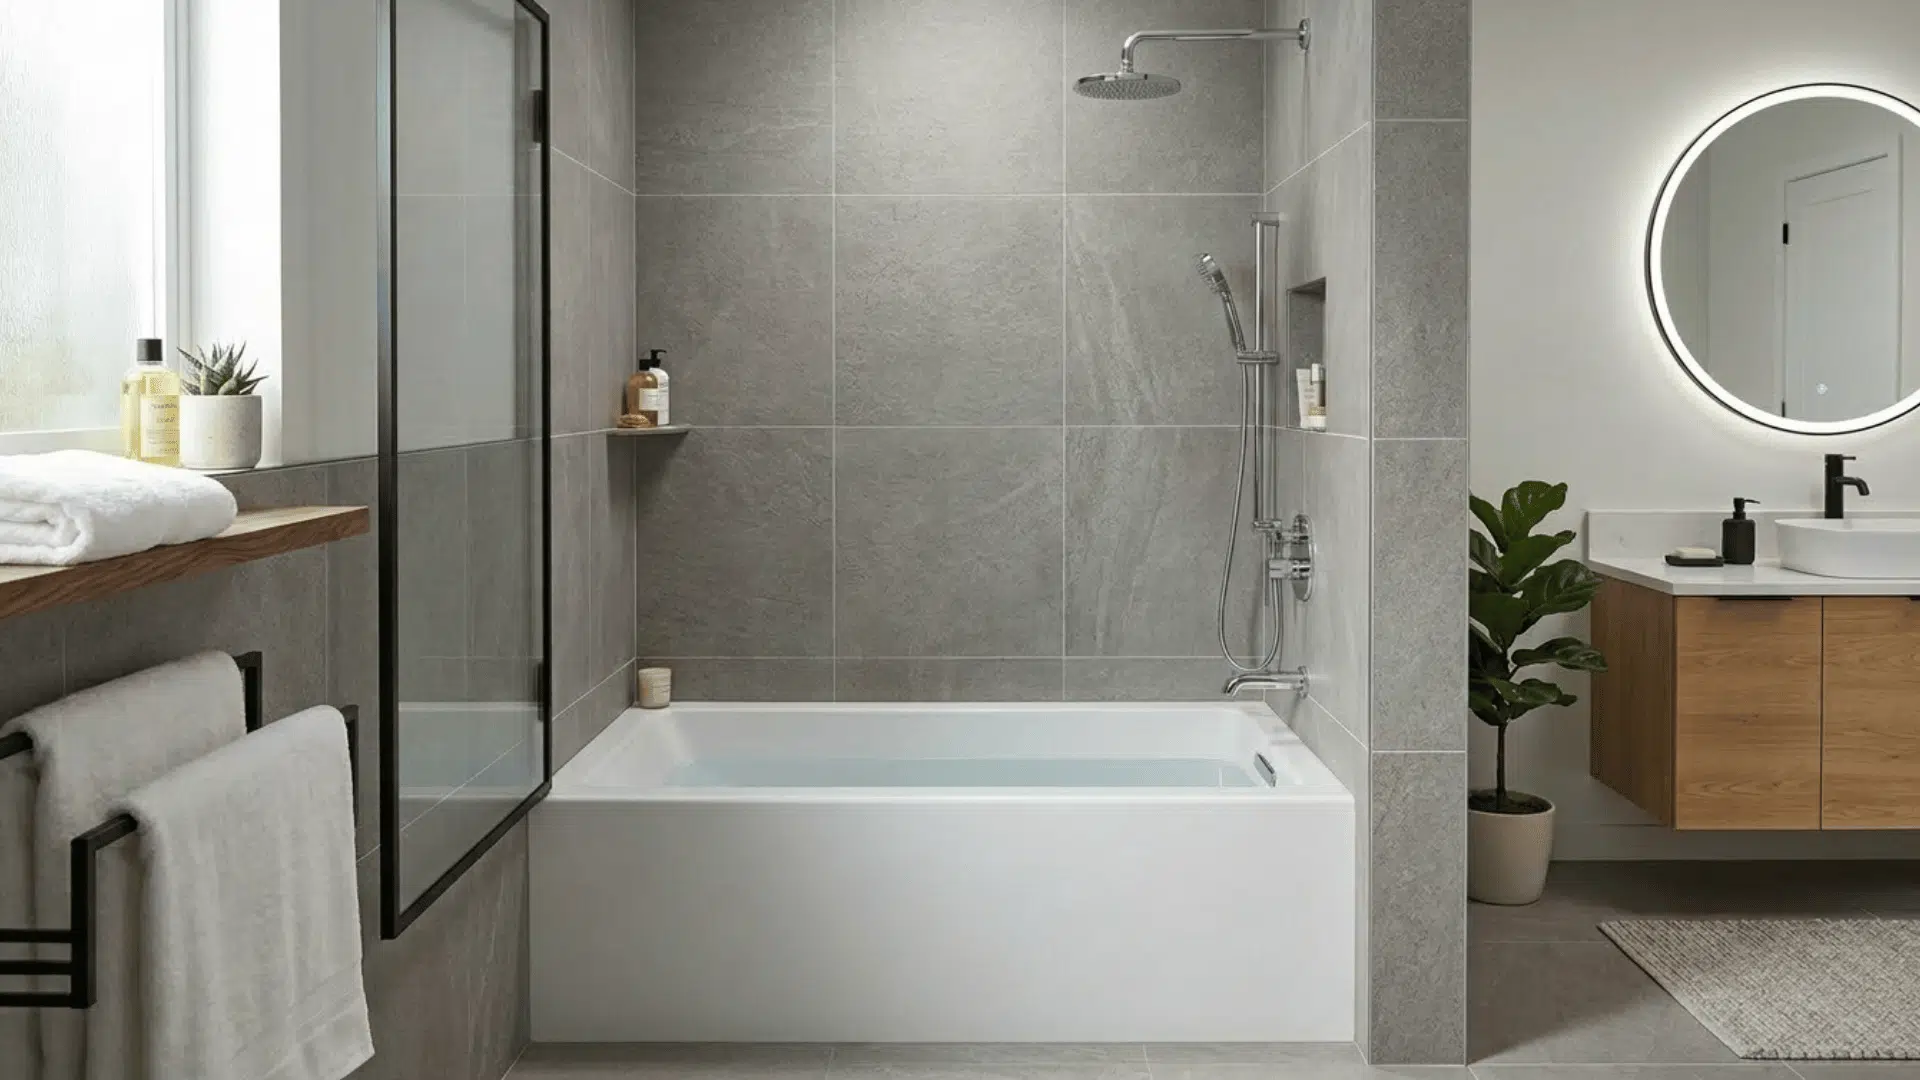
This design is highly adaptable for a standard 5×8-foot bathroom, which is the most common size in American homes. The use of large-format gray tiles on the main wall creates a sense of scale and reduces the number of grout lines, making the space feel cleaner and larger. A floating vanity is a non-negotiable for small spaces like this; it frees up floor space and makes the room feel less cluttered. The round, backlit mirror adds a soft, diffused light source, which helps to open up the space without the harshness of traditional vanity lights.
|
📋 Copy HEX 🔗 Share |
A black-framed glass screen is a gorgeous, on-trend choice, but be prepared for the reality of cleaning it. The corners where the glass meets the black frame are prime territory for gunk and mildew to collect. You’ll need a detail brush to really keep those tracks clean. Also, a backlit mirror provides excellent ambient light, but it is not sufficient for tasks like applying makeup or shaving. You will likely need an additional overhead light source, like a recessed can light, for functional task lighting directly over the vanity.
17. Alcove Tub-Shower with Neutral Mosaic Tiles and a Glass Partition
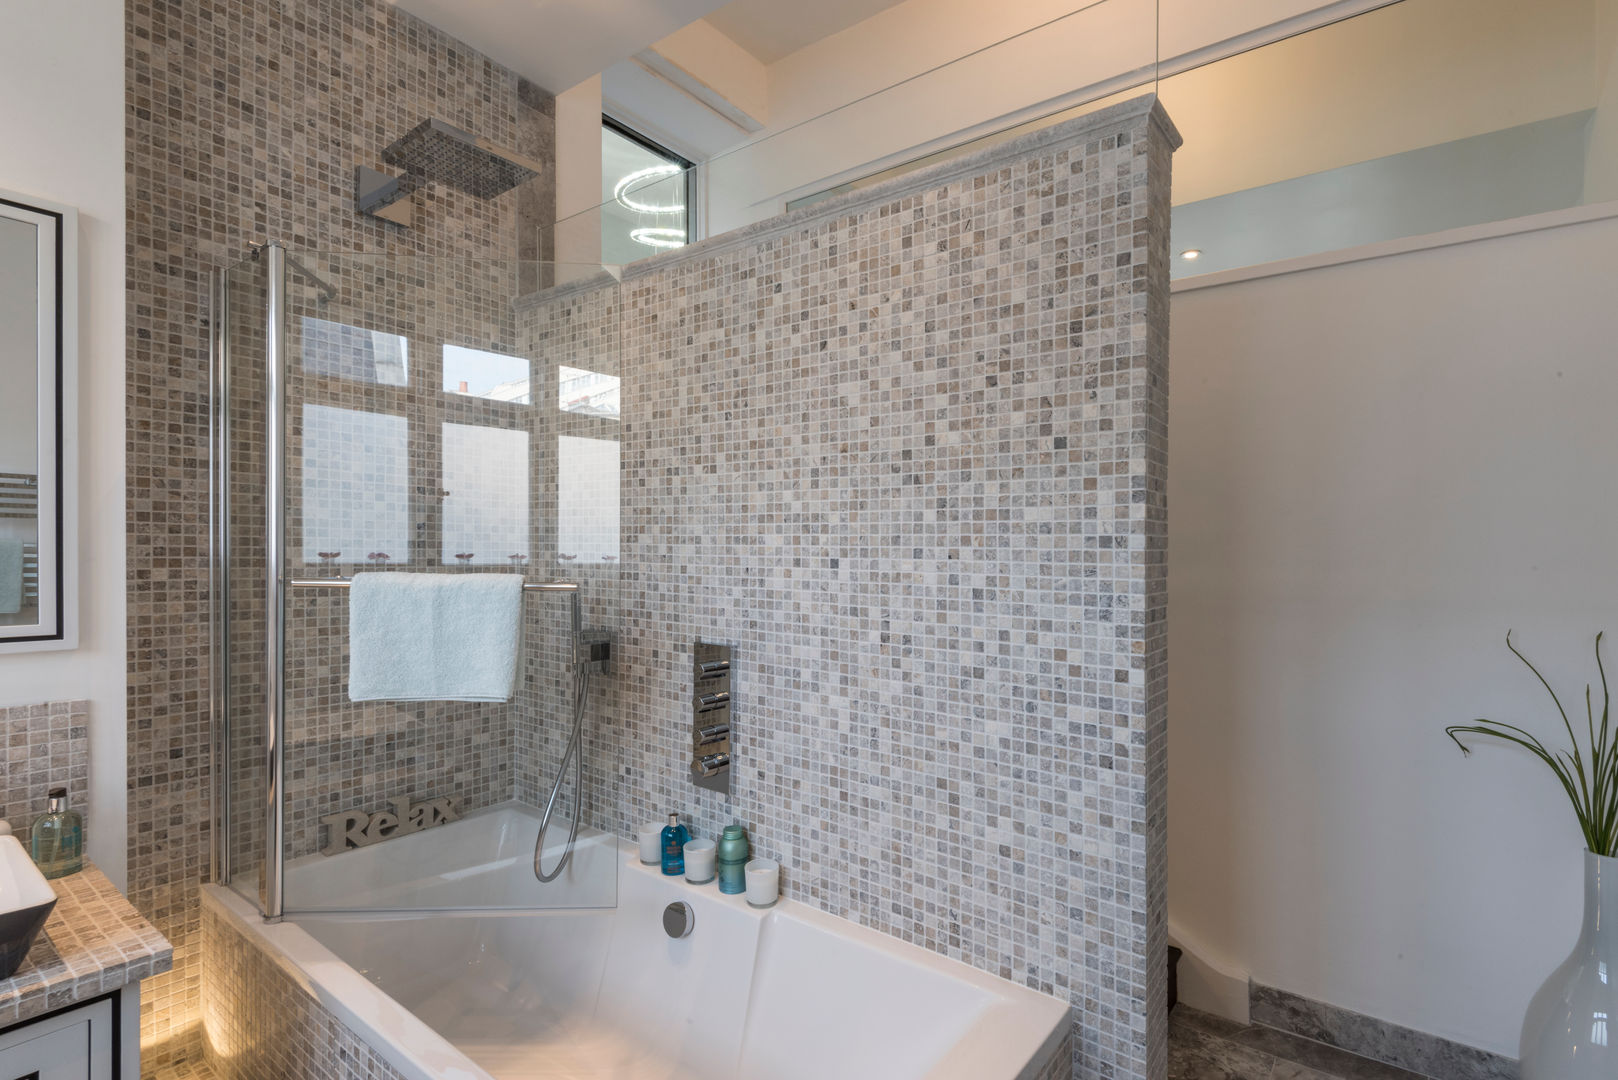
Love the textured, high-end feel of mosaic tile but worried about the cost? Here’s the secret: use it strategically. Instead of tiling the entire bathroom, confine the expensive mosaic to the high-impact wet zone around the tub, just as shown here. For the rest of the bathroom walls, a simple coat of high-quality, moisture-resistant paint in a matching neutral tone will give you a cohesive look for a fraction of the cost. You can find beautiful mosaic tile sheets at retailers like Tile Bar or even Wayfair that give this luxe look without a luxury price tag.
|
📋 Copy HEX 🔗 Share |
The design is effective because of its smart use of texture and light. The small, multi-toned mosaic tiles create a rich, tactile surface that catches the light beautifully, adding depth and interest to what would otherwise be a simple alcove. The clear glass partition is a crucial element; it allows light to flow freely and showcases the beautiful tile work, preventing the shower area from feeling dark and closed-in like a traditional shower curtain would. It’s a perfect marriage of texture and transparency.
18. Beige Tiled Bathtub Shower with Mosaic Accent Band
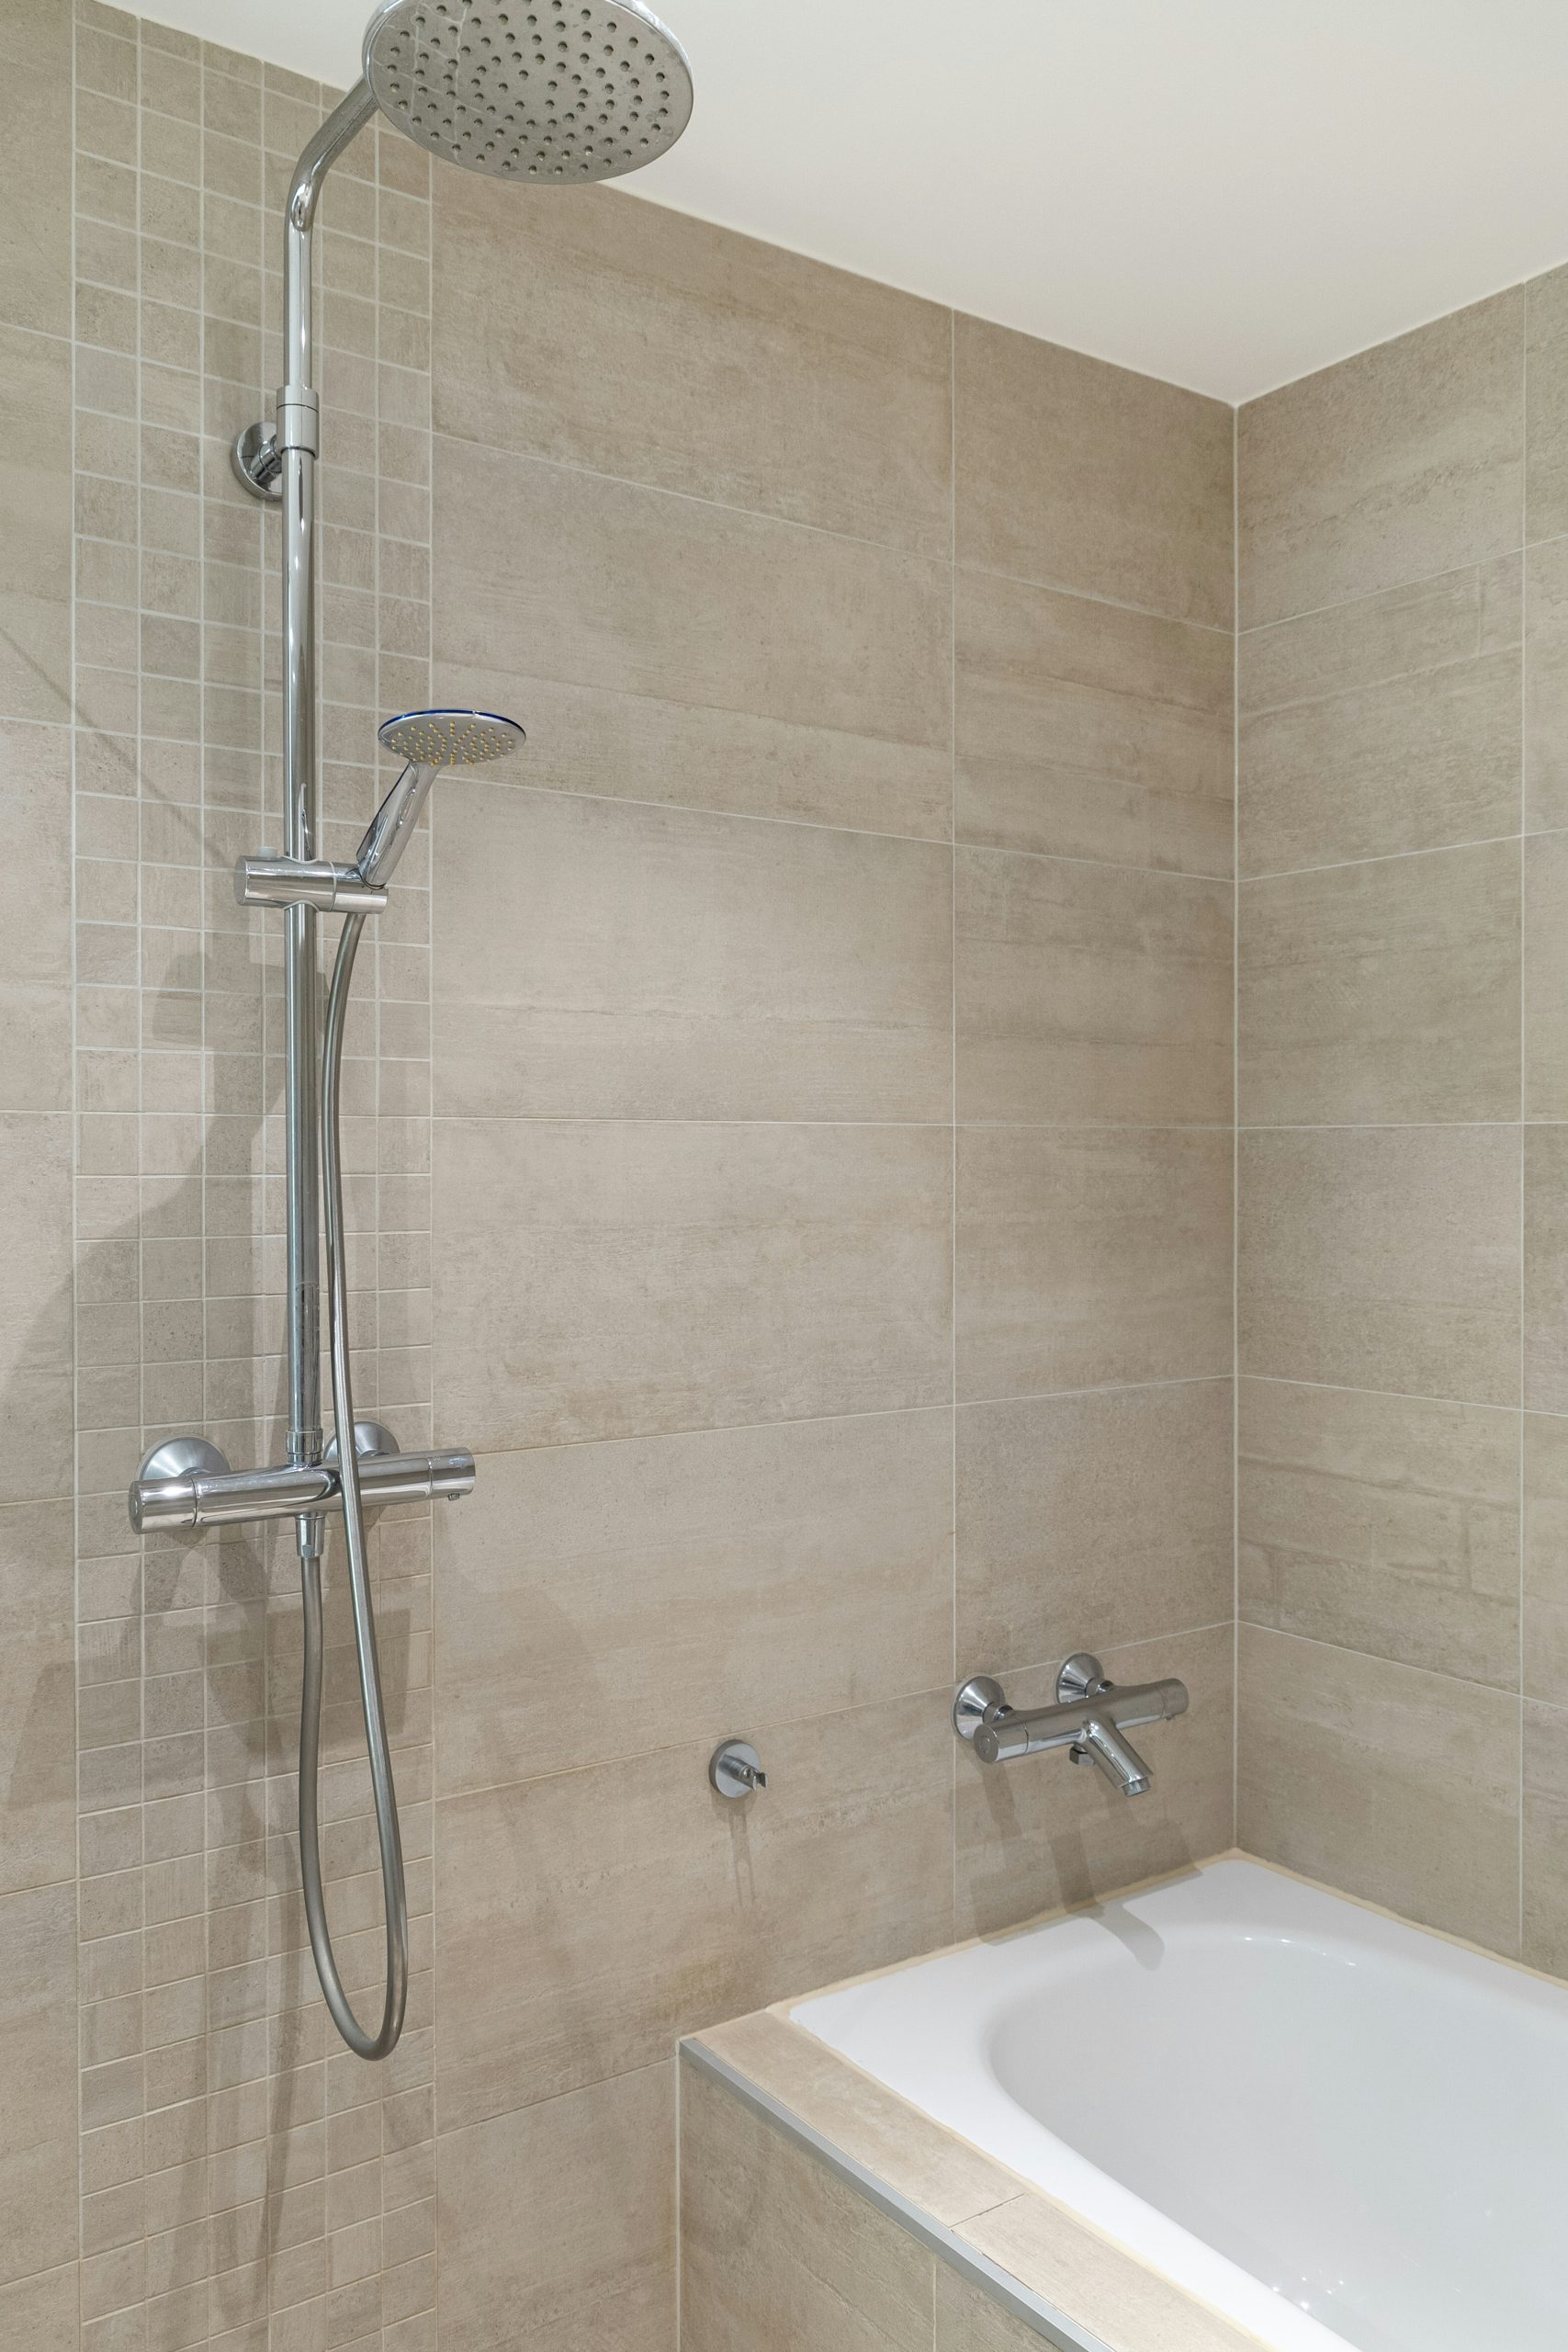
When using two different tile sizes like this, the placement of the accent band is key to making it look intentional. A common mistake is placing it too low or too high. The ideal height for a decorative accent band in a shower is between 34 and 38 inches from the shower floor. This typically aligns with the valve and handle fixtures, creating a deliberate visual line and making the plumbing feel integrated into the design rather than just placed on top of it. It draws the eye and breaks up a large field of uniform tile.
|
📋 Copy HEX 🔗 Share |
Recreating a tiled accent stripe is a great weekend DIY project for adding character to a basic shower. (Time: 4-6 hours; Cost: $75-$200).
- First, plan your layout. Use a laser level to mark a perfectly straight line for the top and bottom of your accent band.
- Tile the wall below your accent band line and let it set.
- Apply a thin-set mortar within your marked band area using a notched trowel.
- Press the mosaic tile sheets into the mortar, using a grout float to gently tamp them down for an even surface.
- Let the mortar cure for 24 hours, then apply grout over the mosaic tiles, pressing it into the joints.
- Wipe away excess grout with a damp sponge, and after another 24 hours, buff away the haze.
19. Split-Finish Tub Surround with Gray Tile and a Navy Accent Wall
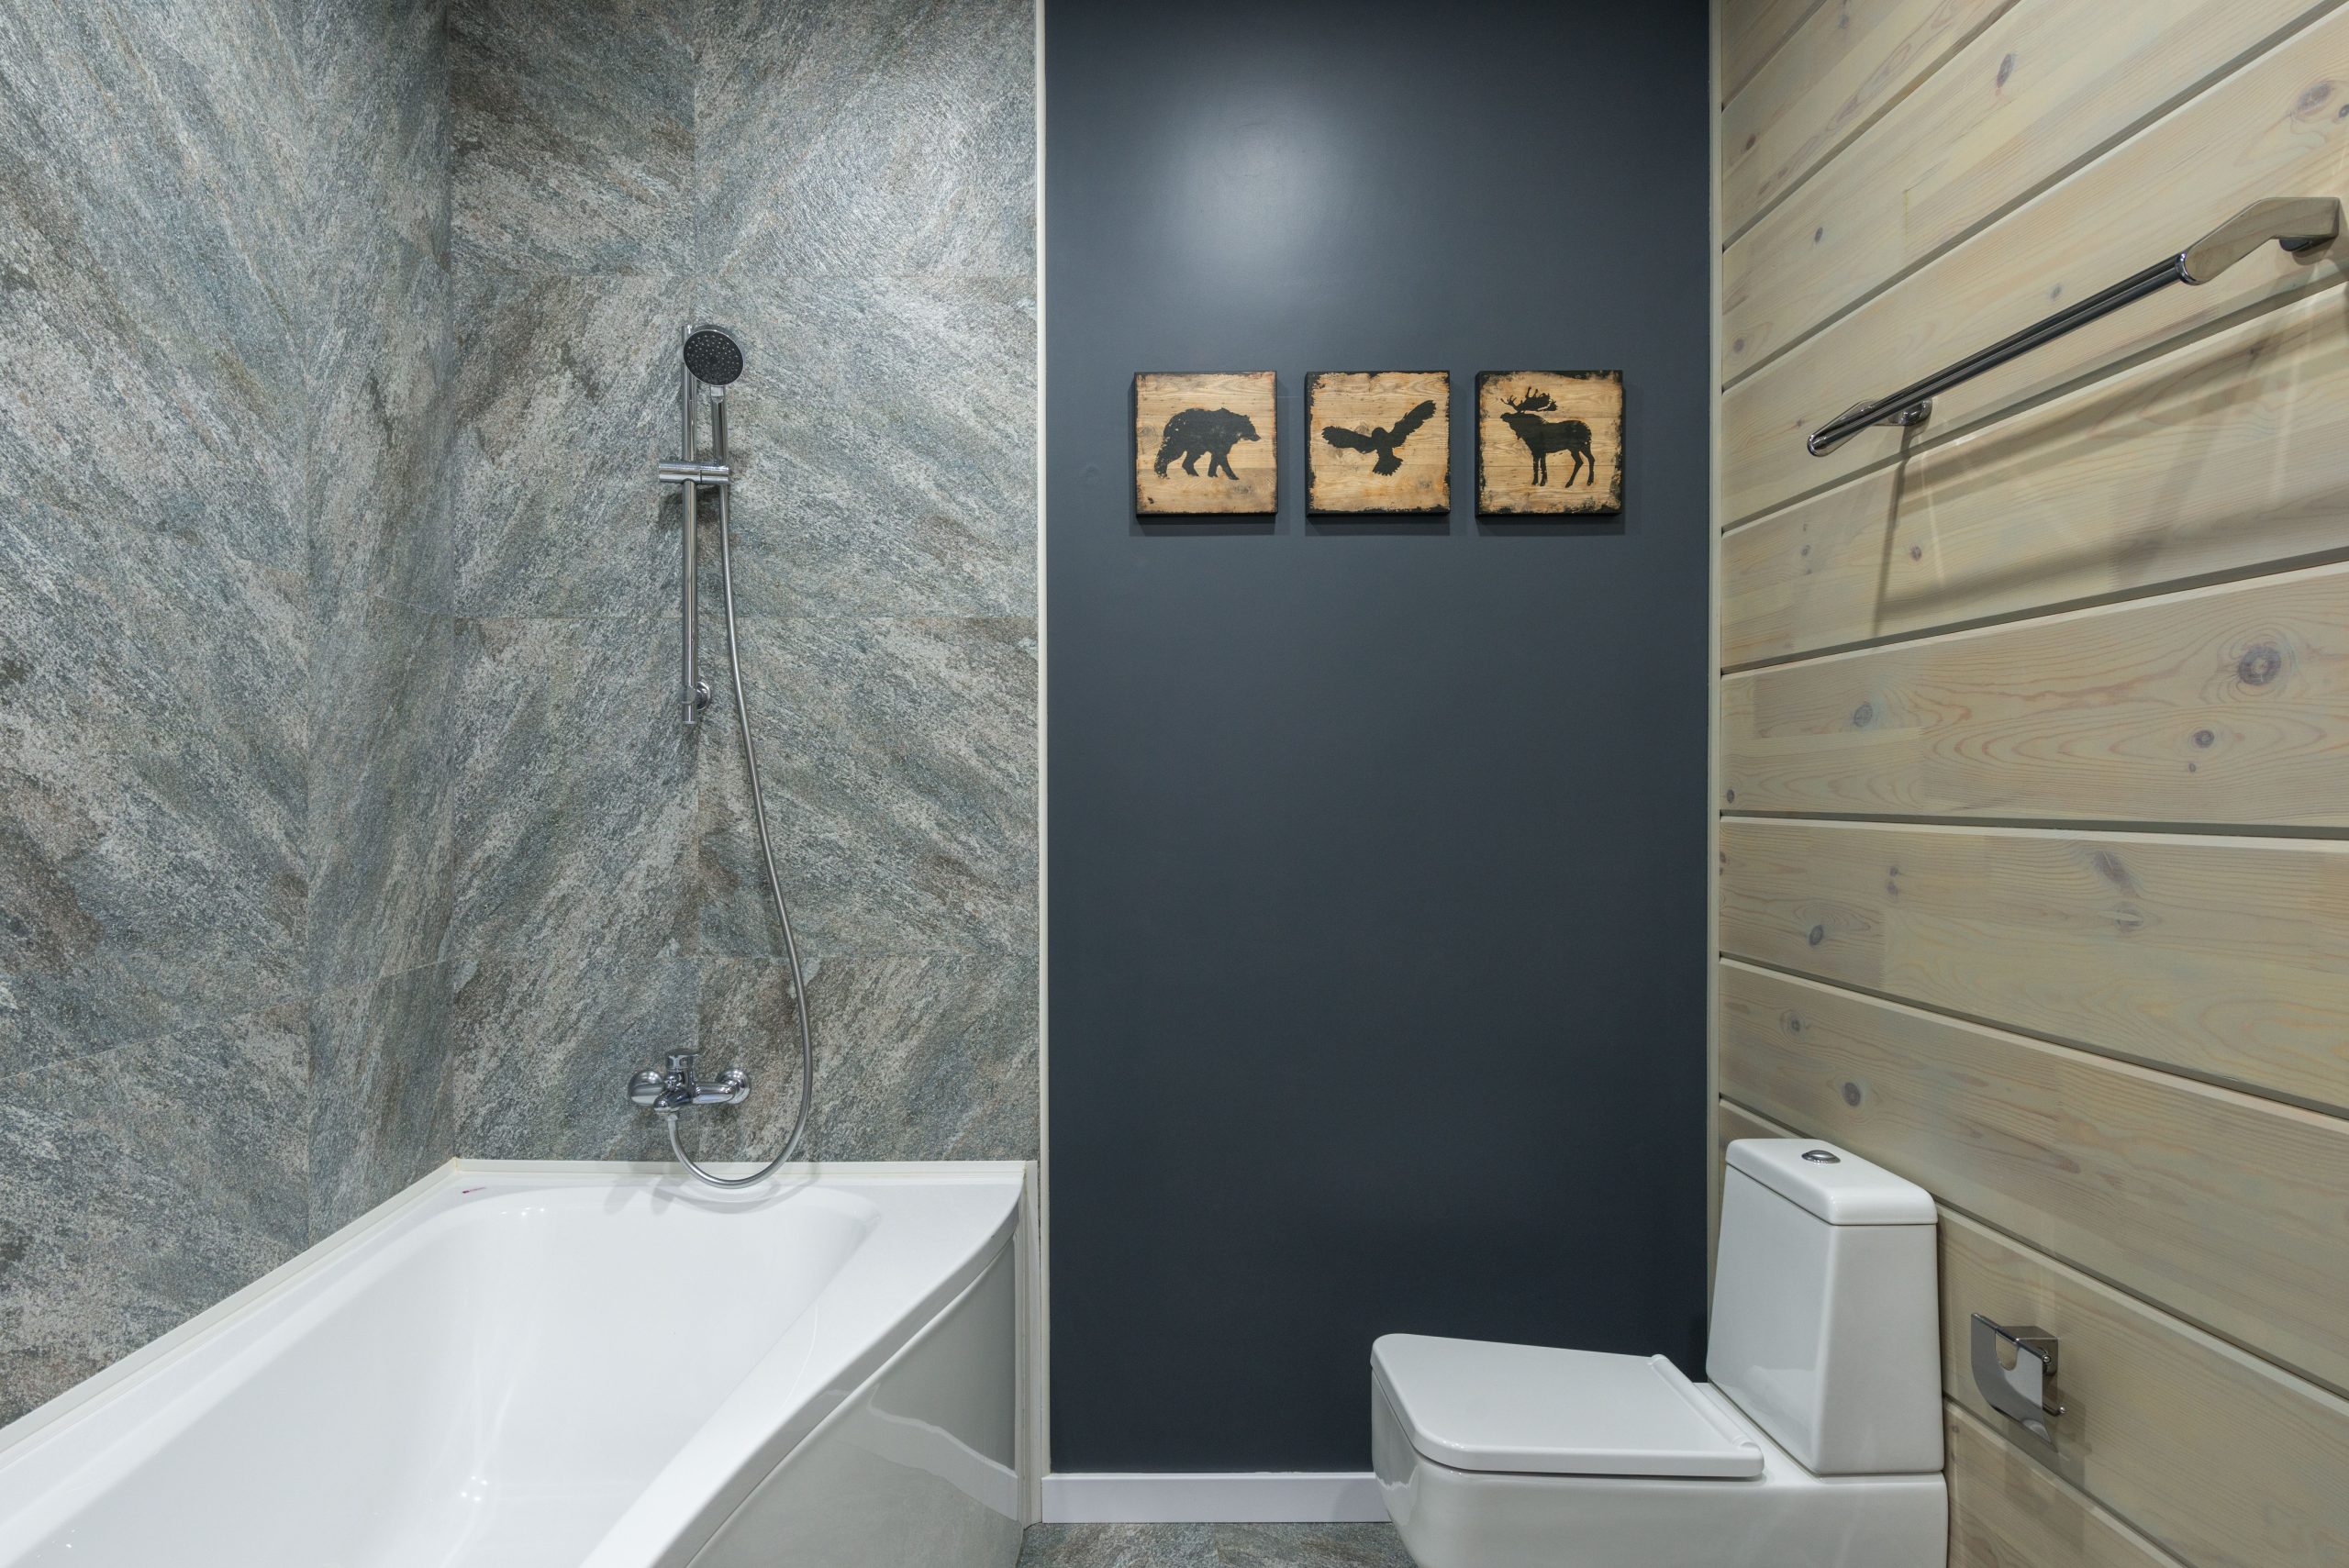
The single most important choice in this bathroom is the split-finish wall. It’s a brave move that totally pays off. Combining textured gray tile, a solid navy-blue painted wall, and light horizontal wood planks could have been a disaster. But by keeping the material changes on separate, distinct walls, the design feels layered and intentional rather than chaotic. It proves you don’t have to commit to just one wall finish. The navy wall, in particular, adds a dose of sophisticated color that elevates the entire room.
|
📋 Copy HEX 🔗 Share |
The visual equation here is about balancing texture, color, and pattern. Think of it as 40% rugged texture (the mottled gray wall tile), 30% bold, saturated color (the navy accent wall), and 30% natural pattern (the light wood planks). The simple white of the tub and toilet acts as a neutral canvas that allows these three distinct elements to coexist peacefully. The minimalist wildlife plaques are a final touch that reinforces the rustic, natural theme connecting the different finishes.
20. Warm Traditional Bathroom with a Soaking Tub and Louvered Shutters
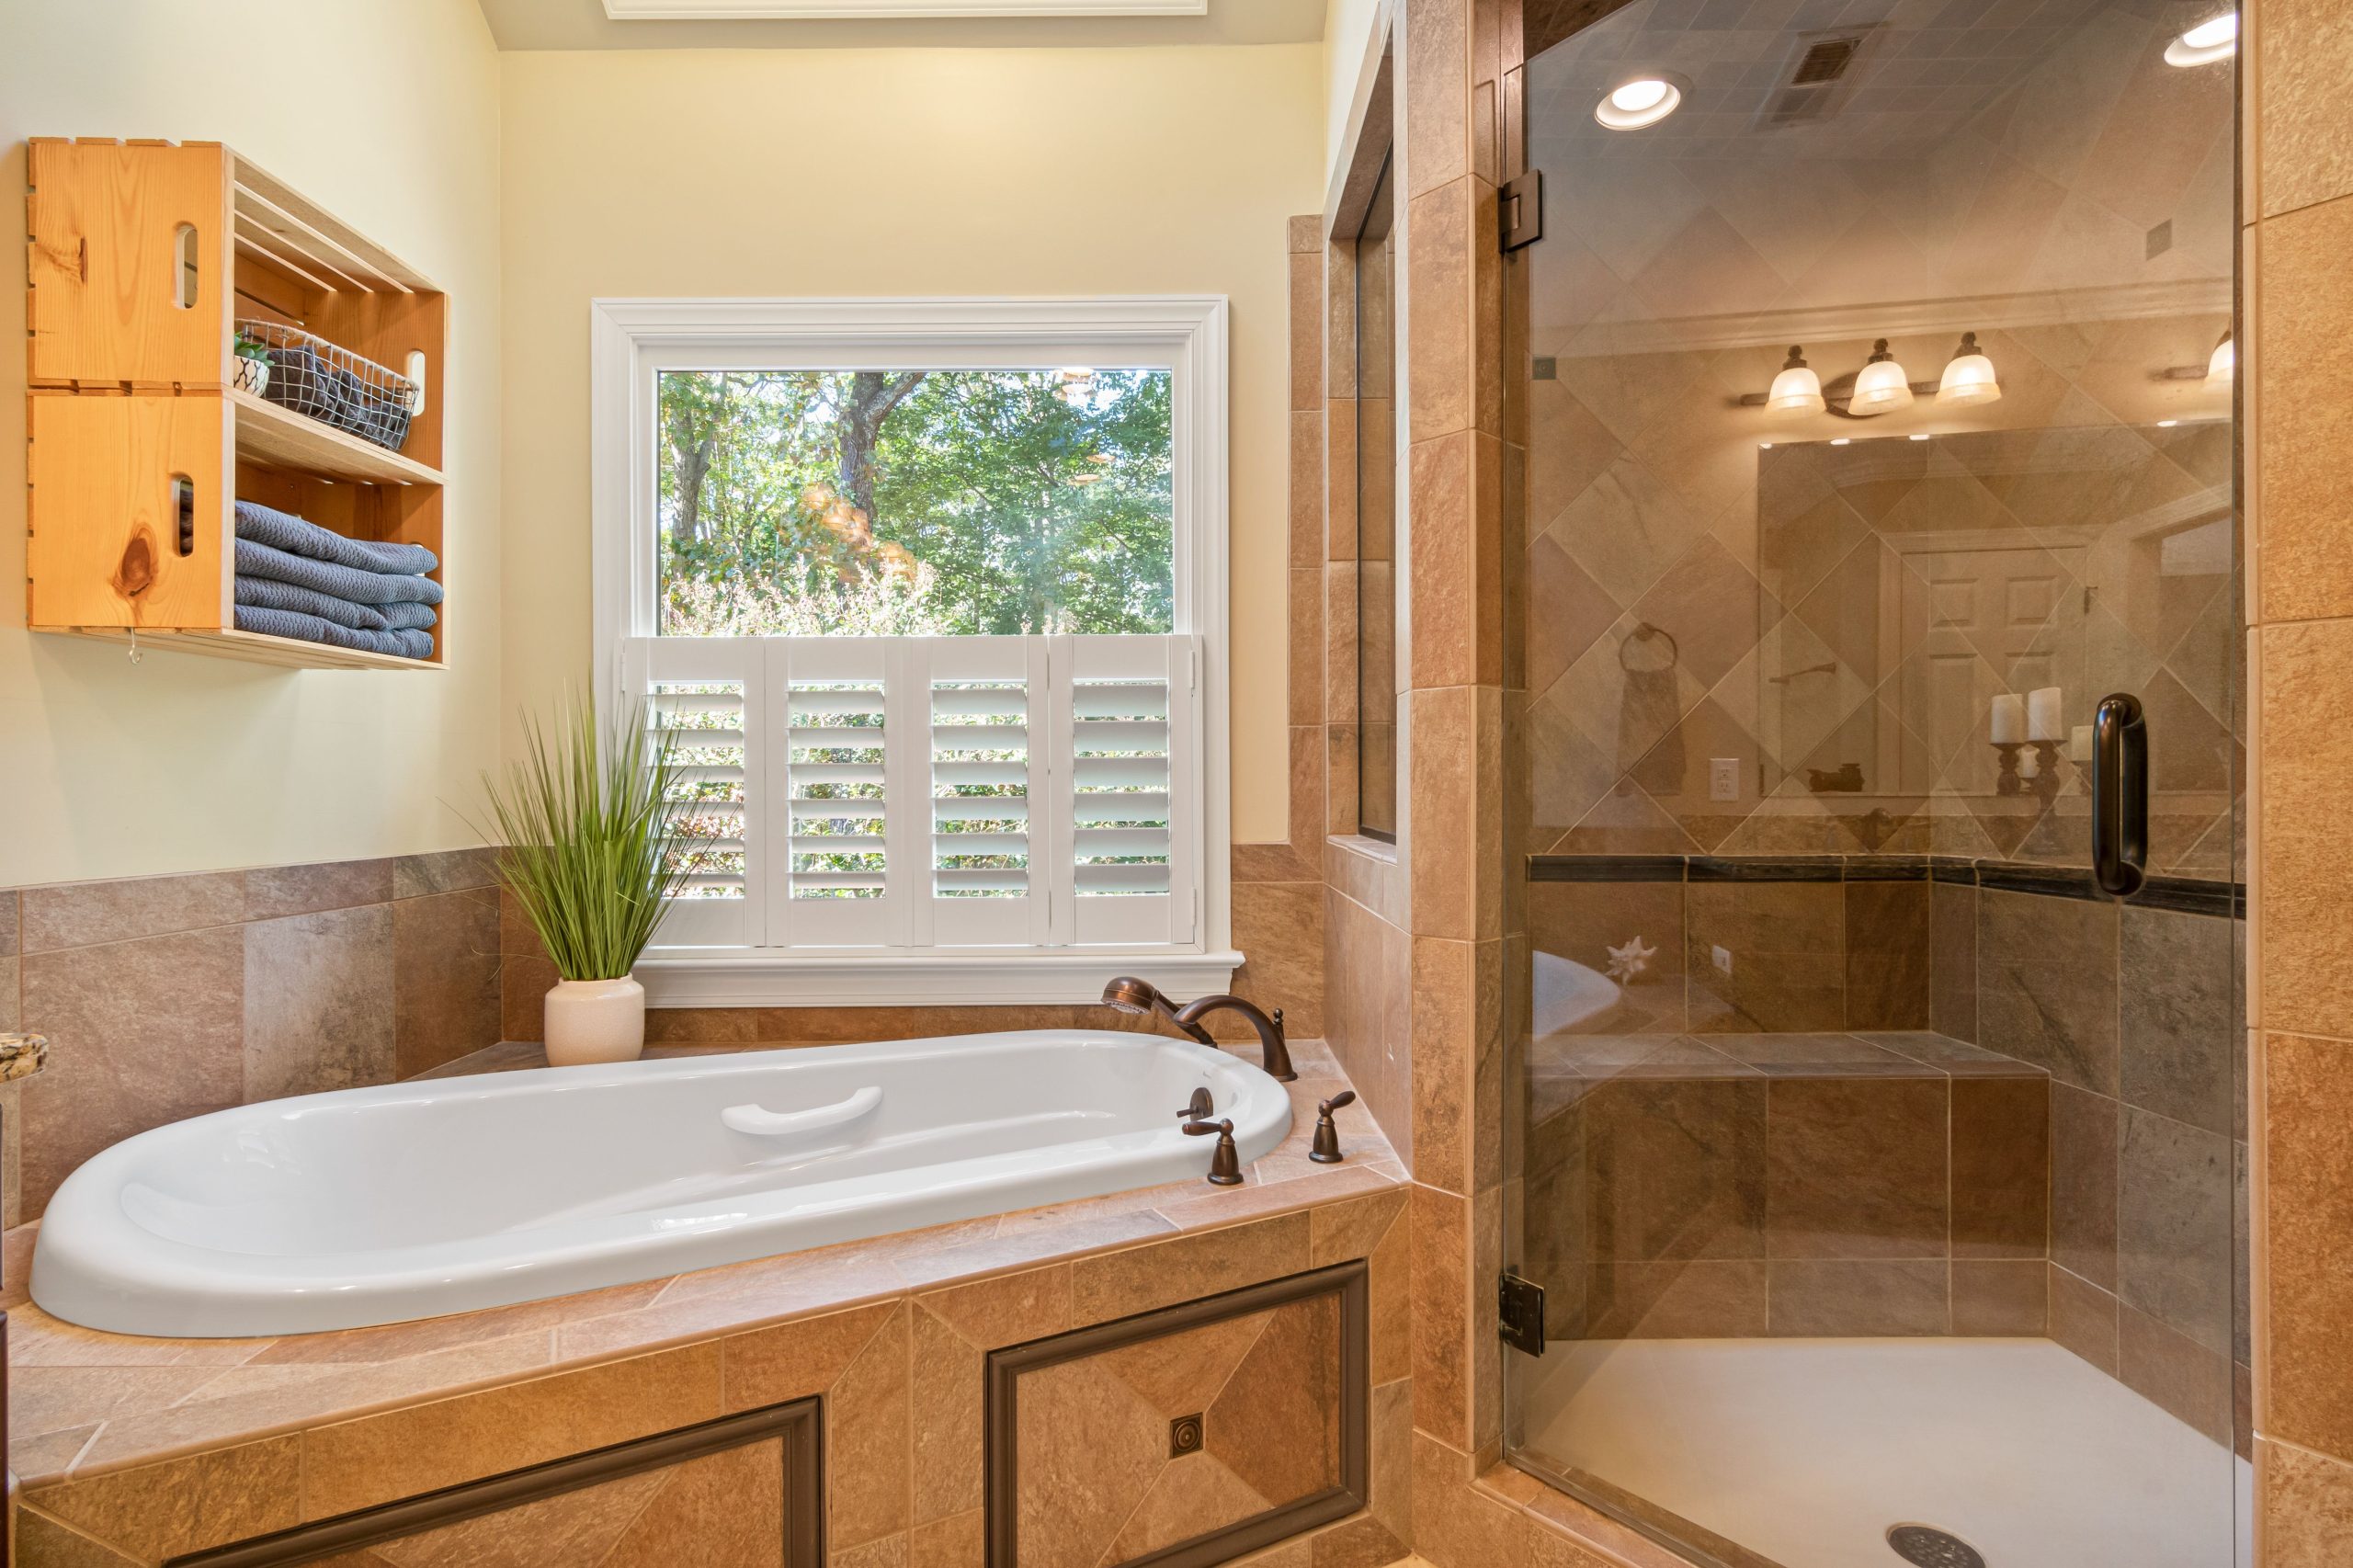
To recreate this warm, traditional look with good quality materials, here’s a potential cost outline. The biggest variables will be labor and the type of tile you choose.
- Built-in Soaking Tub: $800 – $2,000
- Glass Shower Enclosure: $900 – $1,800
- Tiling & Installation: $2,500 – $5,000 (for a full surround)
- Fixtures (Oil-Rubbed Bronze): $600 – $1,300
- Louvered Shutters & Window Treatment: $400 – $900
- TOTAL: $5,200 – $11,000
- Budget Alternative: Opt for a porcelain tile that mimics natural stone, choose a framed shower door, and look for fixtures from more affordable brands to cut the total cost by 30-40%.
|
📋 Copy HEX 🔗 Share |
Before you begin a project with this much tile, it is absolutely critical to plan your layout. Decide where your accent bands will go before a single tile is laid. Also, consider the existing elements in your room. This design’s warm, earthy tones work beautifully because of the abundant natural light from the window. In a dark, windowless bathroom, this much brown and beige could feel heavy and dated. Finally, make sure the oil-rubbed bronze finish you choose is consistent across all your fixtures—from the showerhead to the tub faucet to the sink faucet—as different brands can have very different tones.
21. Modern Wet Room with White Marble Tile and a Black-Framed Glass Partition
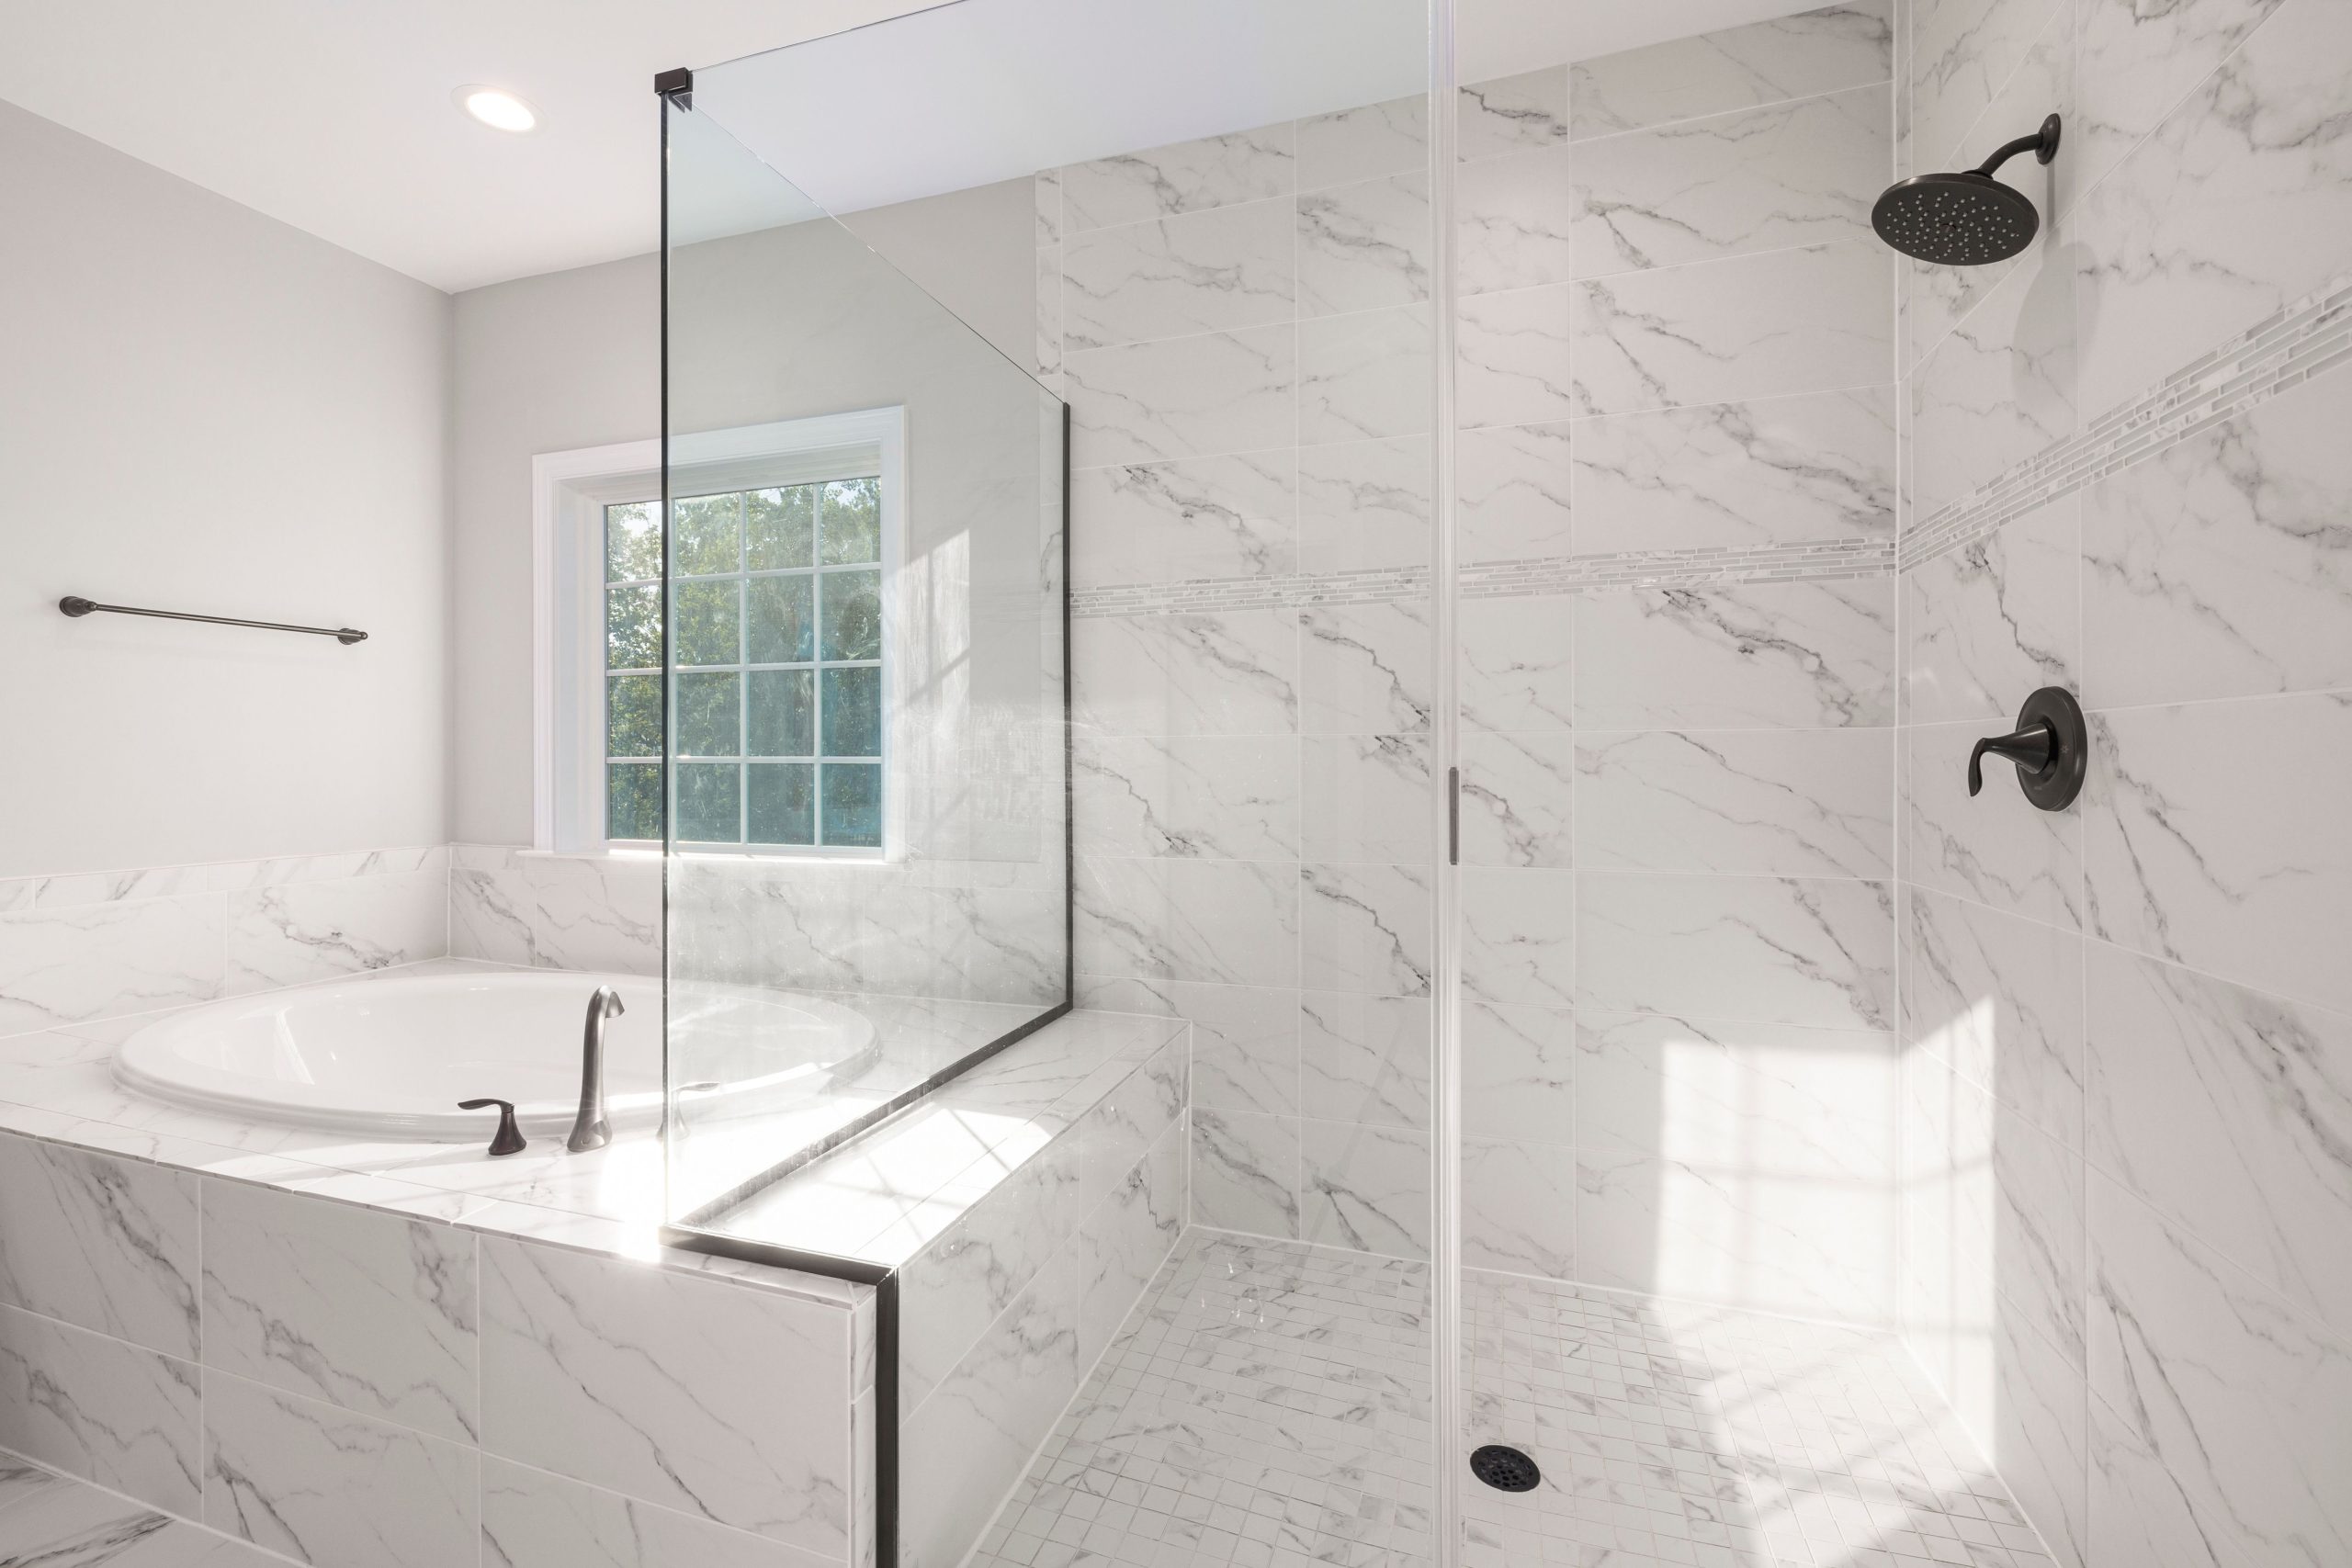
This combination is successful because it creates a seamless transition between the shower and tub areas, making them feel like a single, unified zone. The continuous use of the large-format marble-look tile on all walls erases the visual separation, and the glass partition with the bold black trim clearly defines the wet area without sacrificing the open feeling. The repetition of the dark fixtures on both the tub and shower stall ties the two functions together. This is a sleeker, more integrated version of the idea seen in Idea #6.
|
📋 Copy HEX 🔗 Share |
A drop-in bathtub looks sleek, but it can be more difficult to install and service than a standard alcove tub with an apron. Access to the plumbing for a drop-in tub must be planned in advance, often through a removable panel in the tiled surround. Also, while the small mosaic tiles on the shower floor provide excellent slip resistance, they also mean a lot more grout to clean. Using a dark gray grout can help hide dirt, but it will still require regular scrubbing to prevent mildew in such a high-moisture environment.
22. High-Contrast Bath with a Freestanding Tub and Matte Black Fixtures
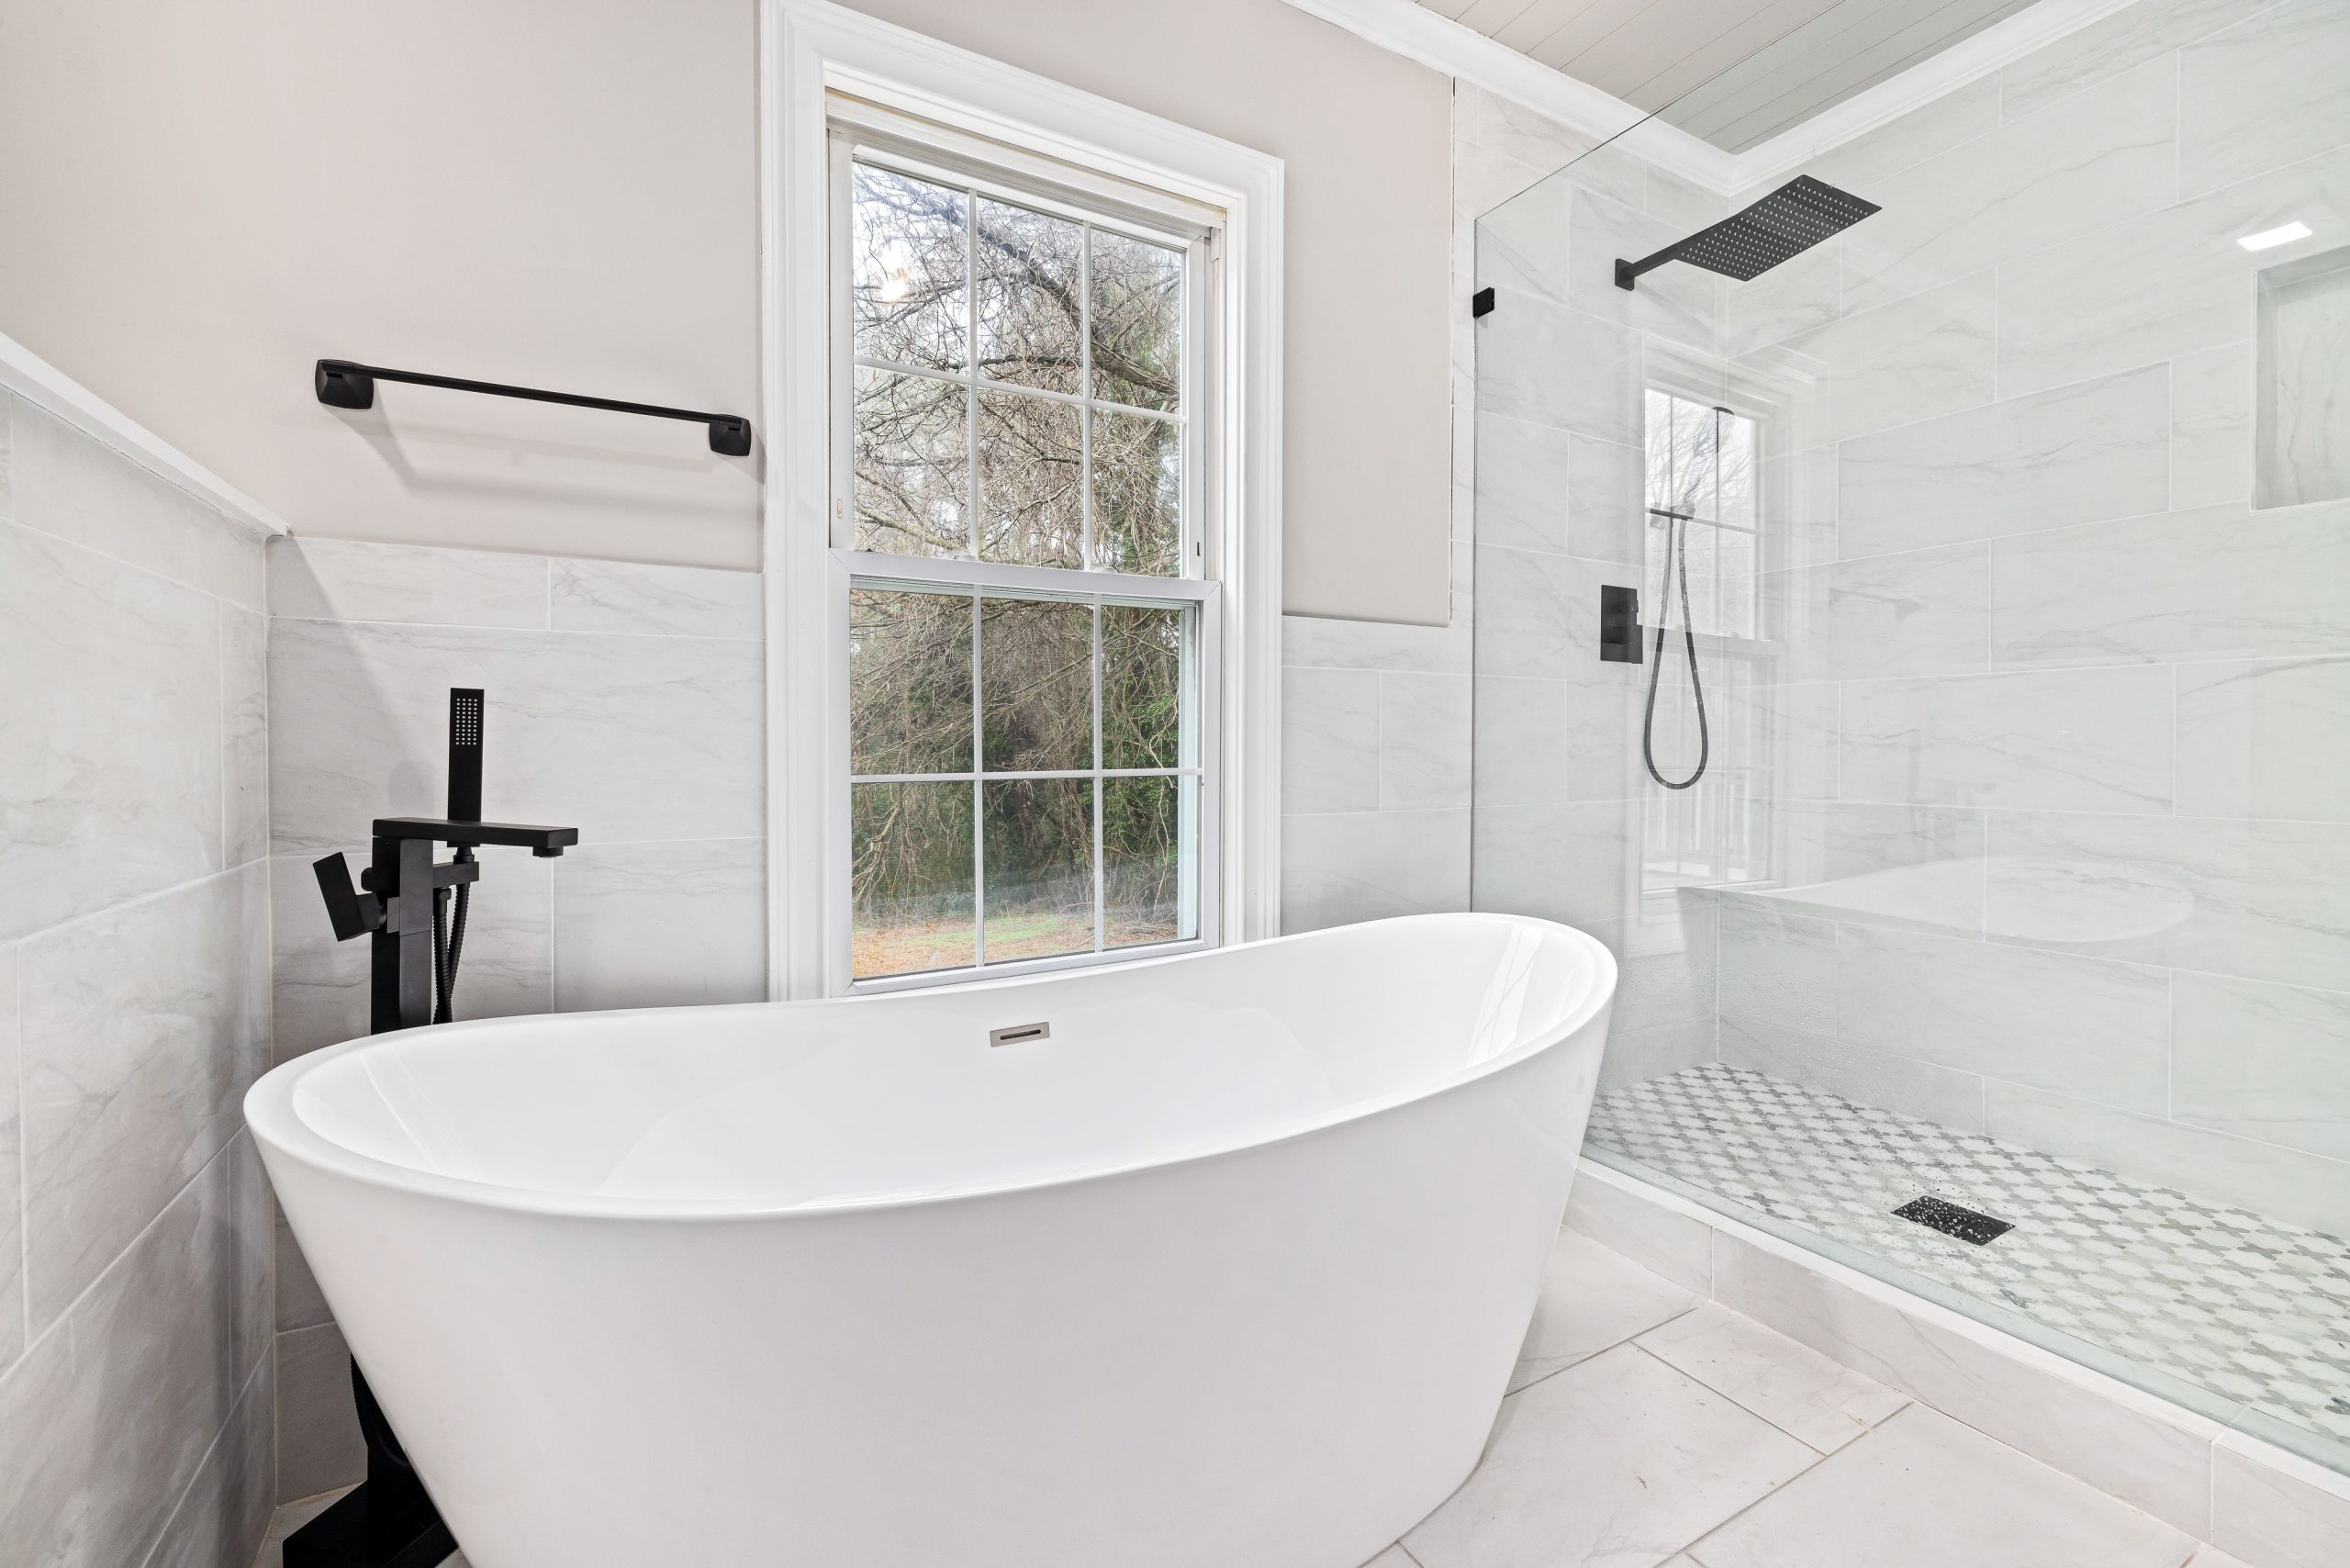
When a freestanding tub is placed near a shower, as in this stunning example, pay close attention to the tub filler’s relationship to the glass. The black floor-mounted faucet is positioned perfectly—it’s visually aligned with the black frame of the shower, creating a satisfying sense of order. When planning your plumbing, use painter’s tape on the floor to mock up the locations of the tub, the glass, and the faucet to ensure they are all spaced comfortably and look balanced before any holes are drilled. As a point of comparison, notice the brass faucet placement in Idea #14.
|
📋 Copy HEX 🔗 Share |
Love matte black? So do we, but let’s talk upkeep. Matte finishes, especially black, are notorious for showing hard water spots and fingerprints. To keep them looking sharp and not chalky, you’ll need to commit to wiping them down with a soft, dry cloth after use. Avoid abrasive cleaners at all costs, as they can permanently scratch the finish. For the geometric mosaic tiles on the shower floor, the high number of grout lines will require sealing upon installation and regular cleaning to keep them looking fresh and bright.
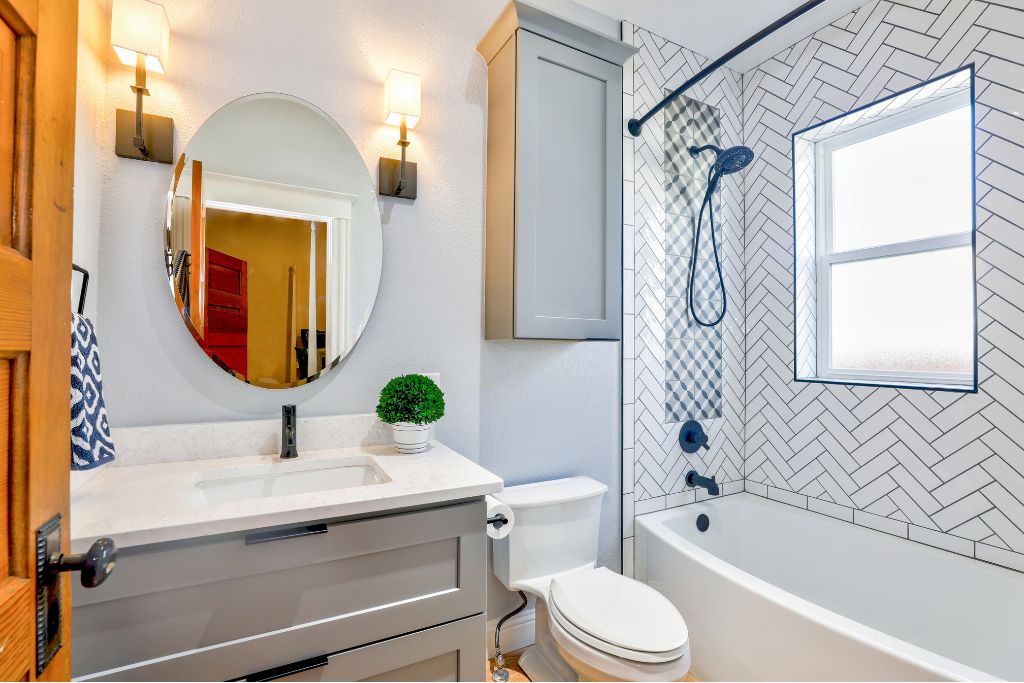
23. Modern Farmhouse Bath with Herringbone and Patterned Accent Tile
That vertical accent stripe is the perfect way to add a custom touch to a standard tile job. Here’s how to get it done: (Time: 2 hours extra during tiling; Cost: $100-$300 for accent tile).
- Decide on the width and placement of your stripe. Centering it under the showerhead is a classic choice.
- Tile the main wall up to the edge of where your stripe will begin. Use a level to ensure your stopping line is perfectly vertical.
- Cut your main field tiles precisely to frame the accent strip. A wet tile saw is essential for this.
- Install the patterned accent tile within the vertical channel you’ve created.
- Once the accent is in, continue tiling the rest of the wall, again cutting the field tiles to fit snugly against the stripe.
|
📋 Copy HEX 🔗 Share |
You can get this polished, modern farmhouse look for less. The key elements are the herringbone tile pattern and the shaker-style vanity. You can create a herringbone pattern with standard, affordable subway tiles—it just takes more time and labor. For the vanity, instead of a custom piece, look for stock vanities in a similar light grey shaker style from stores like Home Depot or Lowe’s. Dark bronze fixtures from a brand like Delta or Moen offer a high-end look without the boutique price tag, and you can often find them on sale.
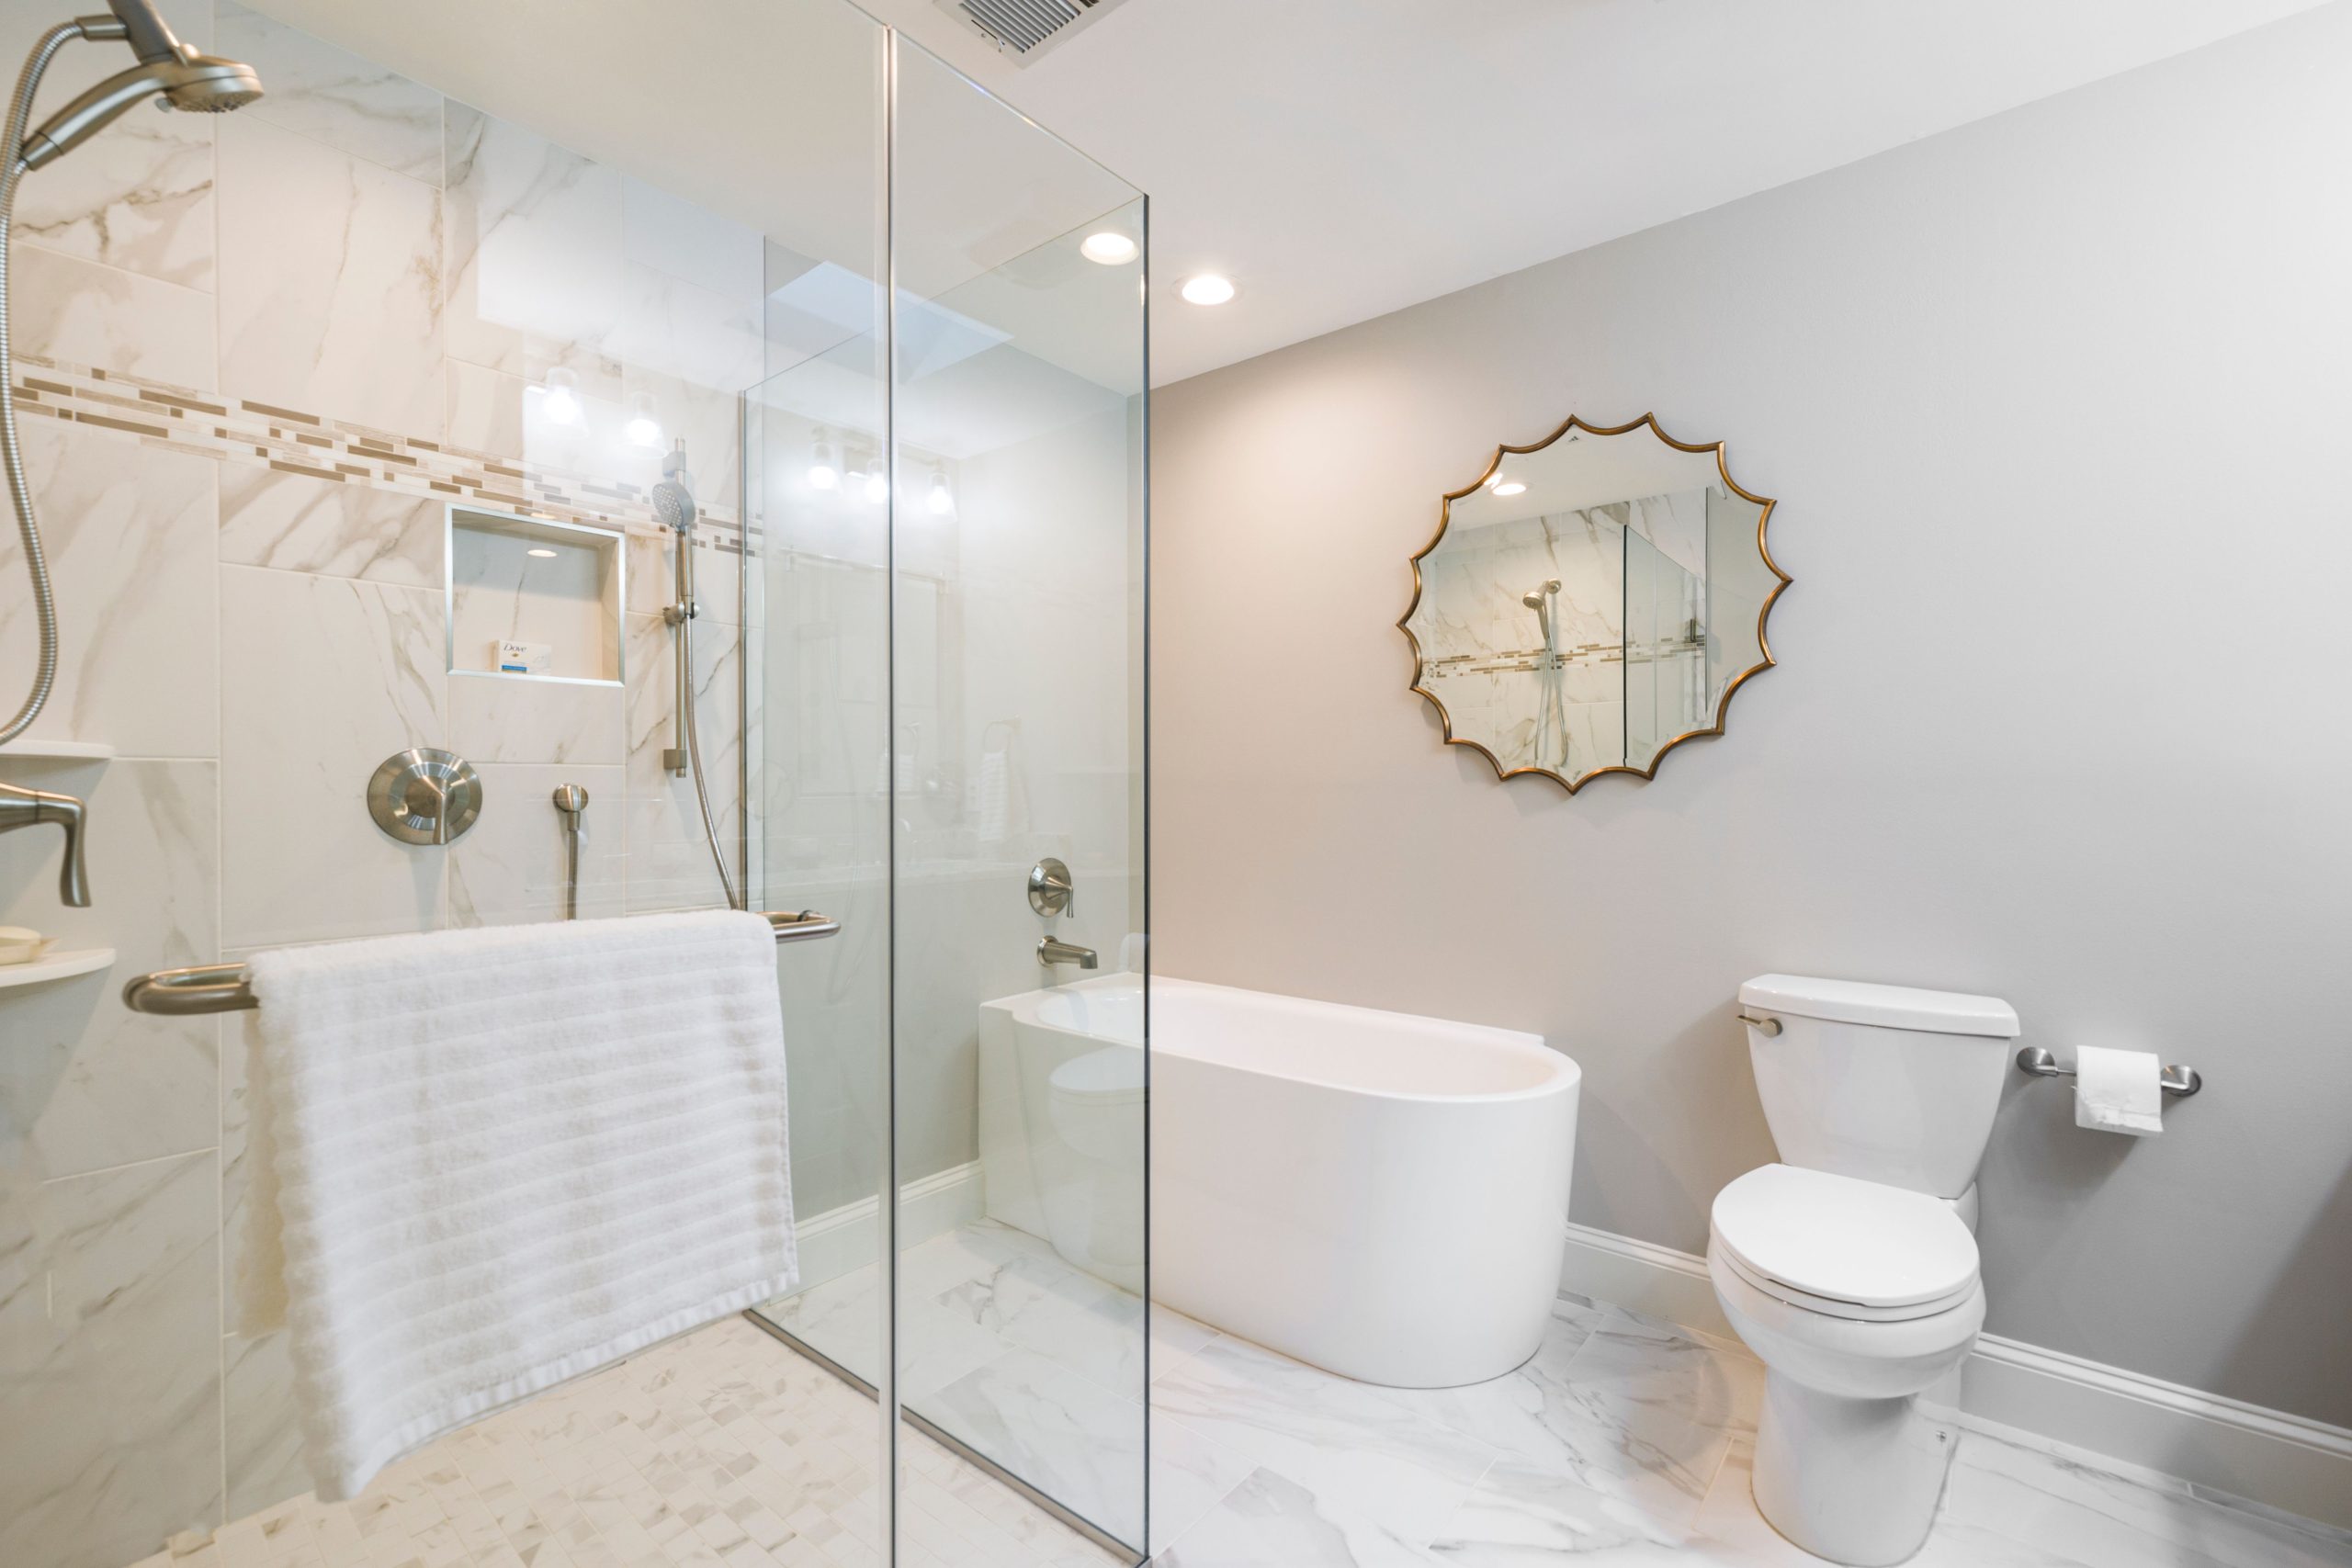
24. Serene Marble-Look Wet Room with a Scalloped Brass Mirror
What takes this bathroom from simply beautiful to truly special is the scalloped brass mirror. Without it, the space would be a lovely, minimalist wet room. With it, there’s an immediate injection of personality, warmth, and whimsical charm. It’s an unexpected curve in a room full of straight lines, and the warm brass provides a perfect counterpoint to the cool gray tones of the marble-look tile and brushed nickel fixtures. It’s a small choice that makes a huge impact, similar to the lighting in Idea #15.
|
📋 Copy HEX 🔗 Share |
This design perfectly captures the 2026 trend of “soft modernism.” We are collectively moving away from the stark, cold minimalism of the past and embracing spaces that are clean and uncluttered but also warm, personal, and a little playful. The combination of classic marble, sleek modern fixtures, and a decorative, almost playful mirror is the perfect example of this shift. It’s about creating a space that feels both sophisticated and joyfully livable, not like a sterile museum exhibit.
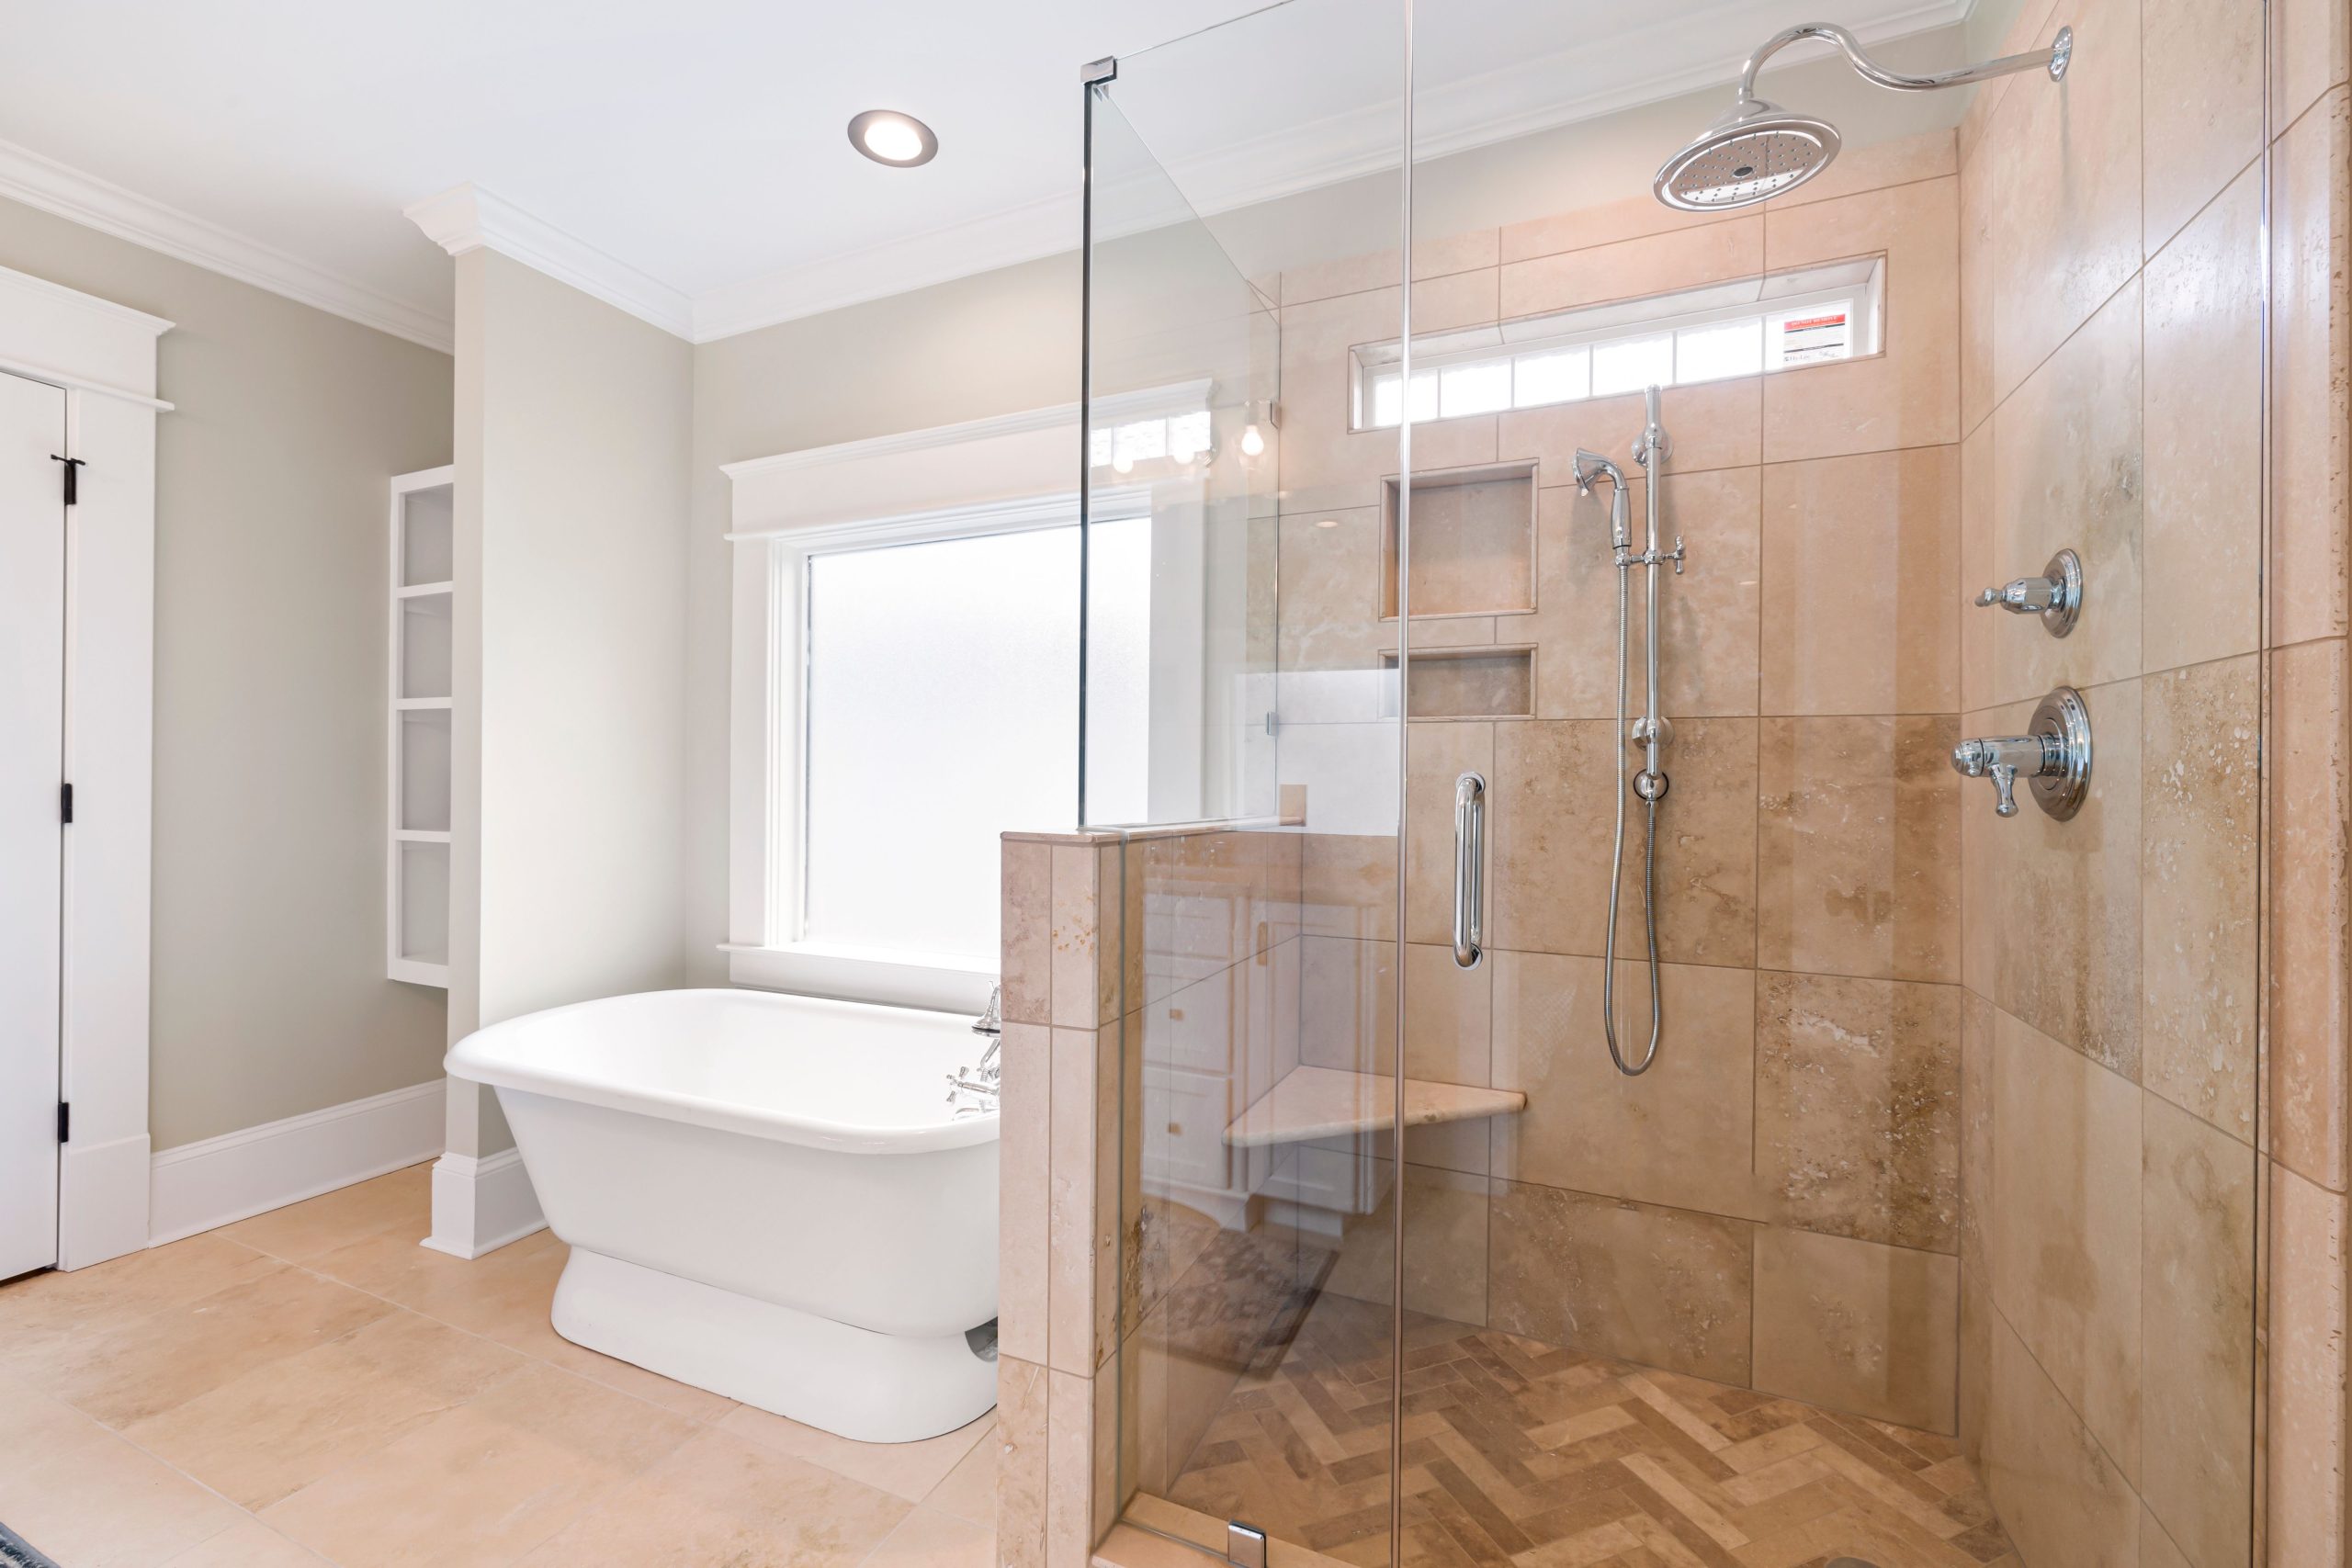
25. Traditional Beige Tiled Wet Room with Freestanding Tub
This type of spacious wet room layout, which fits both a full walk-in shower and a freestanding tub, requires a generous footprint. You are looking at a minimum room size of 10 feet by 12 feet to pull this off without it feeling cramped. The key is allowing for adequate “splash zones” and comfortable walkways. You need at least 3 feet of clear floor space in front of the vanity and at least 30 inches between the tub and any other fixture or wall. This isn’t an idea for a compact bathroom; it’s a design that luxuriates in its own space, similar in scale to Idea #1.
|
📋 Copy HEX 🔗 Share |
What makes this traditional design feel cohesive is the consistent use of the same large-format beige tile throughout the entire wet zone—on the walls, the shower bench, and the main floor. The shift in pattern to a herringbone on the shower floor adds interest without introducing a new color, which is a very sophisticated move. It defines the shower area underfoot while maintaining a unified color palette. The chrome fixtures and white bathtub provide a crisp, clean contrast to the warm, earthy beige of the stone-look tile.
Time to Plan Your Personal Oasis
Now that you’re armed with 25 distinct ideas, from sprawling wet rooms to clever compact solutions, the perfect bathtub shower combo is within reach. It’s about finding the balance that works for your life and your style. Ready to start planning? Don’t forget to save your favorites to your Pinterest board to keep the inspiration flowing!