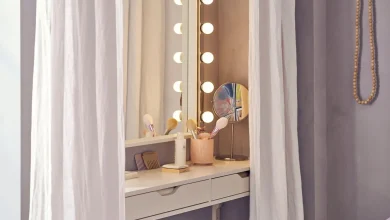
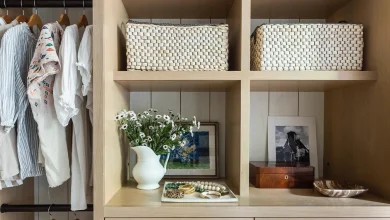
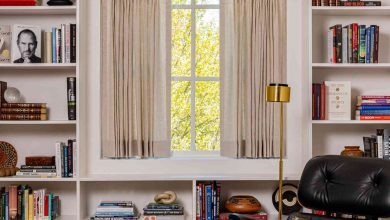
You know that feeling when you finally find the one perfect dresser in the closet pin that could solve all your storage problems? We get it. That’s why we dove deep into hundreds of real-life examples, from IKEA hacks to high-end systems by firms like Closets by Design, to find what truly works. Inside, you’ll find 24 brilliant ideas, covering everything from sleek built-ins and playful kids’ closets to luxurious custom walk-ins. In 2026, it’s all about clorage—smartly integrated closet storage that goes way beyond basic hanging rods. We’re maximizing every inch to create calm, organized spaces, and the in-closet dresser is leading the charge. And stay until the end—we break down the most common mistakes that can ruin these looks. 📌 Save this to Pinterest for later—you’ll want to revisit these ideas.
1. The Fundamentals of Custom Closet Dresser Design
A custom-designed dresser integrated into your closet system is the ultimate storage upgrade. What makes it work so well is the principle of consolidation. By moving your folded items into the same zone as your hanging clothes, you streamline your morning routine. This example showcases how a built-in can be tailored to the exact dimensions of your space, eliminating wasted gaps and creating a seamless, architectural look. It’s not just a piece of furniture; it’s part of the room’s structure, which lends a sense of permanence and intention to the design.
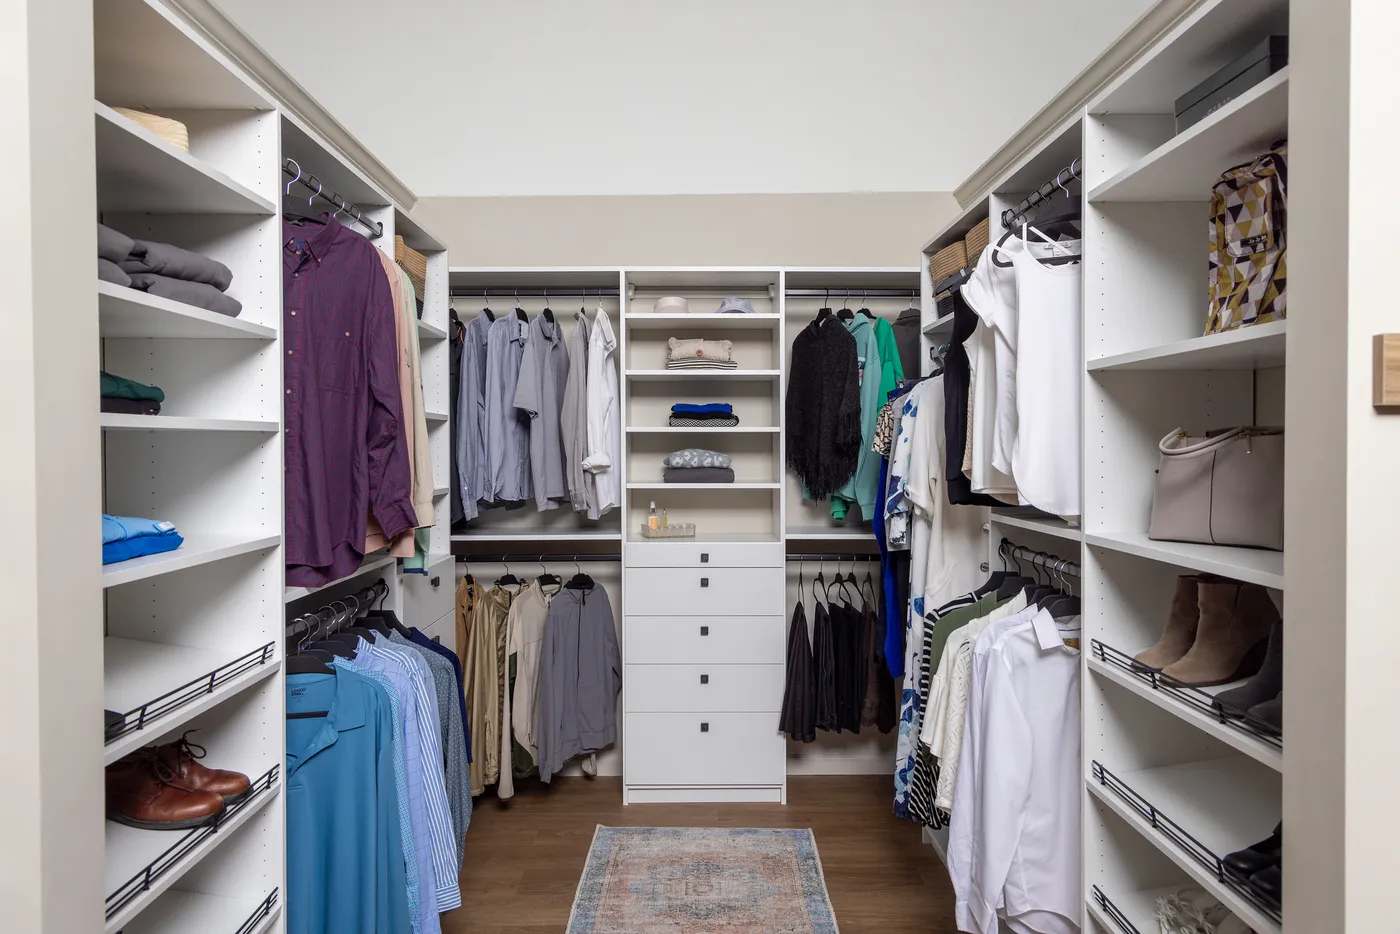
When planning a built-in dresser, think vertically. Most people stop at a standard 36-inch height, but a closet offers the opportunity to go taller. Consider a dresser stack that extends to 48 or even 60 inches. The lower drawers can be for everyday items like socks and t-shirts, while the upper drawers, which are still easily accessible, are perfect for seasonal items like sweaters or swimwear. This maximizes storage in a compact footprint, freeing up floor and wall space elsewhere in your closet for shoes or long-hang items. Aim for drawers that are at least 18 inches deep to hold items without excessive folding.
2. Balancing Open and Closed Storage in Your Closet
The visual harmony in a well-designed closet often comes down to a simple formula: 60% closed storage + 30% hanging space + 10% open display. Closed storage, like the drawers of a built-in dresser, hides the clutter of everyday items. Hanging space keeps clothes wrinkle-free and visible. The final 10%—a few open shelves—is your spot to inject personality with accessories, a favorite pair of shoes, or a decorative box. This balance ensures the closet is functional for storage but also visually restful and not overwhelming.
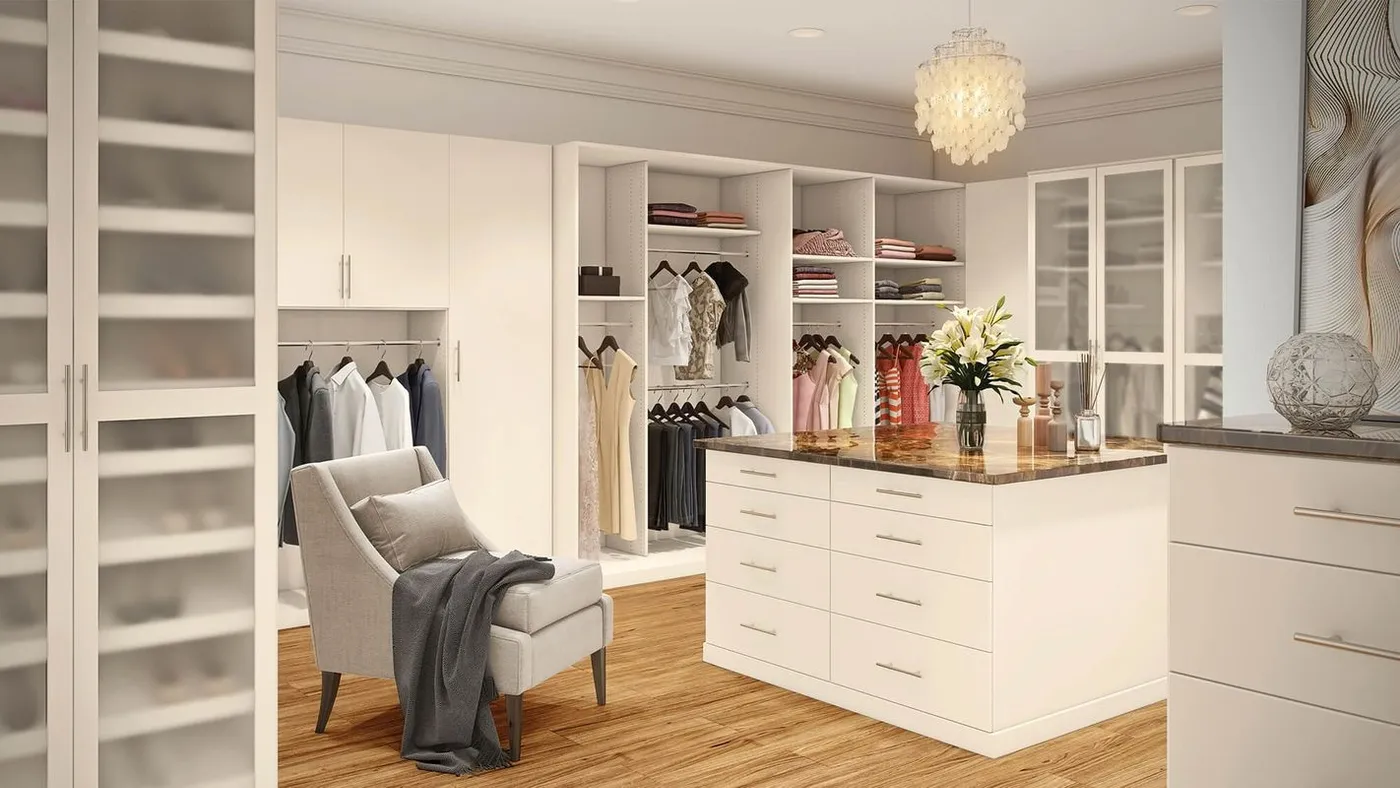
Let’s be honest: a fully integrated system from a custom closet company is a significant investment and a permanent alteration to your home. Before you commit, get multiple quotes and ask for 3D renderings to visualize the final product. Also, consider your future needs. A system built for a single person’s wardrobe might not work for a couple down the line. If you’re not in your forever home, a modular system or even a freestanding dresser that fits perfectly might be a wiser, more flexible choice. Custom isn’t always the best answer for everyone.
3. Creating an Aesthetic Focal Point with a Closet Dresser
that elevates a closet from a mere storage space to a designed room is a clear focal point. In many high-end closets, an integrated dresser or a central island serves this purpose. It anchors the space, much like a fireplace in a living room. It’s the element that draws your eye and organizes the visual flow of the room. Without it, a walk-in closet can feel like a chaotic tunnel of clothes. The dresser provides a solid, grounding counterpoint to the visual noise of hanging garments and open shelves, creating a sense of order and calm.
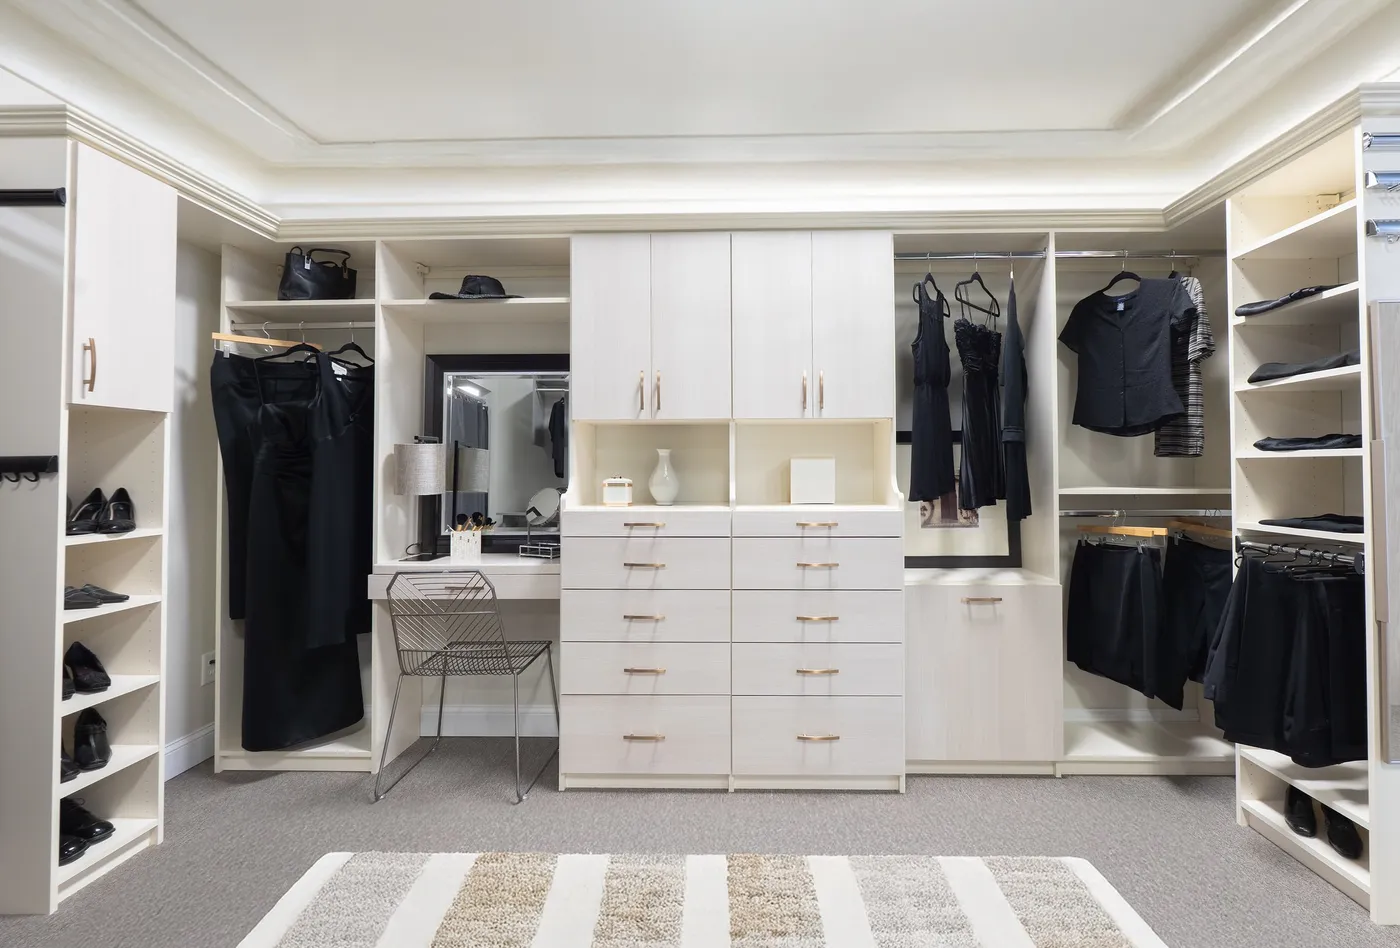
This kind of fully integrated look works best in a walk-in closet with at least one uninterrupted wall that is 5 to 8 feet wide. This allows the dresser unit to feel substantial and intentional, rather than squeezed in. For the dresser itself, you’ll need a minimum depth of 18 inches (20-22 is better) and at least 36 inches of clear floor space in front to comfortably open drawers and stand back. In smaller reach-in closets, this concept is harder to execute; you might look at the narrower systems shown in Idea #12 instead.
4. The Enduring Appeal of a Fully Fitted Wardrobe
The idea of a fully fitted, built-in wardrobe is seeing a huge resurgence, and for a good reason. As our homes have to work harder for us—becoming offices, gyms, and sanctuaries—maximizing every square inch is no longer a luxury; it’s a necessity. This trend moves away from mismatched, freestanding furniture and towards cohesive, architectural solutions. On Pinterest and Instagram, you’re seeing people crave this kind of seamless, everything-in-its-place organization. It’s a direct reaction to the clutter of modern life, offering a pocket of serene order.
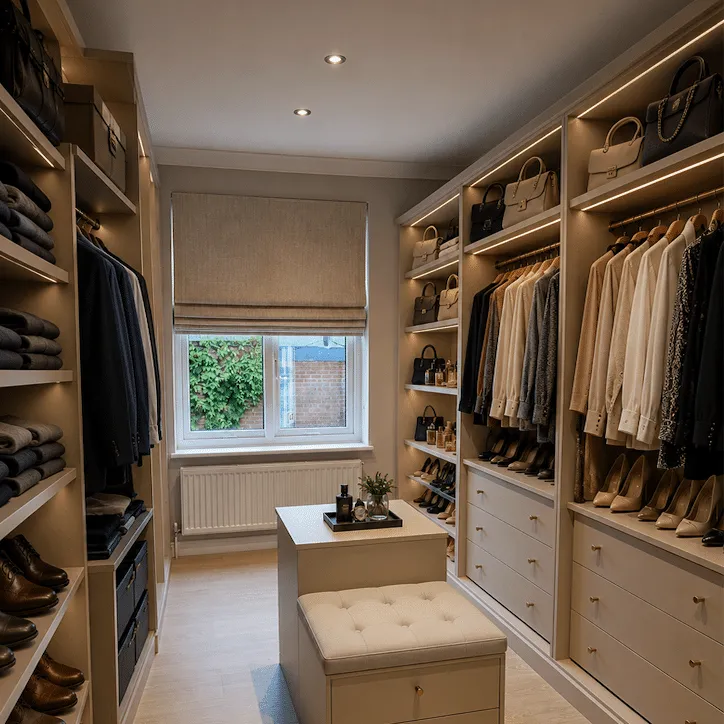
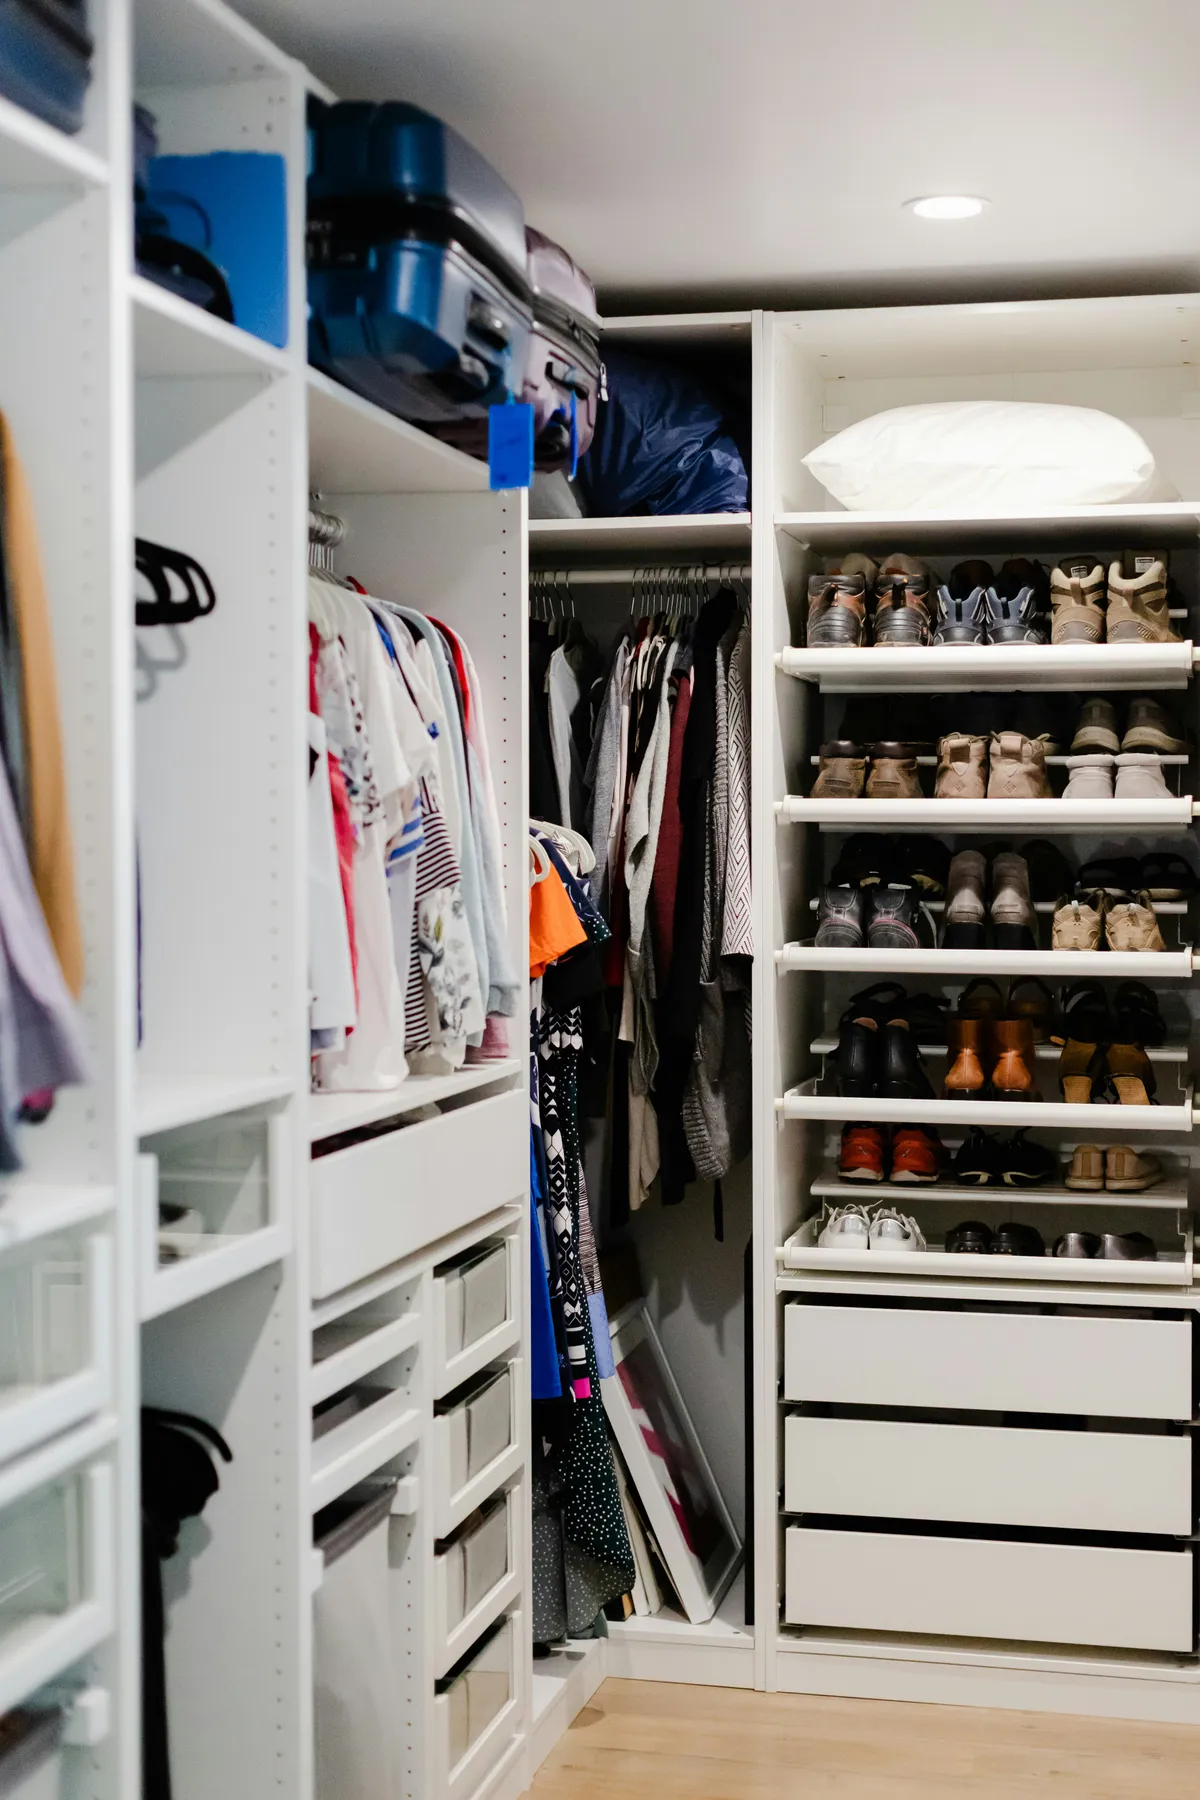
You don’t need to spend five figures on a custom cabinet maker to get this fitted look. The IKEA PAX system is the undisputed king of budget-friendly built-ins. A combination of PAX frames, KOMPLEMENT drawers, and shelves can create a surprisingly high-end look for a fraction of the cost. Plan your layout with their online tool, and then elevate it with non-IKEA hardware, a coat of paint in a custom color, and some trim molding to bridge the gap to the ceiling. With a little DIY, you can achieve a look like this for $1,000-$2,500, a massive saving compared to custom work.
5. Achieving a Custom Look with an IKEA PAX Dresser Hack
The famous Chris Loves Julia closet is a masterclass in making IKEA look bespoke. The key is adding custom trim and paint. Here’s a quick guide to building in your PAX wardrobes:
- Secure your PAX frames to the wall and each other, ensuring they are perfectly level.
- Build a simple 2×4 base for the units to sit on. This lifts them off the floor for a more custom look and allows you to add baseboard.
- Use MDF or pine boards to build a frame around the entire unit, scribing the side pieces to fit snugly against any uneven walls.
- Add a top piece that bridges the gap between the PAX unit and the ceiling. Caulk all seams for a seamless finish.
- Prime everything (the IKEA surface and your new wood) with a shellac-based primer like BIN. This is the crucial step for paint adhesion!
- Paint the entire unit—IKEA frames and your trim—in the same color. We love a rich, moody green or a classic greige.
This project takes a weekend and costs around $200 in lumber, primer, and paint.
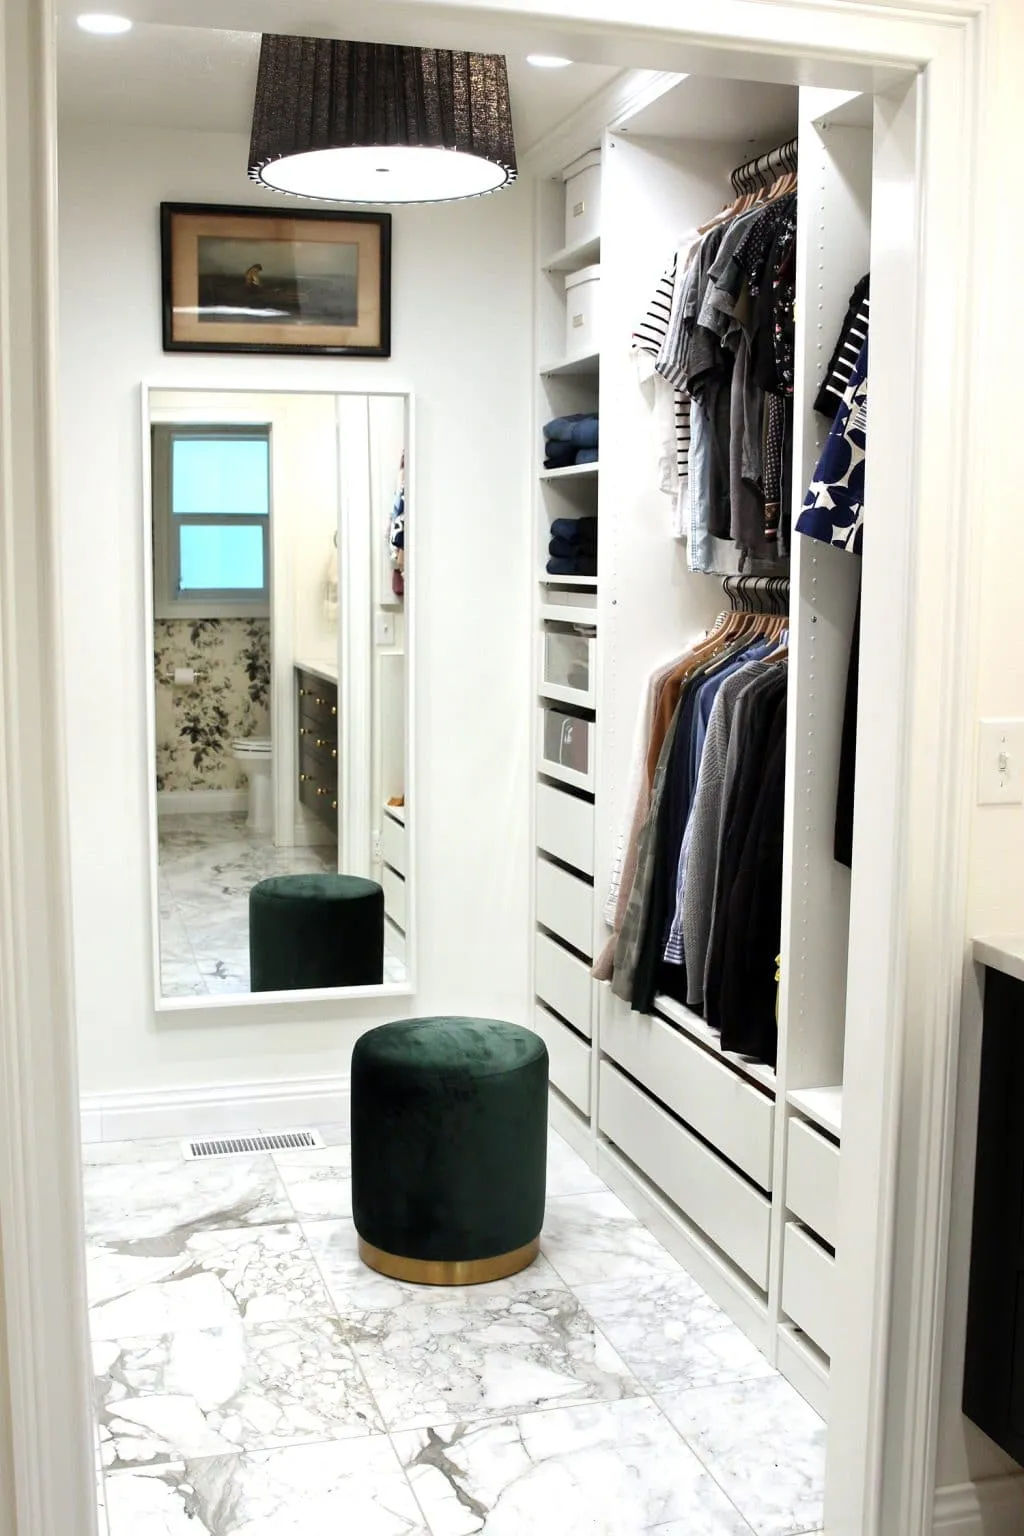
Building an IKEA PAX system is often framed as an easy weekend project, but let’s be real: it’s a beast. The boxes are incredibly heavy, and maneuvering them in a tight closet space is a challenge. The instructions are purely visual, which can be frustrating. Before you start, make sure you have a patient helper and have triple-checked your measurements. Also, securing these tall units to the wall isn’t optional; it’s a critical safety step, especially in a home with kids. Don’t cut corners on assembly, or you’ll pay for it later with wobbly frames and misaligned drawers.
6. Designing a Walk-In Closet with a Central Dresser
When placing a dresser inside a walk-in closet, clearance is everything. A common mistake is not leaving enough pull space. For a standard 20-inch deep drawer, you need a minimum of 36 inches of clear space in front of the dresser. This allows you to fully extend the drawer and still have room to stand and look down into it. If you have an island dresser, this means you need 36 inches of clearance on all sides you plan to access. Anything less and your luxurious walk-in will feel cramped and frustrating to use every single day.
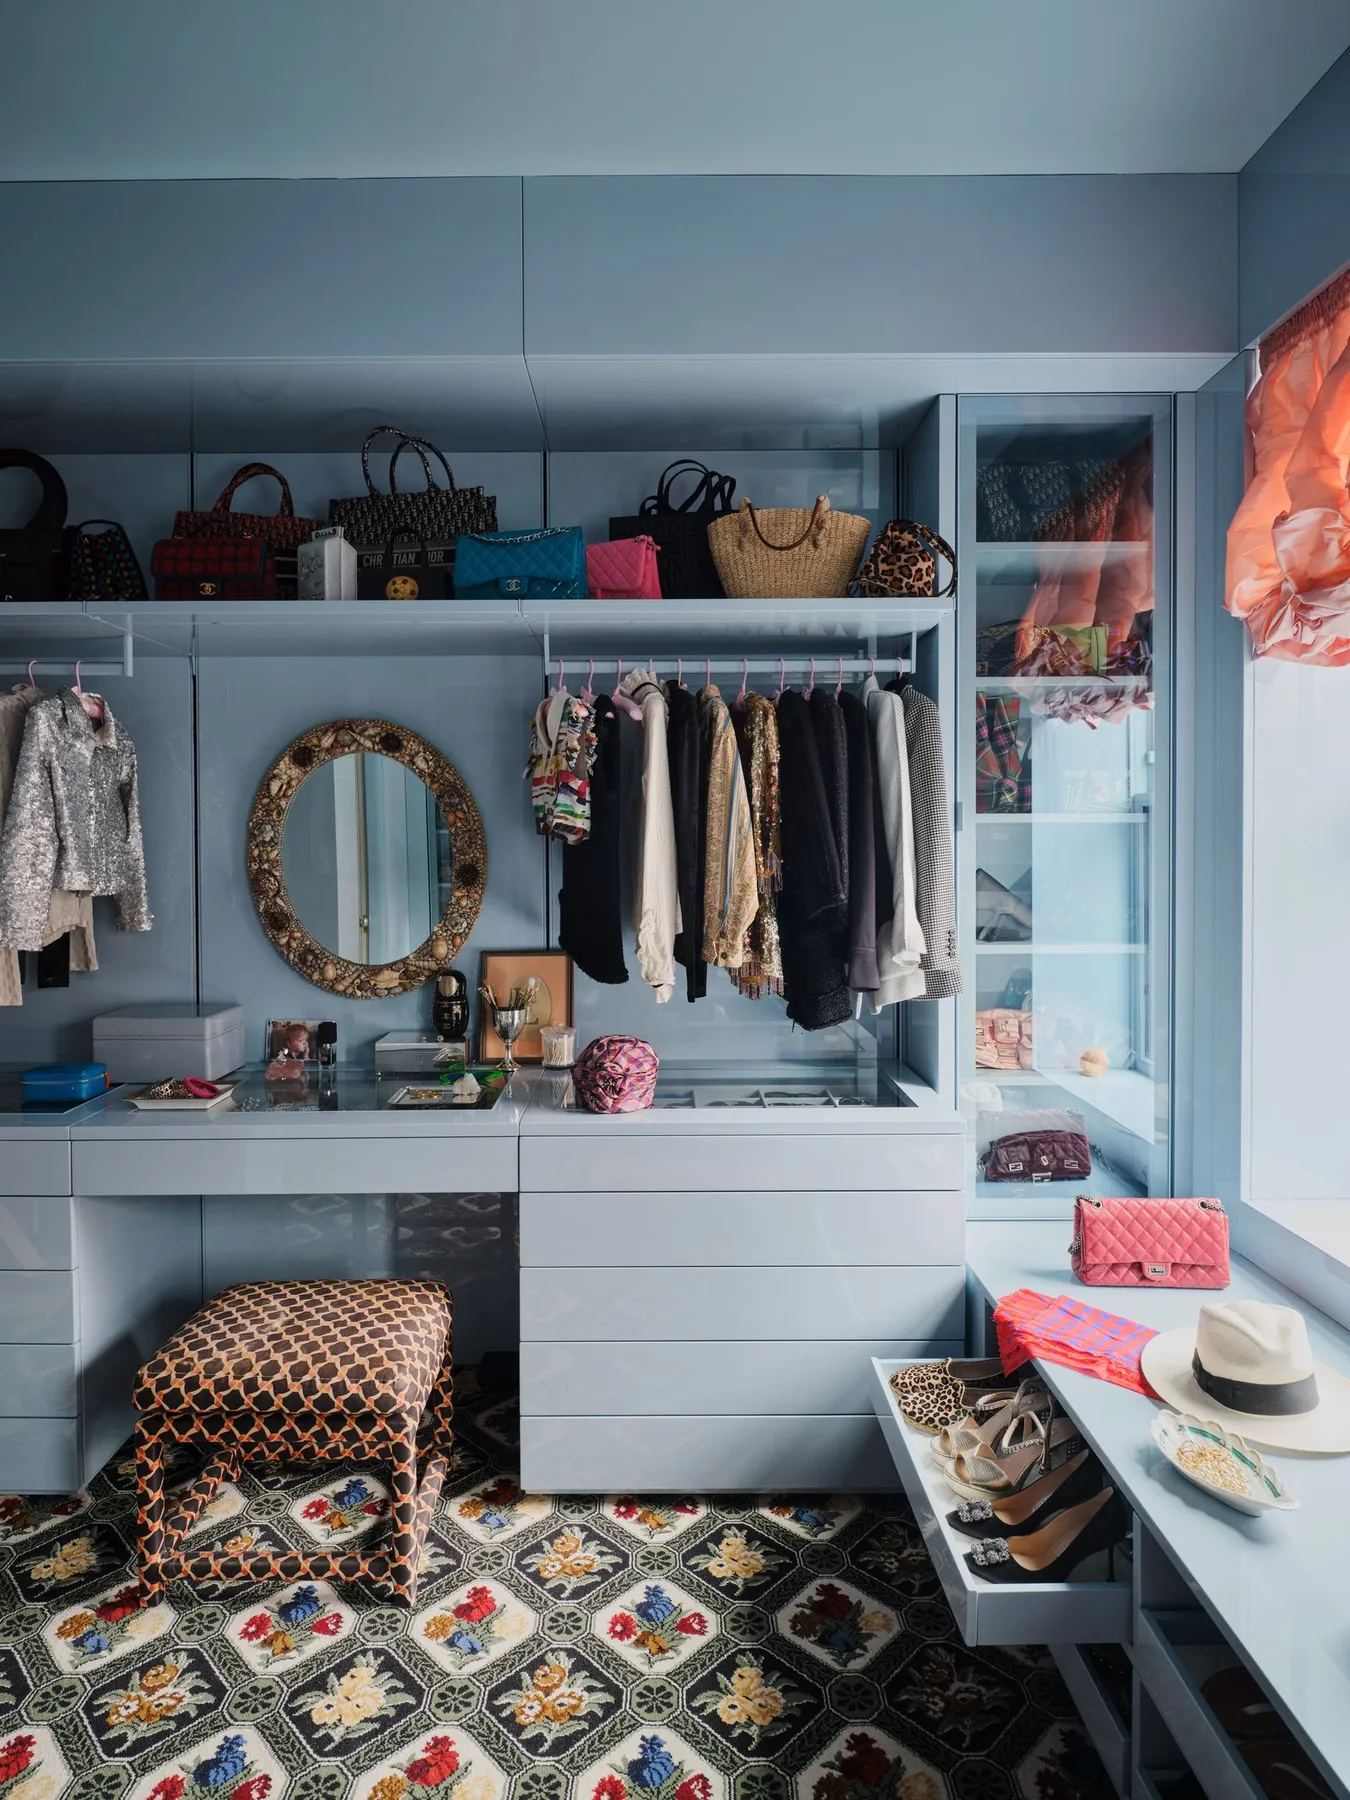
In a large walk-in, a central dresser or island works because it creates zones and improves workflow. Instead of one long wall of storage, you create a circular path. You can have hanging clothes on one side, shoe shelves on another, and the dresser island as the hub for folded items and accessories. This zoning breaks up the visual monotony and makes finding things more intuitive. It transforms the closet from a simple storage corridor into a functional dressing room, which is the whole point of a spacious walk-in. For a less permanent version, check out the freestanding options in Idea #9.
7. Light Wood Dresser with Integrated Open Shelving
To recreate this clean, modern built-in look, you’re primarily looking at custom or semi-custom cabinetry. Here’s an estimated cost breakdown for a similar setup:
- Custom Cabinetry (dresser & shelving): $2,500 – $6,000
- Professional Installation: $500 – $1,500
- Lighting (wall-mounted fixture): $150 – $400
- Paint & Finishing: $200 – $500
- Decor (plant, etc.): $50 – $100
- TOTAL: $3,400 – $8,500
Budget alternative: You could achieve a similar feel using IKEA’s light wood effect EKET or BESTÅ drawer units ($200-$400) combined with LACK wall shelves ($50-$100) for a total project cost under $600.
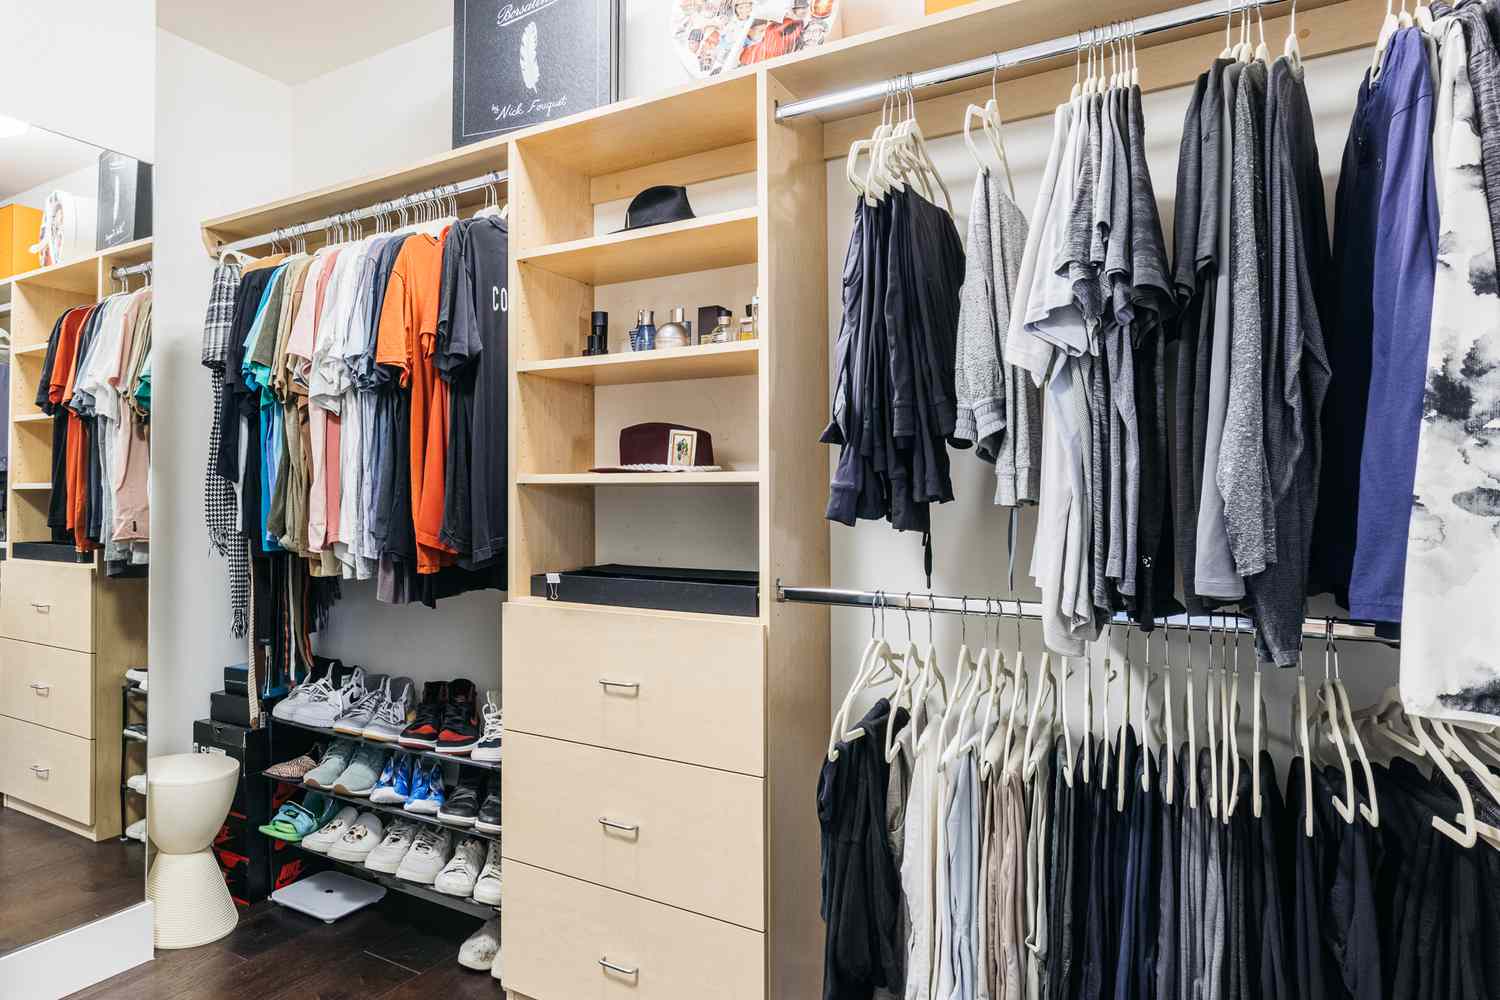
The single most important element here is the integrated design. This isn’t just a dresser placed in a closet; it’s a cohesive unit where the dresser and shelving are one. The continuous lines and matching light wood material make the entire wall feel like a single, thoughtfully designed piece of furniture. If you were to simply place a separate dresser below some floating shelves, you would lose that seamless, architectural quality. The recessed horizontal pulls further enhance this by minimizing visual clutter and keeping the focus on the clean planes of the wood.
8. Sophisticated Dark Wood Closet with Reeded Glass Doors
A dark, moody closet like this oozes sophistication, but it comes with a maintenance checklist. Dark wood or laminate surfaces are notorious for showing dust, fingerprints, and smudges more than lighter finishes. Plan for a weekly dusting with a microfiber cloth. The reeded glass is beautiful but requires more cleaning effort than flat glass; use a soft brush to get into the grooves. The biggest challenge, however, is lighting. Dark closets can feel like caves without a multi-layered lighting plan. You’ll need excellent overhead light plus integrated task lighting (like LED strips under shelves) to see what you’re doing.
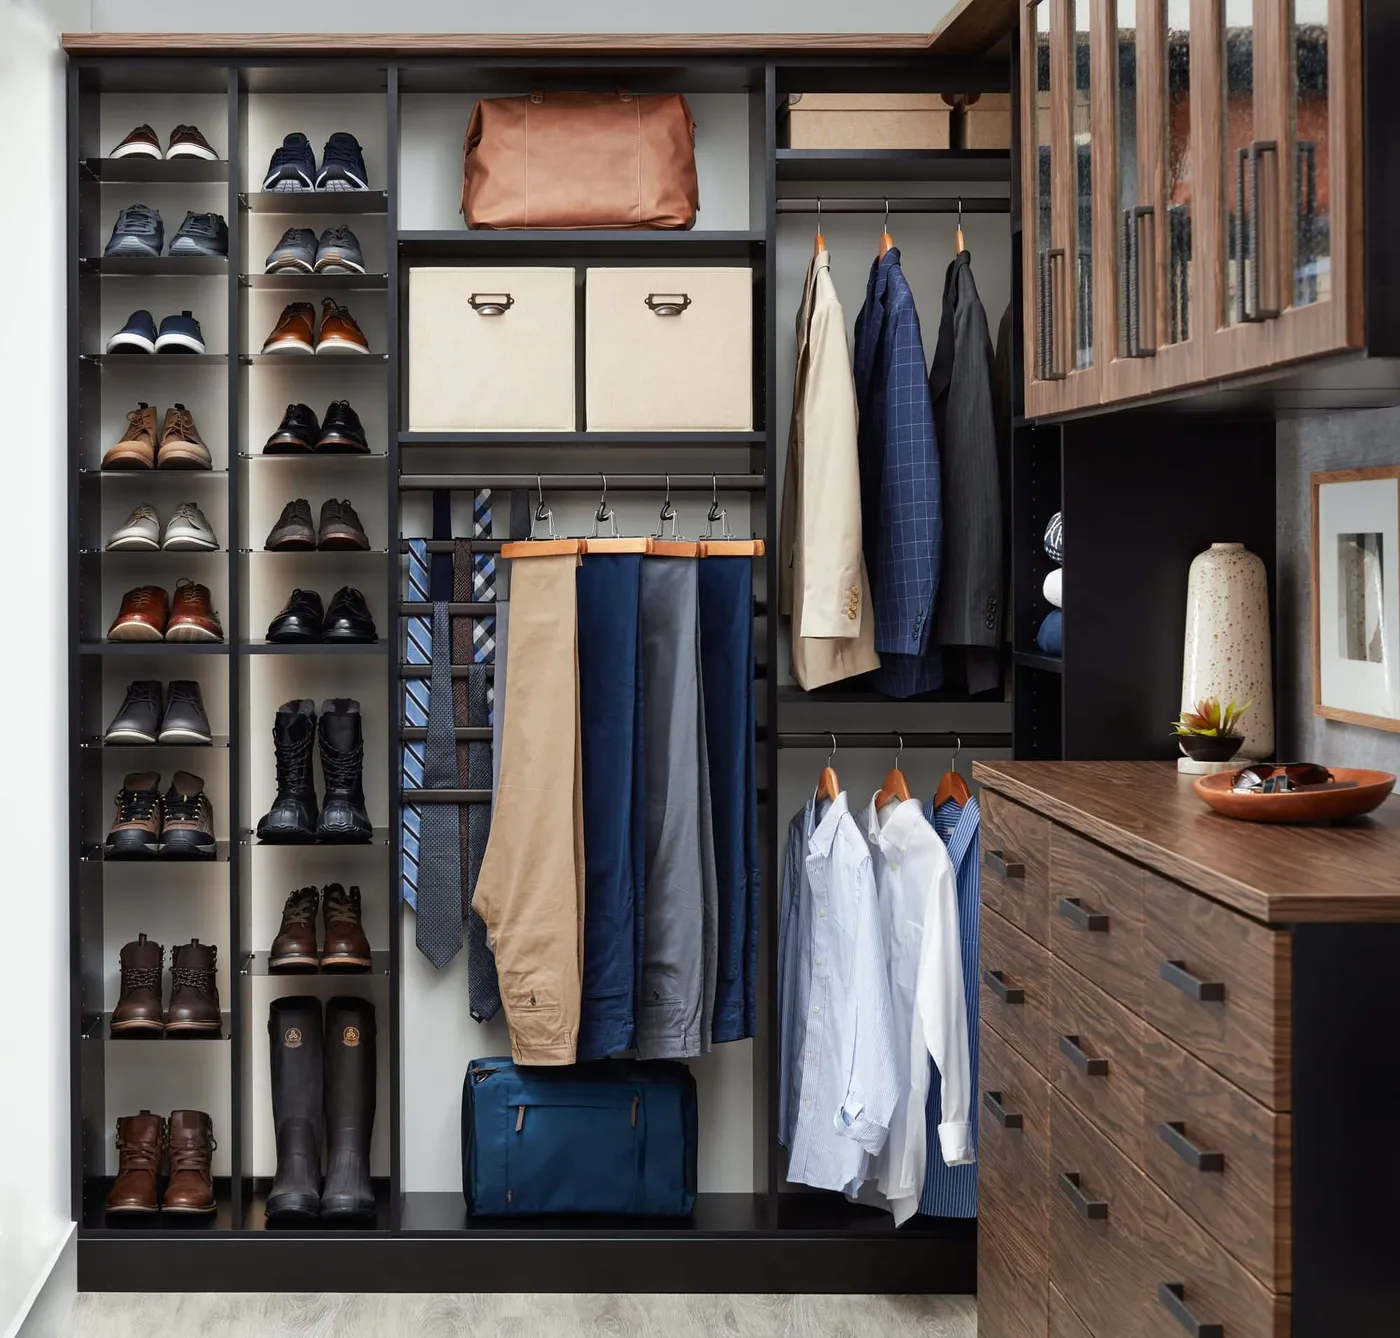
This look is a masterclass in texture mixing within a tight color palette. The formula is: 50% dark wood grain + 20% charcoal solids + 20% transparent/translucent materials + 10% metal accents. The dominant texture is the rich wood grain on the dresser. This is softened by the flat, matte charcoal of the surrounding shelves. The reeded glass and clear acrylic shoe shelves add a layer of transparency that prevents the dark palette from feeling too heavy. Finally, the dark bronze pulls provide a subtle metallic gleam. You could swap the dark wood for a deep navy or forest green and still have it work, as long as you maintain that textural balance.
9. Modern White Closet with Freestanding Drawers
This modular, open-concept approach is perfect for small to medium-sized reach-in or walk-in closets, especially in rentals where you can’t install built-ins. It works well in a space that’s at least 6 feet wide and 5 feet deep. The key is to find a freestanding drawer unit that fits neatly under your existing hanging rod. Measure the height from the floor to the bottom of your rod to ensure a good fit. This setup provides the benefit of a dresser without the cost and permanence of custom work. It’s a great solution for closets that lack any built-in shelving or drawers.
|
📋 Copy HEX 🔗 Share |
You can get this exact look on a shoestring budget. Start with a simple white drawer unit like the IKEA MALM ($150) or a similar style from Target or Walmart ($100-$200). Pair it with a basic metal clothing rack ($30-$60). Instead of custom shelving, use simple white wall shelves from a home improvement store. The real trick to making it look cohesive is to stick to a single color for all the main components—in this case, white. Then, add warmth and texture with woven baskets for accessories, which you can find at thrift stores or HomeGoods for under $20 each. This entire setup can be done for under $400.
10. Custom Built-In Dresser for a Polished Look
What makes a fully custom built-in system so effective is the principle of repetition. Notice how the cabinet style, the hardware, and the material are consistent throughout the entire closet. This repetition creates a calming visual rhythm and makes the space feel cohesive and intentional. Instead of a collection of separate storage units, your brain registers it as one large, organized piece of furniture. This is why custom work often feels more luxurious; it’s not just about expensive materials, but about thoughtful, unified design.
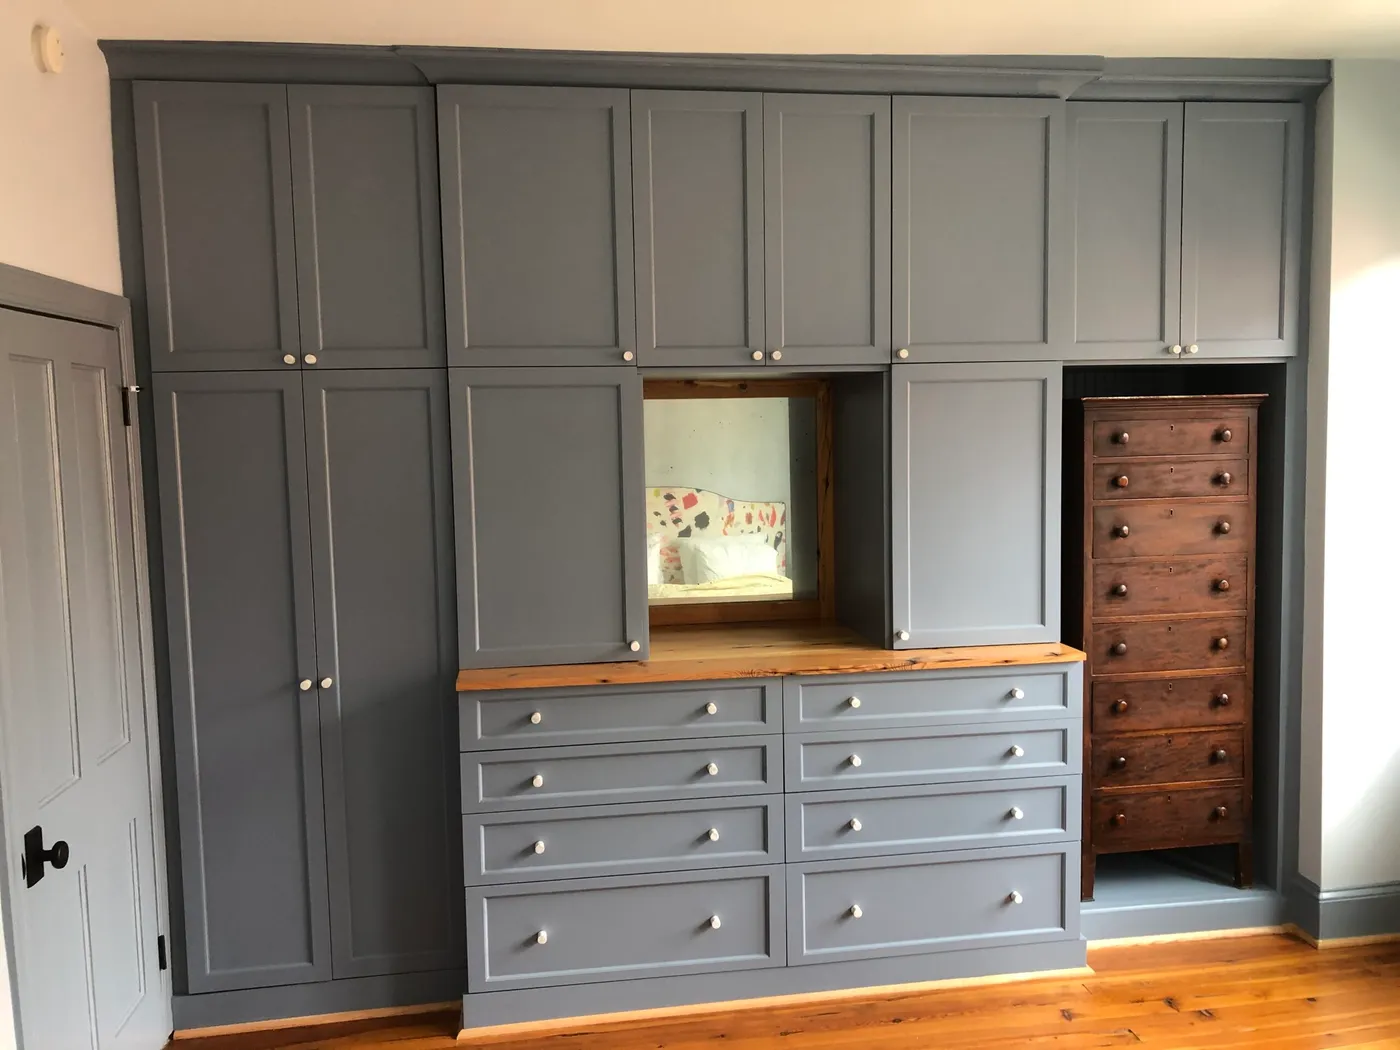
If you’re going custom, don’t just replicate a standard dresser. Think about your specific storage needs. A jewelry drawer with a velvet insert, for example, costs very little to add to a custom plan but adds immense value. Ask your designer for a mix of drawer depths: shallow 4-inch drawers for ties, belts, and accessories; medium 8-inch drawers for t-shirts and intimates; and deep 12-inch drawers for bulky sweaters or jeans. This level of personalization is the true advantage of custom work, so make sure you use it.
11. Playful and Organized Kids’ Closet with Plywood Dresser
The standout feature in this child’s closet is the use of high-quality plywood for the dresser and shelves. It’s a brilliant choice that feels both modern and warm, a step up from standard white laminate but more casual and durable than a fine hardwood. The exposed plywood edges add a subtle, crafty detail that is perfect for a kid’s space. It telegraphs ‘sturdy and stylish’ without being overly precious. If you replaced this with a white dresser, the space would instantly feel more generic and less designed. The plywood is the heart of the room’s character.
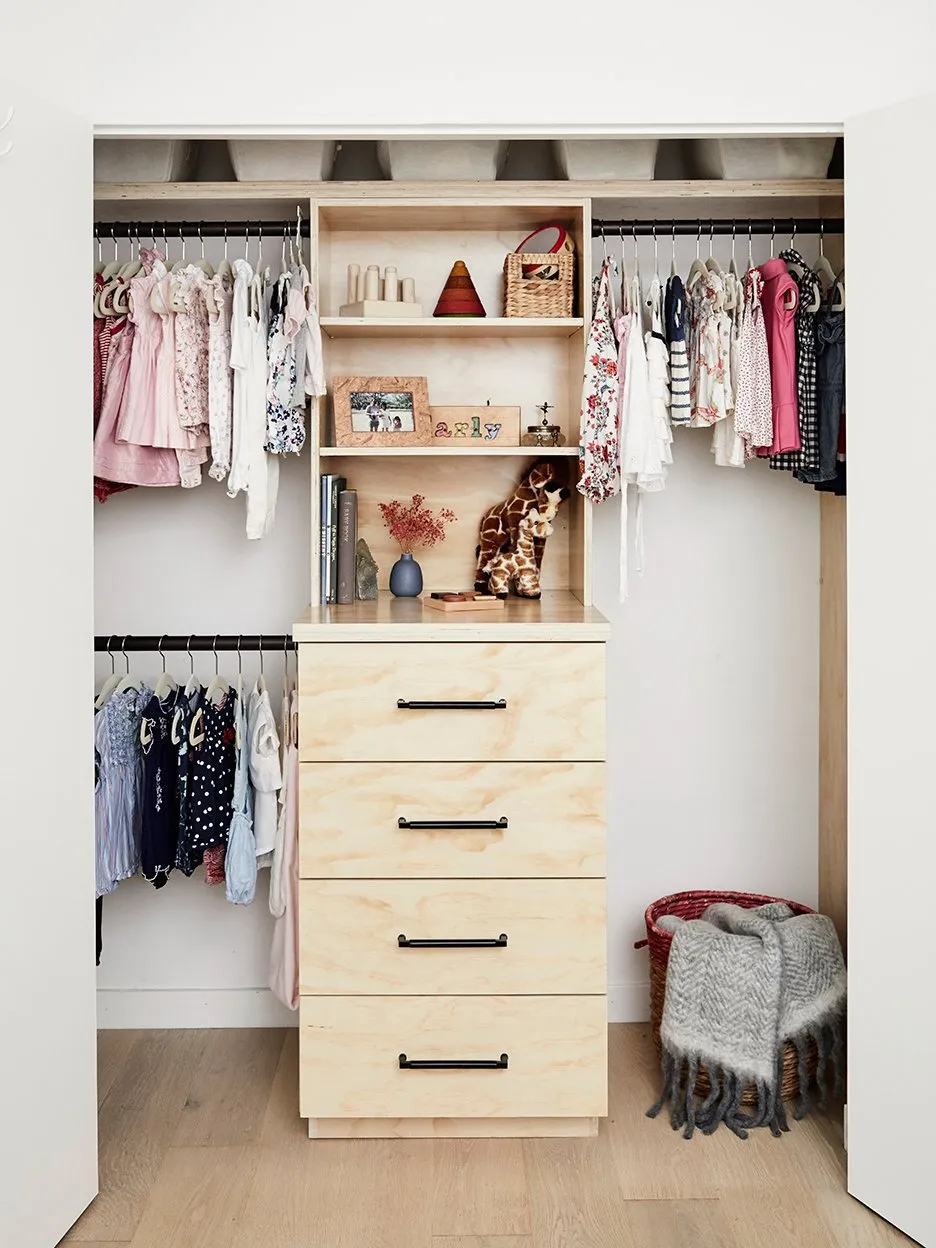
While this plywood built-in is beautiful, it’s not the most flexible system as your child grows. The shelves are fixed, and the hanging rods are at a specific height. What works for a toddler’s tiny shirts won’t work for a teenager’s jackets. If you’re investing in a custom build for a child’s room, consider adjustability. Systems with tracks that allow you to move shelves and rods are more expensive upfront but will adapt with your child for years, saving you from a costly renovation later. This beautiful design might have a 5-7 year lifespan before it becomes impractical.
12. Budget-Friendly Kids’ Closet with Wire Shelving
The key to making affordable wire shelving look great is strategic organization. Here’s how to style it:
- Place a freestanding dresser in the center to act as an anchor. This provides crucial closed storage and makes the whole setup feel more substantial.
- Use matching baskets for small items. In this case, the white woven baskets on top of the dresser hide clutter and add texture. Use labels so you know what’s inside.
- Organize clothes by color. This is a simple, no-cost trick that instantly makes any closet look more orderly and visually appealing.
- Use the upper shelf for items that aren’t accessed daily, like board games, extra bedding, or out-of-season clothes stored in bins.
This entire process is about creating zones and containing chaos, and it takes less than an hour to implement once the shelving is installed.
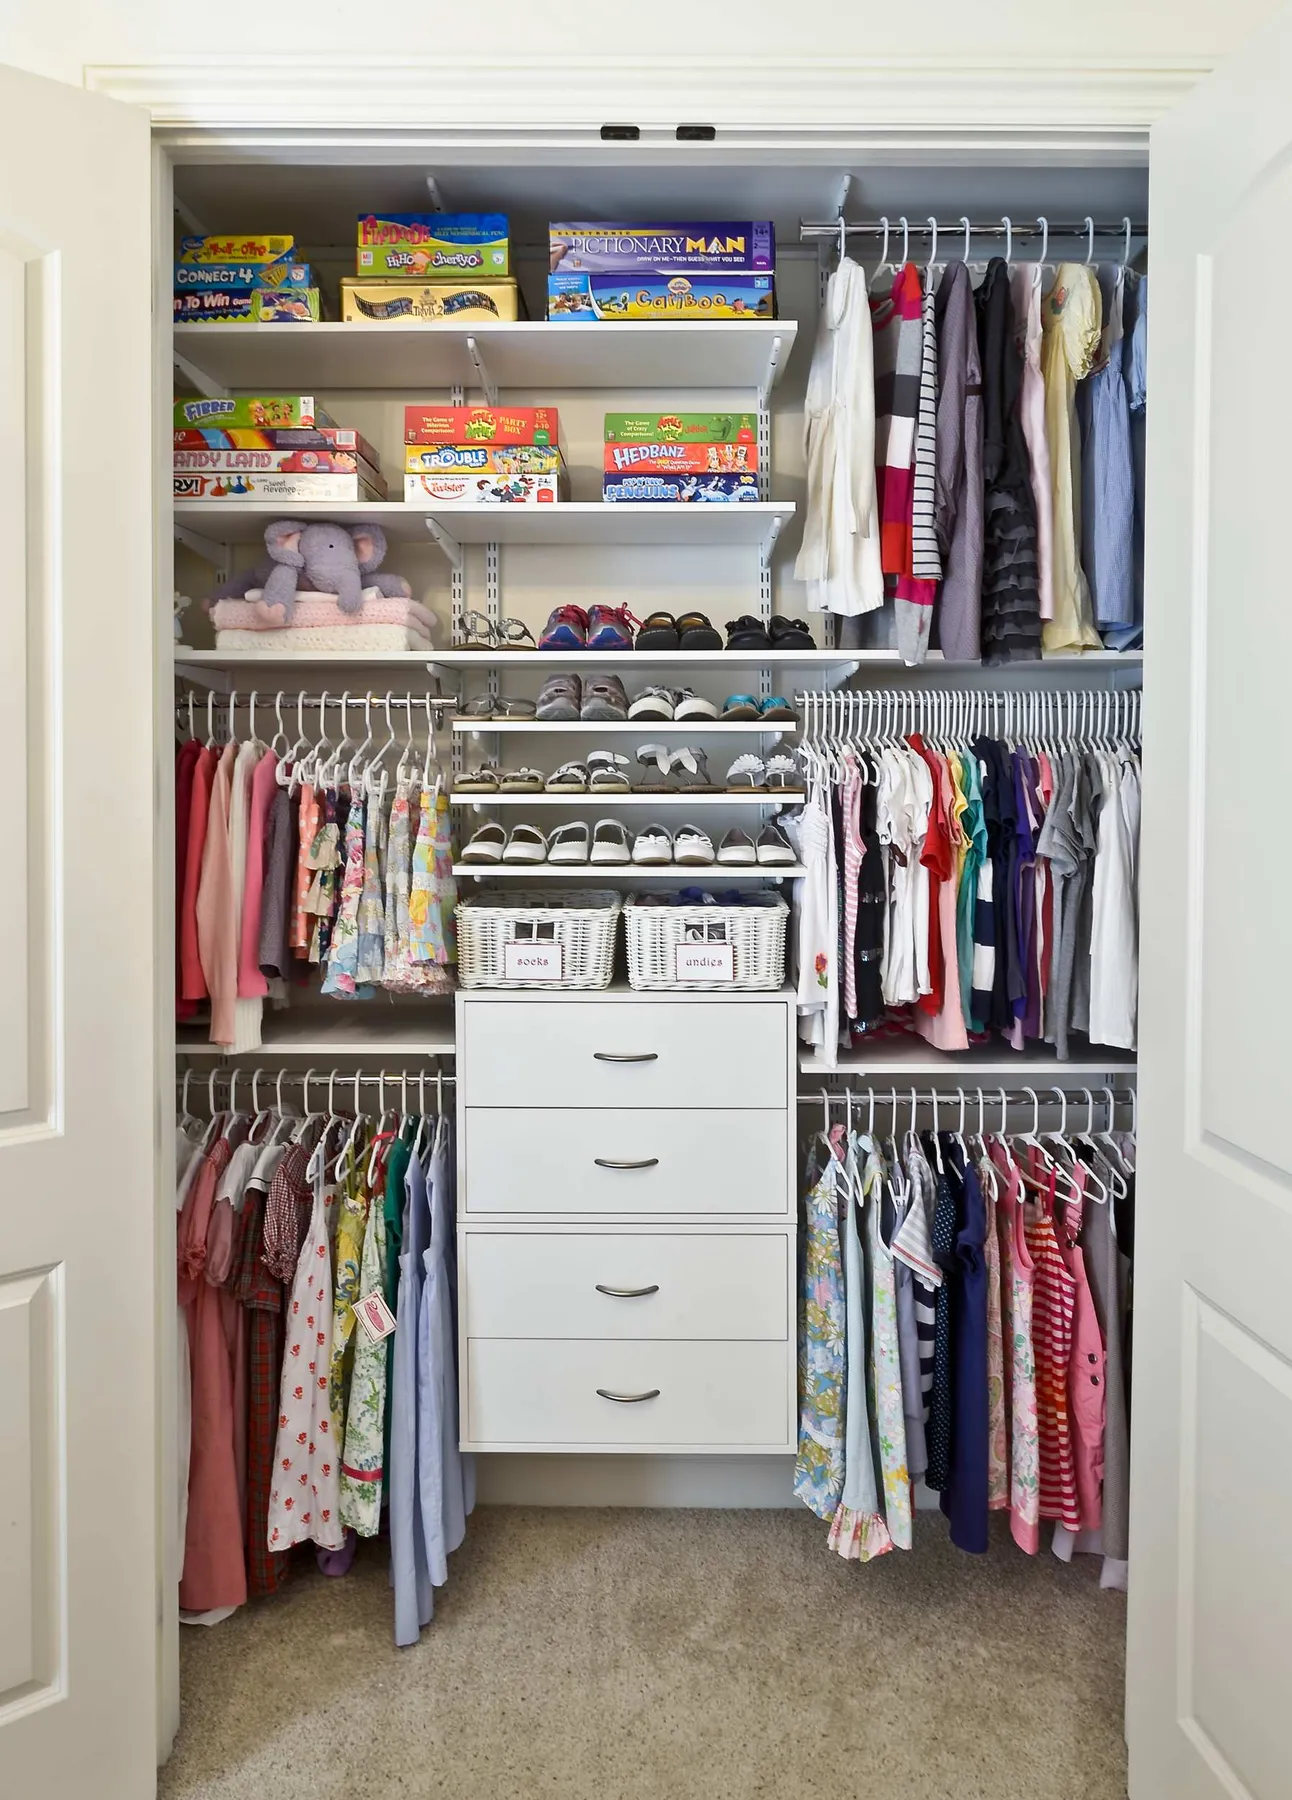
This entire look is the definition of Get This Look For Less. The central piece is a basic white four-drawer dresser, which you can find at Target, Walmart, or IKEA for $150-$250. The adjustable white wire shelving system is from a big-box hardware store like Home Depot or Lowe’s; a kit for a standard closet costs around $100-$150. The silver metal hanging rods are usually included. The white woven baskets are available at stores like HomeGoods, The Container Store, or even Amazon for about $20-$30 each. You can easily replicate this entire cheerful and hyper-functional closet for under $500. It’s a fantastic, practical solution that looks great. Compare this to the custom plywood version in Idea #11.
13. Planning a Dresser for a Nursery Closet
Putting the dresser inside the closet is a genius move for a nursery, as it frees up precious floor space in the main room. But before you start, run through this checklist:
- Will the dresser also serve as a changing table? If so, ensure the height is comfortable for you (typically 36-40 inches) and that there’s enough surface area for a changing pad.
- Do you have adequate lighting inside the closet? You don’t want to be fumbling for diapers in the dark. Consider adding a battery-powered tap light or a simple plug-in puck light.
- Can you comfortably stand in front of the dresser with the closet doors open? Measure the clearance.
- Is the dresser secured to the wall? This is a non-negotiable safety step in any child’s room.
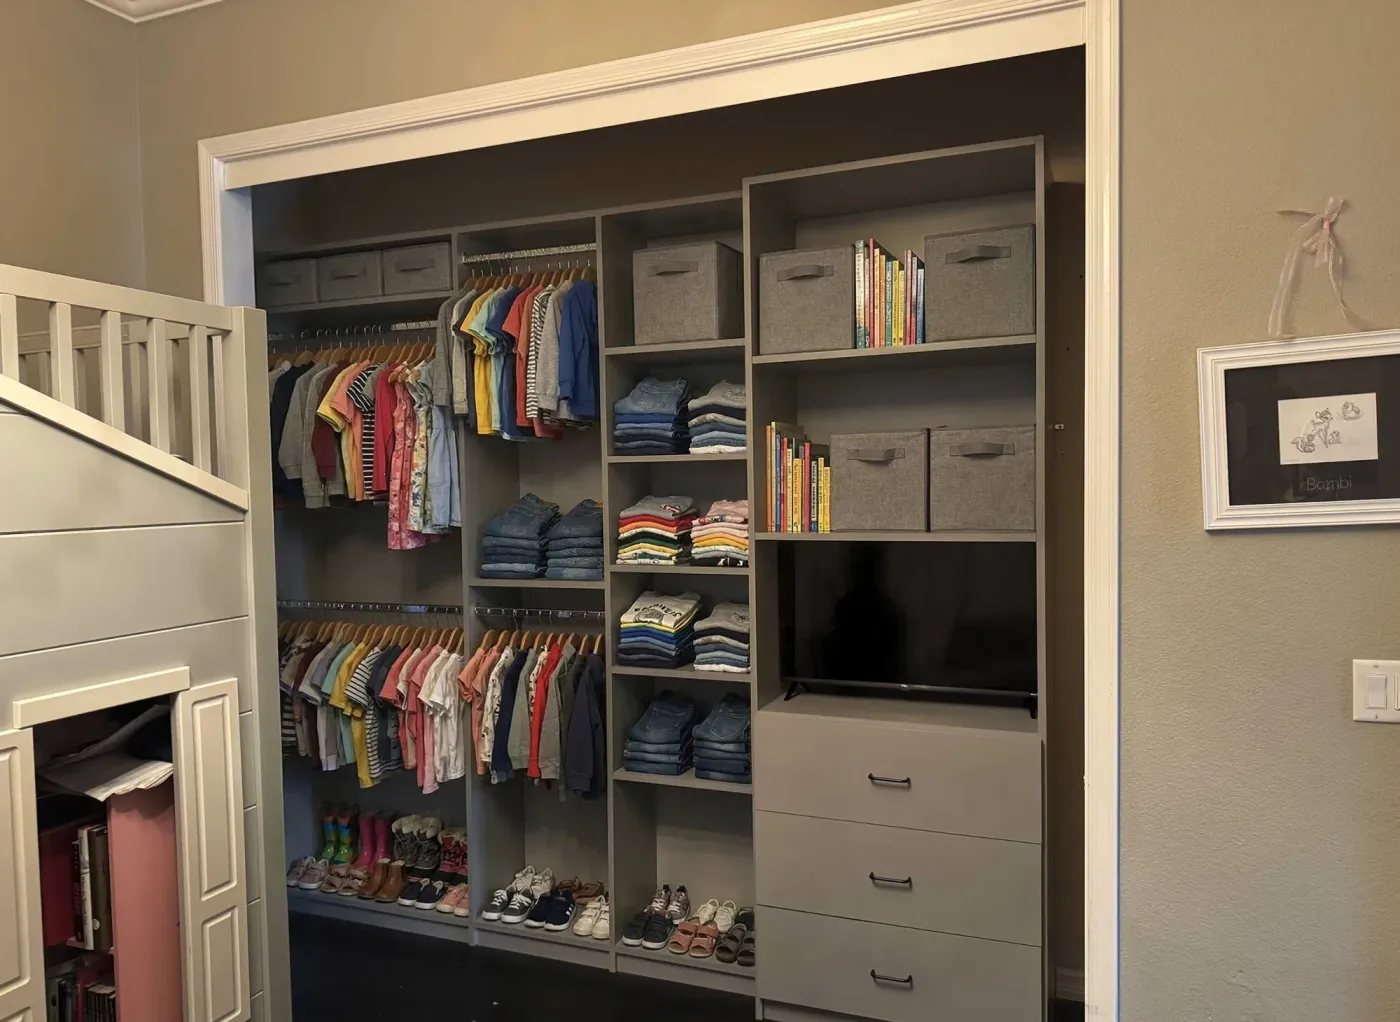
This idea is a space-saver, making it ideal for smaller nurseries between 100-150 square feet. By moving the bulky dresser into the closet, you gain back 8-10 square feet of floor space in the bedroom. This could be the difference between fitting a comfortable glider and not. The closet itself doesn’t need to be huge; a standard reach-in closet that’s 5-6 feet wide and 24 inches deep is perfectly sufficient to house a standard-sized dresser and still have room for a single hanging rod above it. It’s one of the most efficient uses of space for a small room.
14. A White Reach-In Closet System for Kids
A clean, white closet system is a timeless choice for a kid’s room. The design formula is simple: 80% white + 20% color. The white built-ins, walls, and drawers create a bright, neutral canvas that makes the space feel bigger and cleaner. The 20% comes from the clothes, toys, and books themselves. This approach is brilliant because the accent color changes automatically as the child’s wardrobe and interests evolve. The neutral backdrop allows the colorful contents to be the star, creating a cheerful, lively look without committing to a specific paint color you might regret in a few years.
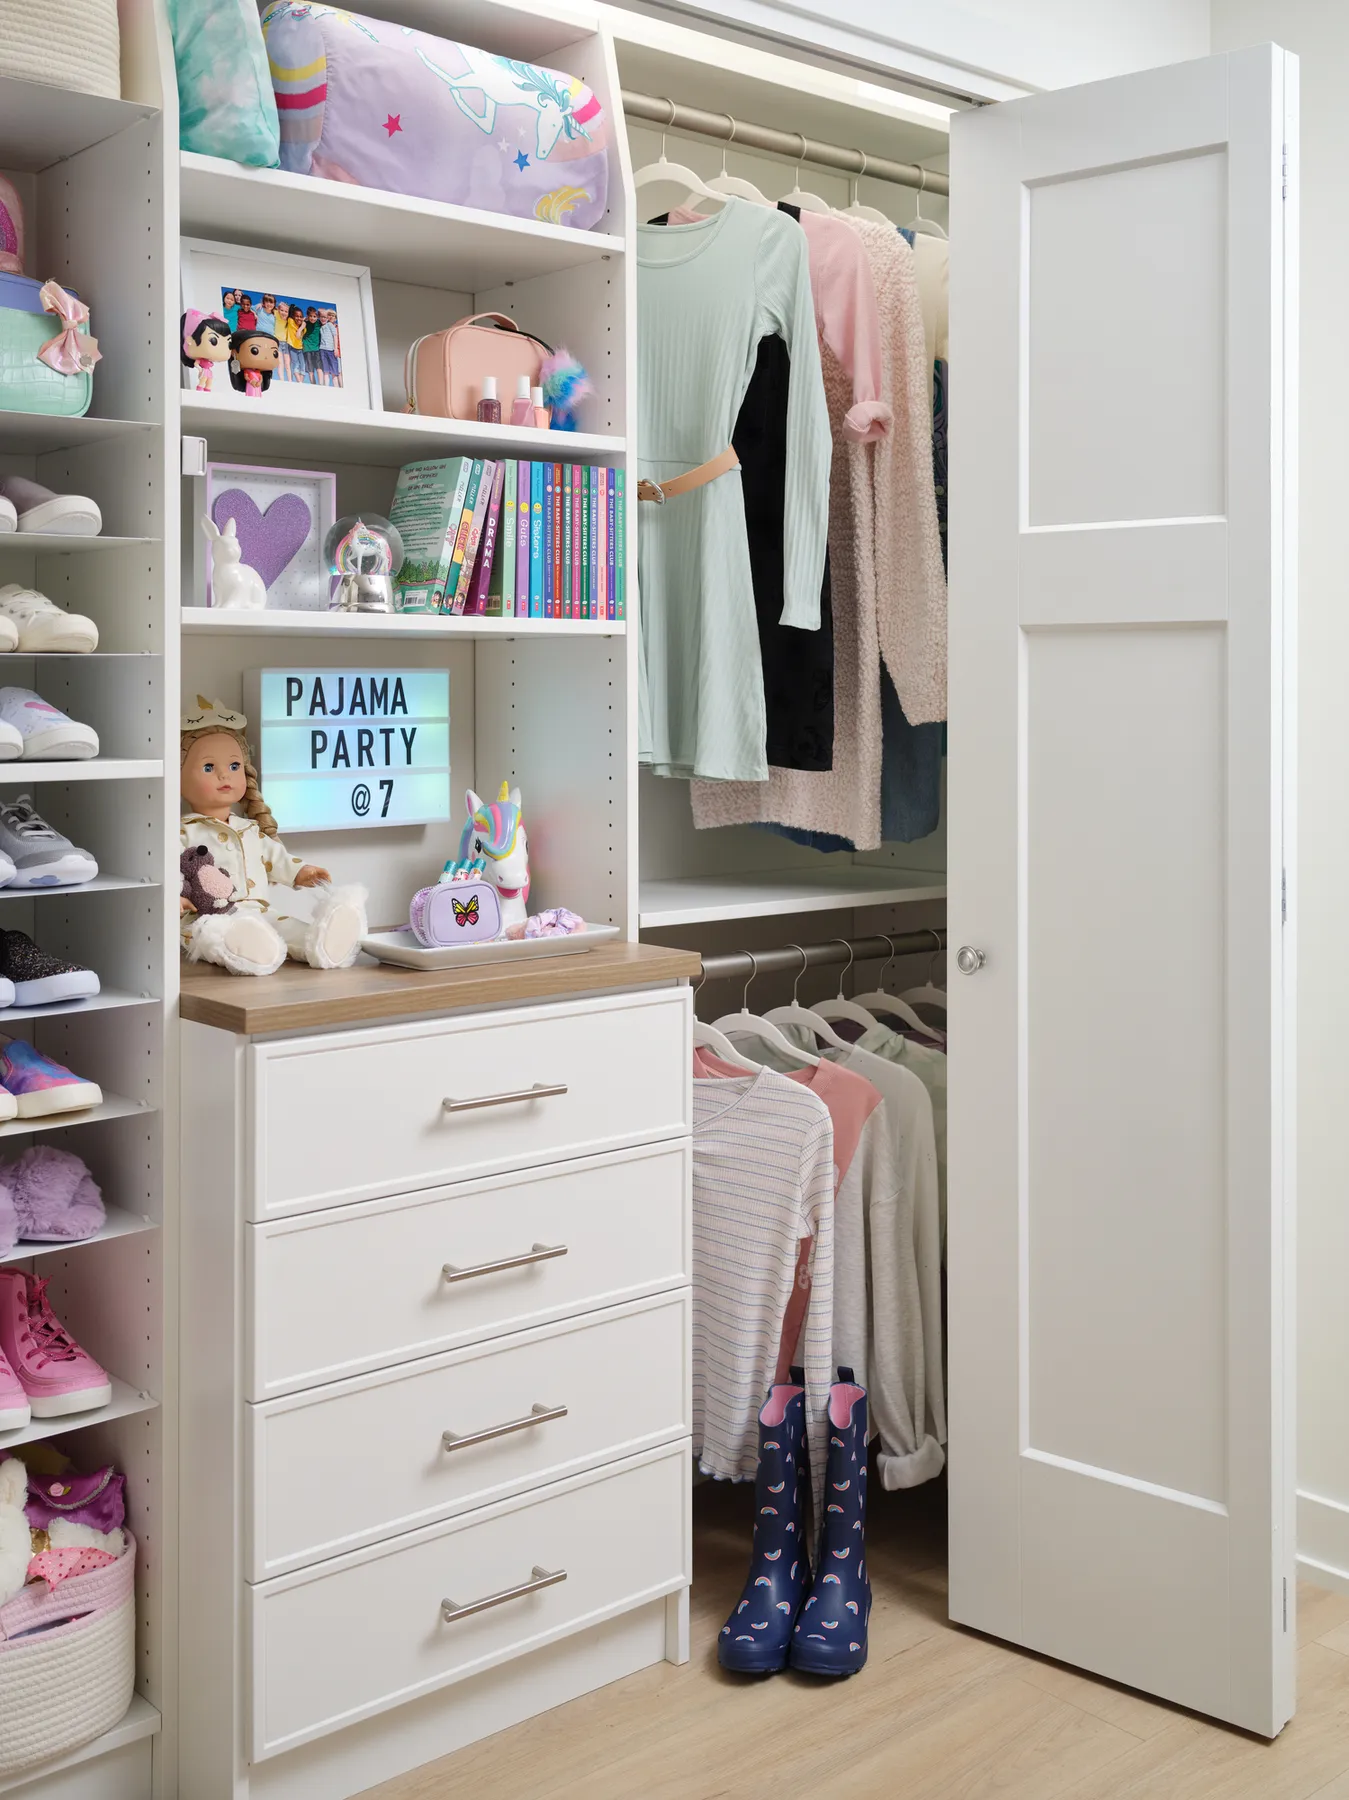
When designing a closet for a child, double-hanging rods are your best friend. Kids clothes are short, so stacking two rods doubles your hanging capacity in the same amount of linear space. Place the lower rod at a height the child can reach themselves (around 30-36 inches from the floor) to foster independence. Use the higher rod for out-of-season items or clothes that require parental assistance. As the child grows into a teen with longer clothes, you can easily remove the lower rod to accommodate shirts and pants on the top rod.
15. Designing a Dreamy and Functional Nursery Closet
This nursery closet design works because it smartly combines different types of storage for different needs. It’s not just a dresser; it’s a system. The drawers handle the bulk of folded clothes and diapers. The open shelving above is perfect for beautifully folded blankets, cute shoes, and decorative items that add personality. The hanging rods are for precious outfits and coats. By providing a specific home for each type of item, the system encourages organization and makes it easy to find what you need during a late-night change. It’s a practical workflow disguised as beautiful design. See a similar, but distinct, approach in Idea #13.
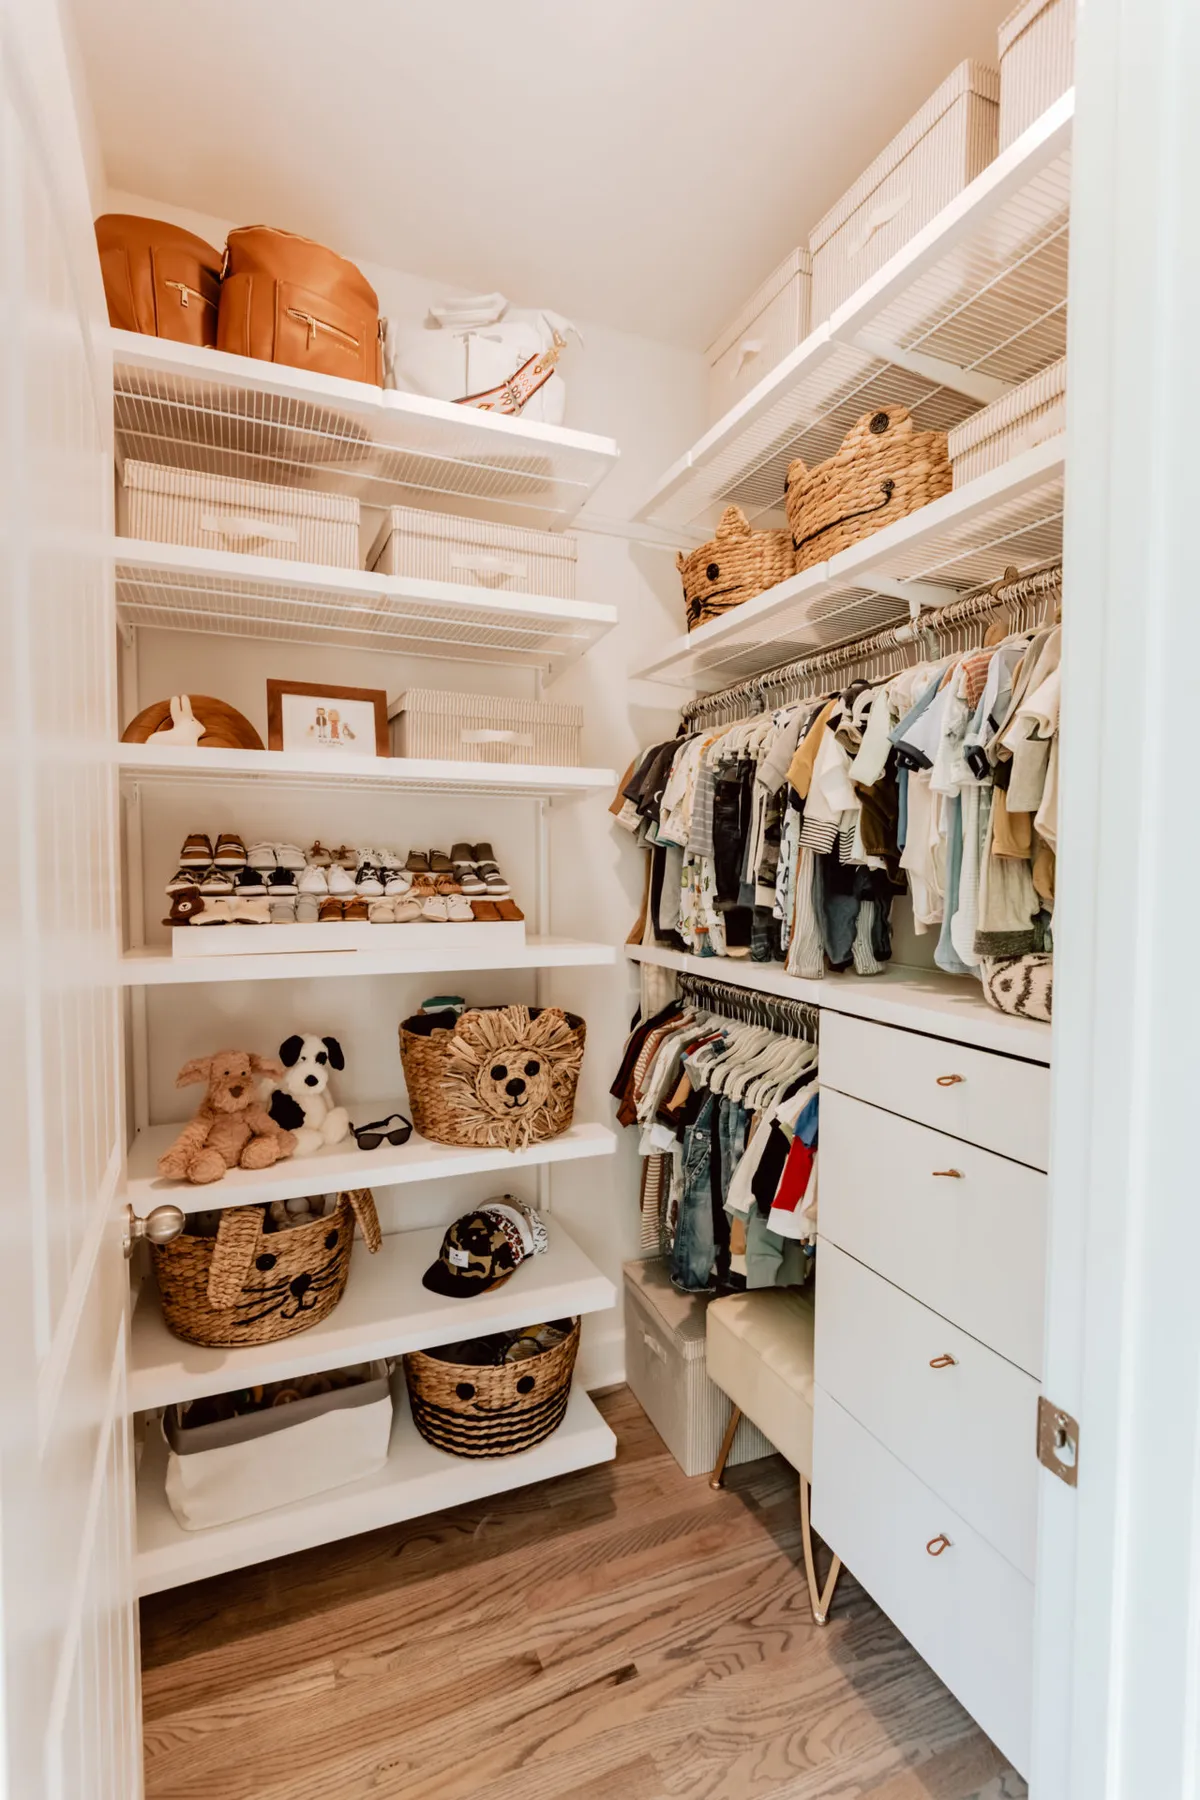
It’s easy to get swept up in creating a Pinterest-perfect nursery closet, but remember: you will be using this space while sleep-deprived and in a hurry. Prioritize function over pure aesthetics. Are the drawer pulls easy to grab with one hand while holding a baby? Are the most-used items (diapers, wipes, pajamas) in the most accessible drawers? Is there a place to toss dirty laundry? A beautiful closet that’s frustrating to use is a design failure. Focus on making it effortless for your future tired self.
16. A Clever Wardrobe Solution for an Awkward Corner
The single most brilliant element in a wardrobe designed for an awkward space is the full utilization of a corner. Most people treat corners as dead space, but a custom or semi-custom design can turn it into high-value storage. By using a specialized corner unit, you connect two walls of storage into one continuous, flowing system. This not only adds a surprising amount of storage capacity but also makes the entire built-in feel more integrated and professionally designed. Without the corner solution, you’d have two separate, less efficient units with a useless gap in between.
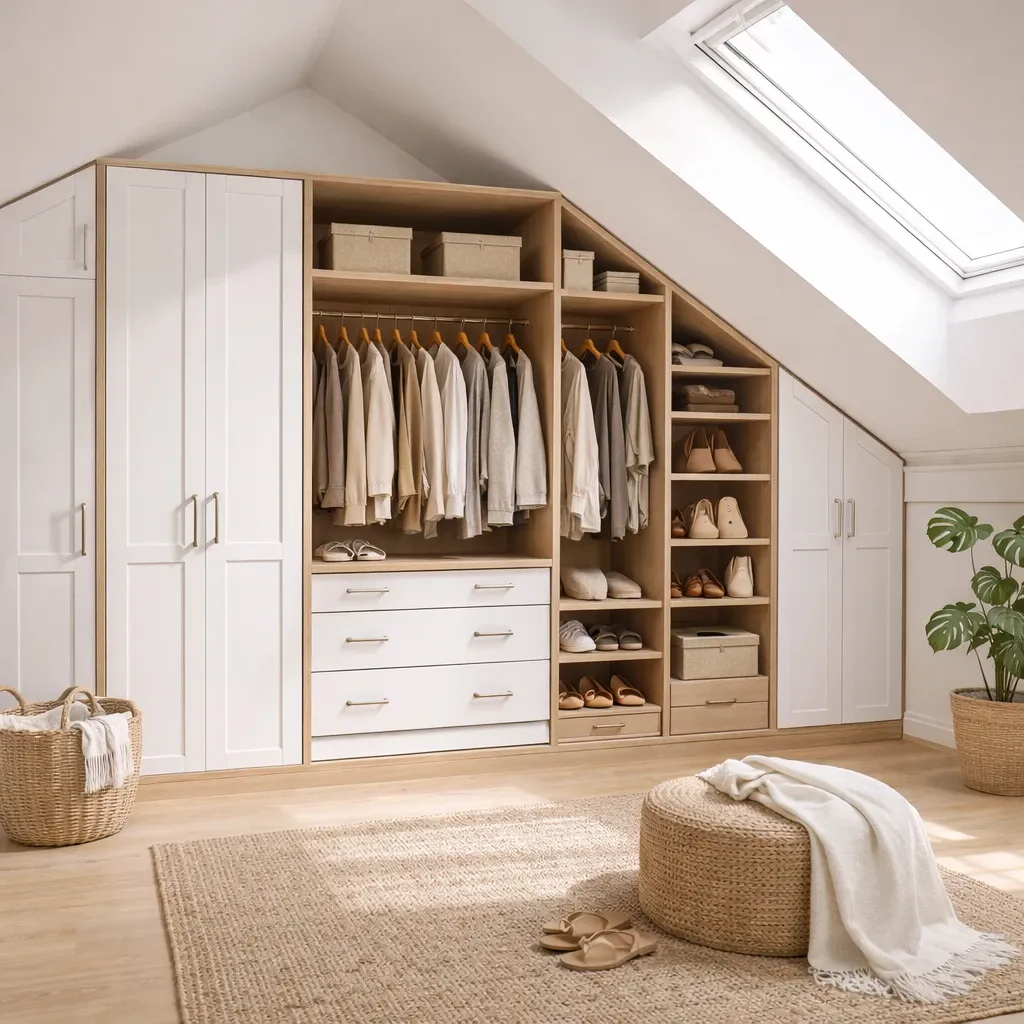
To make a corner work in a closet, you need a specific plan. A lazy susan for shoes or a corner-shaped hanging rod can make the deep space accessible.
- First, measure the corner precisely. Standard cabinet systems often have specific corner units (e.g., 36×36 inches) that you must design around.
- For hanging clothes, use a curved rod or a system that allows hangers to be accessed from the front. Avoid letting clothes get pushed into the deep, unreachable back of the corner.
- For shelving, L-shaped shelves are the most common solution. Use them for bulky, less-frequently-used items like spare blankets or luggage.
- Consider angled display shelves on the outside of the corner to soften the sharp 90-degree turn and provide a spot for accessories.
This thoughtful approach turns a problem area into a feature.
17. Walk-In Closet Inspiration with an Integrated Dresser
The walk-in closet is evolving from a utilitarian space to a personal sanctuary. This shift is driving the trend of integrating more real furniture elements, like dressers with decorative hardware and finished tops. It’s part of a larger roomification of closets, where people are adding seating, rugs, and art. The idea is to create a space that feels like a boutique dressing room rather than just a storage locker. An integrated dresser is key to this trend, as it provides a surface for personal items and elevates the entire feel of the space.
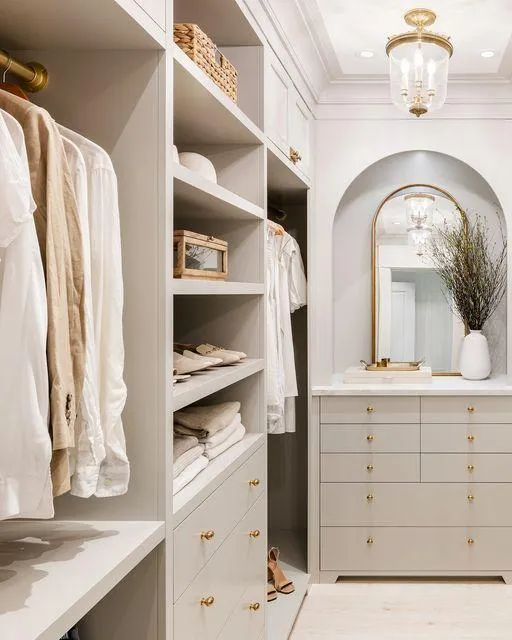
A full custom walk-in is a dream, but you can get 80% of the vibe for 20% of the cost. The secret is combining stock systems with one standout piece. Start with an affordable white shelving system, like the ClosetMaid or Rubbermaid kits from a hardware store. Then, find a beautiful secondhand dresser on Facebook Marketplace or at a thrift store. Paint the dresser a bold, unifying color that matches the closet walls. Spend your money on high-quality hardware for the dresser drawers. This ‘high-low’ mix gives you the custom feel and functional core without the custom price tag. This strategy brings a luxury concept down to a manageable budget, similar to the IKEA hack in Idea #4.
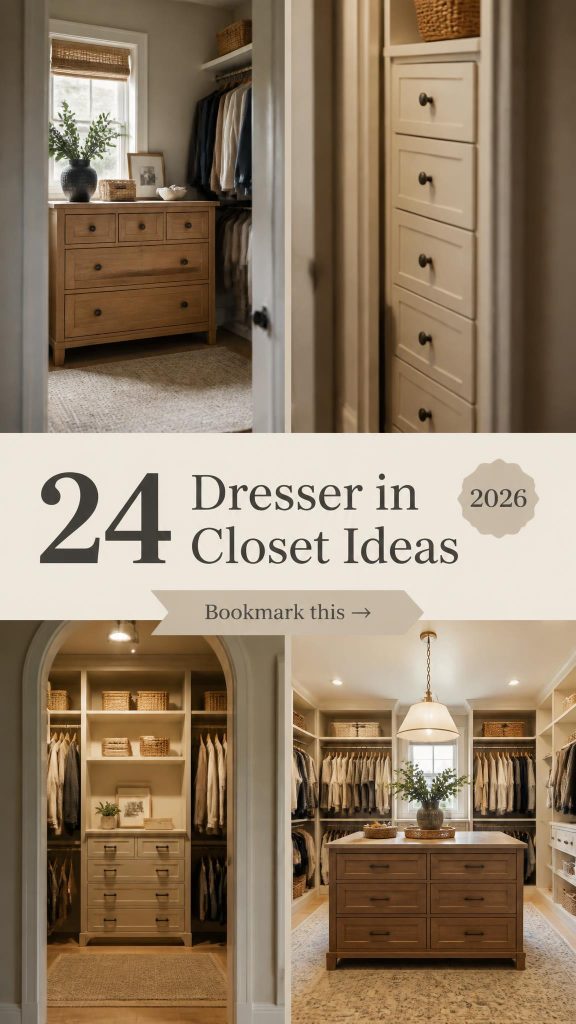
18. Organizing a Walk-In Closet with a Freestanding Dresser
If you’re using a freestanding dresser in your walk-in closet, treat it like a piece of furniture in any other room and style the surface. Don’t let it become a dumping ground for clutter. Place a tray on top to corral smaller items like jewelry, watches, or cologne. Add a small lamp for warm, ambient light (a game-changer in a closet). A small piece of art propped against the wall or a tiny plant can also add personality. This simple act of styling the dresser’s surface signals that this is a finished, designed space.
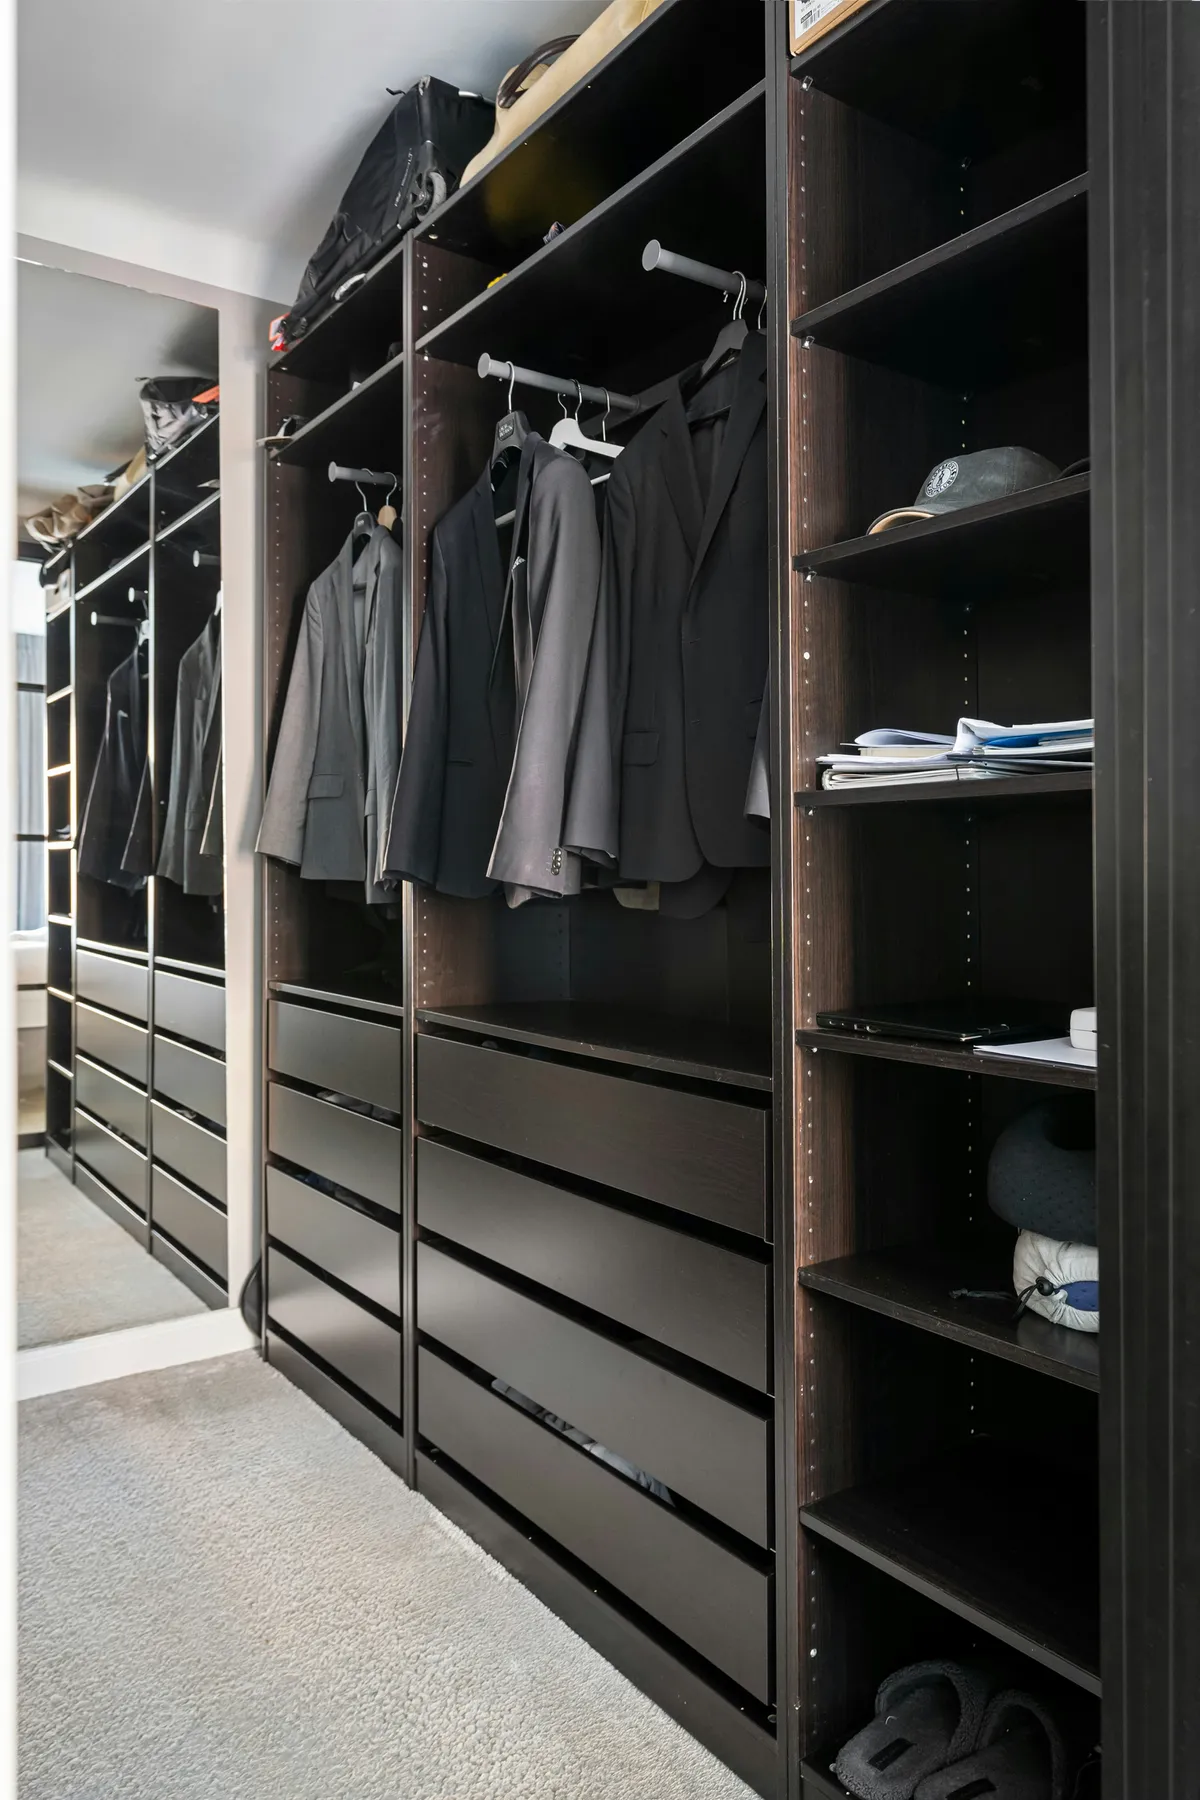
This dresser-in-a-walk-in idea works best in closets that have a bit of width to spare. Your closet should be at least 7 feet wide. This allows for a standard 2-foot-deep hanging section on one side, a 2-foot-deep dresser on the other, and a crucial 3-foot walkway in between. For narrower walk-ins (5-6 feet wide), placing a dresser will create a bottleneck. In that scenario, it’s better to opt for a shallower set of drawers (15-18 inches deep) or stick to hanging storage and shelves. Always prioritize comfortable circulation space.
19. Light Wood Built-In with Glass Upper Cabinets
This is a high-end, fully custom look. The cost is driven by the quality of the materials (likely a real wood veneer or high-end laminate) and the inclusion of glass doors. Here is a realistic budget estimate:
- Custom Millwork (dresser, shelving, glass doors): $4,000 – $9,000
- Professional Installation & Scribing: $1,000 – $2,500
- Hardware (pulls, hinges): $200 – $600
- Recessed LED Lighting: $300 – $700
- TOTAL: $5,500 – $12,800
Budget alternative: You can mimic this with IKEA’s PAX system using light wood-effect frames, KOMPLEMENT drawers, and glass-fronted door options like TYSSEDAL. The total for a similar-sized unit from IKEA would be closer to $900 – $1,500, plus your own labor.
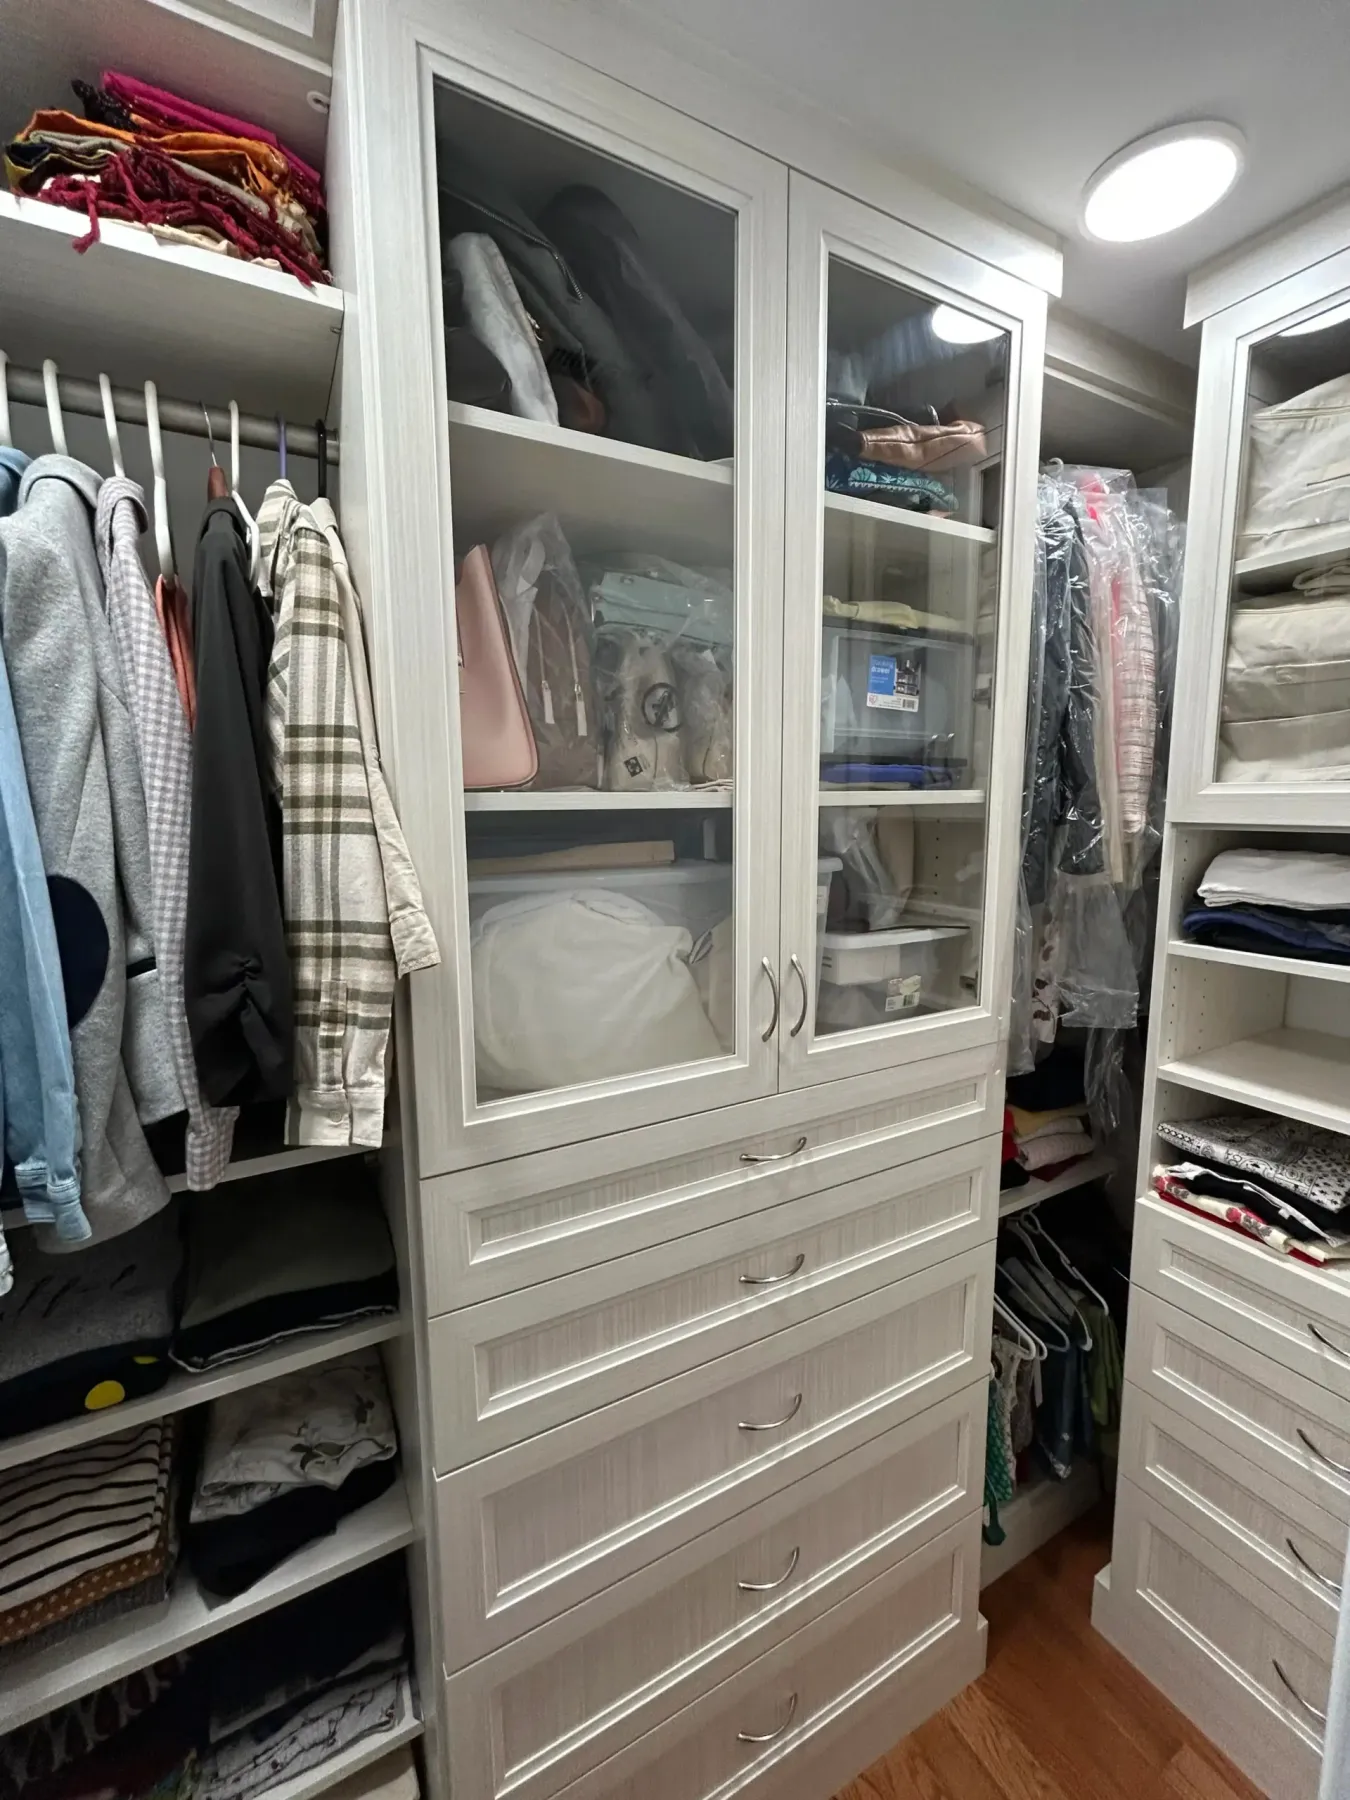
This design works so well because it balances display and concealment. The glass-front upper cabinets are perfect for displaying beautiful items you want to see, like folded sweaters, handbags, or hat boxes. Because they are behind glass, they stay dust-free. The solid drawers below are for the less aesthetic, everyday items—socks, underwear, workout gear. This creates a practical hierarchy of storage. The eye is drawn to the beautifully curated display up top, while the necessary clutter is neatly hidden away below. The recessed panel drawers add a touch of traditional detail to an otherwise modern system.
20. The Reality of a High-End Custom Closet
A no-expense-spared custom closet is a thing of beauty, but luxury materials often require luxury care. If you opt for real wood veneer, you’ll need to be mindful of humidity levels and avoid harsh chemical cleaners. High-gloss lacquer finishes, while stunning, are prone to fine scratches and fingerprints. Unlacquered brass hardware will develop a patina over time, which can be beautiful, but if you want it to stay shiny, it will require regular polishing. Before you sign off on that six-figure closet, have an honest conversation with your designer about the long-term upkeep of each material you select.
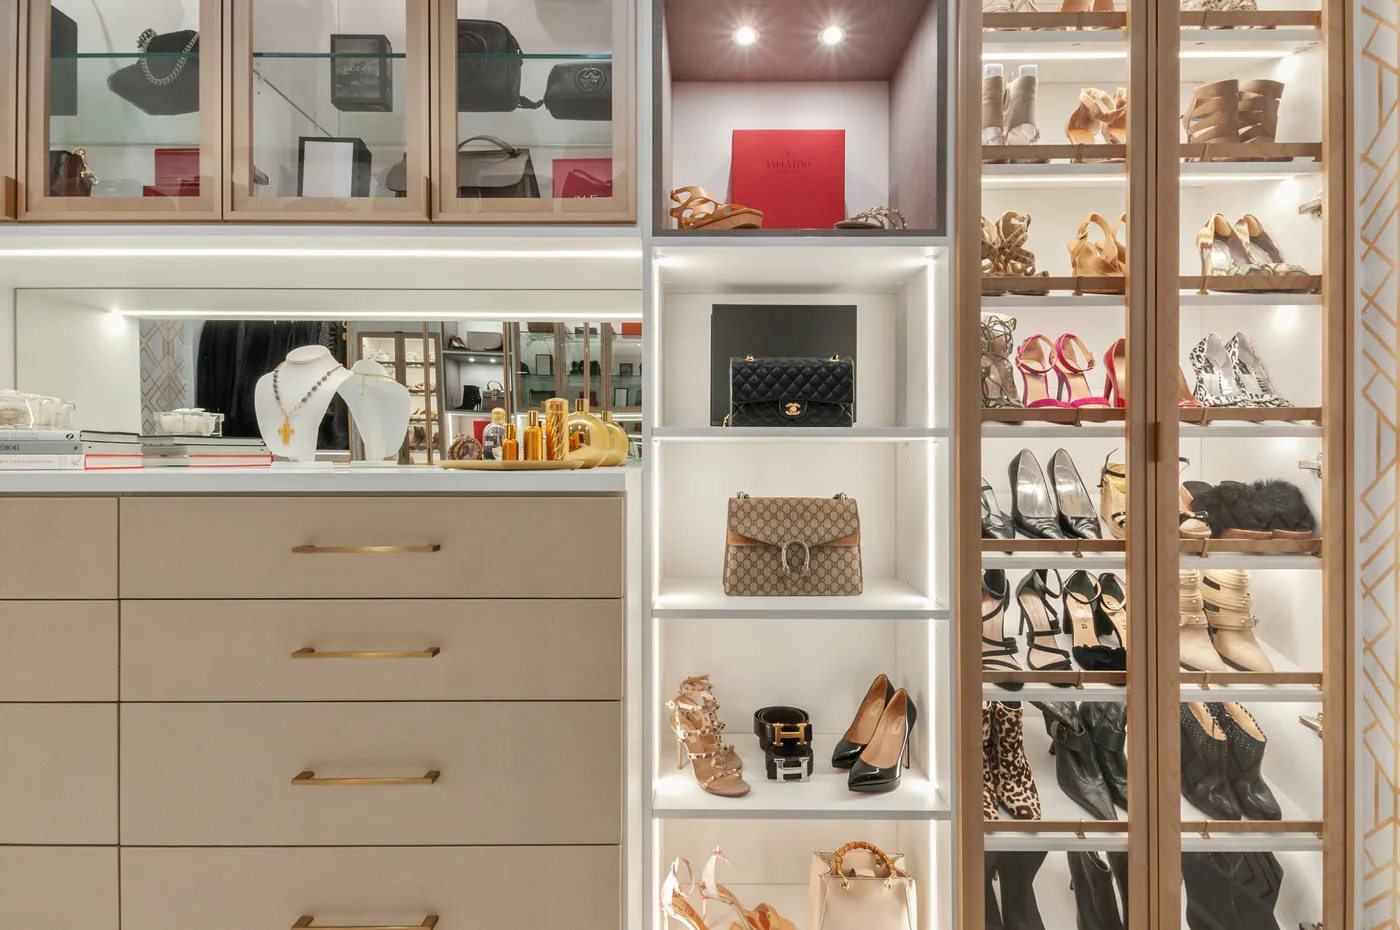
There’s a hidden cost to these gorgeous, expansive closets: the pressure to keep them perfect. When you’ve invested this much in a space, a pile of clothes on the floor or an overstuffed drawer can feel like a failure. A beautiful closet doesn’t magically make you an organized person. It provides the tools, but you still have to build the habits of putting things away. Be realistic about your own tidiness level. If you’re not naturally neat, a system with more closed doors and drawers (and fewer open shelves) might be a better fit for your real life than a hyper-organized, boutique-style display. For a more attainable goal, look at the budget-friendly setup in Idea #12.
21. A Smart IKEA Closet Makeover Using the PAX System
An IKEA closet makeover is a fantastic DIY project. The key to success is in the planning phase. Here’s how to plan your PAX closet like a pro:
- Measure your space three times: at the bottom, middle, and top. Walls are rarely perfectly straight. Use the smallest measurement for your plan.
- Use IKEA’s online PAX planner. It’s a powerful tool that lets you drag and drop frames, drawers, and organizers. It will generate a complete shopping list for you.
- Think in zones: create a zone for long-hang items, double-hang for shirts, drawers for folded clothes, and shelves for shoes and bags.
- Order more than you think you need, especially small parts like screws and shelf pins. You can always return what you don’t use.
- Plan your pickup or delivery. These boxes are long and extremely heavy. Make sure they’ll fit in your vehicle or through your doorways.
A few hours of careful planning can save you a full day of frustration.
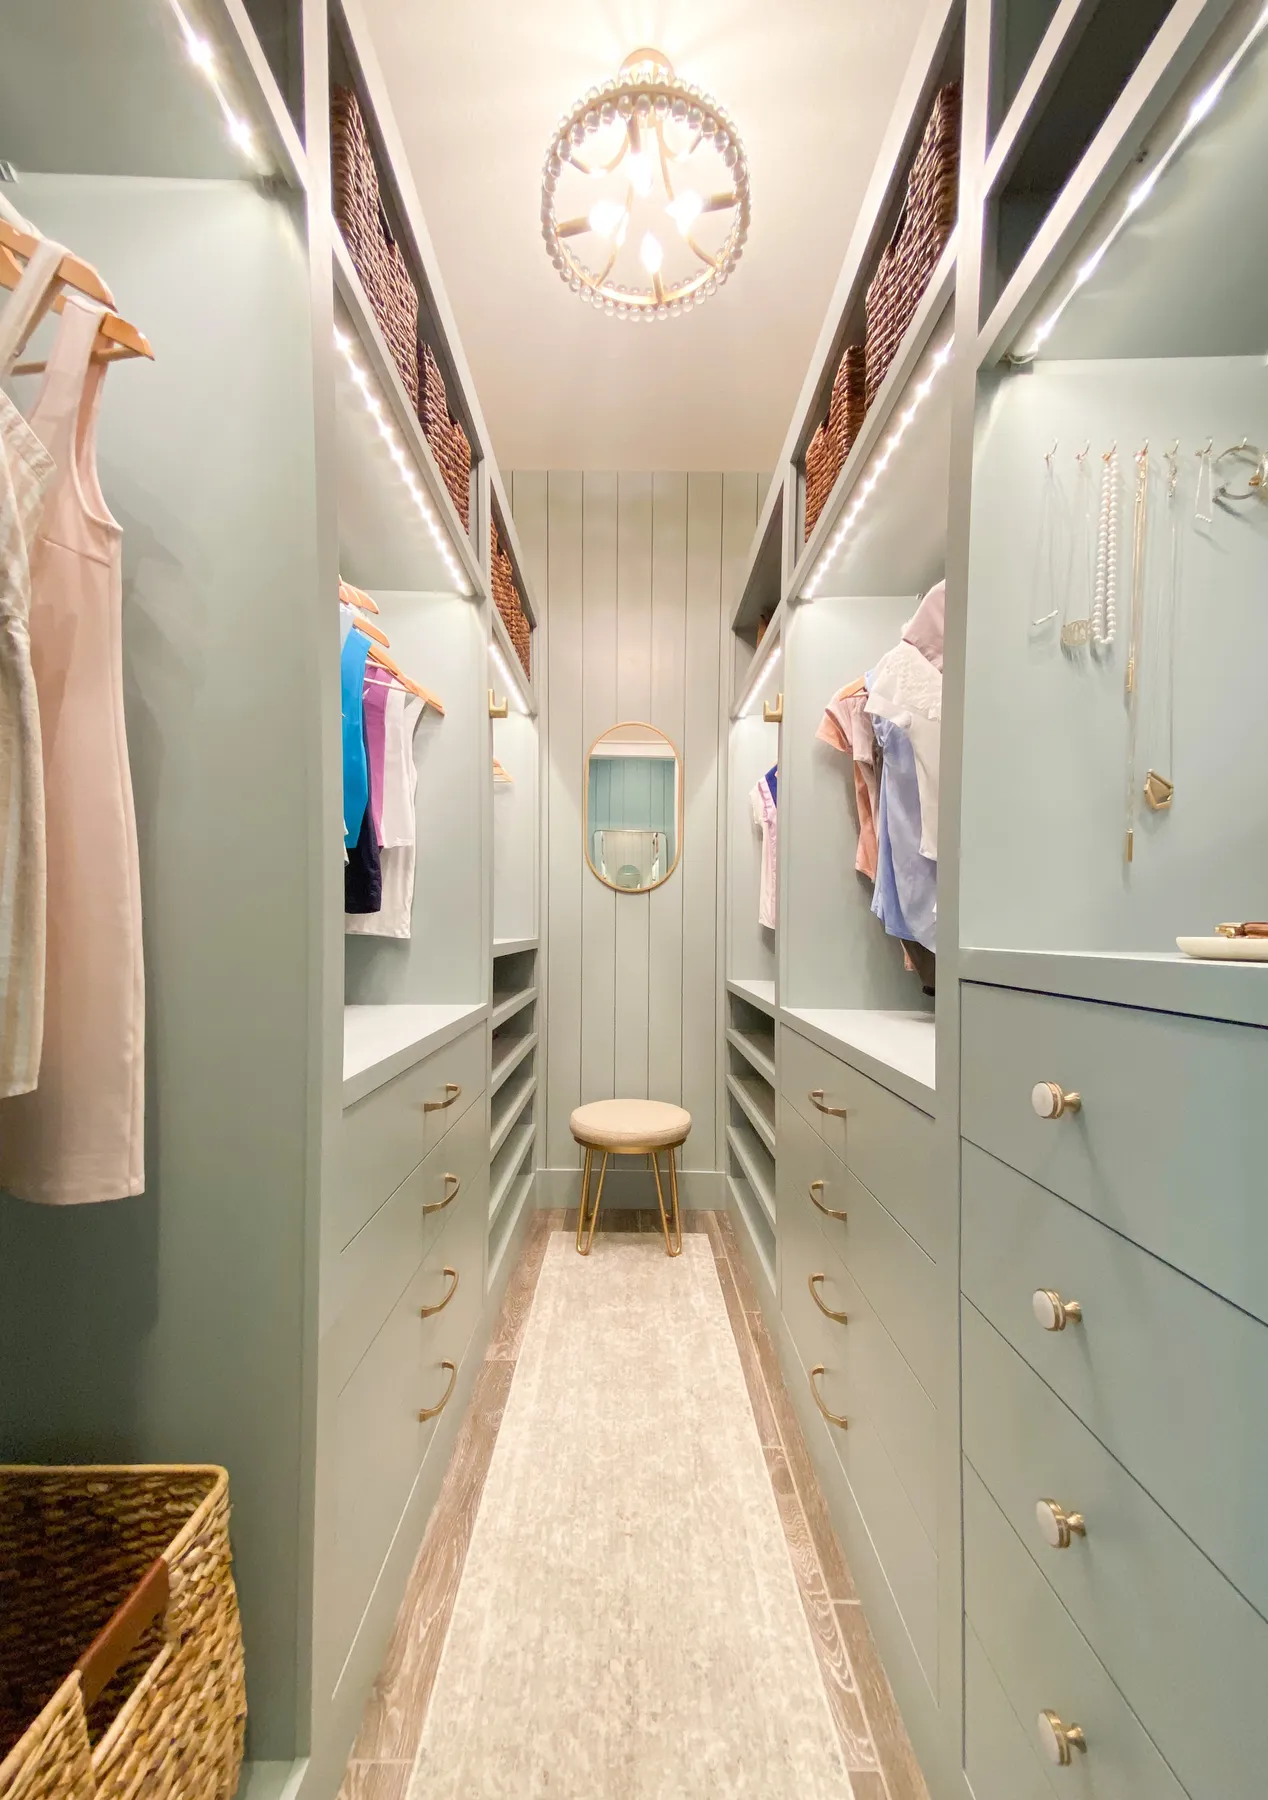
While this idea shows a full-blown makeover, you don’t have to do it all at once. The beauty of the IKEA PAX and KOMPLEMENT system is its modularity. Start with the basics: the frames and a hanging rod. This initial investment could be as low as $300-$500. Then, as your budget allows, you can add components month by month. Add a set of drawers one month ($60-$100), a pull-out shoe shelf the next ($40), and maybe glass-front doors a year later. This approach lets you build your dream closet over time without a massive upfront cost. It’s a much more accessible path to a custom look, very similar to the strategy used in Idea #4.
22. Bold Teal Closet with Brass Pulls and a Striped Ceiling
This closet proves that storage spaces don’t have to be boring. The style formula is about confident choices: 70% bold, saturated color + 20% graphic pattern + 10% warm metallic. The deep teal on the built-ins provides a rich, enveloping base. The black and white diagonal stripes on the ceiling are an unexpected, playful counterpoint that draws the eye upward and makes the space feel special. The polished brass hardware and light fixture add the essential touch of warmth and luxury. This is a design for someone who isn’t afraid of making a statement.
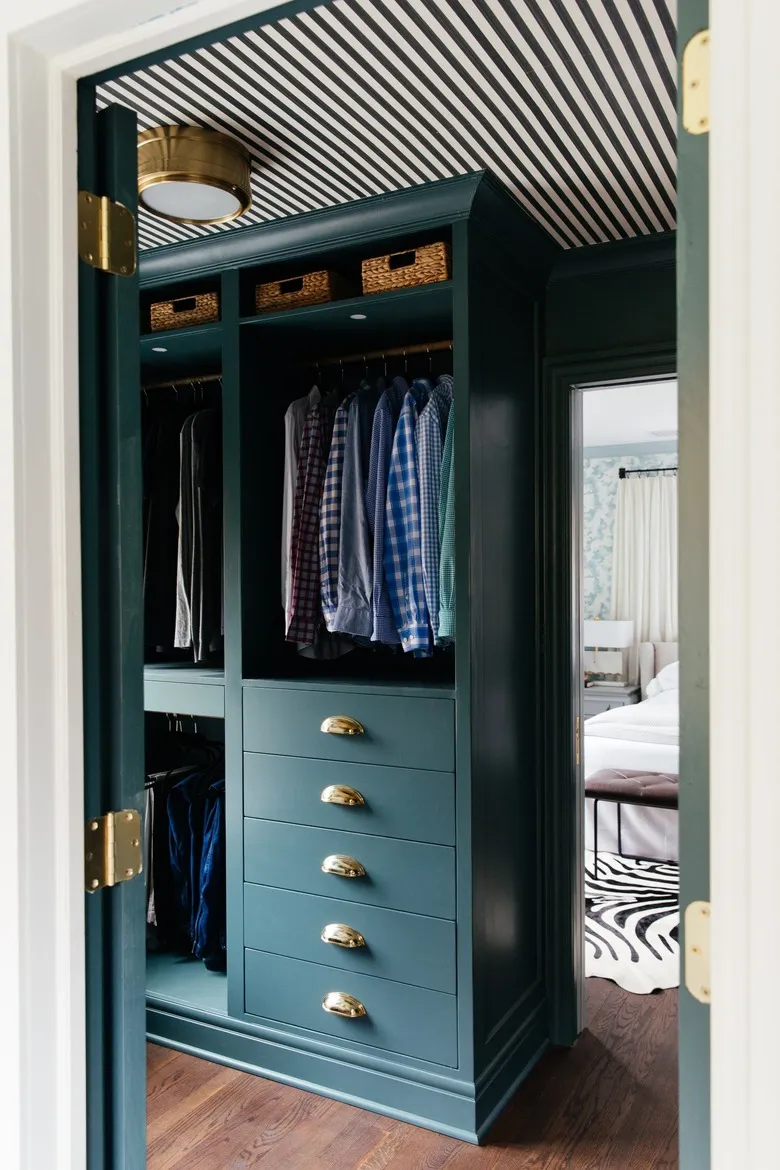
that makes this entire design sing is the striped ceiling. Without it, you’d have a lovely, well-made teal closet. It would be nice, but not memorable. The ceiling is a stroke of genius—it’s a fifth wall of pattern that adds energy and a bespoke, decorator touch. It proves that you should consider every surface in a small space. This bold move transforms the closet from a functional nook into a jewel box, a hidden gem within the home. It’s a reminder that sometimes, the most impactful design choice is the one people least expect.
23. Light Wood Closet System with Personalized Display Shelf
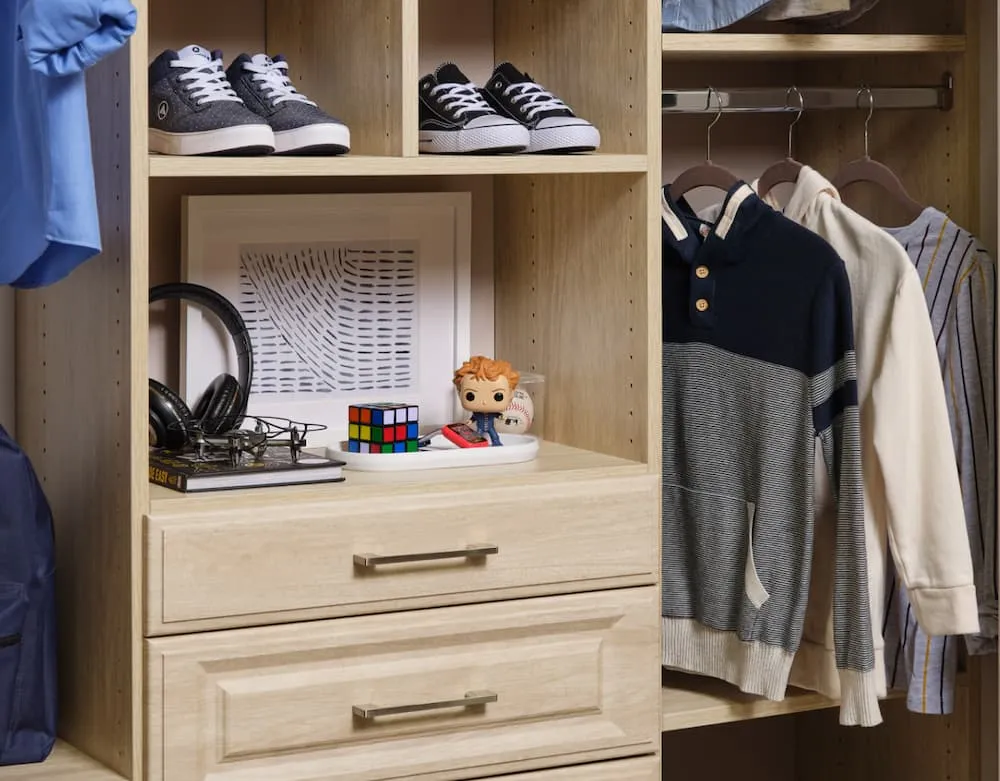
When designing a closet system, include at least one ‘non-functional’ display shelf. This seems counterintuitive in a space dedicated to pure function, but it’s crucial for making the closet feel personal and inviting. Dedicate one open shelf, perhaps above your dresser drawers, for things that aren’t clothes. Display a framed piece of art, your favorite headphones, a stack of books, or a sentimental object. This small area of personal expression prevents the closet from feeling like a sterile stockroom and turns it into a space that is truly yours.
|
📋 Copy HEX 🔗 Share |
This design works because it’s a perfect example of functional minimalism. The overall system is clean and simple, with flat-panel drawers and a neutral light-wood finish. There’s no unnecessary ornamentation. However, it’s not cold or sterile because the items on display—the art, the personal tech—and the clothes themselves provide the color and personality. The closet structure acts as a quiet, organized framework that allows the owner’s personal style to be the focus. It’s a backdrop, not the main event, which is a very sophisticated approach to design.
24. Luxury Walk-In Closet with High-End Finishes
A truly luxurious walk-in closet with features like chandeliers, glass display cases, and extensive custom cabinetry requires significant space. We’re not talking about a spare bedroom; we’re talking about a dedicated room. The minimum footprint for a closet of this caliber is typically around 150 square feet (e.g., 10×15 feet) with 9-foot or higher ceilings. If you plan to include a central island, the minimum width should be closer to 12 feet to allow for comfortable 3-foot walkways on either side. Anything smaller will feel like a scaled-down, compromised version of this grand vision.
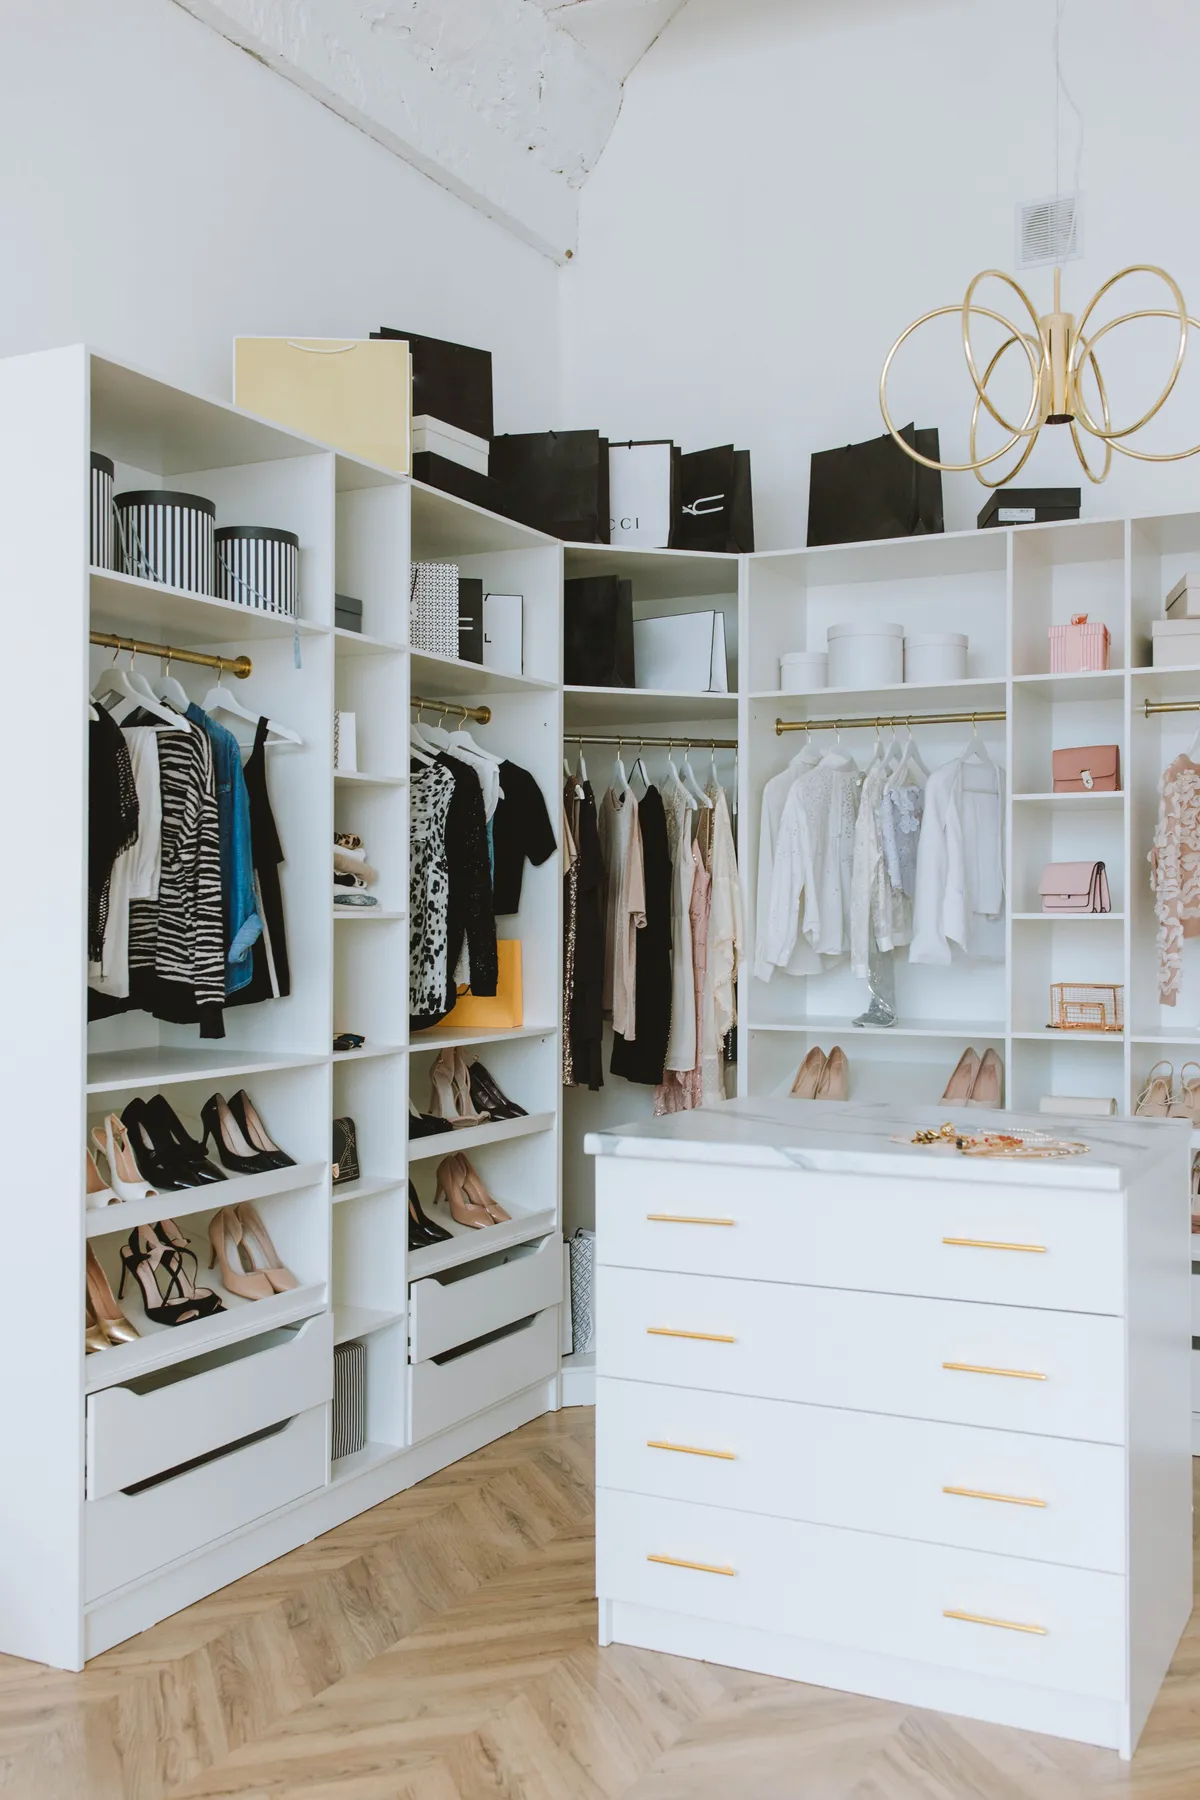
A project of this scale is a major renovation, not just a decorating project. Before you even call a designer, confirm these critical points:
- Budget: Be realistic. A closet like this can easily cost as much as a kitchen renovation, from $25,000 to $100,000+. Have your financing in order.
- Electrical Plan: Where will the chandeliers, outlets, and integrated LED lighting go? This needs to be planned with an electrician early on.
- HVAC: A room of this size, especially if it’s enclosed, needs proper ventilation to protect your clothing and prevent it from feeling stuffy.
- Structural Check: If you’re adding a heavy stone-topped island, ensure your floor joists can support the weight.
From Cluttered to Curated: Your Closet’s Next Chapter
Hopefully, these ideas have sparked some serious inspiration! Remember, the best closet design isn’t just about storage; it’s about creating a calm, functional space that makes getting ready a little more joyful. Pick a favorite, start a mood board, and make it happen.
Don’t forget to Pin your favorite looks to your home decor boards so you can find them again when you’re ready to start your project!