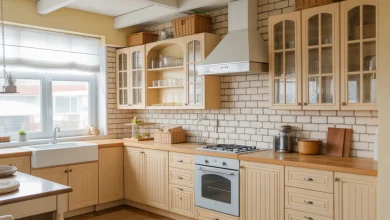
How to Paint Kitchen Cabinets Like a Pro: My Step-by-Step DIY Makeover That Transformed My Kitchen
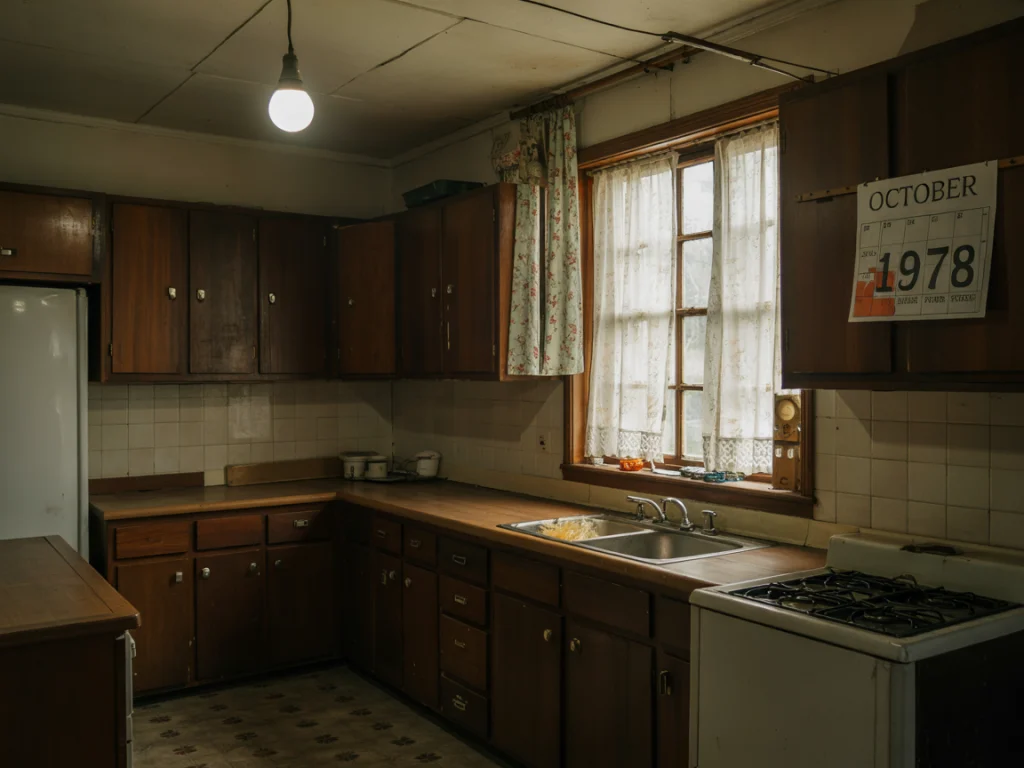
Has your kitchen ever made you think, “There has to be more we can do with it”? That was me last spring. All the time, I was wishing my plain, builder-grade brown cabinets could change. They made the whole kitchen feel dark and outdated. I didn’t have enough money to do a big renovation, but I needed something fresh.
After I’d gone through many home ideas on Pinterest and watched several DIY TikToks, I decided I had seen enough. I started with my paintbrush to give my cabinets a brand new look myself. I’ll let you know what approaches worked for me which didn’t and the things I learned along the way.
Here’s a guide to the basic things you should be aware of before painting your kitchen cabinets.
First, let’s see what the process includes before we start the steps. Doing your kitchen cabinets right is not as simple as just painting them. It’s about planning, patience, and prep work. But trust me—it’s worth every second.
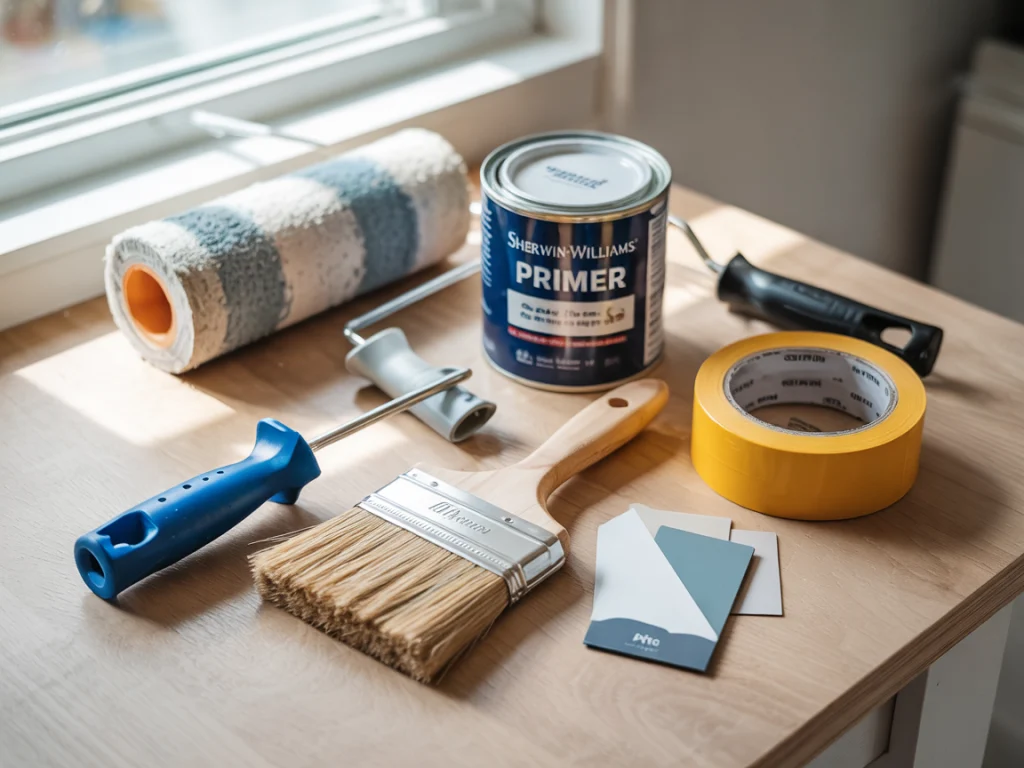
Supplies You’ll Need
- Degreaser cleaner
- Sandpaper (medium and fine grit)
- Painter’s tape
- Primer (stain-blocking)
- Cabinet paint (I used a satin finish)
- Foam roller and angled brush
- Screwdriver
- Drop cloths and rags
My tools and materials were at home, but I bought better quality primer and paint. The quality of the cabinets improved a lot because of those decisions.
Step-by-Step: How I Painted My Kitchen Cabinets
1. Take Off All Doors and Hardware
If you take off the doors and handles, painting will be smoother and there will be no mess. Place a sticker or marker on each door to remember where each one leads. I made the mistake of skipping this step once and it turned out to be very frustrating to match the hinges up again.
2. Clean Everything Thoroughly
Kitchen cabinets build up years of grime. I used a degreaser and got to scrubbing as if my mother-in-law was on the way. Paint sticks best to clean surfaces—don’t skip this step!
3. Sand and Wipe Down
I very lightly sanded to remove the shine and make the area rougher. Then I wiped everything down with a damp cloth. Don’t forget the edges and corners!
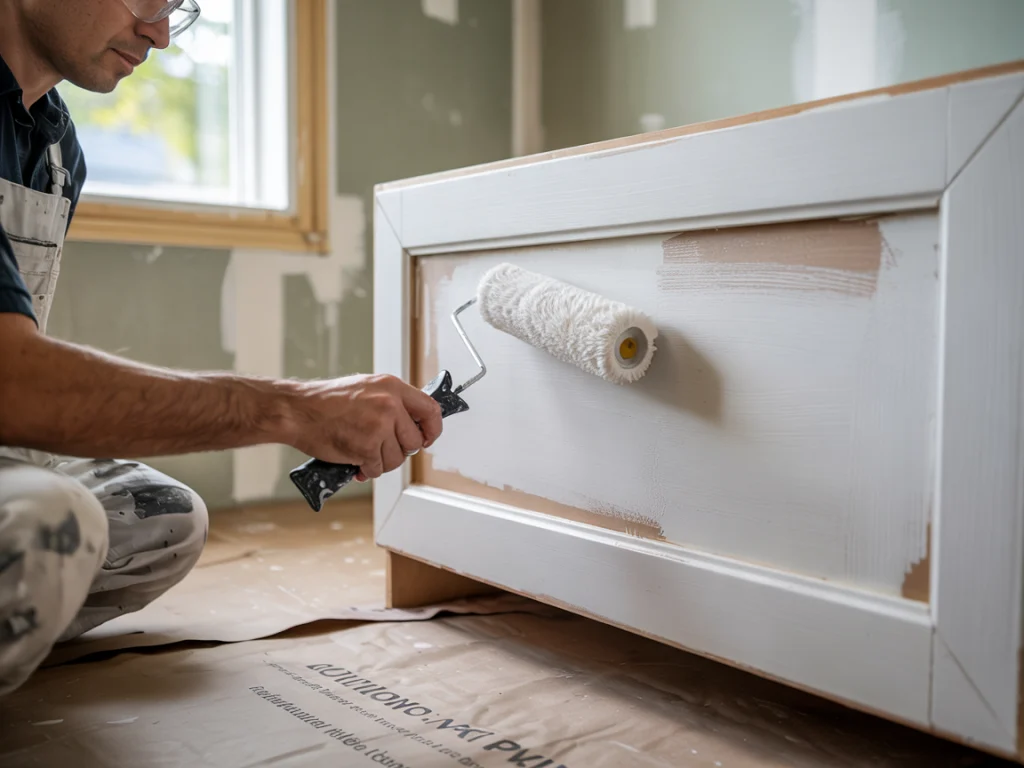
4. Prime Your Cabinets
This is the foundation. A solid primer prevents stains from happening and helps the color go on smoothly. I applied a stain-blocking primer, gave it time to dry and let it cure completely. It’s not exciting—but it’s crucial.
5. Paint with Patience
I put down two light coats of paint on the ceiling, letting them dry completely overnight each time. A small angled brush helped with detailed areas. The transformation after just the first coat was jaw-dropping.
6. Let It Cure Before Reassembling
This was the hardest part—waiting. Before I put the doors and hardware back, I let the cabinets dry and cure for three days. The wait was worth it.
My Favorite Painting Hacks
- Put screws into sandwich bags and mark each bag with a sticky note.
- Start on the back of the doors since that area usually has more beginner mistakes.
- Use protective door bumpers that can be removed when dry, to protect against marks.
What I Wish I Knew Before
If you save money by using less paint now, the result will be stains appearing through your finished layer of paint.
Removing the doors before moving will help when it’s time to reattach them.
| Lesson | Why It Matters |
|---|---|
| Primer really is non-negotiable | |
| Drying time is not optional | Paint that isn’t fully cured chips easily—and quickly |
| Labeling saves your sanity |
The Emotional Payoff
One of my favorite moments? When my best friend suddenly showed up, looking surprised and said, “Wow, you put in new cabinets?” I smiled and said, “Nope. Just paint and persistence.” That moment made it all worth it.
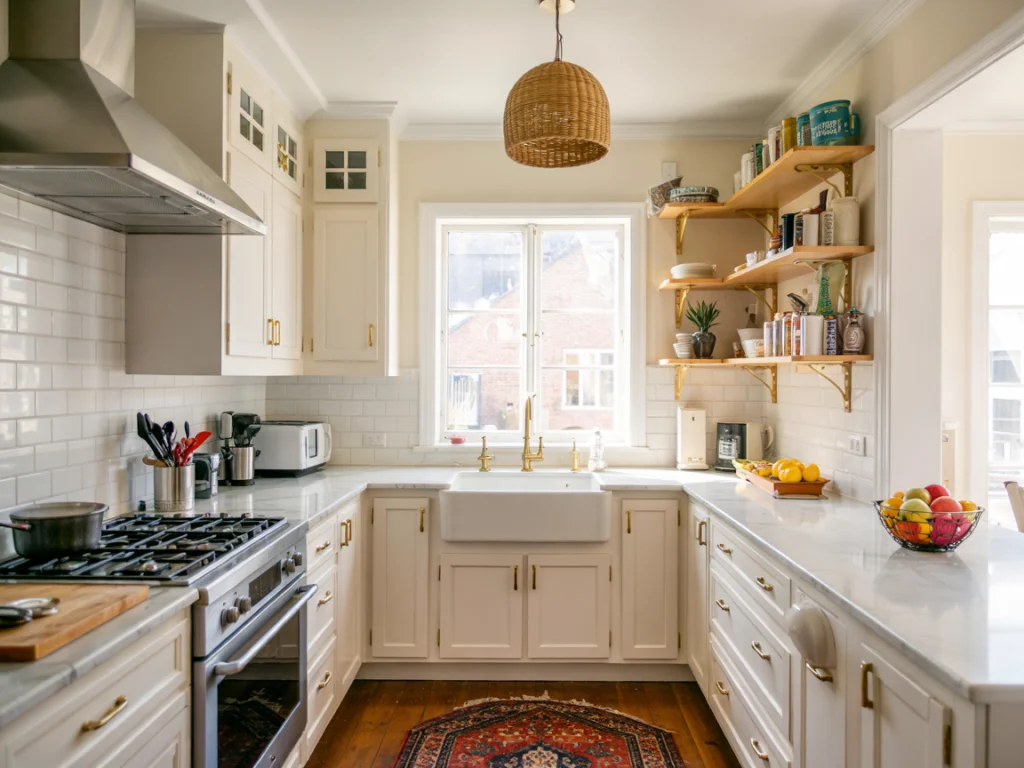
It brings me enormous joy every day to observe my old kitchen looking fresh, clean and brand-new. Really, it’s like I received a fresh, beautiful home, but for a reasonable budget.
My Final Thoughts
Here are a few takeaways I hope inspire you:
- Prep is everything. Rushing the early steps just leads to regret later.
- Invest in quality paint. Cheap paint = more coats + more frustration.
- Patience pays off—especially with drying time.
- Keep your expectations realistic. Perfection isn’t the goal—progress is.
- It’s okay to make mistakes. You’re learning, and you’re improving your home with love.
Where is the area inside your house that could benefit from a little do-it-yourself magic? Have you thought about painting your kitchen cabinets too? Let me know in the comments and I will cheer you on!