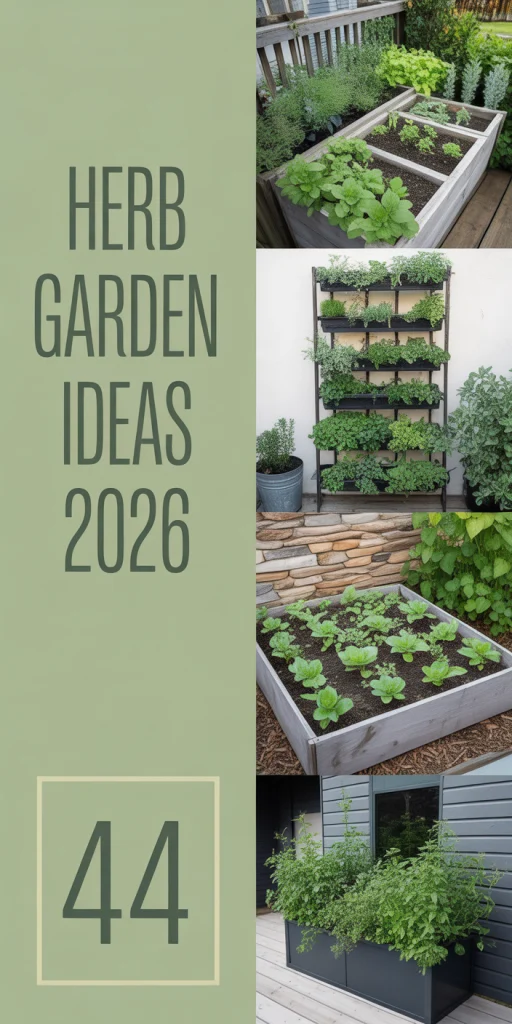
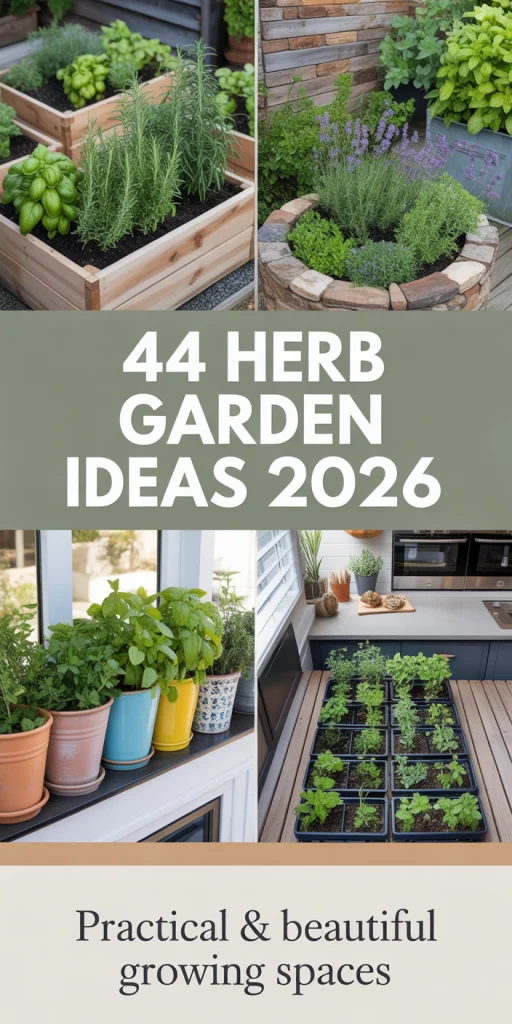
44 Genius Herb Garden Ideas for 2026 That Transform Any Space Into a Fresh Flavor Factory
Herb gardens are having a major moment in 2026, and it’s easy to see why. From tiny apartment balconies to sprawling backyards, Americans are rediscovering the joy of snipping fresh basil for dinner or grabbing mint for morning tea. Pinterest searches for herb garden setups have surged as more people crave that connection to what they eat and a bit of green therapy at home. Whether you’re working with a sunny windowsill or a full outdoor plot, these ideas will help you grow your own flavorful mini-farm with style and ease.
1. Tiered wood planters for small decks
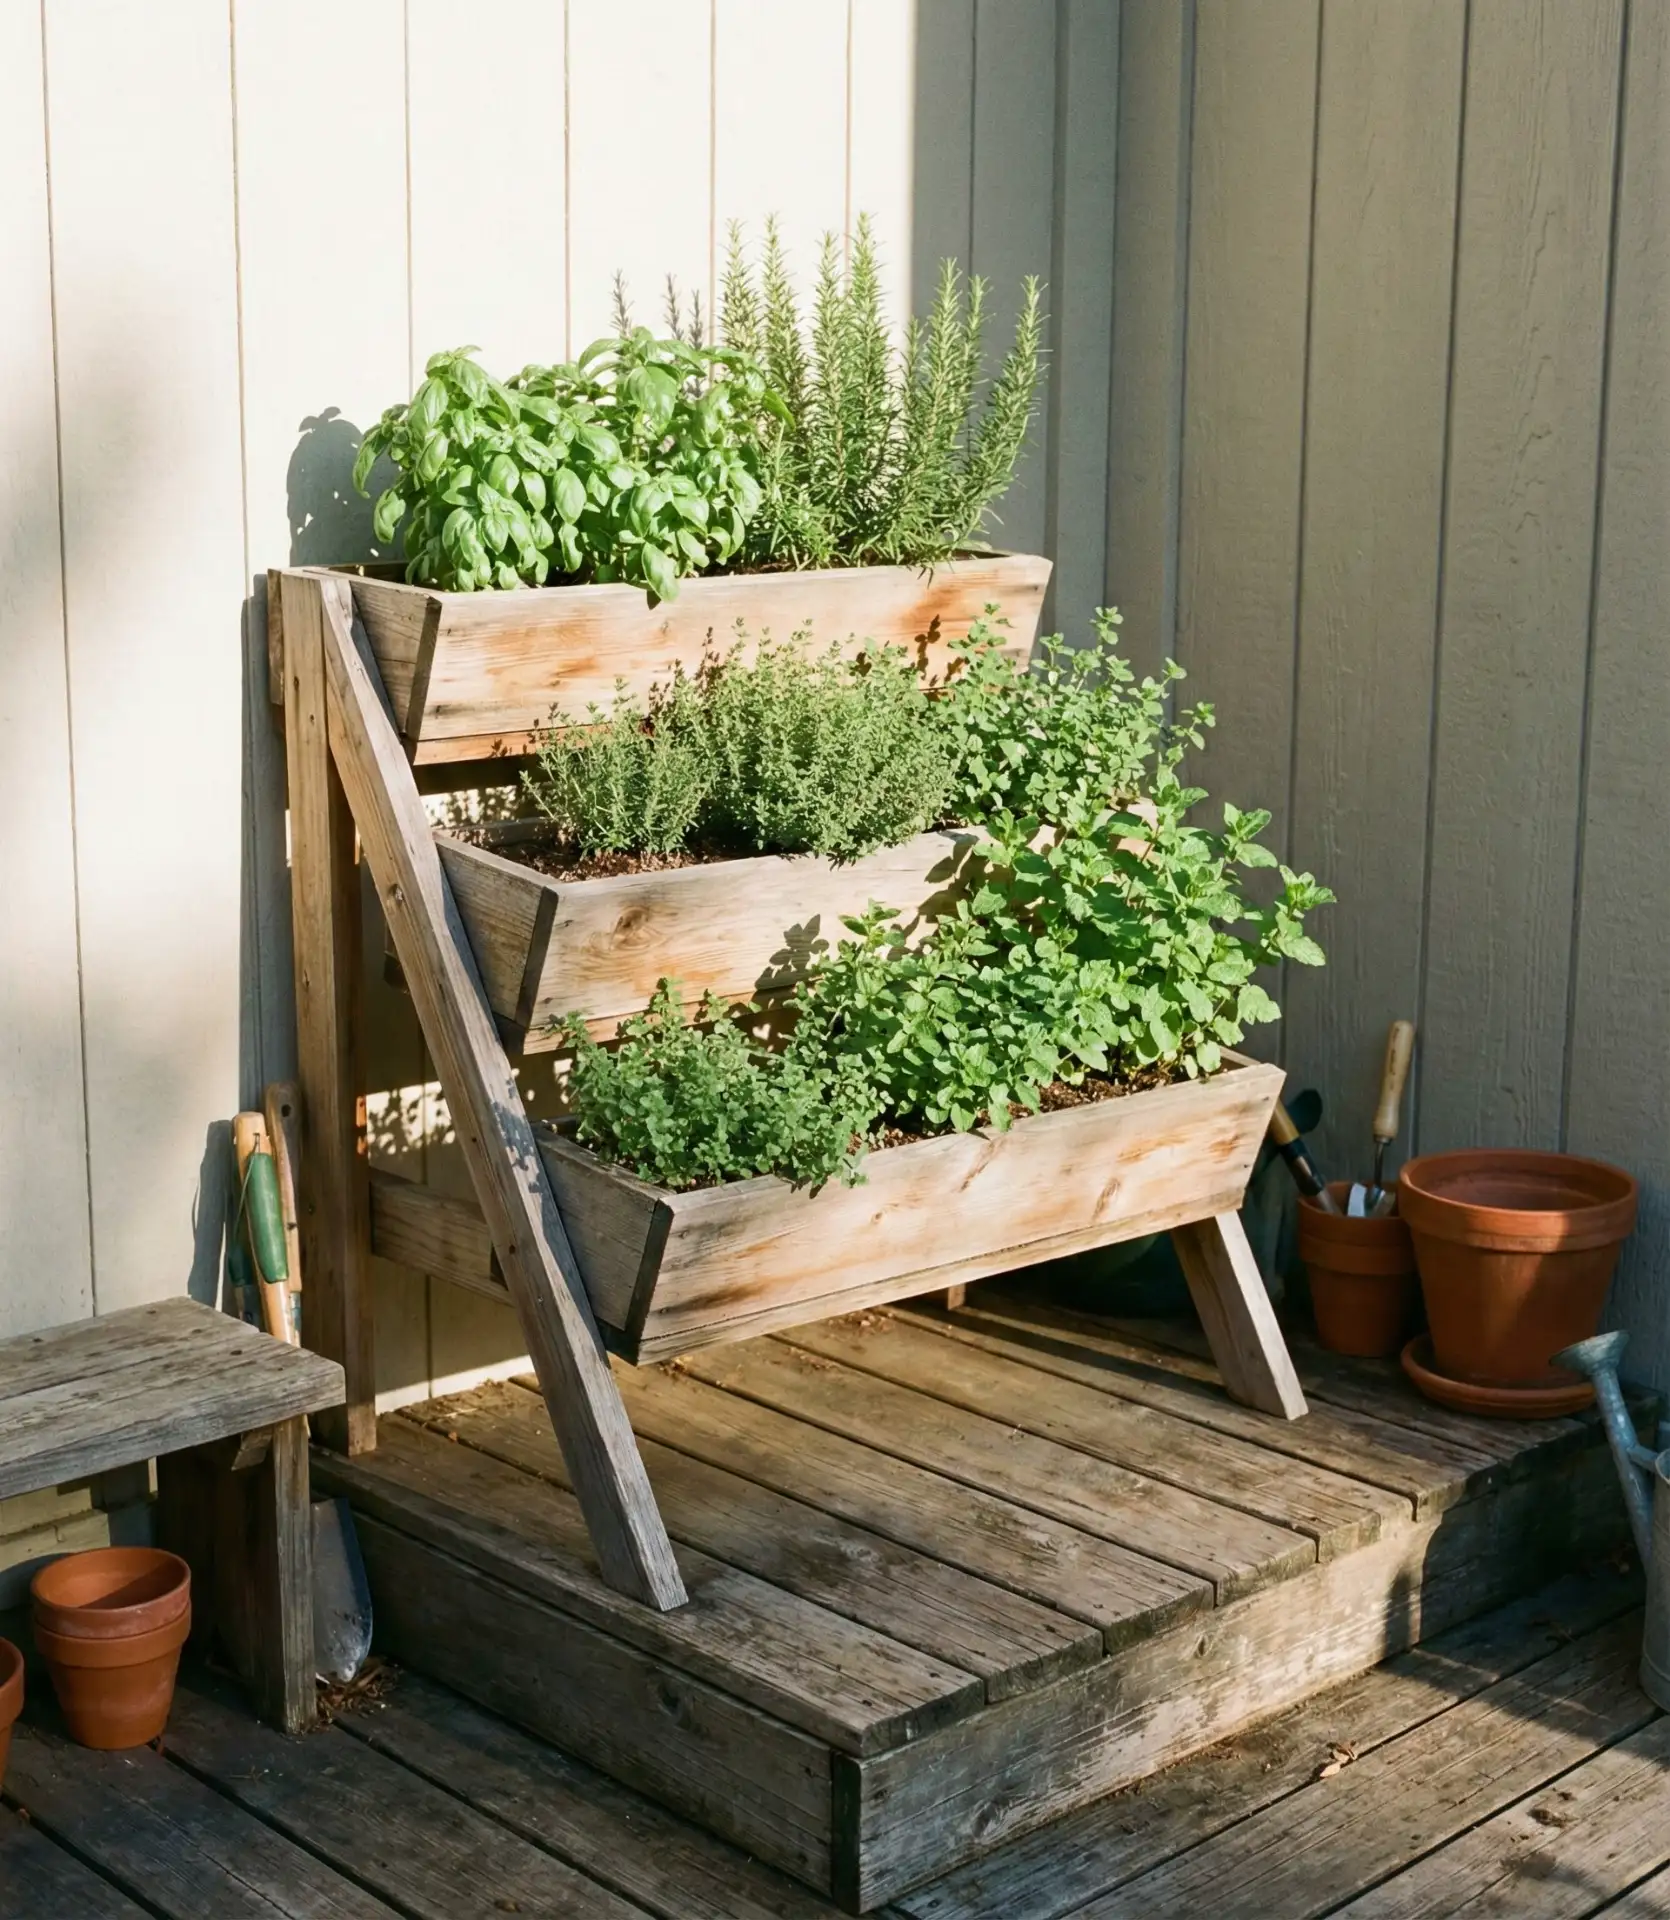
A tiered wooden planter makes even the smallest of small decks for an herb garden. The stack is of three or four levels of cedar or pine boxes containing different herbs—basil at the top, where it gets sun most directly; parsley and chives in the middle; and shade-tolerant mint at the bottom. The vertical construction takes up minimal space while increasing the amount of room for plants, so you can set them out on your patio or balcony and still have plenty of floor real estate. 
Budget-conscious gardeners like this approach because untreated cedar planters cost from $40 to $60, and you can DIY one from less than $10 worth of basic lumber and screws. The secret is to have each tier with drainage holes and add good-quality potting mix, which will not compact. Water it from above and let it flow down, but ensure thirst doesn’t equal sog without thoroughly testing lower levels; mint in particular can’t handle wet feet, although its thirsty reputation suggests otherwise.
2. The galvanized trough on the front yard path
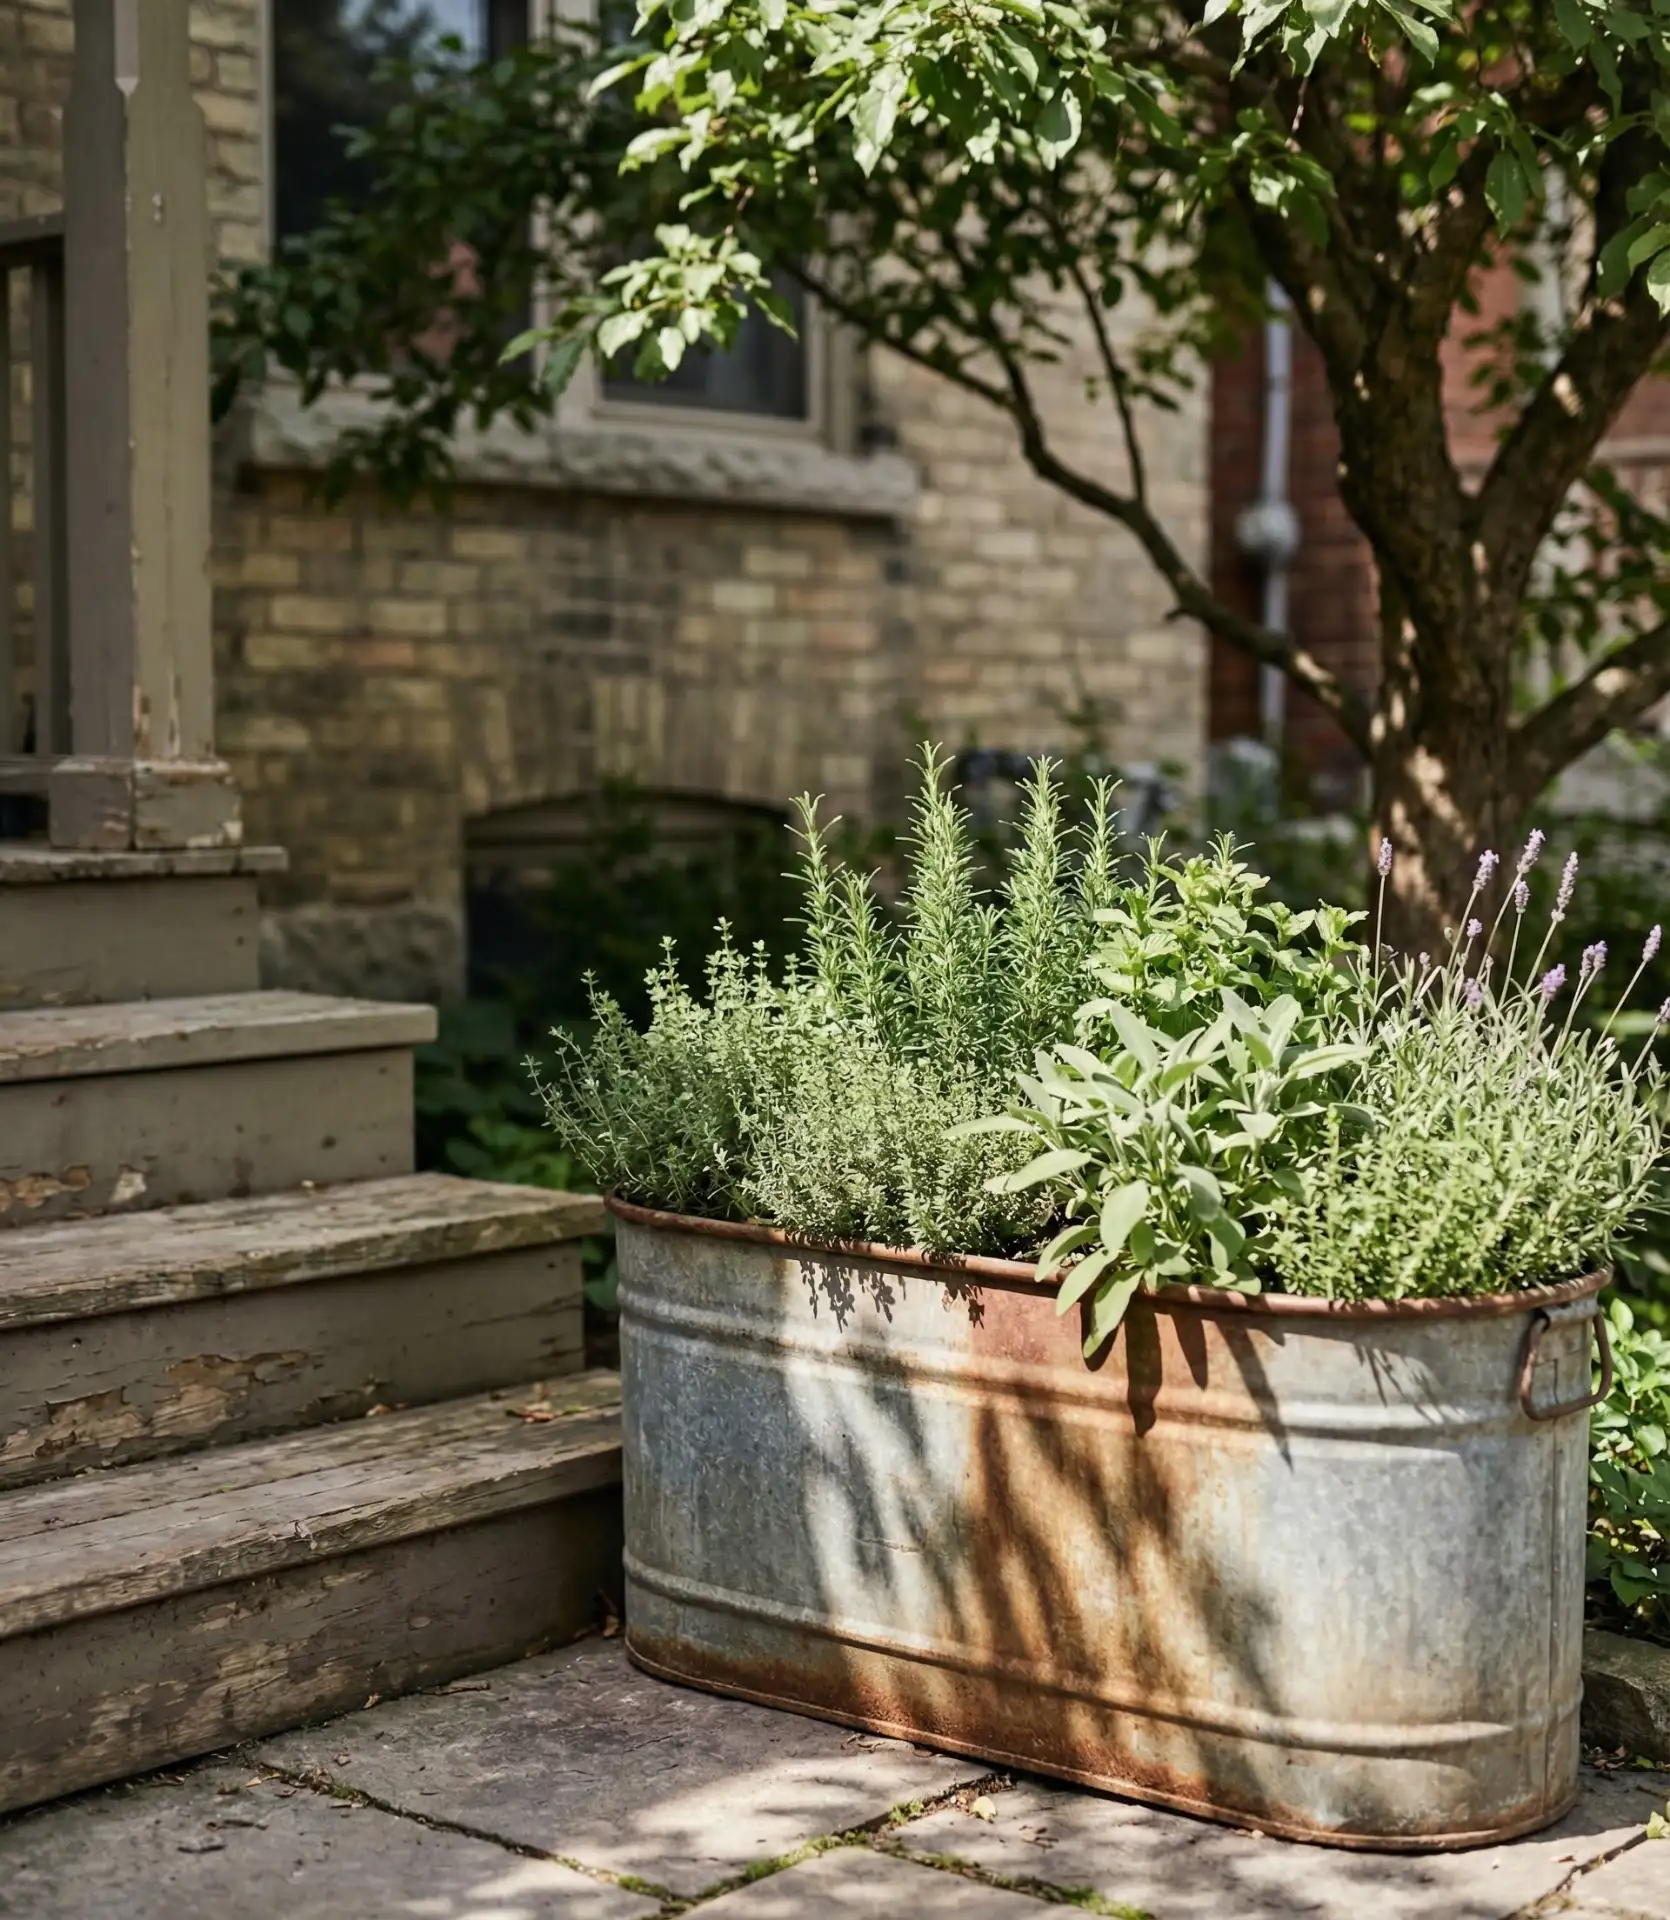
A large metal trough placed along your front yard walkway is the perfect edible border that’s both functional and charming. Designed as a livestock waterer, these troughs have become a farmhouse-chic holdover for growing outdoor herbs such as rosemary, thyme, and oregano. The short stature is so well suited to Mediterranean herbs, and the metal absorbs heat, recreating the warm hillsides these plants favor. Place it somewhere you pass by daily—the fragrance cue is a reminder to actually use what you grow. 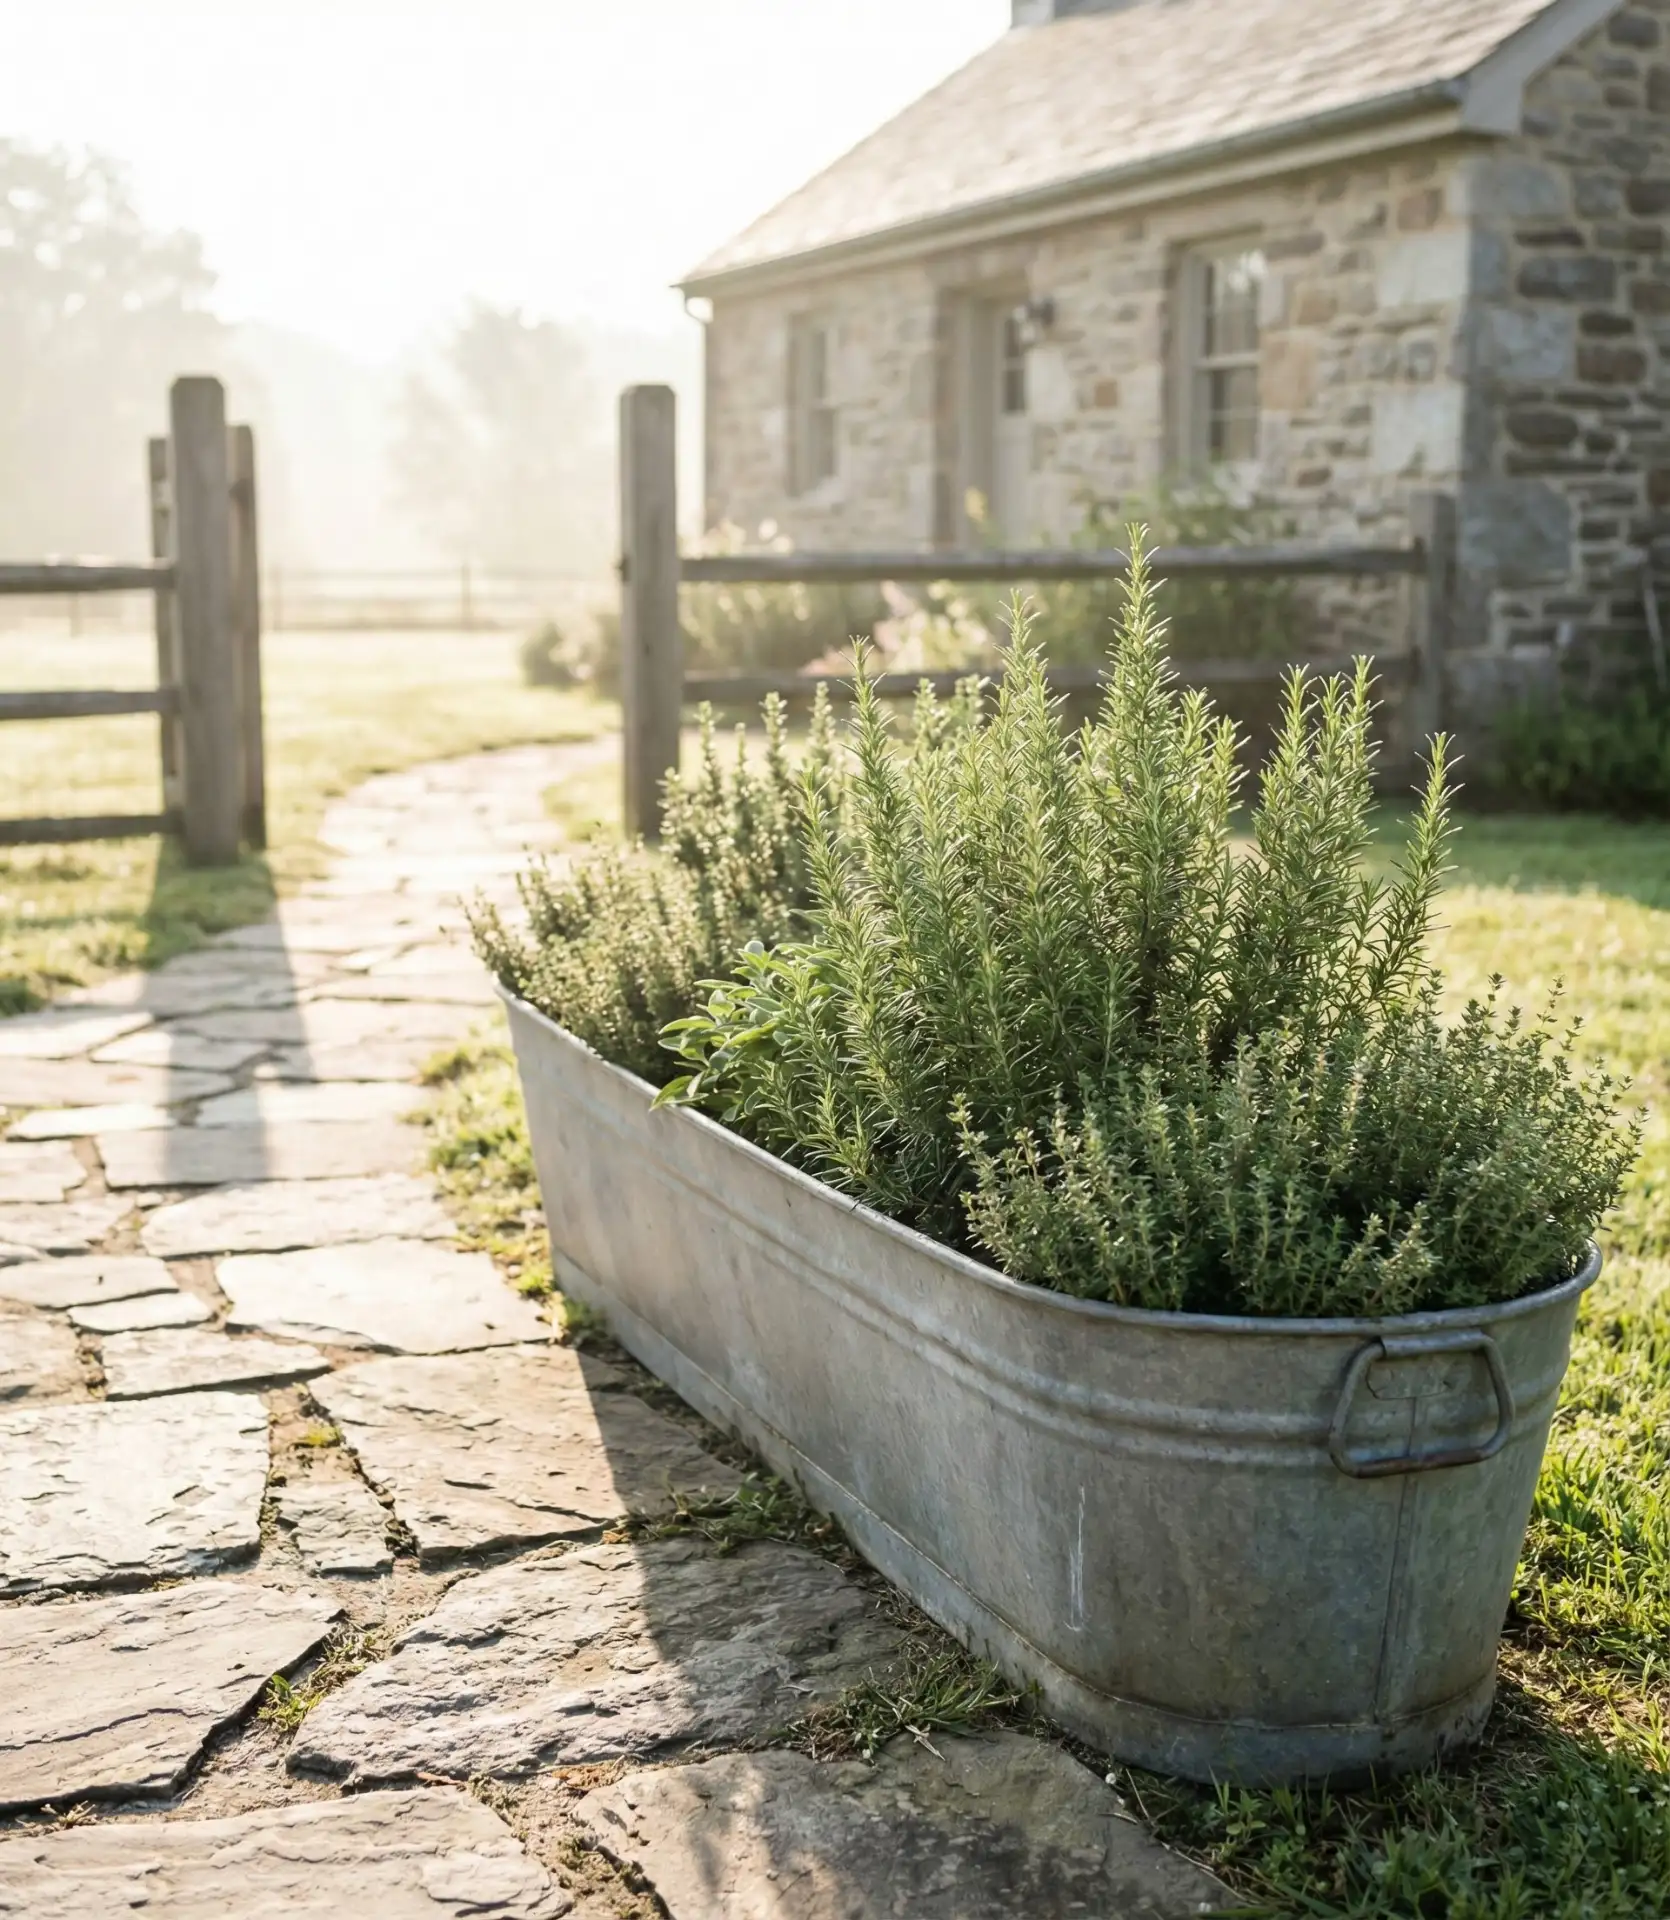
The design is especially effective in zones 6–9, where winters are mild enough that woody herbs live through the winter and you can have a permanent edible landscape feature. If you live in a cooler region, look at the design as a seasonal planting or opt for varieties that can handle cold, such as sage and winter thyme. My neighbor in Vermont carts her entire trough into an unheated garage beginning in November and trundles it back outdoors around April: 10 months of fresh herbs with next to no trouble.
3. Mason Jar Wall Grid for the Kitchen Window
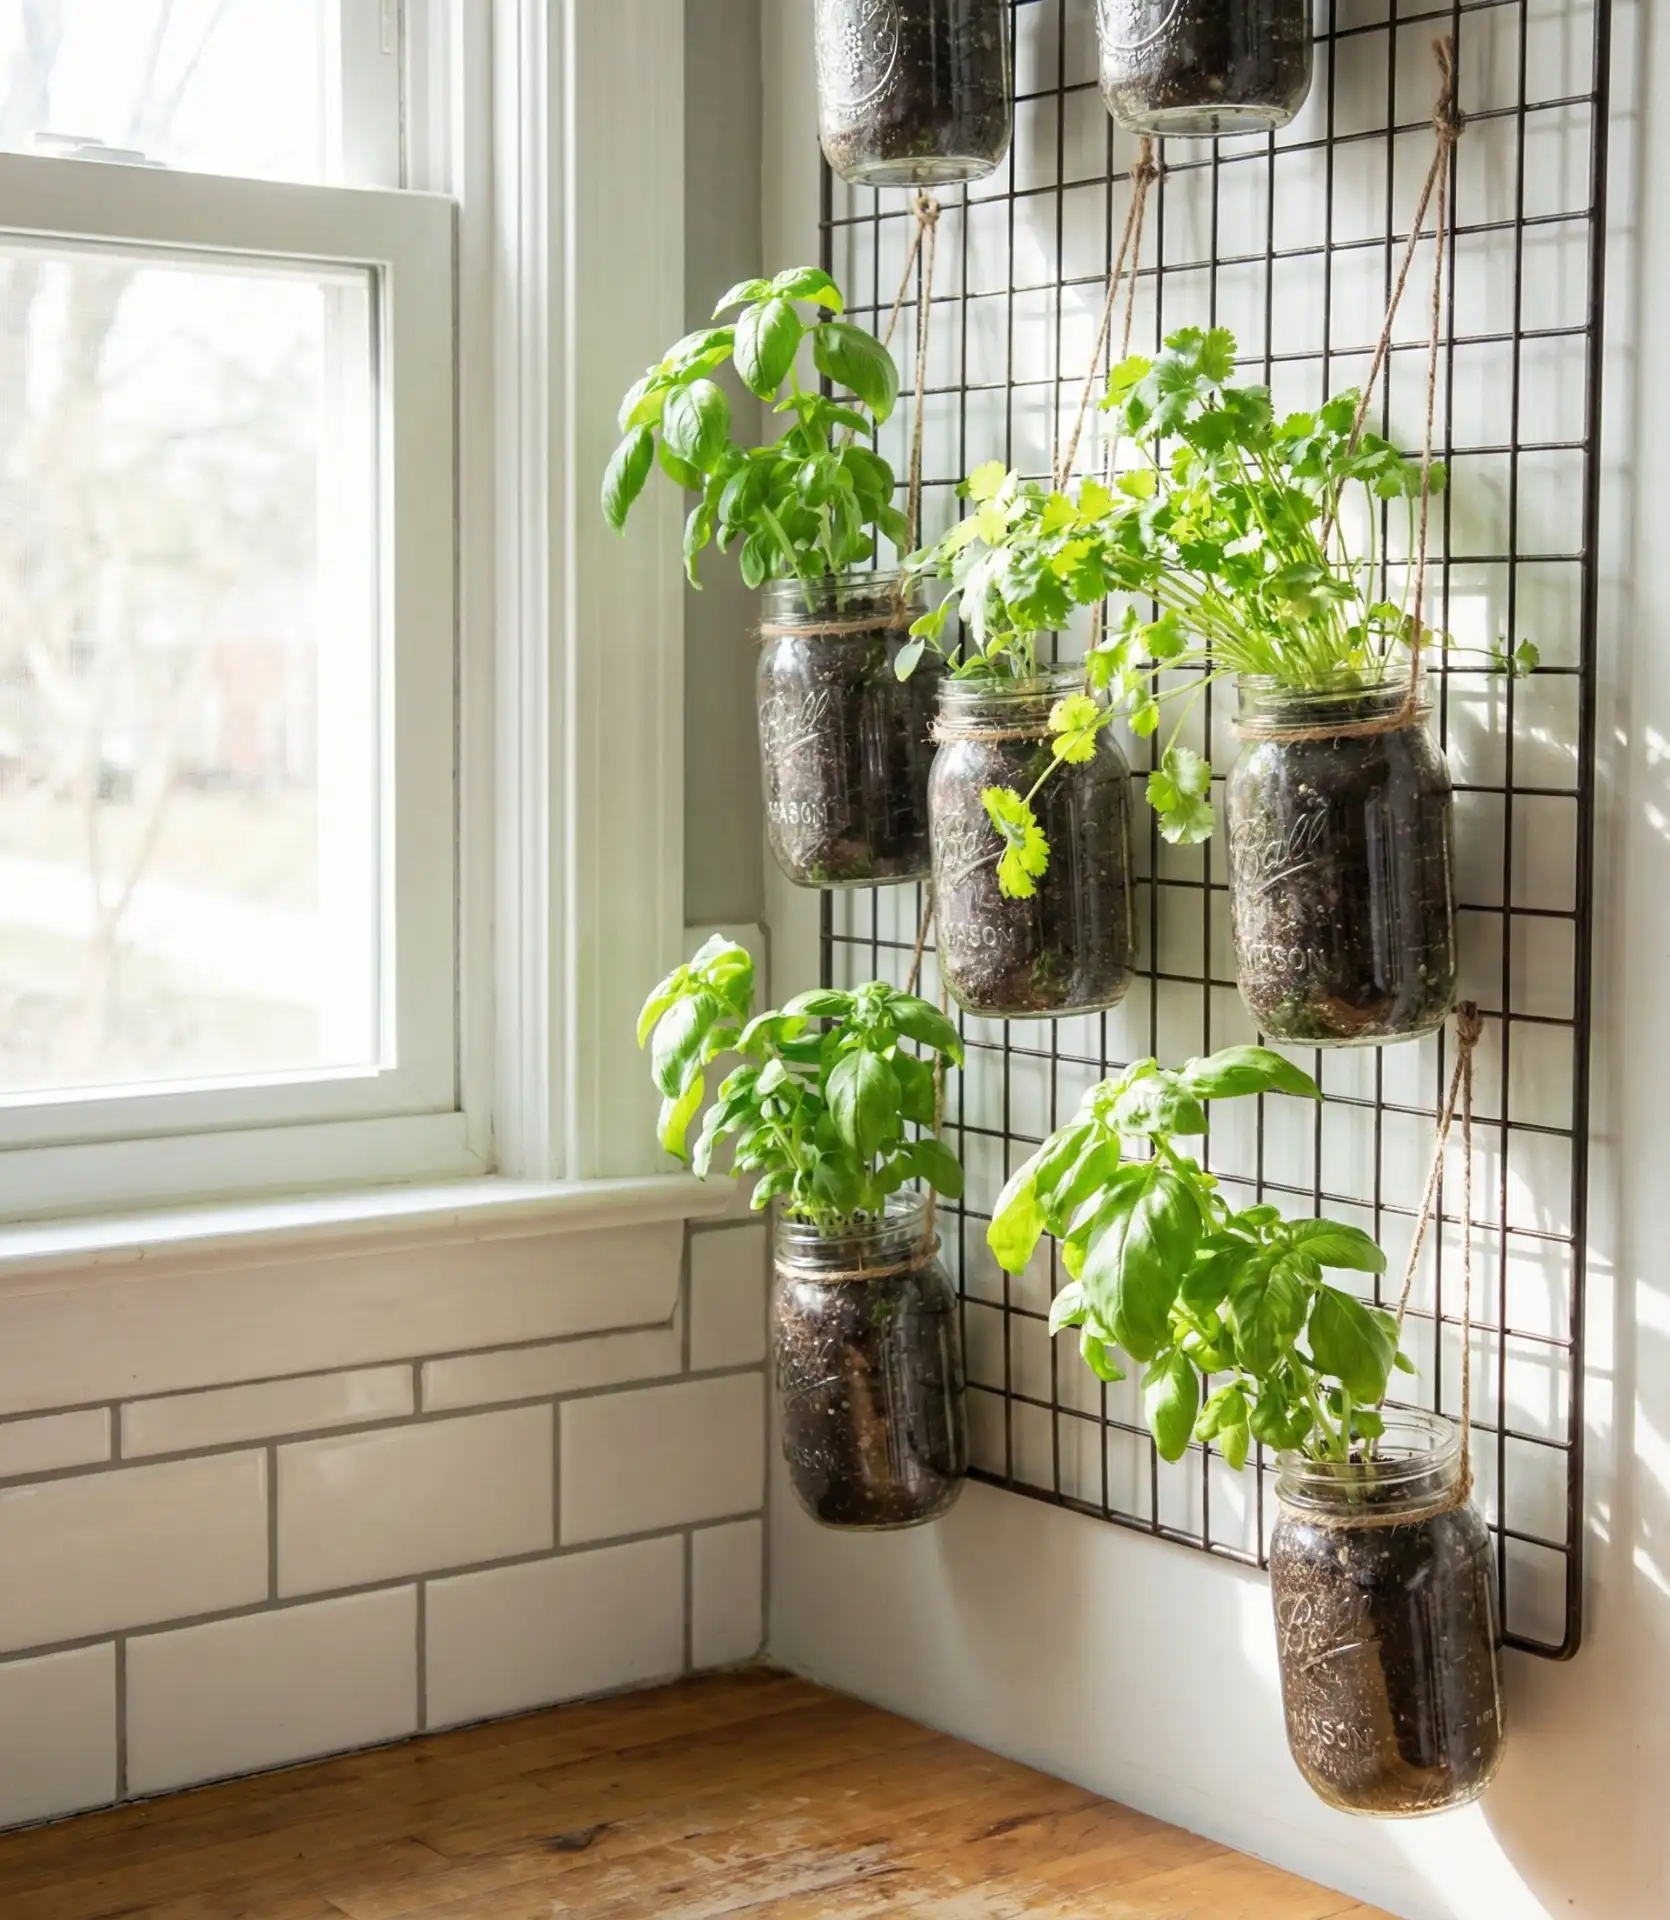
Attach a metal grid or a piece of wood with hooks attached to the wall near your kitchen window and fill mason jars with rapidly growing herbs, including basil, cilantro, and green onions. This indoor arrangement provides easy access to flavor while cooking, and the jars capture the sun beautifully for morning coffee. It’s especially popular among denizens of the apartment balcony, where indoor growing is the only option—since there’s no reason to step out of your door mid-recipe when everything is right in front of you, at eye level. 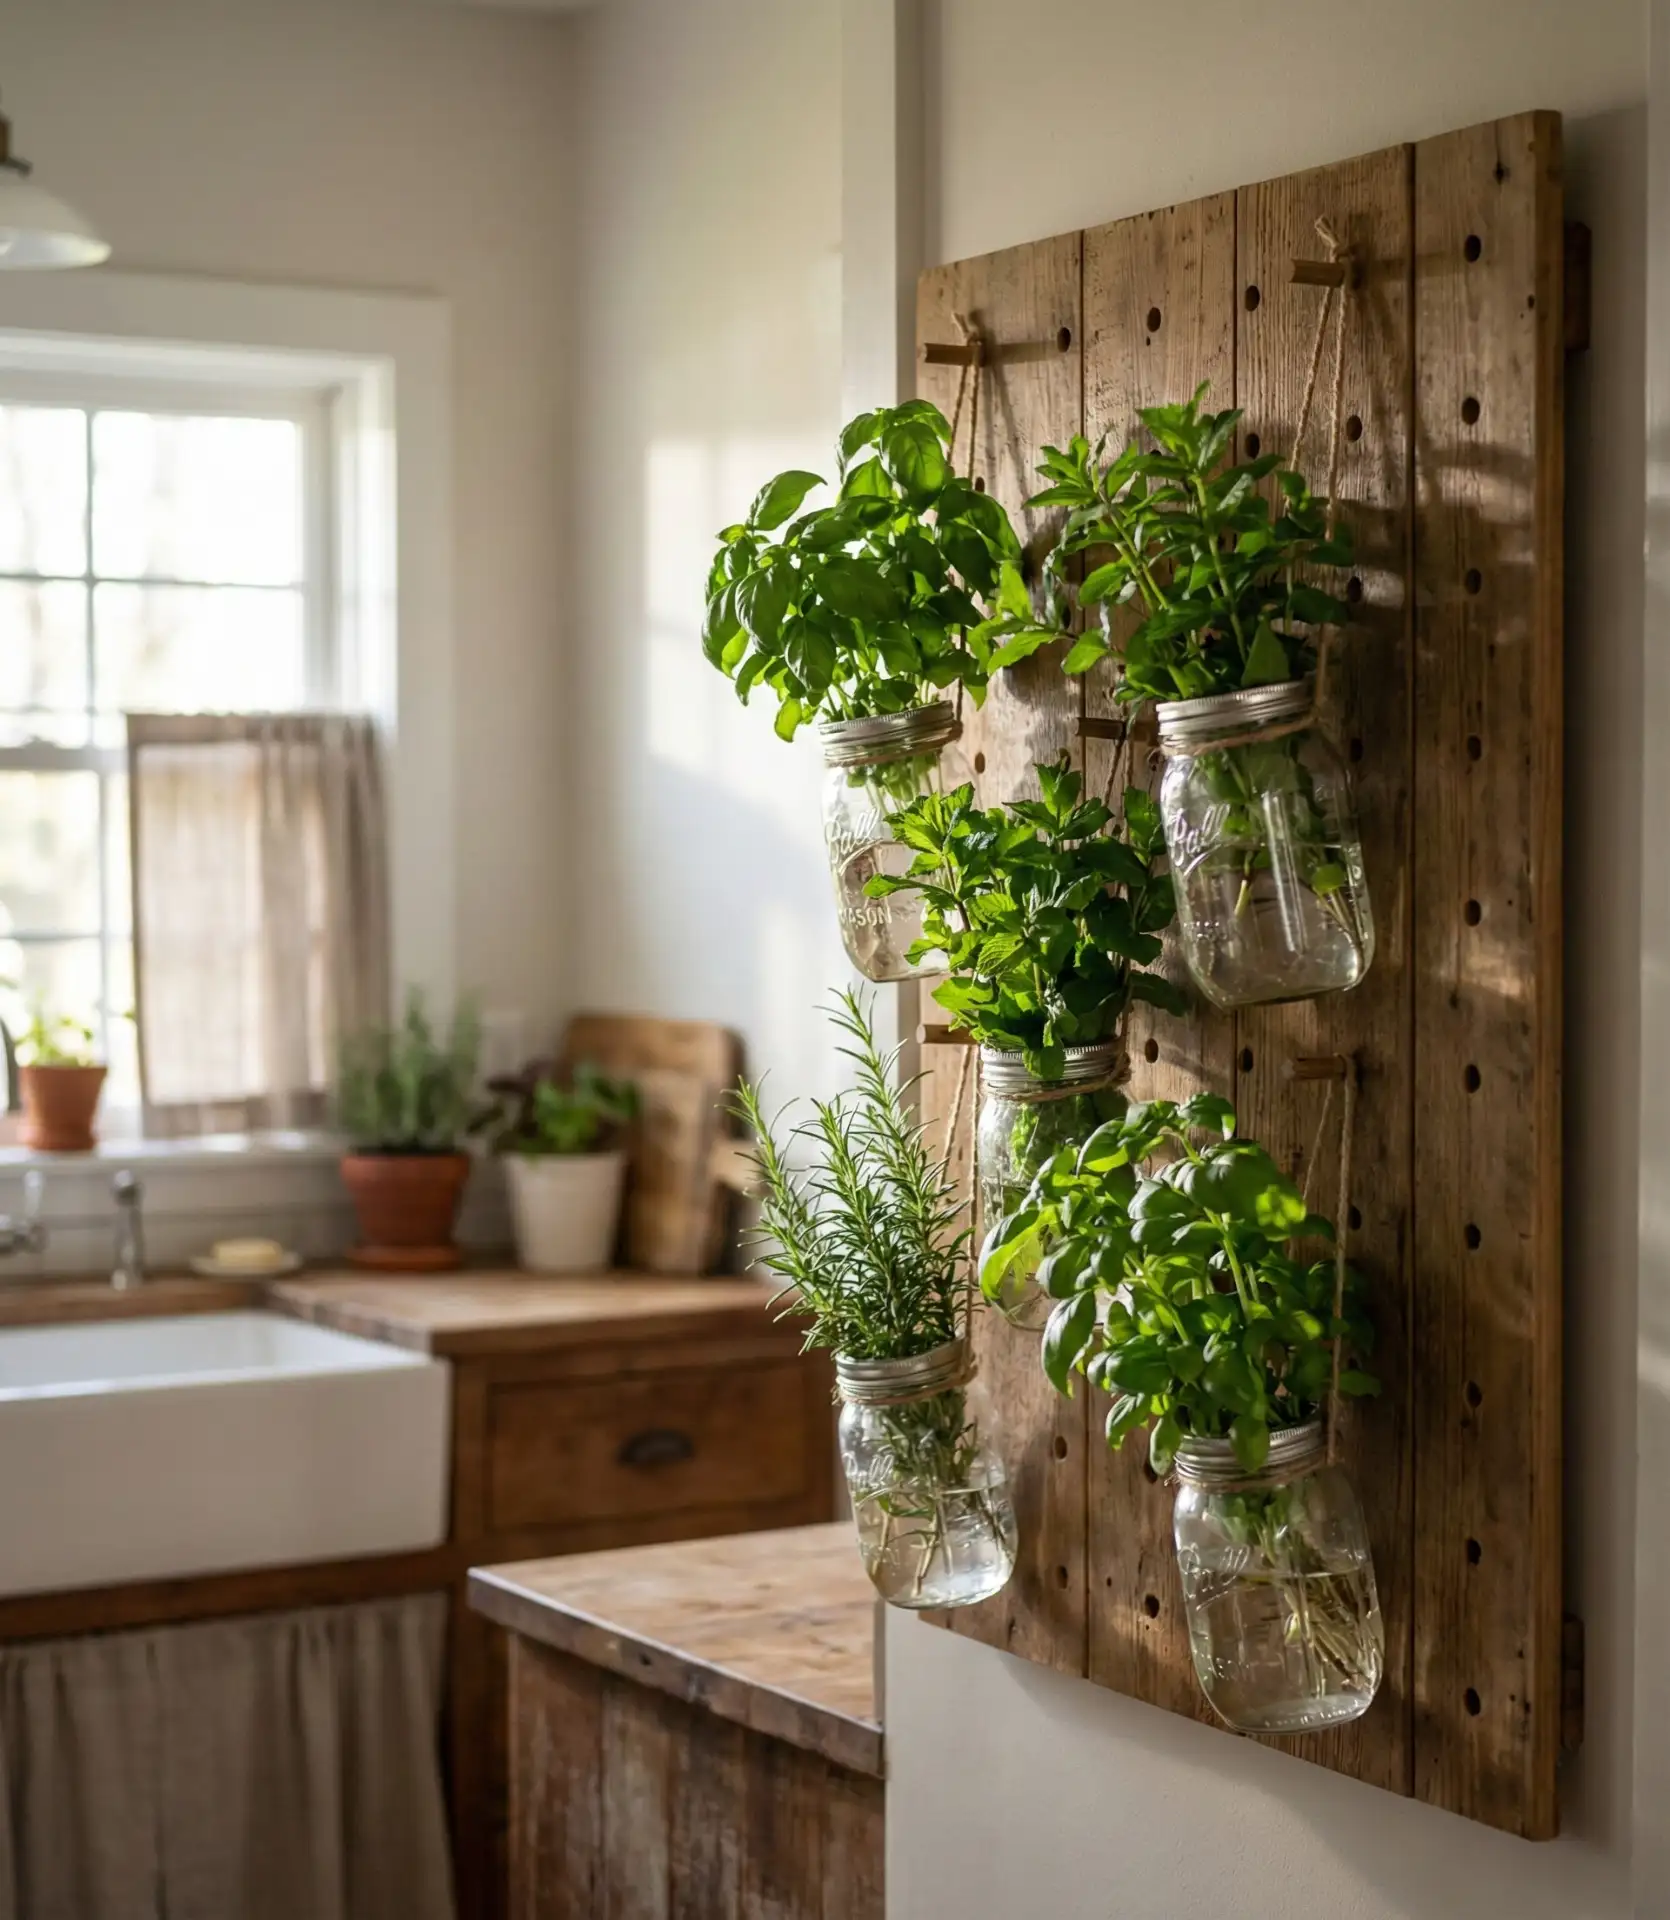
The worst error you can make is to overwater—jars don’t have drainage holes, so put a two-inch layer of pebbles at the bottom before adding soil and water sparingly. Put a finger into the soil; if it feels moist an inch deep, don’t water that day. Herbs don’t like dry feet in between drinks, and root rot occurs quickly in tight quarters. Turn jars around once a week so every side soaks up sun, or you’ll get that leggy, reaching-for-the-light look.
4. A repurposed ladder shelf for the porch
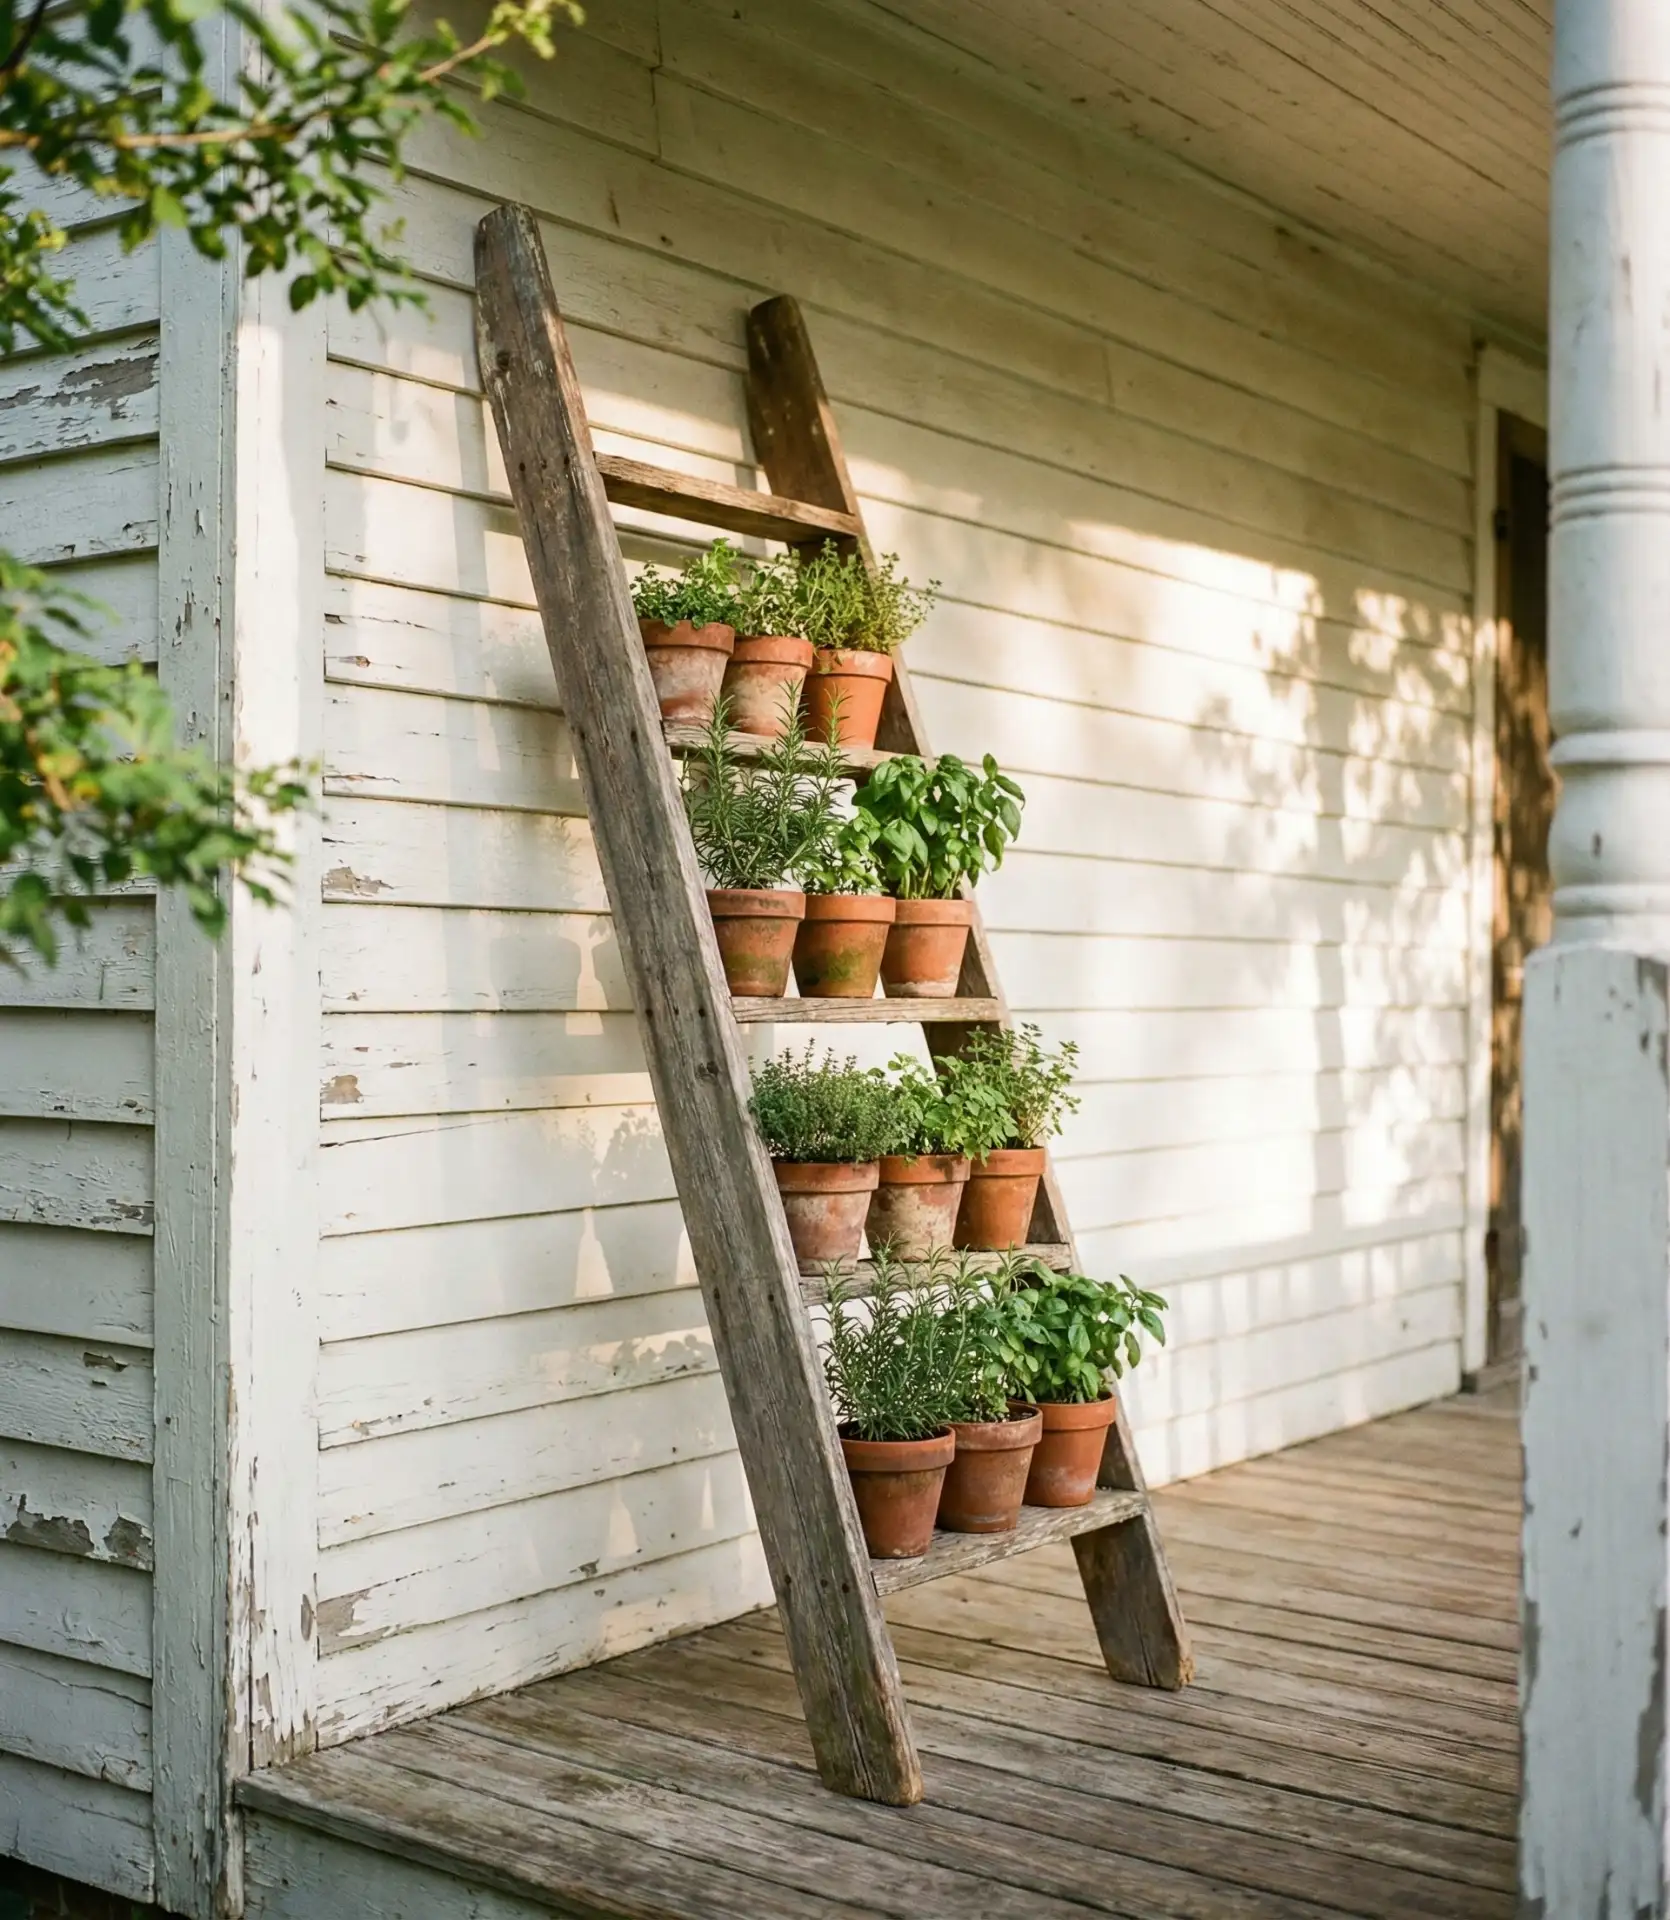
An old wooden ladder, propped against a porch wall, instantly transforms into vertical real estate for potted herbs. Each step cradles a different container—terracotta pots with oregano, tin cans with chives, and ceramic bowls with lemon balm. Every plant receives light thanks to the angled design, and the shabby-chic vibe blends perfectly with the weathered porch furniture and hanging ferns. It’s particularly savvy for renters who aren’t in a position to affix permanent fixtures but crave a lush display of herbs. 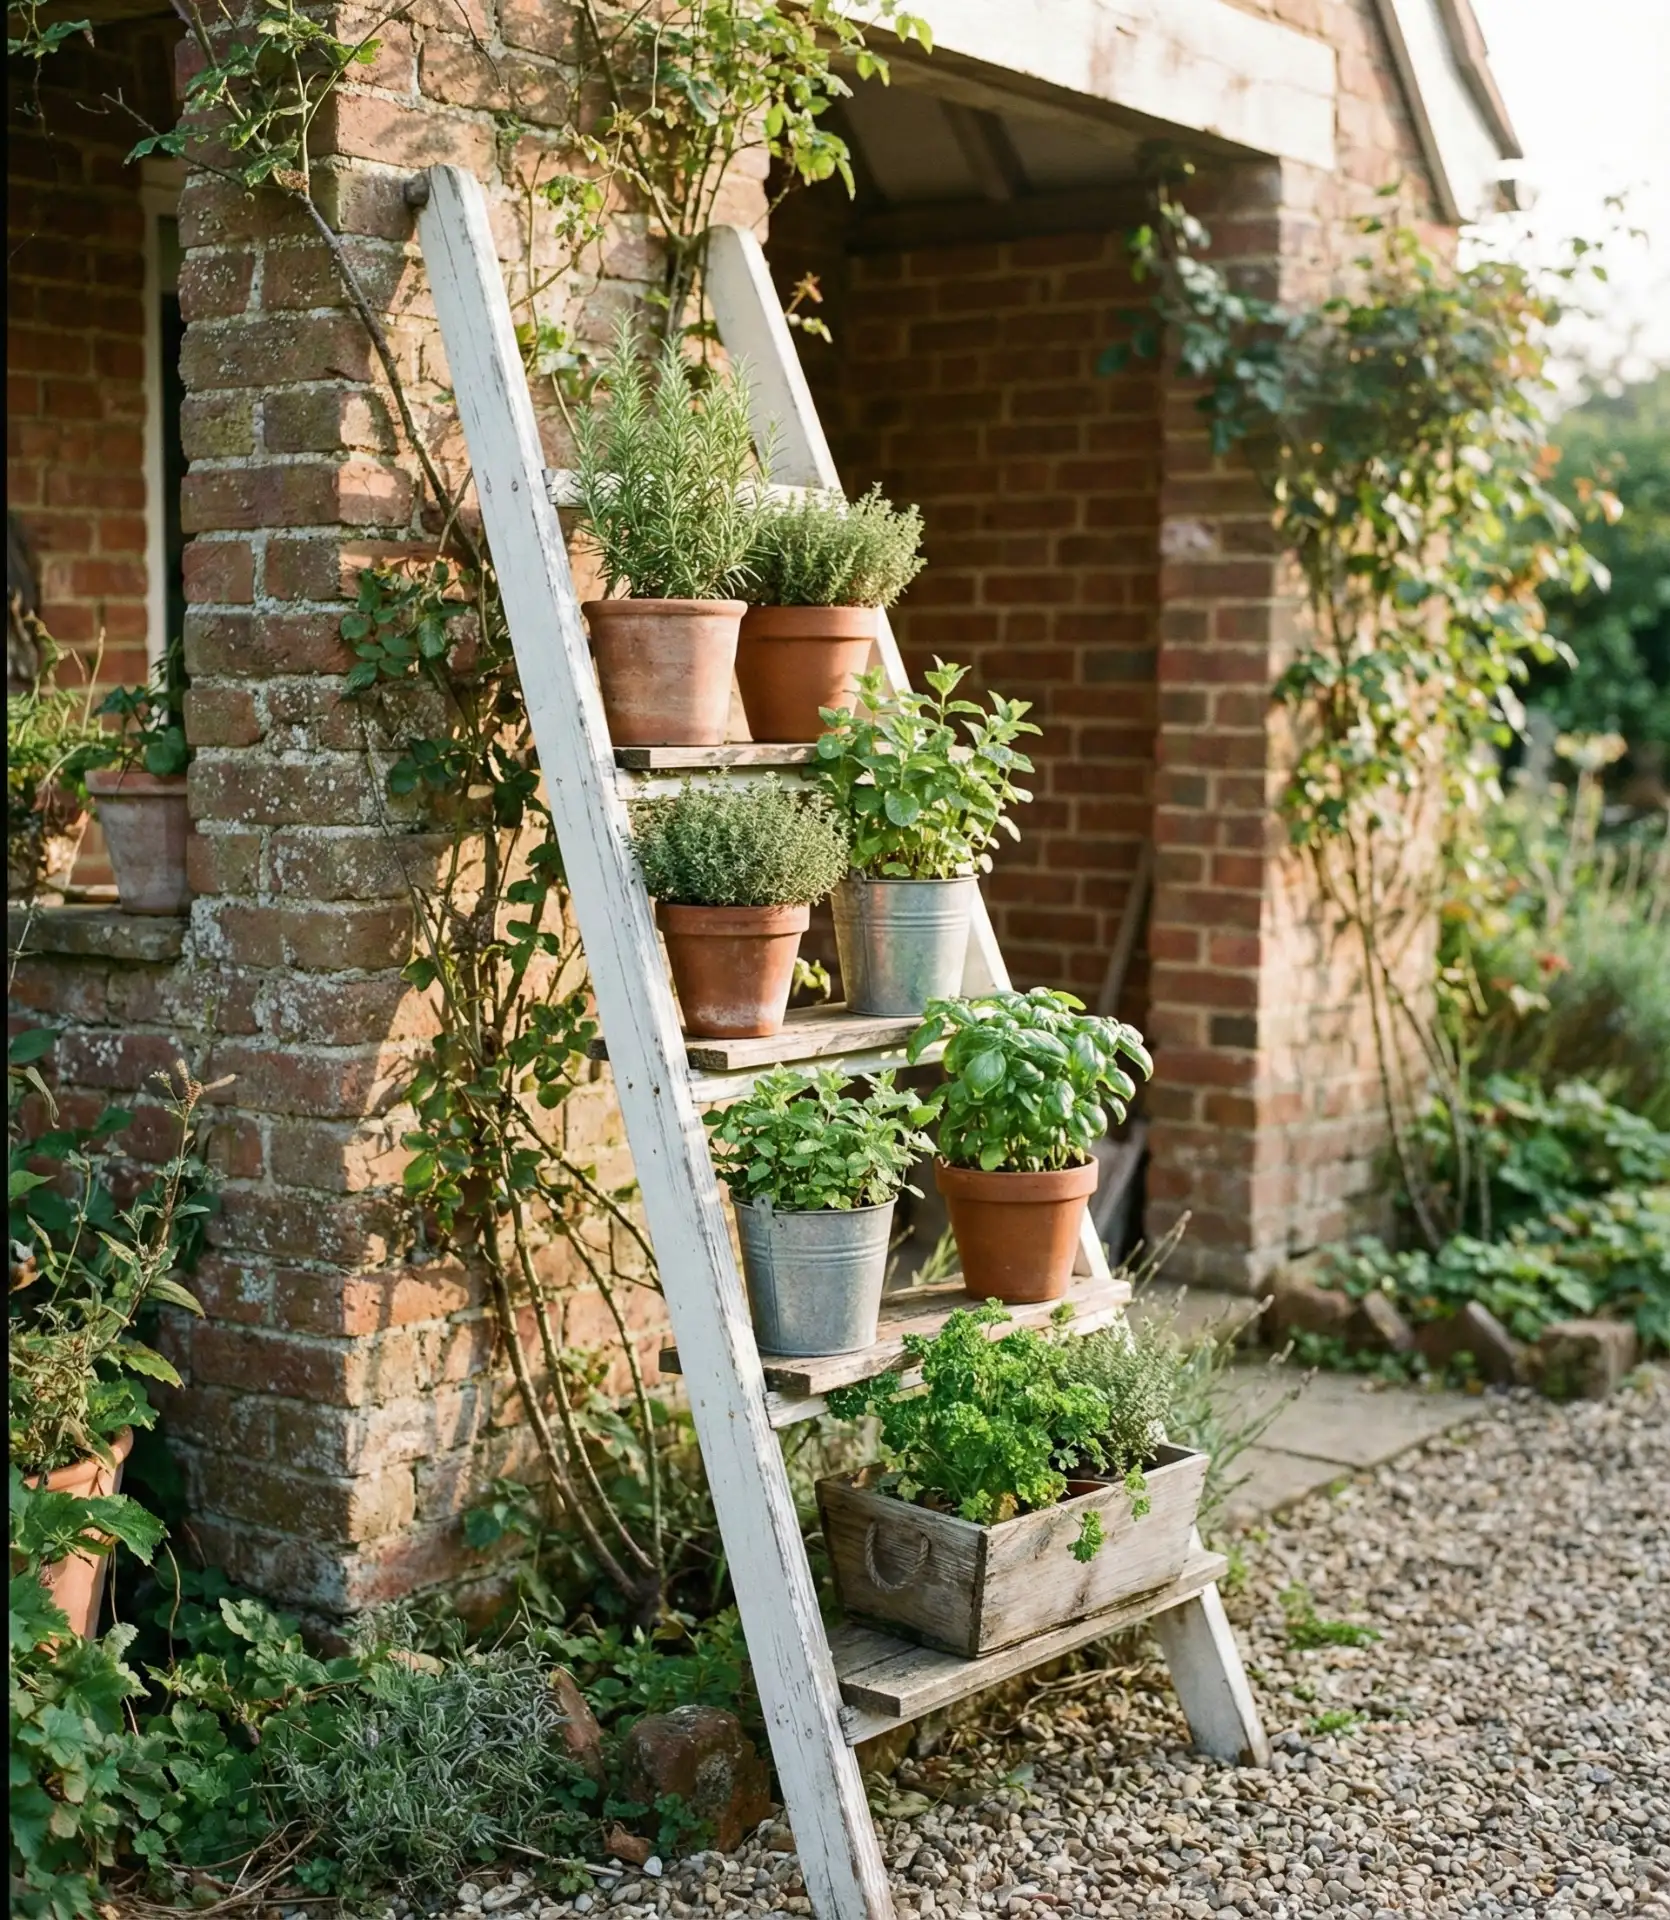
Fact: real gardeners tend to start with too many fussy herbs like cilantro and dill, which bolt in the summer heat. And stick to hardy Mediterranean types—rosemary, thyme, and sage—that forgive a day without water and keep giving for months. You can also slip in one or two high-maintenance favorites, like basil, if you’re committed to them, but the key is to start by building up your arsenal of plants that aren’t going to make you feel guilty when life gets too busy.
5. Raised Cedar Beds in Outdoor Backyards
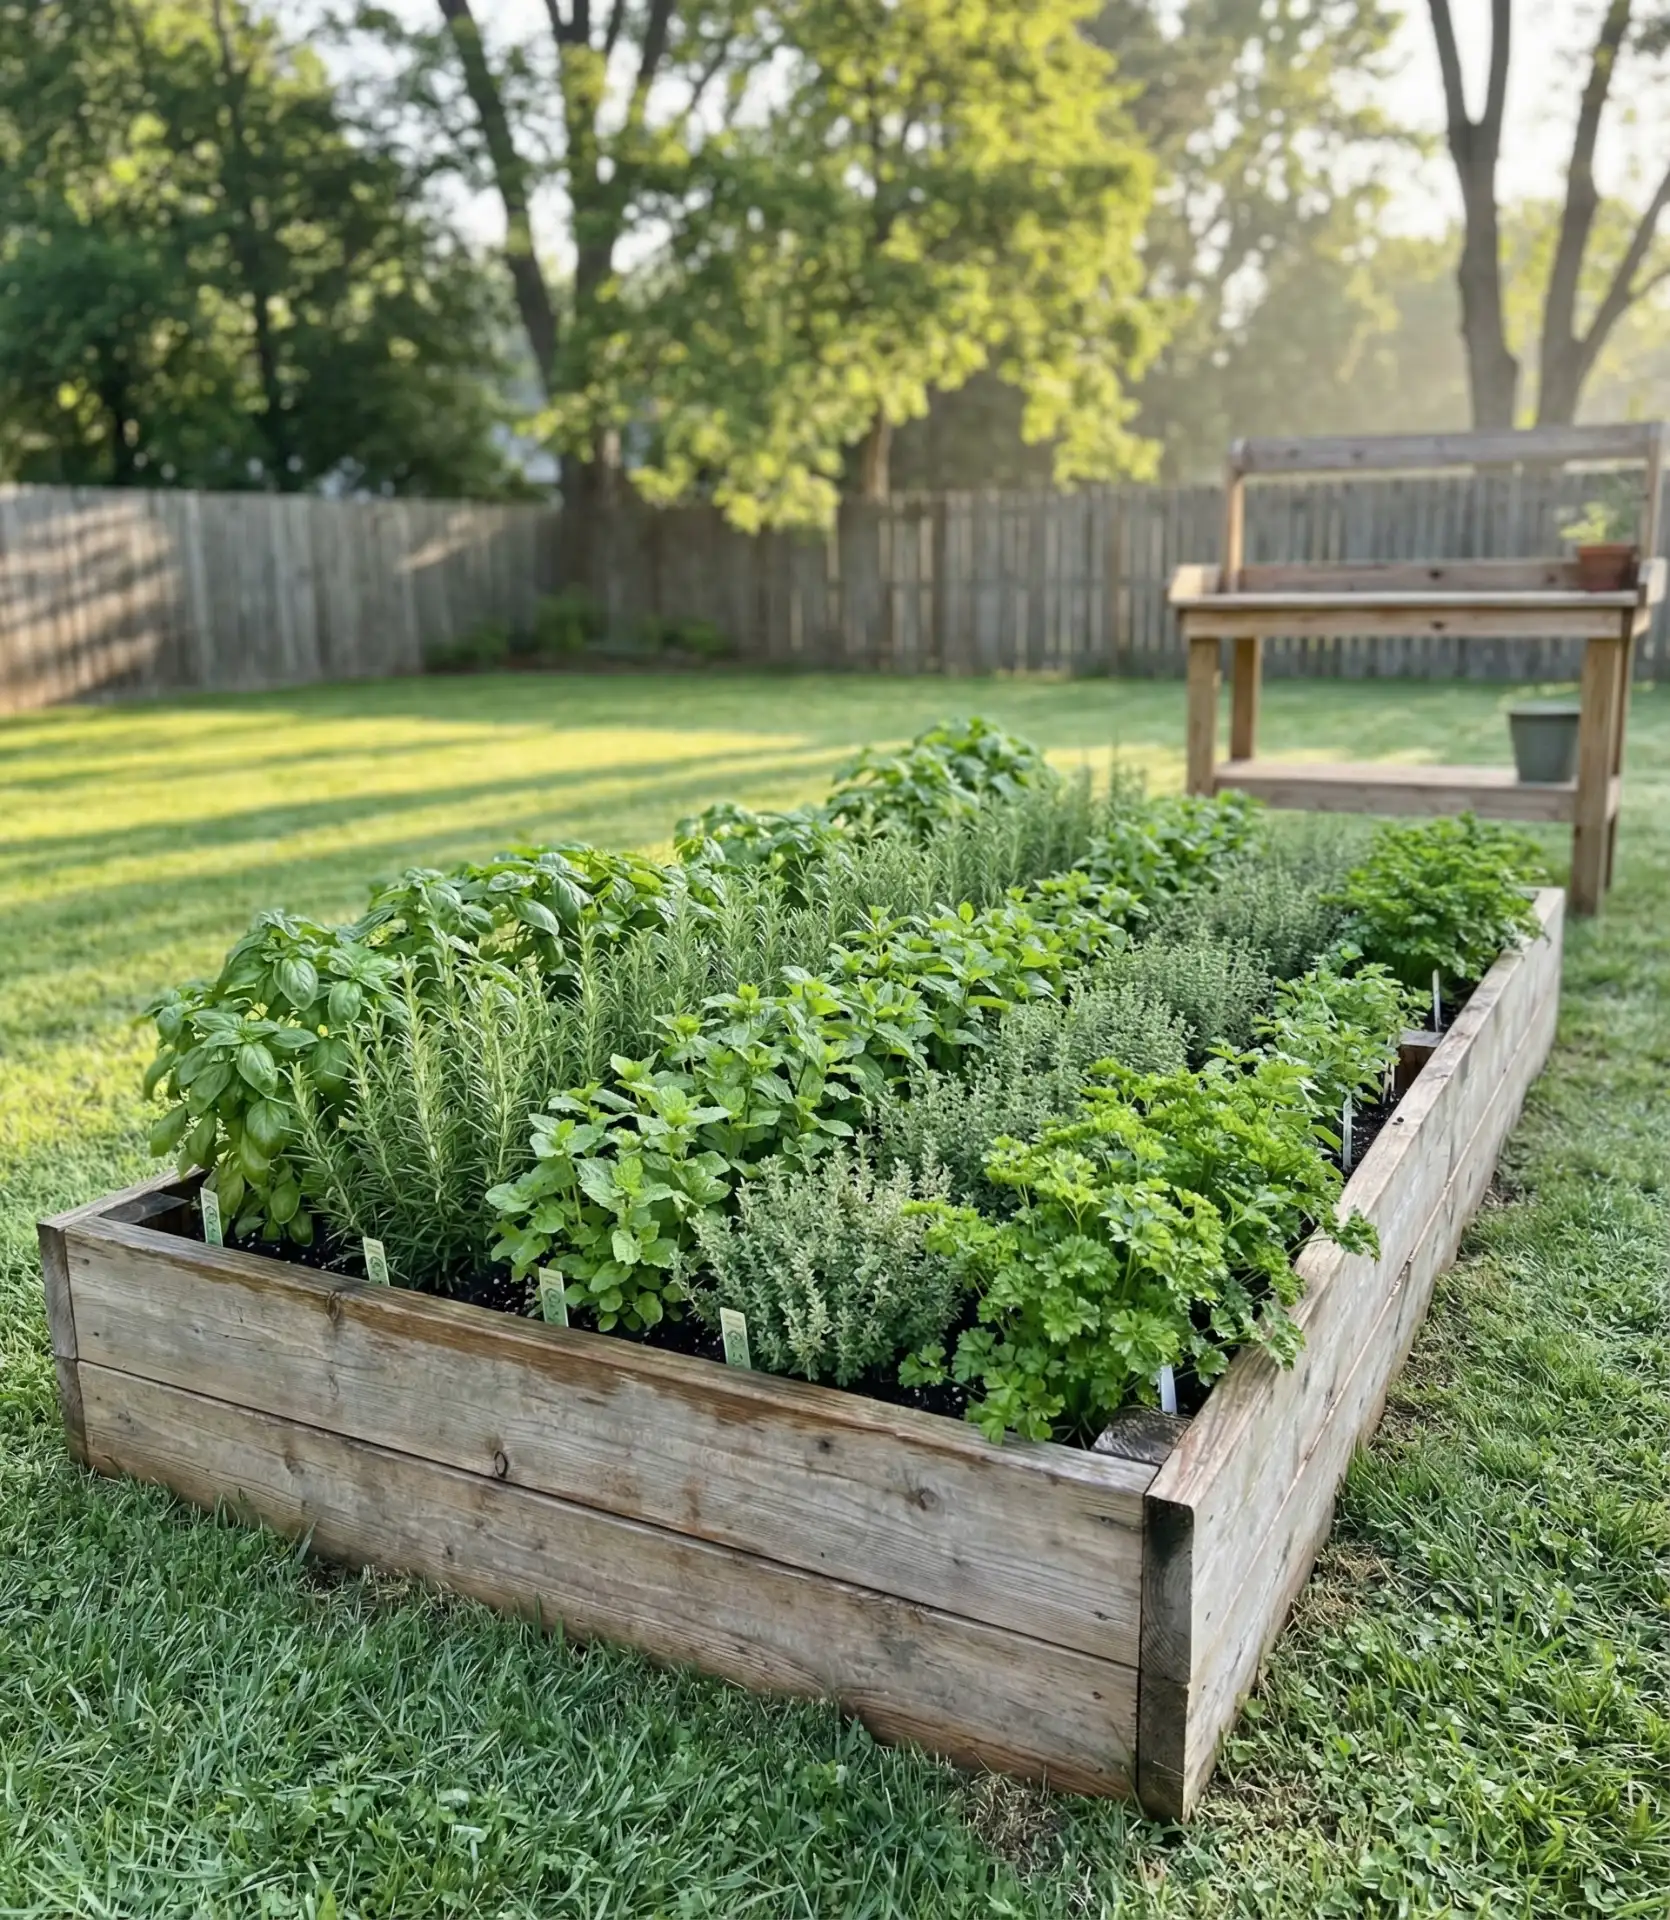
Dedicated raised beds in outdoor backyards represent the gold standard of serious herb growing. These cedar frames stand at waist height, sparing you the back-breaking bending required of their ground-level counterparts and providing ideal drainage for sun-loving herbs. A 4×8-foot bed planted in this way can hold a dozen different kinds of herbs, segregated by height: tall on the north end (dill and fennel), rambling in the middle (oregano), and compact close to you (parsley). The contained space also deters aggressive spreaders, such as mint, from taking over your whole backyard. 
Expert growers recommend filling beds with a 60/40 mix of quality garden soil and compost rather than pure potting mix, which dries out too fast in large volumes. The investment runs $150–$300 for a complete cedar kit with soil, but it pays back quickly when you’re spending zero dollars on those $4 grocery store herb clam-shells. Plus, perennials like chives and tarragon return year after year, essentially giving you free herbs for a decade.
6. Hanging Baskets for Apartment Balconies
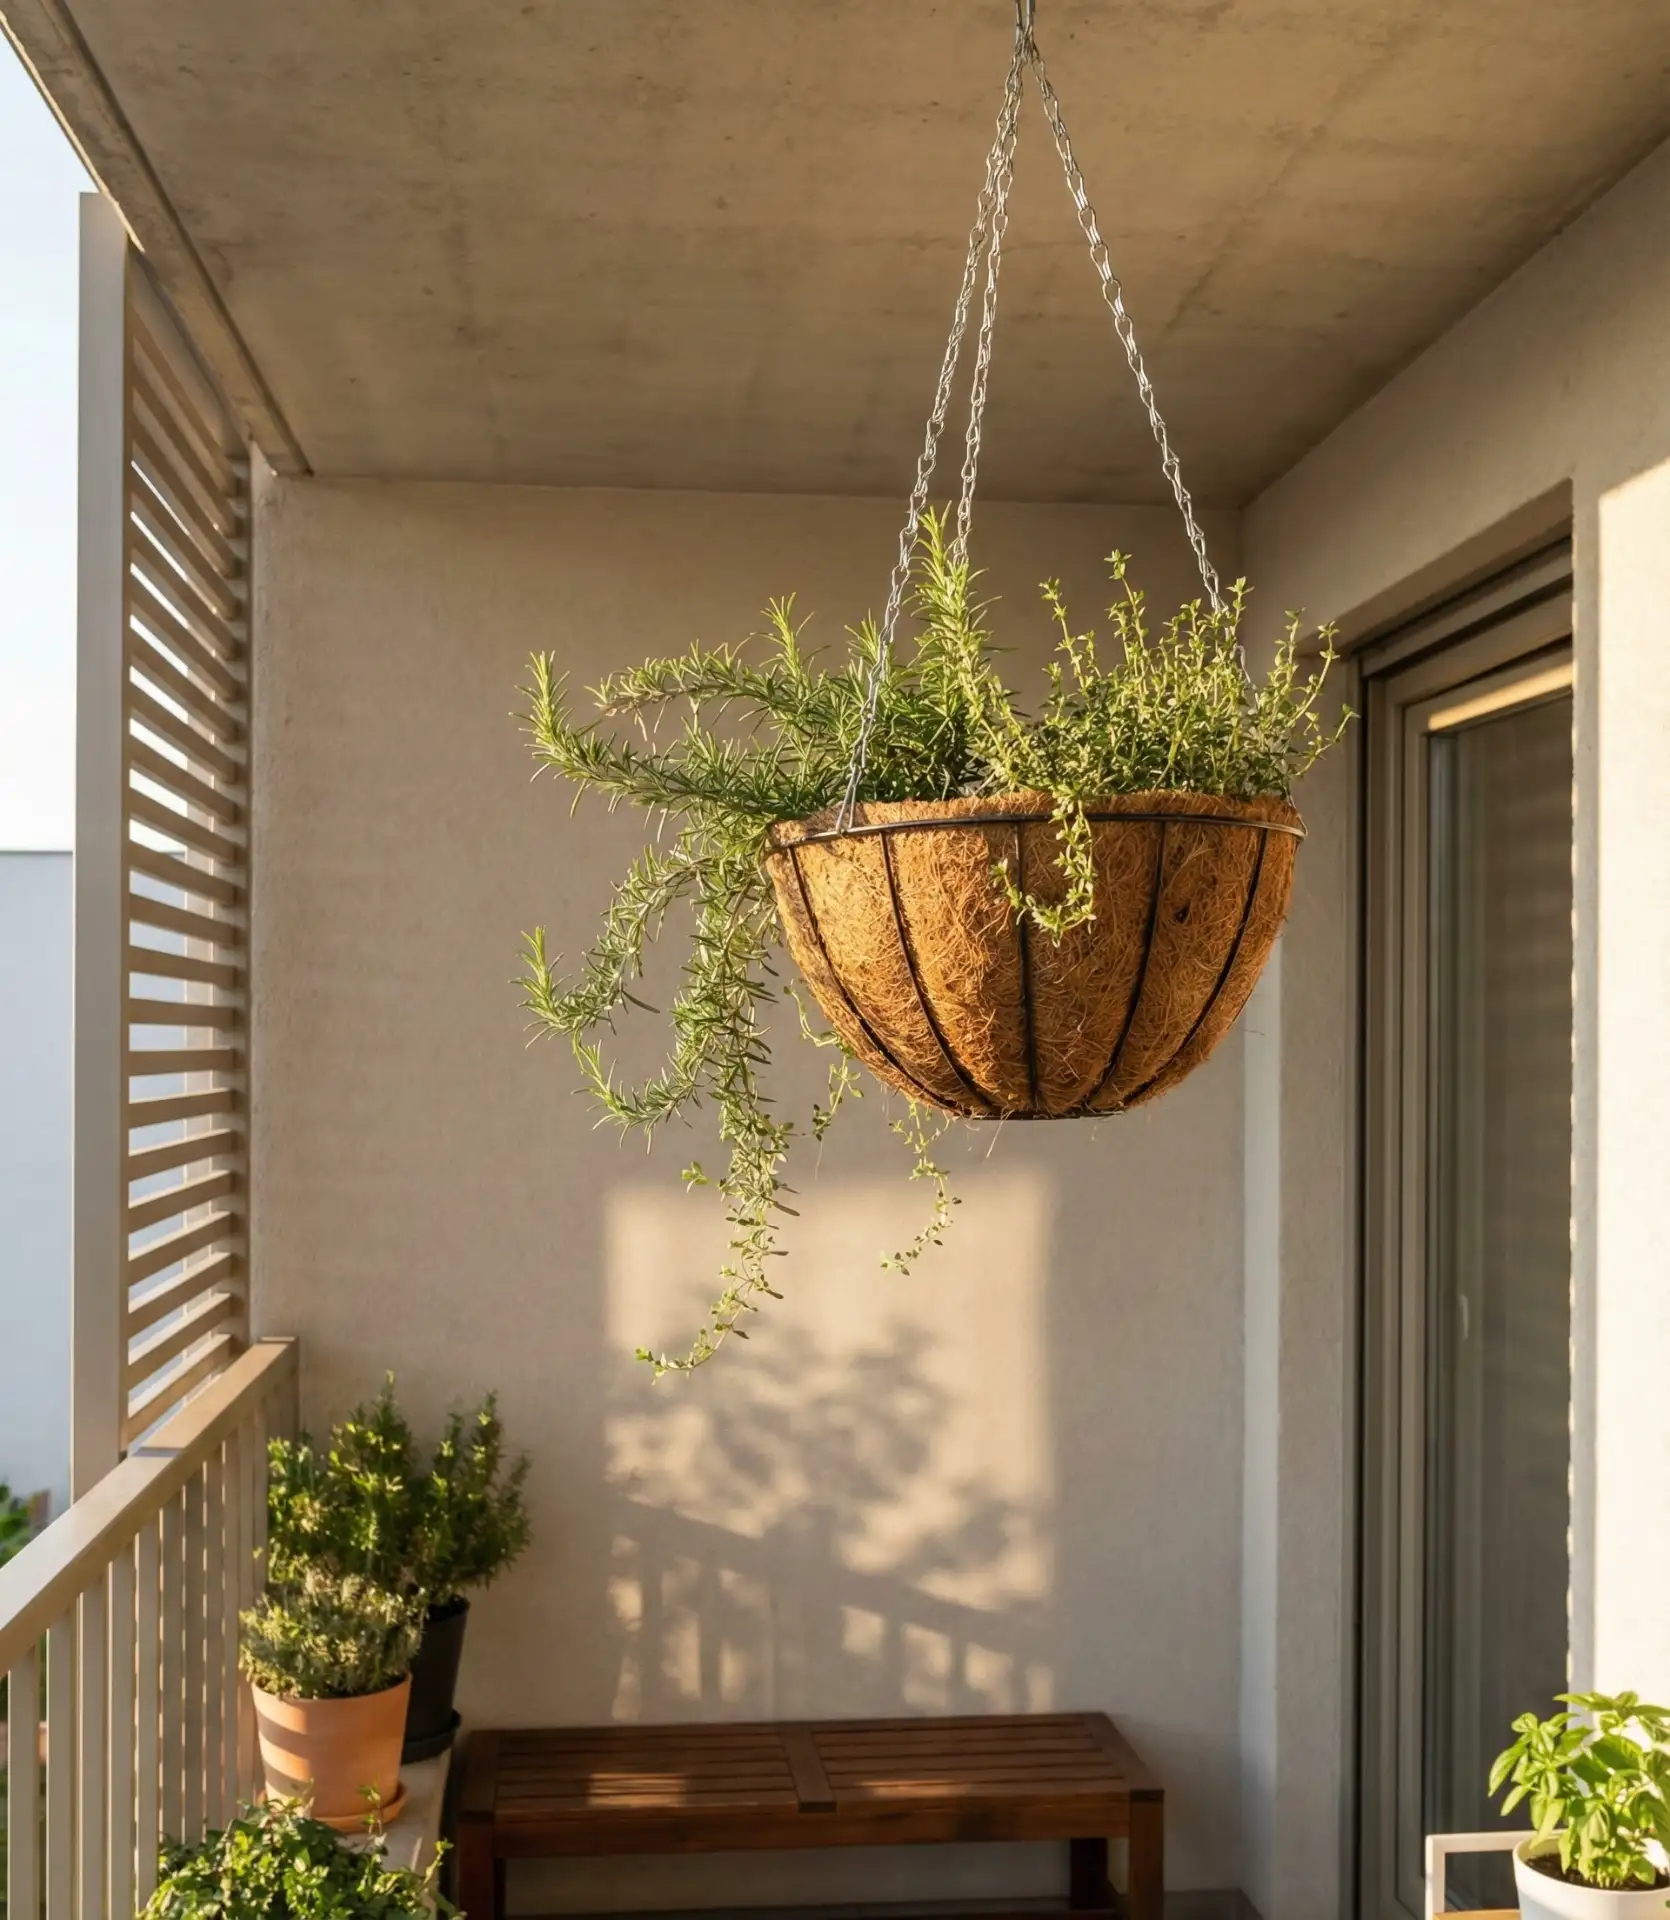
When floor space is nonexistent on your apartment balcony, hanging baskets attached to the railing or ceiling hooks open up a whole new growing zone. Fill coconut coir or plastic-lined wire baskets with trailing herbs like creeping thyme, prostrate rosemary, or cascading oregano that spill over the edges beautifully. This vertical approach keeps herbs off the ground where they’d compete for the two square feet you’re using for a chair, and the elevation provides excellent air circulation that prevents fungal issues. 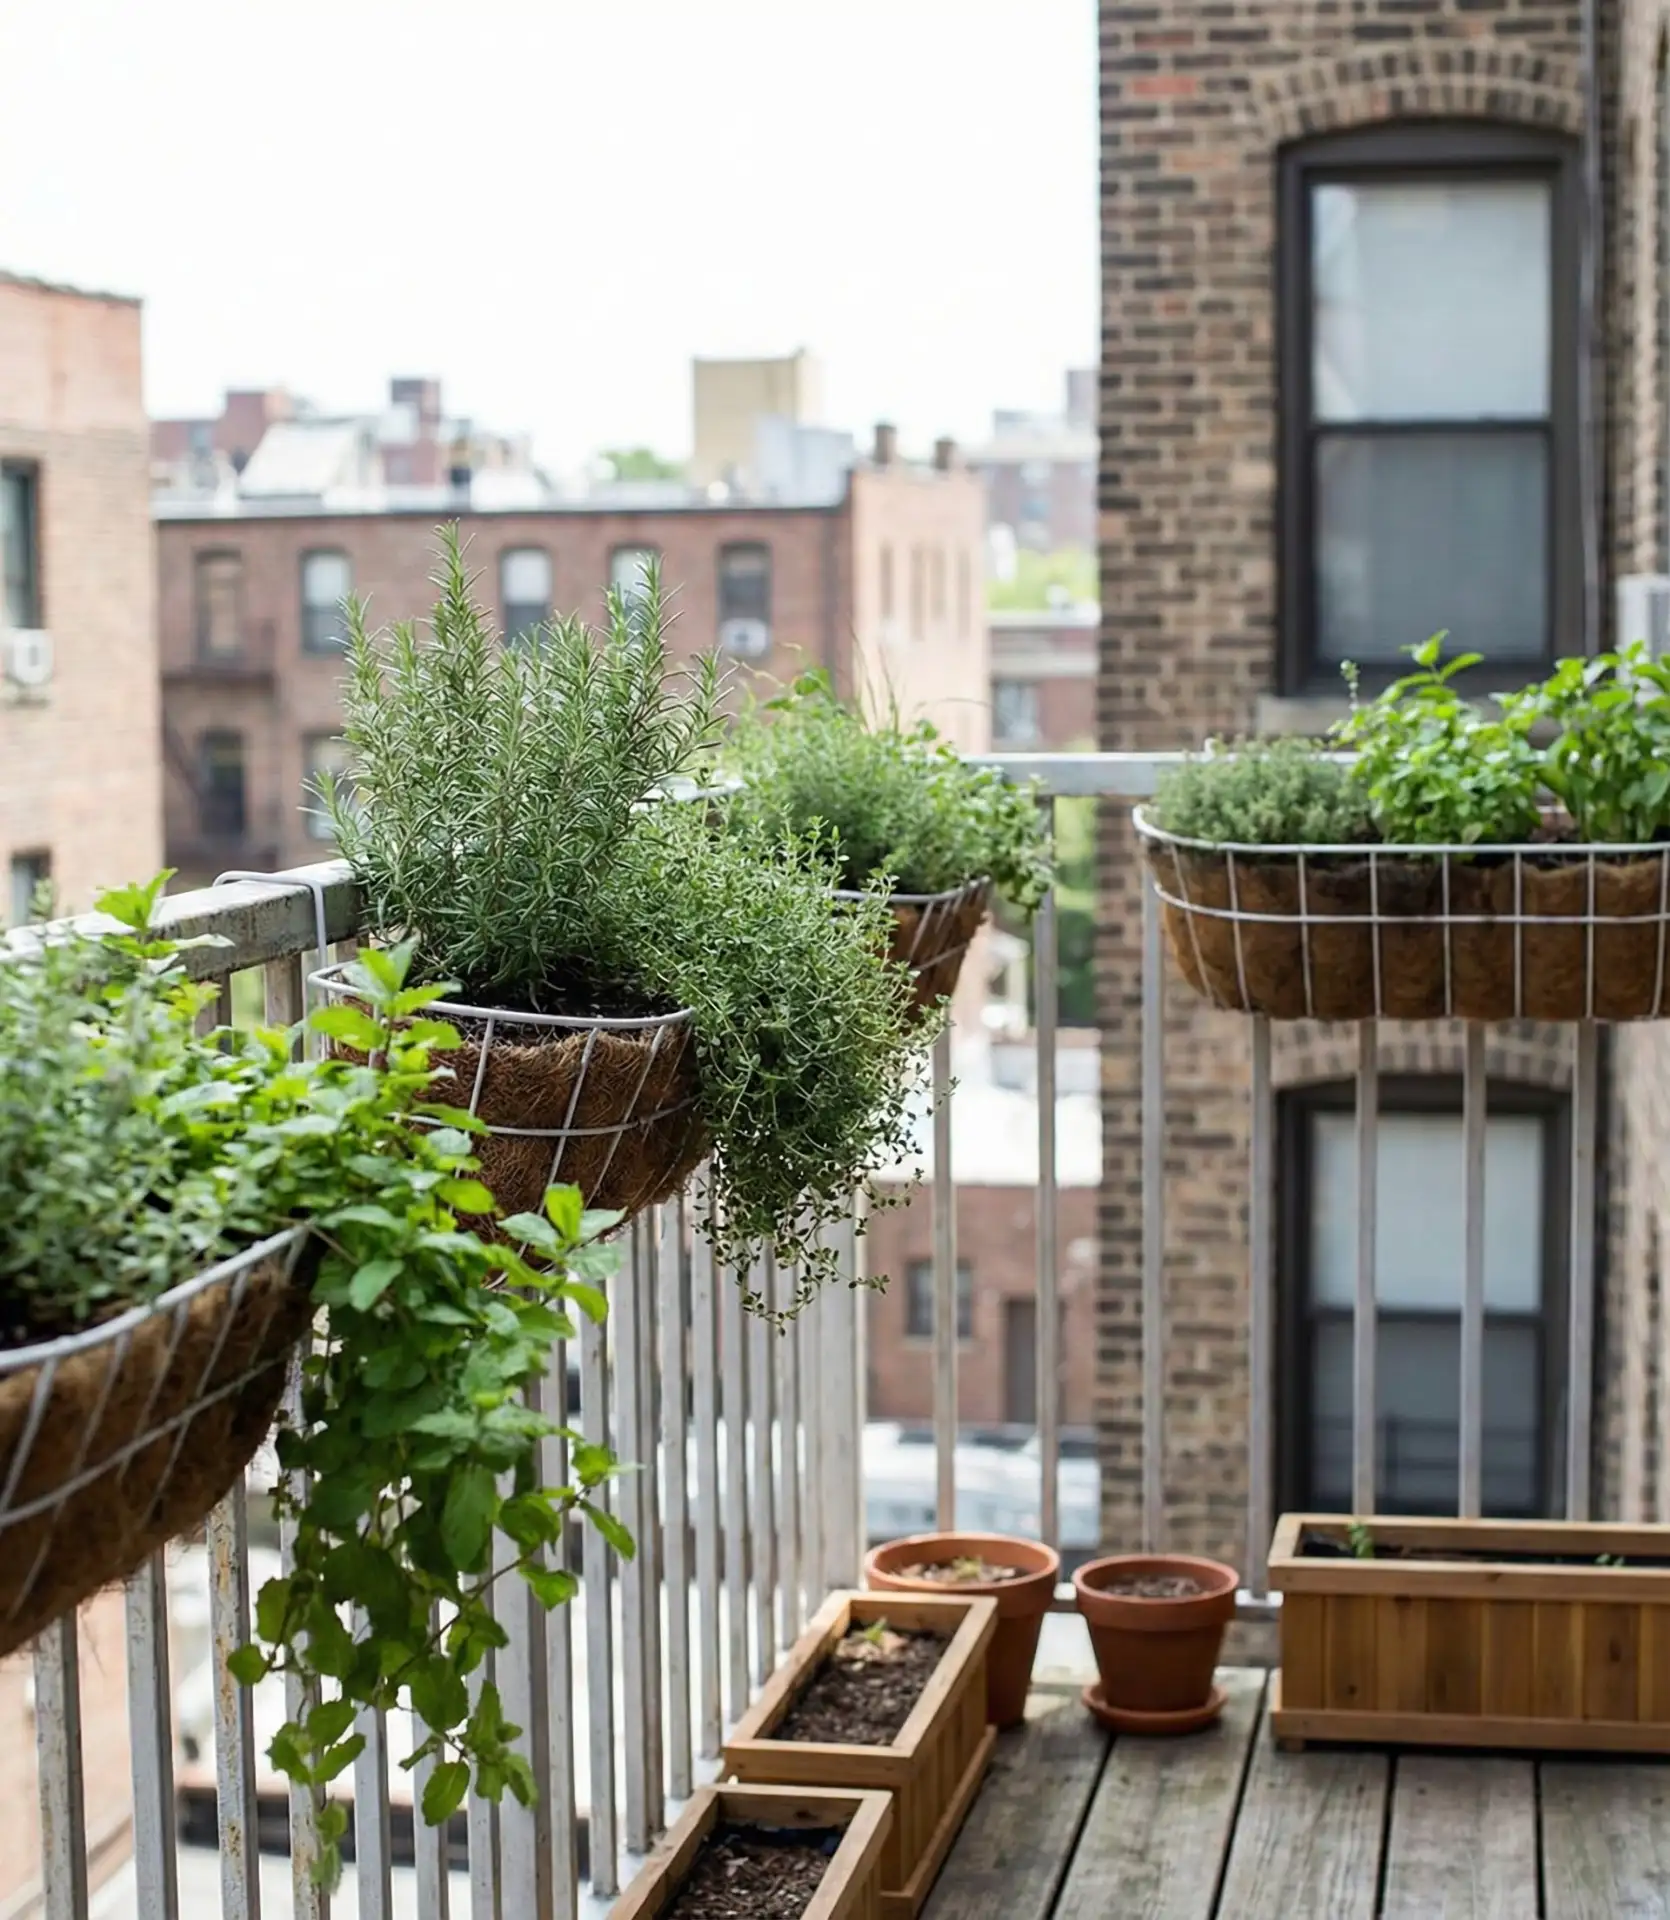
In the Southwest and Southern California, where balconies face brutal afternoon sun, this setup works phenomenally because most culinary herbs worship heat. In damper regions like the Pacific Northwest or Northeast, choose baskets with better drainage and position them where morning sun hits but afternoon shade prevents waterlogging. A Portland resident swears by adding extra perlite to her basket soil—it lightens the load and keeps roots happy through their famously drizzly springs.
7. Terracotta Cluster on the Windowsill

Group five to seven small terracotta pots along a sunny windowsill, each holding a single herb variety. The classic clay breathes, preventing that swampy soil situation that kills indoor potted herbs, and the grouping creates a microclimate where plants share humidity. This low-commitment inside garden is perfect for beginners who want to test their green thumb before investing in bigger setups—start with bulletproof basil, parsley, and chives, then graduate to fussier herbs once you’ve nailed the watering rhythm. 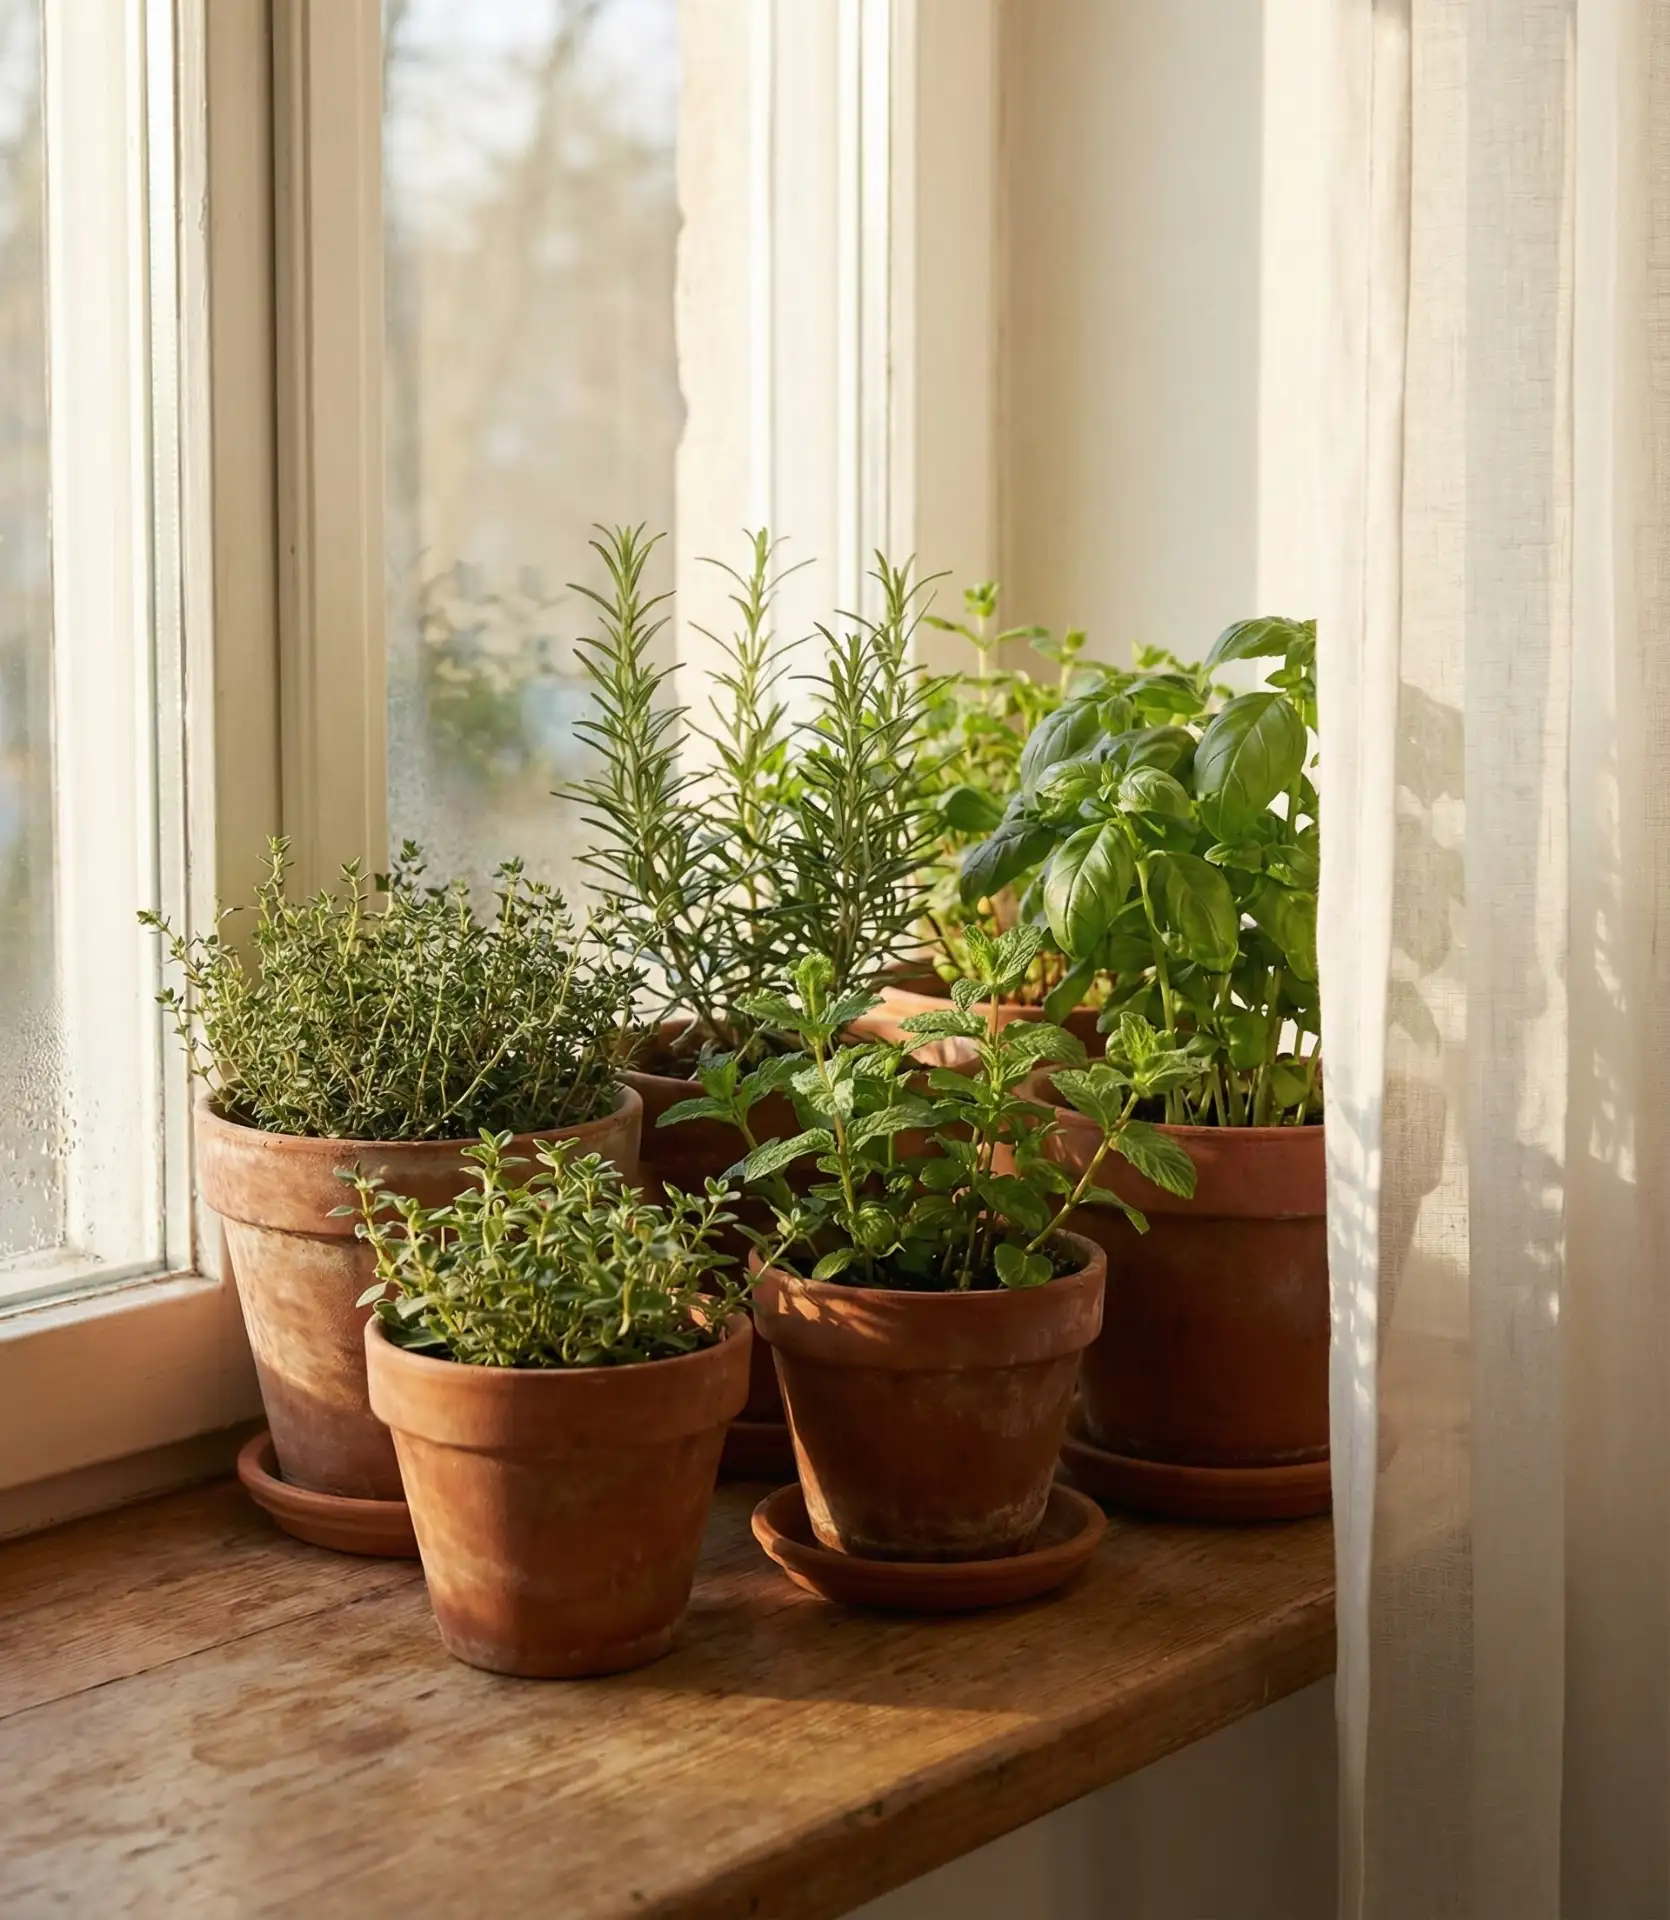
Tactical urbanism: South-facing windows typically give the 6–8 hours of direct light that most herbs love, but if you only get north or east exposure, concentrate on shade-tolerant types, such as parsley, chervil, and mint. Add a small LED grow light ($15 to $25) if your herbs start appearing pale and leggy. Terracotta draws moisture from roots, so you’ll need to water around twice as often as with plastic pots—until you get the hang of each herb’s thirst level, check soil daily.
8. Repurposed Pallet Garden for the Fence
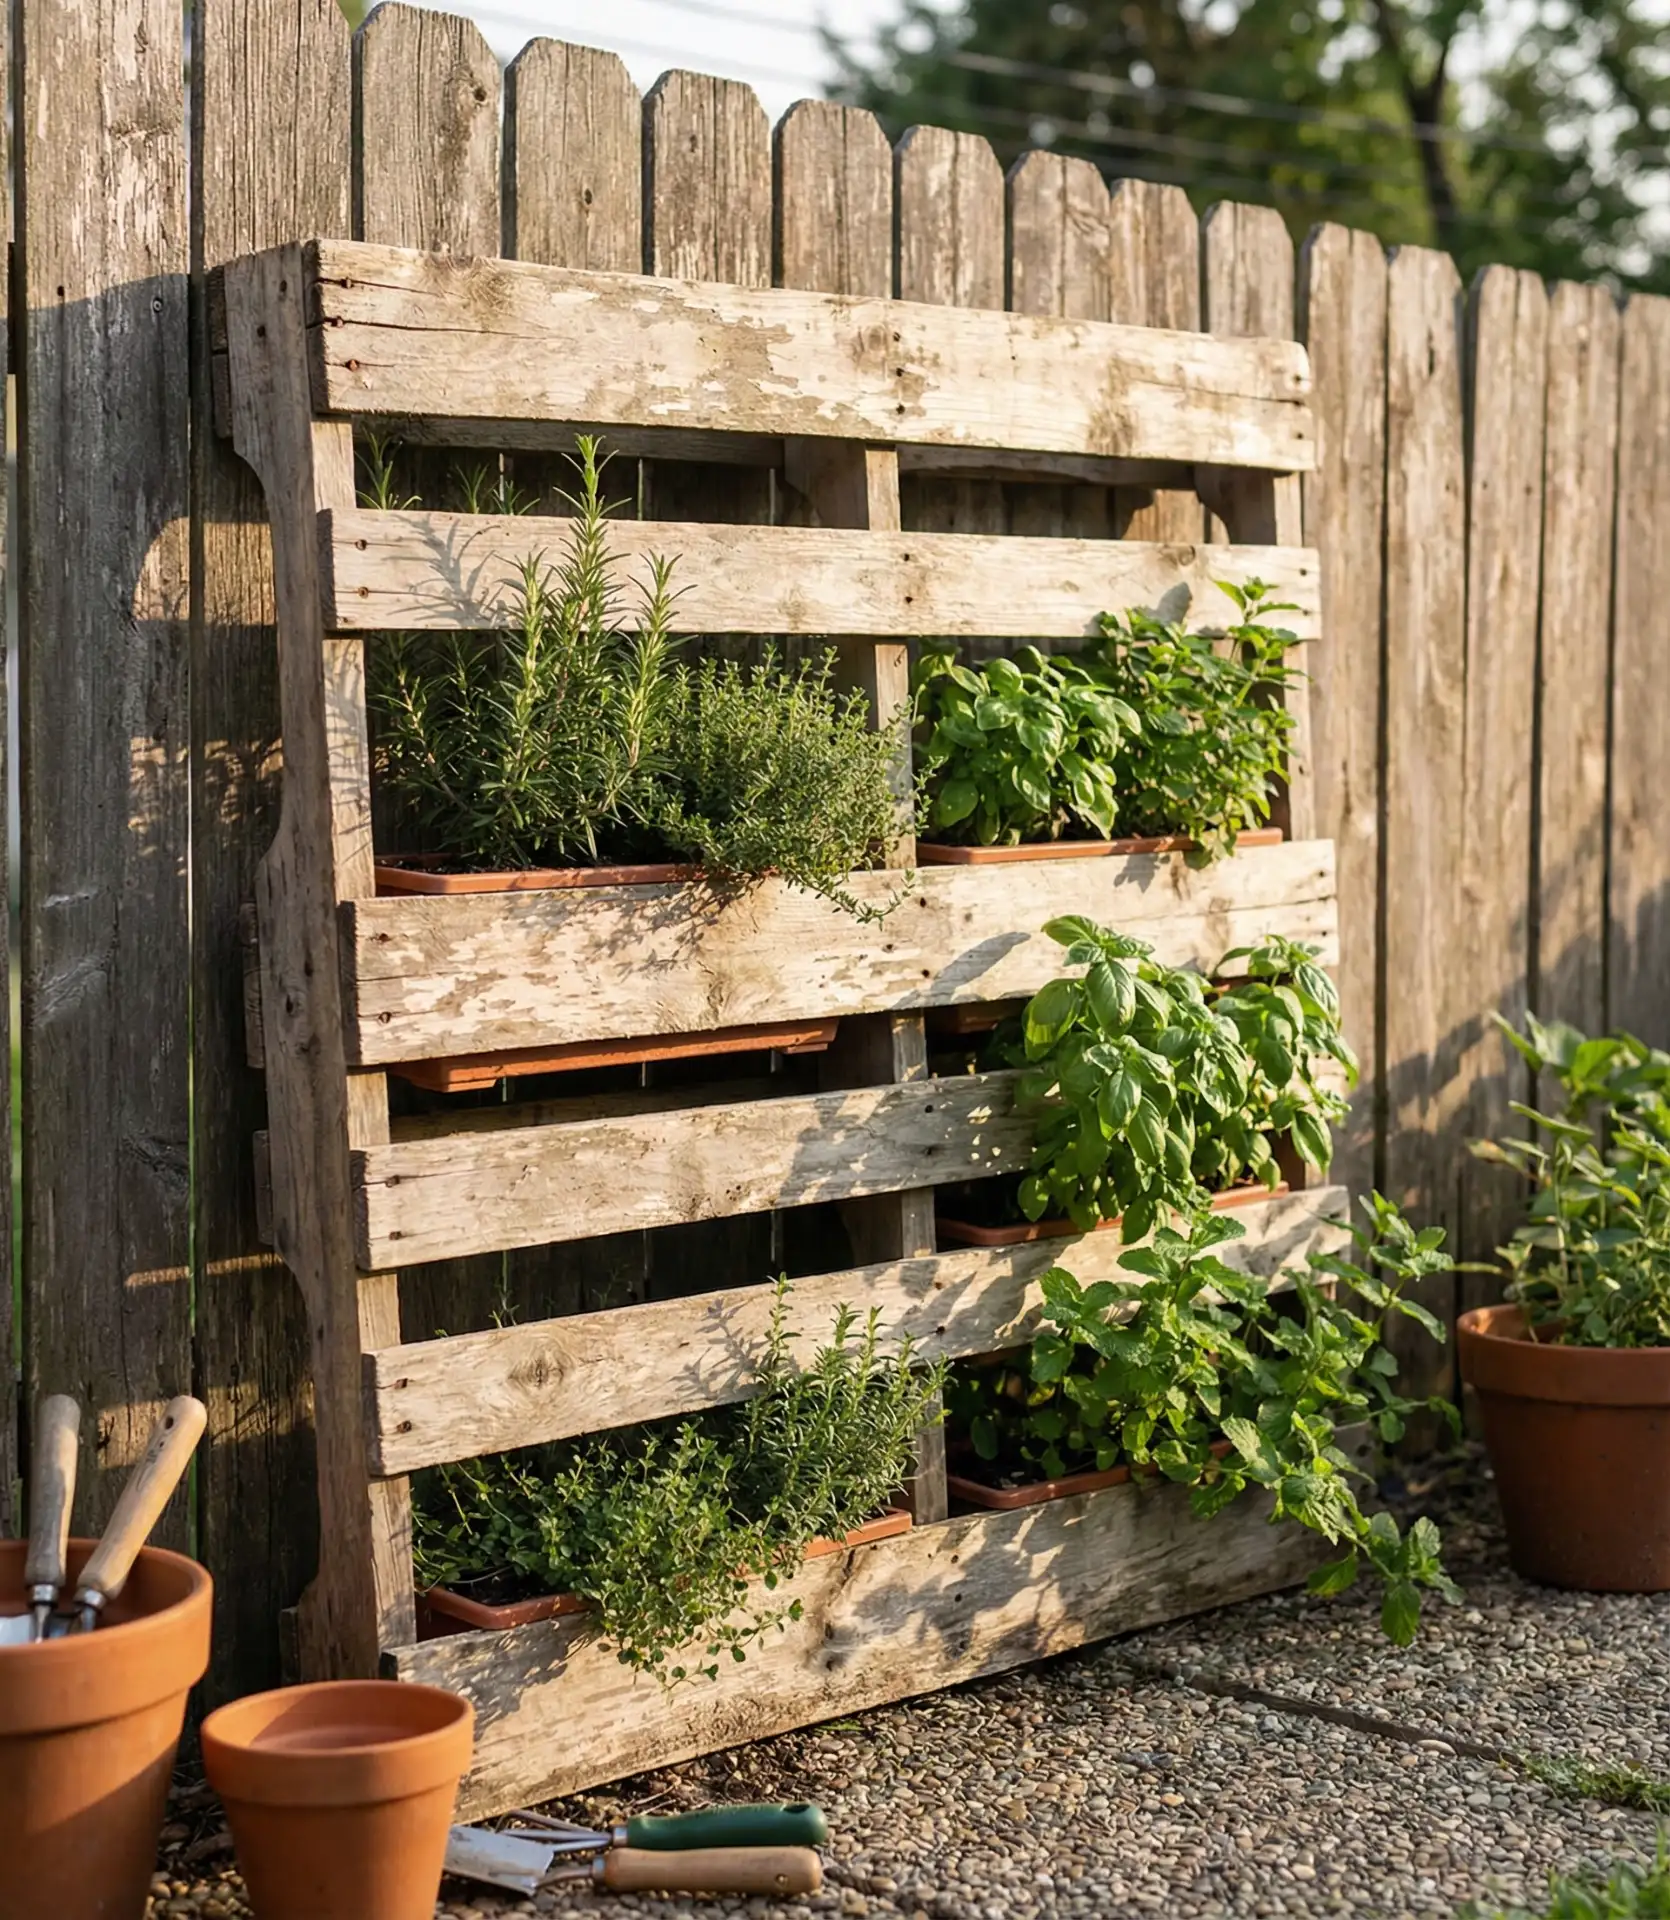
Lean a heat-treated wooden pallet against the fence, staple landscape fabric to the back, fill it with soil, and plant herbs inside the slats right into their pockets. This is vertical gardening at its most fun and least expensive, since you can score a used pallet for free from a hardware store and the only costs are a little paint and some soil. The upright design is perfect for small herbs like thyme, dwarf basil, or Johnny-jump-ups that require shallow planting depth. 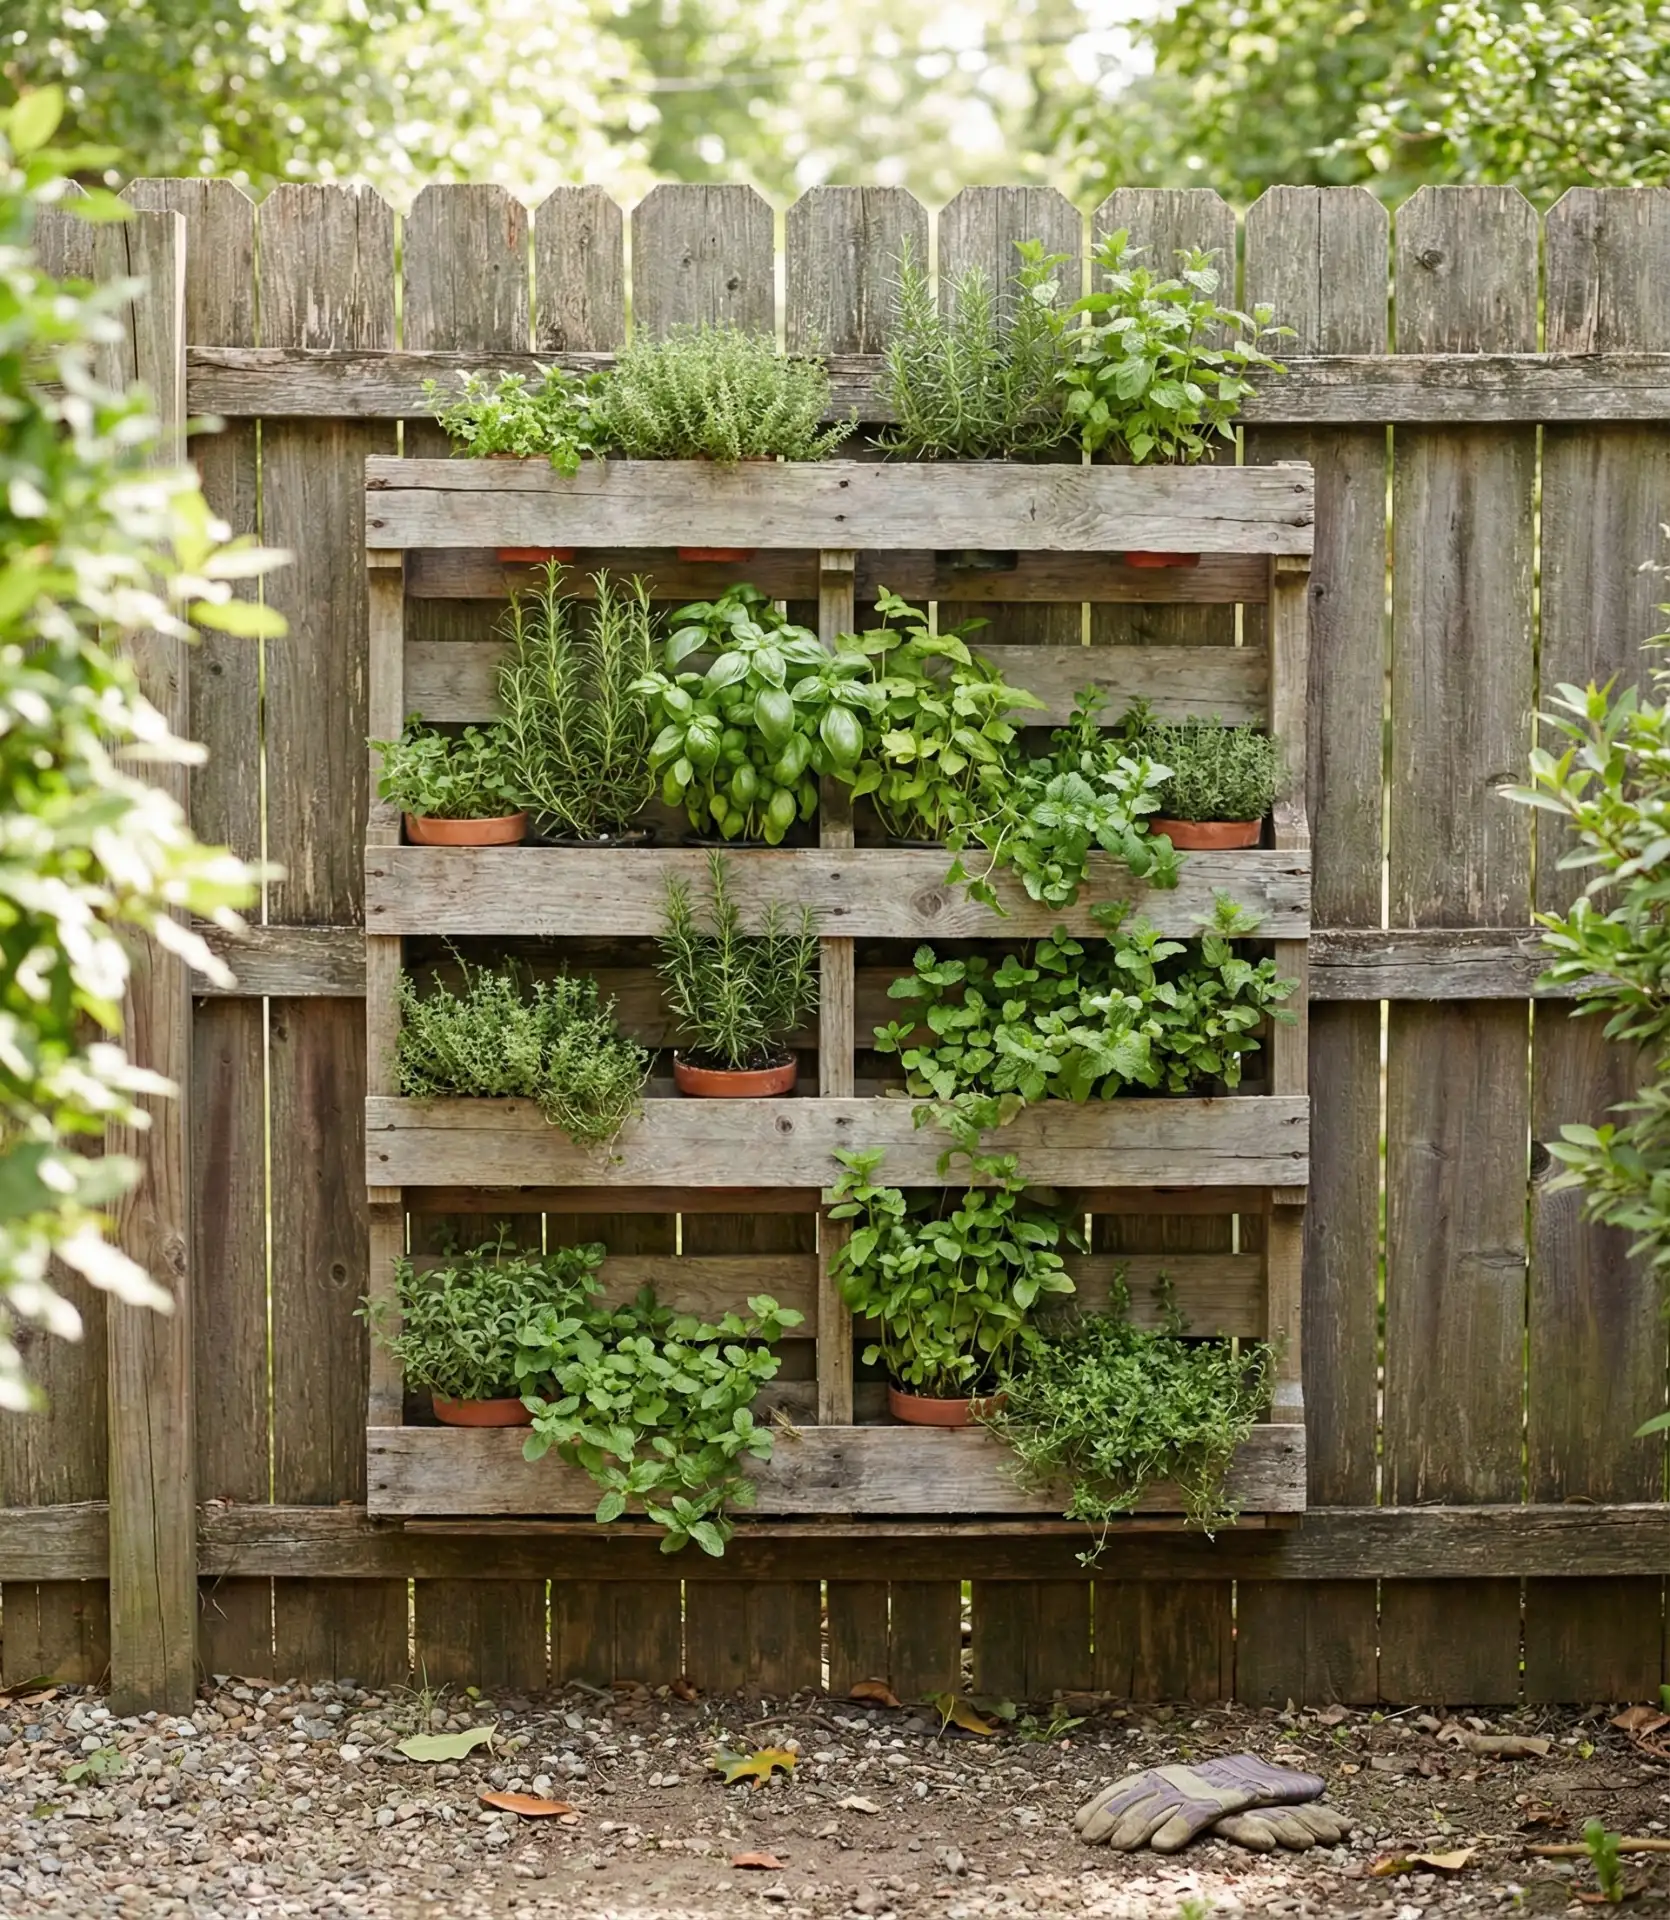
The mistake is using chemically treated pallets labeled “MB” (methyl bromide)—always search for the “HT” stamp on pallets to be used for food, meaning it underwent a heat treatment process only, which is safe. The vertical position also results in soil drying more quickly than it does in ground beds, but daily watering becomes essential during the heat of summer. Some gardeners simply rig up a drip irrigation line that travels across the top and trickles down through all levels, making it a real set-it-and-forget-it system, for around $20 in tubing and emitters.
9. Stone-Bordered Spiral in the Front Yard
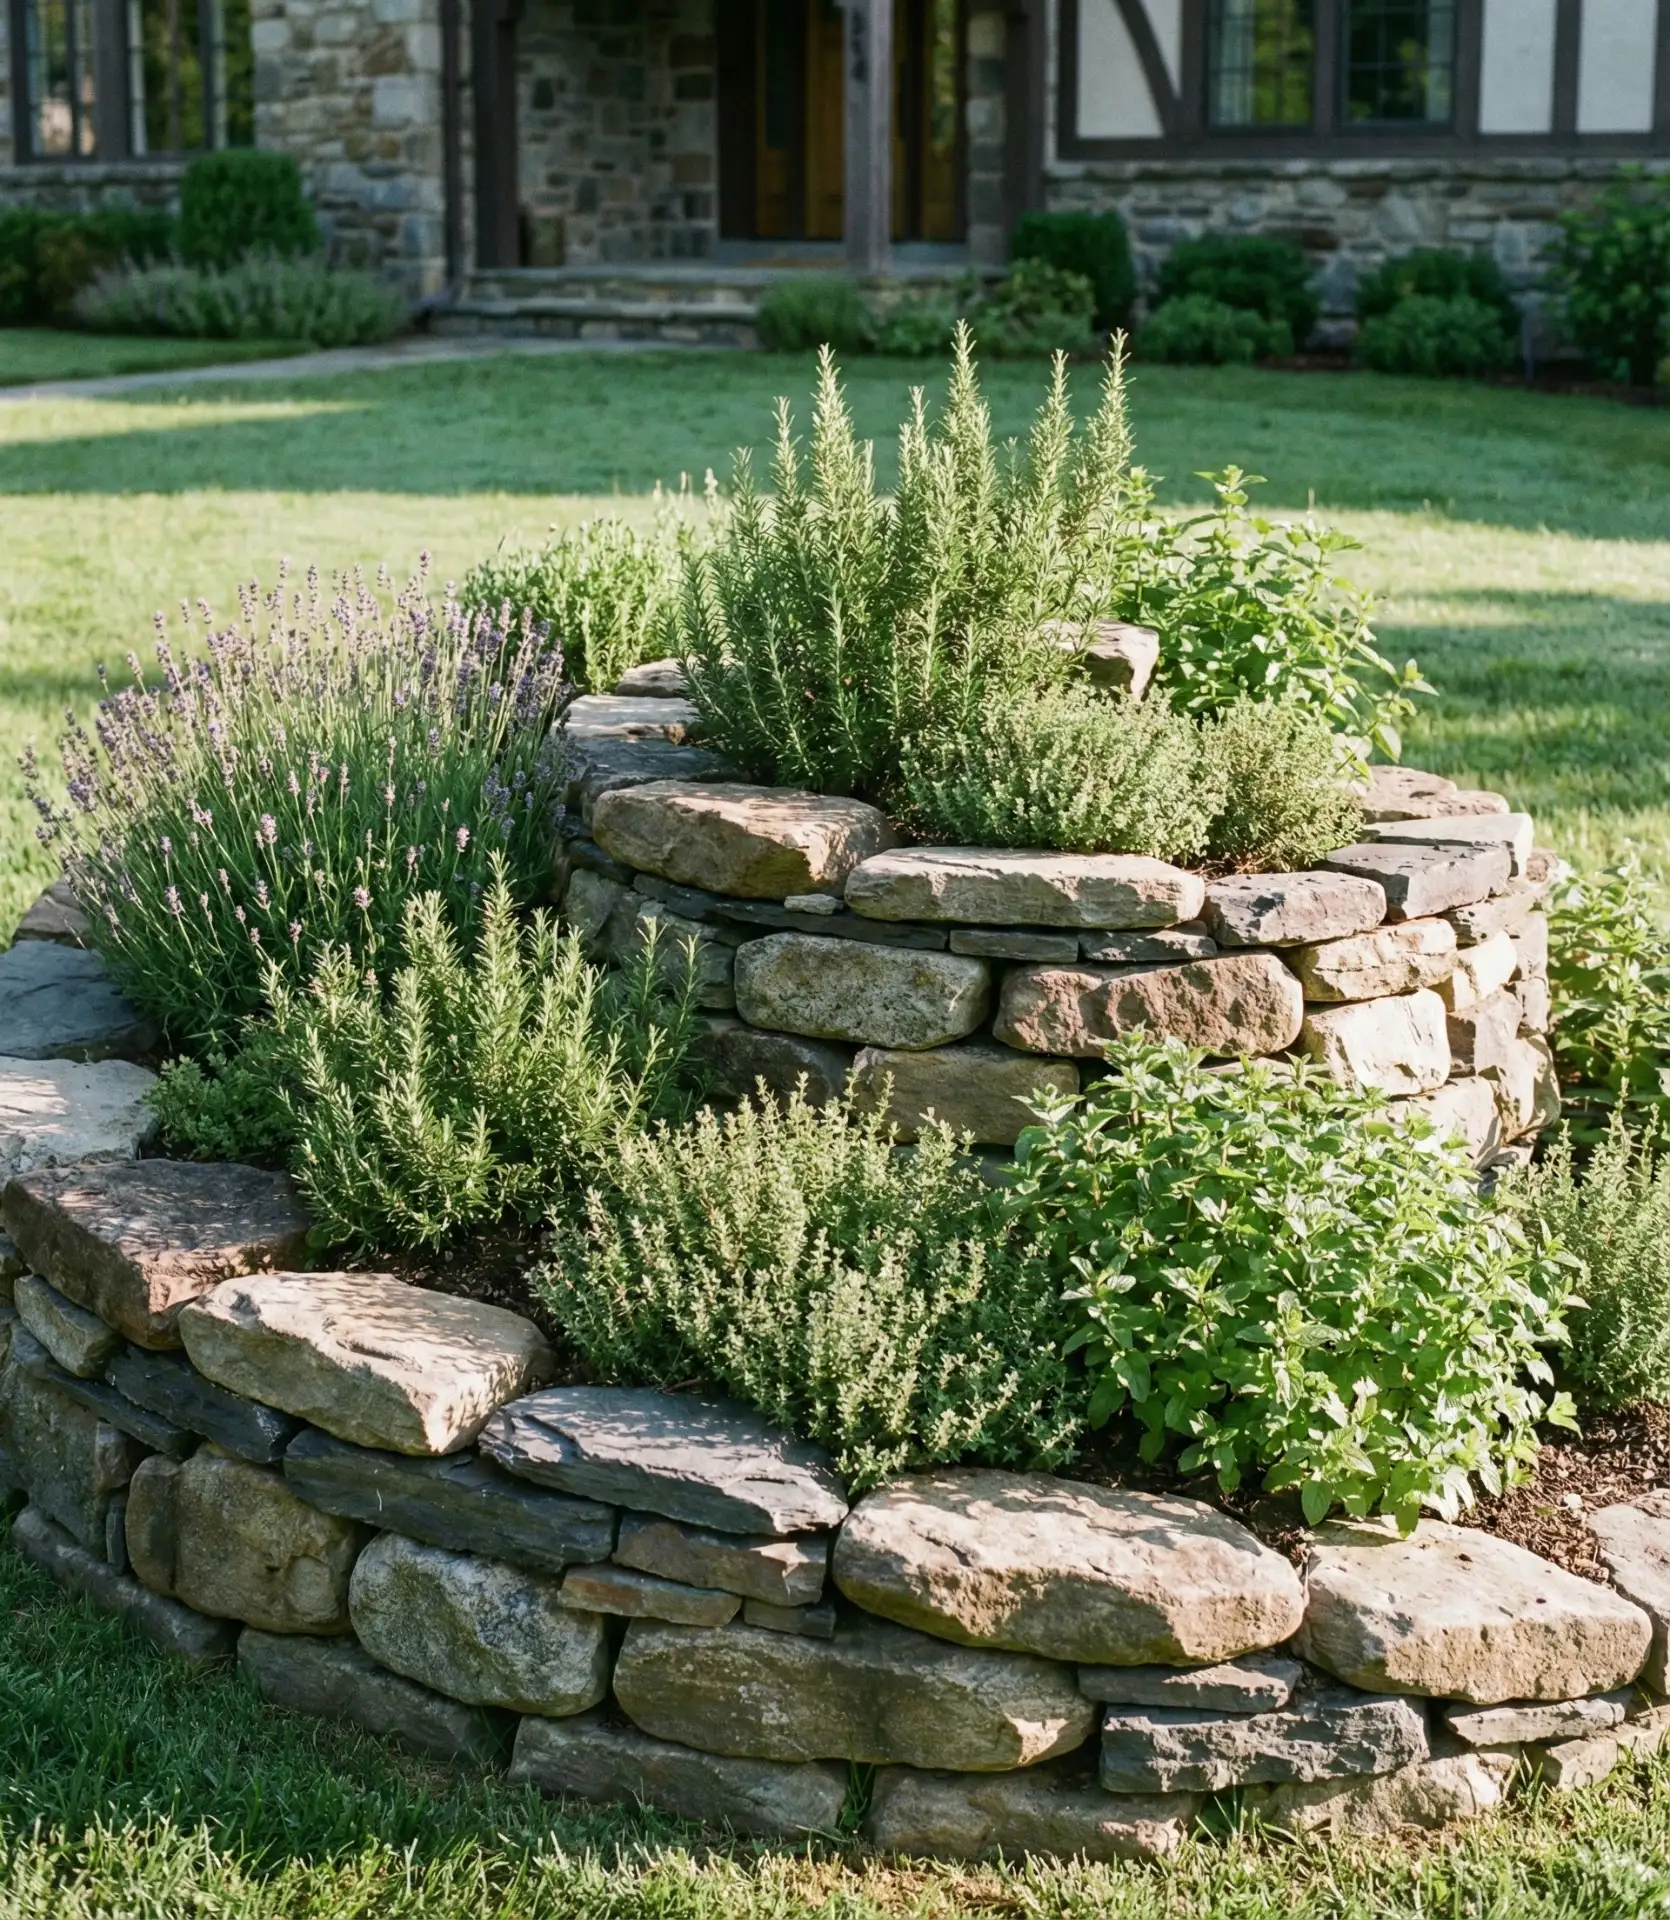
A spiral-shaped herb garden, constructed of stacked stones and concrete paving stones, which provides differing microclimates within its compact form. The top container, which empties and dries out rapidly, is suitable for Mediterranean herbs like lavender and thyme. Middle levels serve basil and cilantro, which prefer moderate moisture. Mint and lemon balm find homes down at the bottom, where they stay damper. This permaculture favorite looks wonderful planted in the front yard as an edible garden bed sculptural focal point near your mailbox or fence edge. 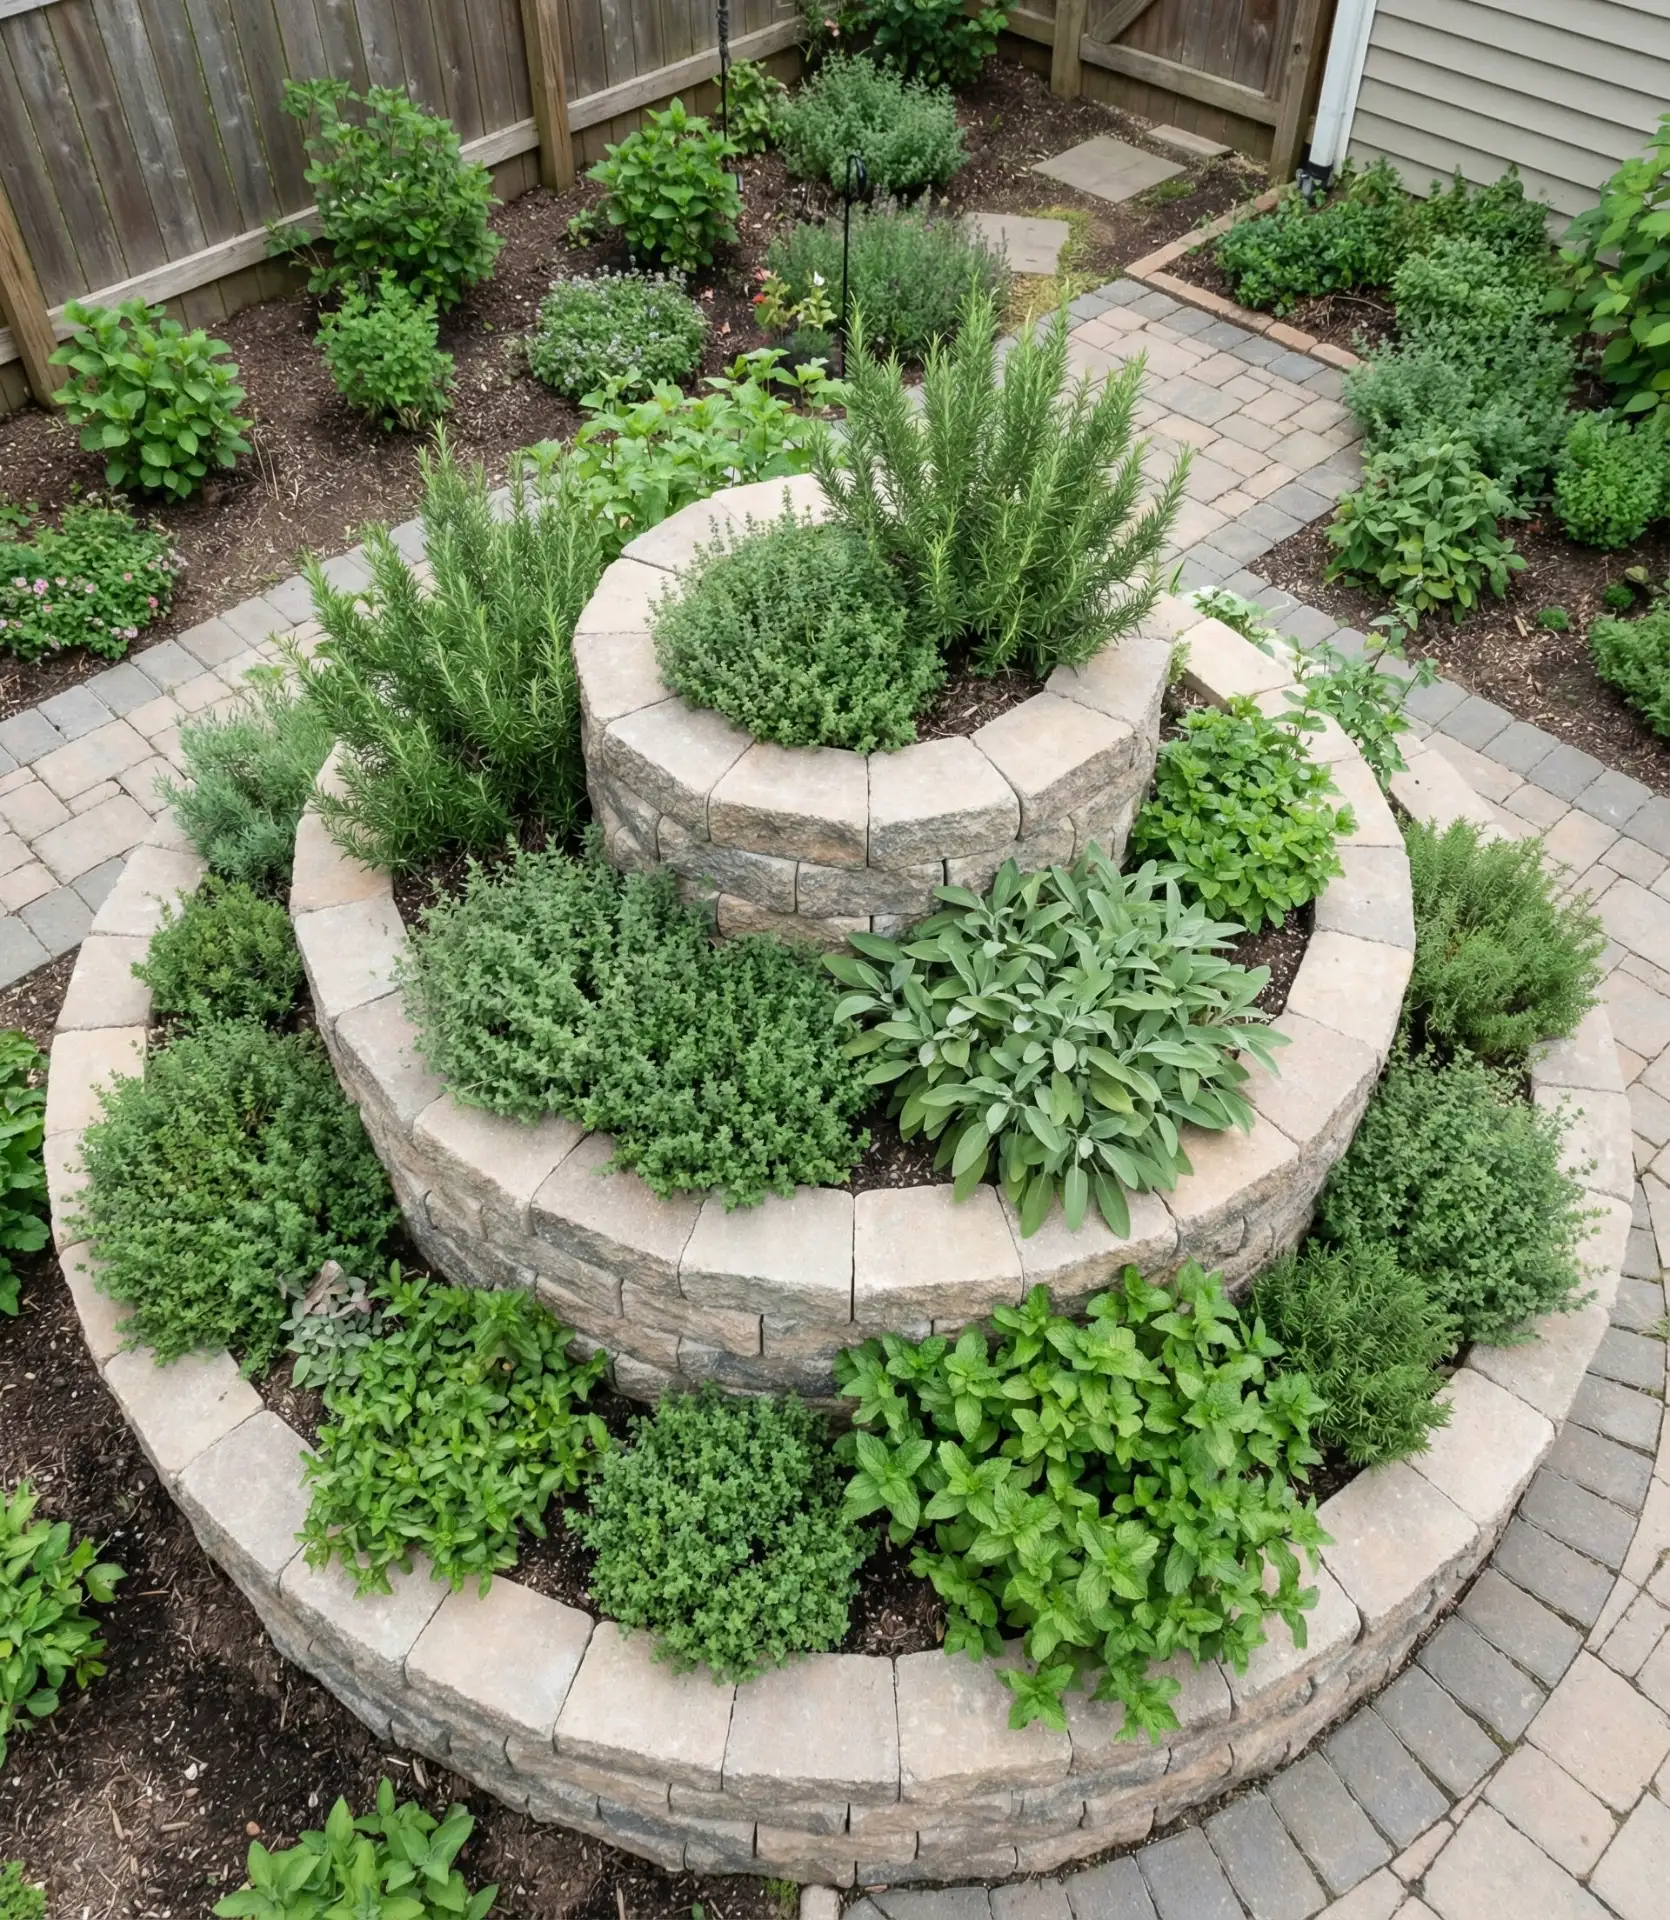
Depending on aesthetics and what’s lying around your property, you can spend anywhere between $50 if you use free stacked fieldstone to $300 for cut flagstone, budget-wise. The spiral generally begins at 6 feet in diameter and rises from 2–3 feet high in the center out to about 20 feet of planting edge, only taking up 30 square feet of real estate on earth! It’s really all clever design, so once established with perennials, it takes little more than the occasional harvest and seasonal mulching to maintain.
10. Galvanized Bucket Collection for Outdoor Patios
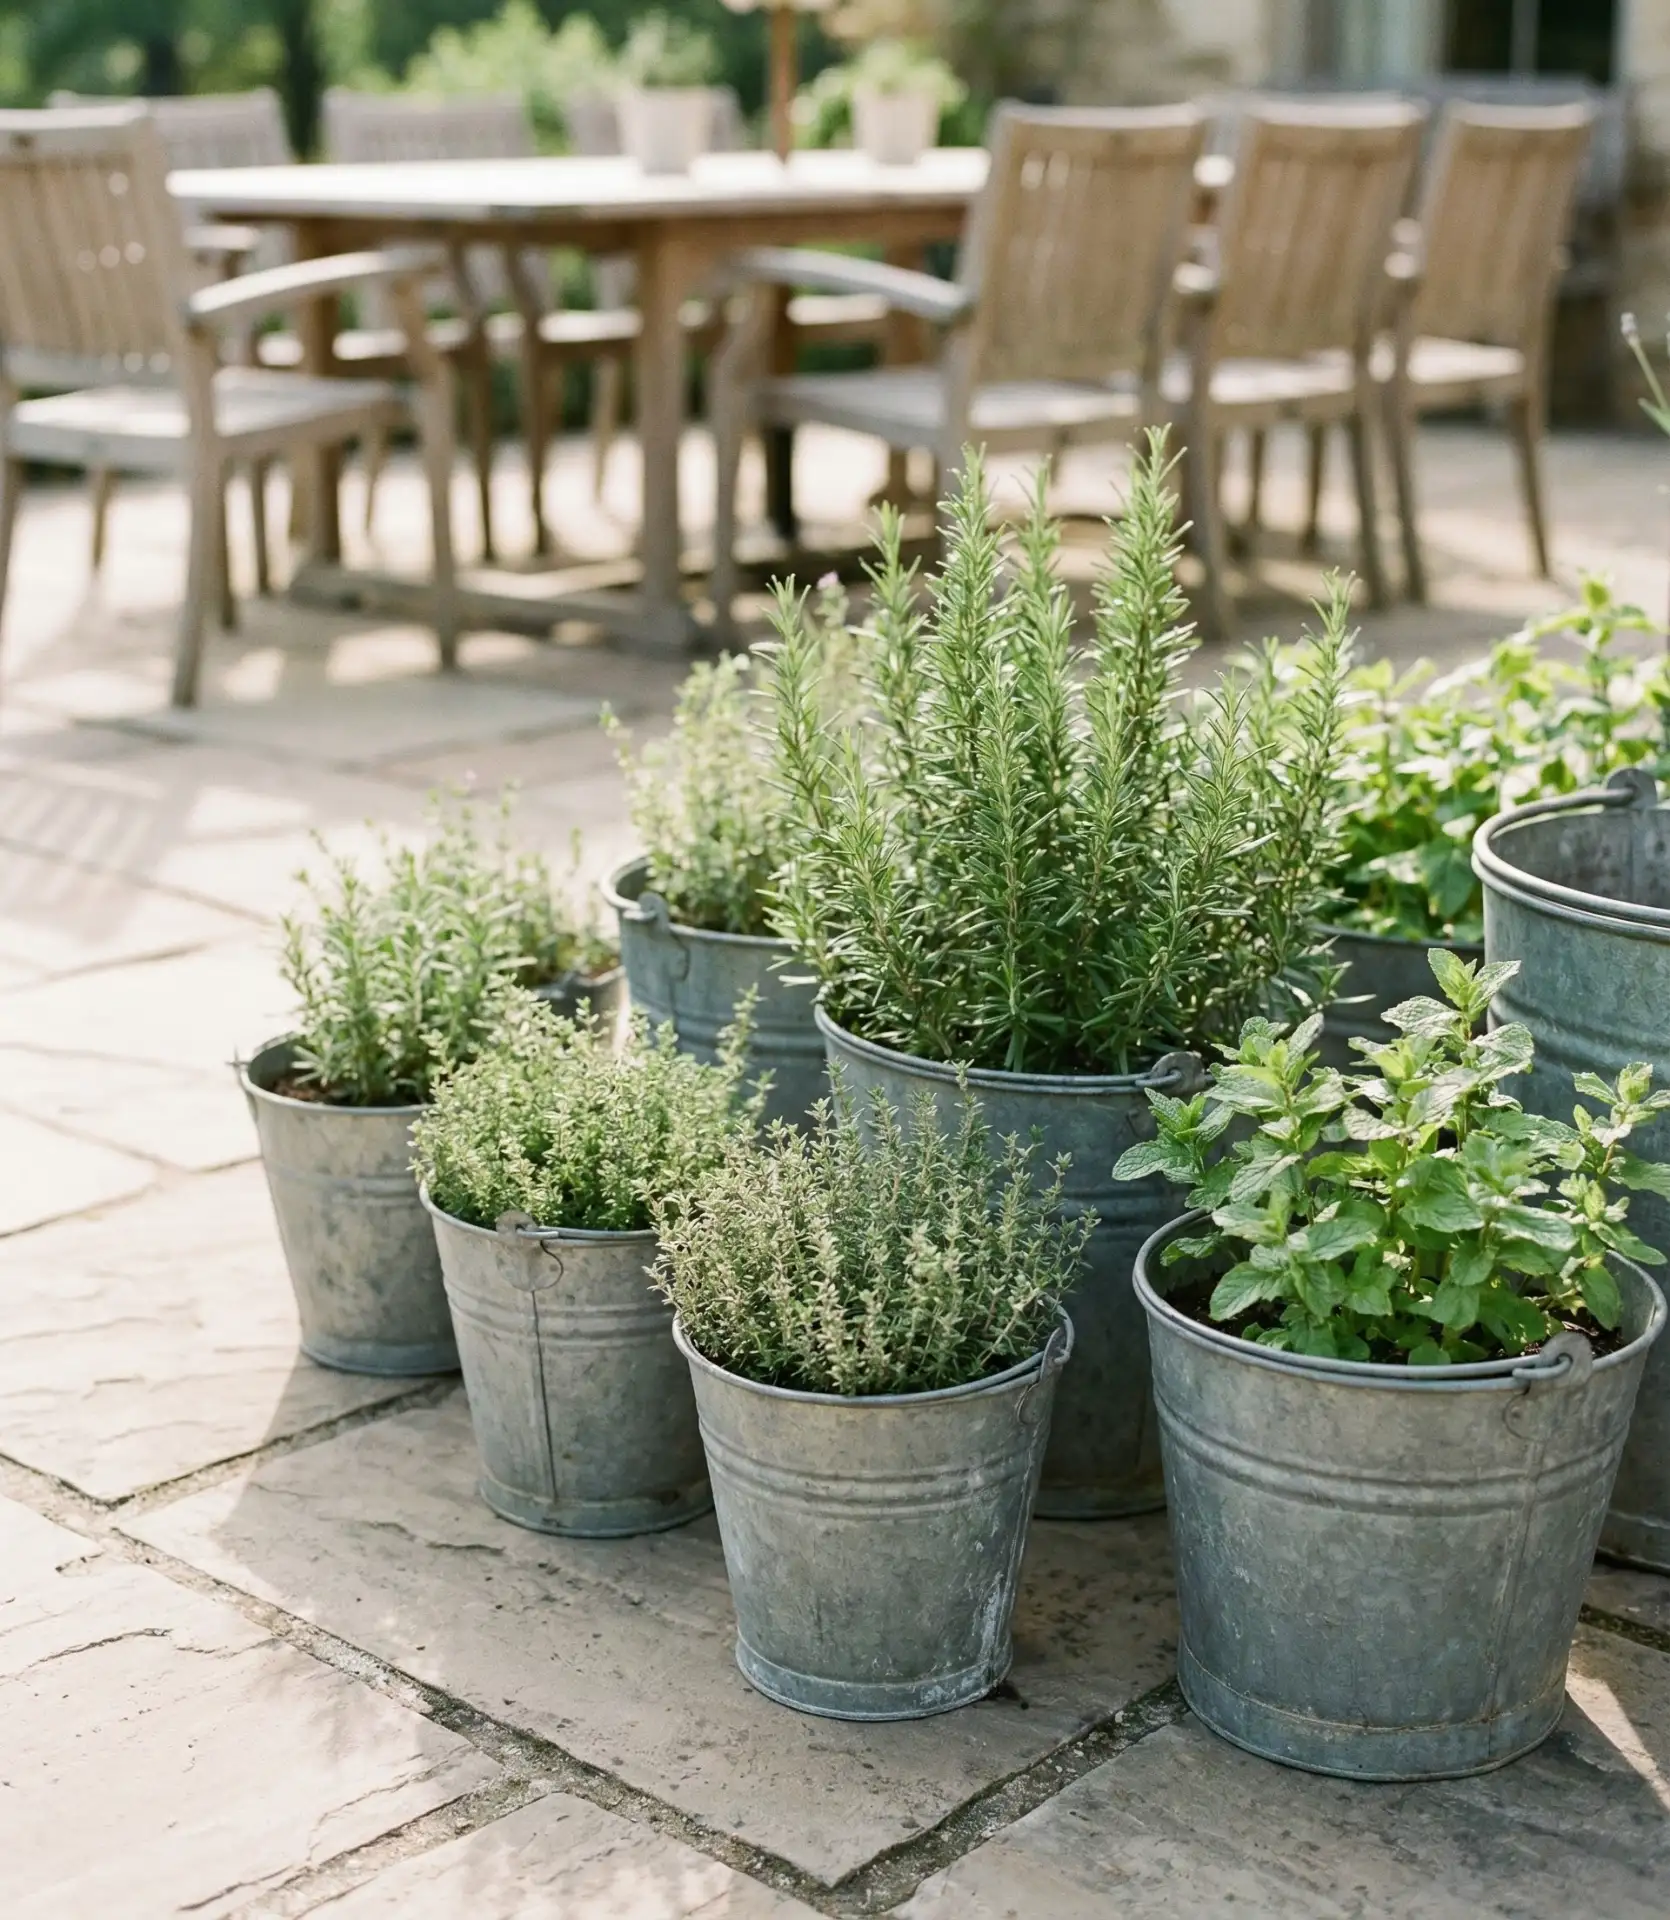
Place mismatched galvanized buckets and tubs around your outdoor patio, and plant each with an herb. The straightforward, grown-over-time look is authentically farmhouse, and the metal containers get warm in the sun, something most herbs love. Drill 1/4-inch drainage holes in the bottom of each bucket, fill with gravel, and then add good-quality potting mix. Pile them near your grill or outdoor raised beds, and you will be inclined to grab fresh herbs while cooking—proximity promotes use rather than letting plants languish ‘til death do us part. 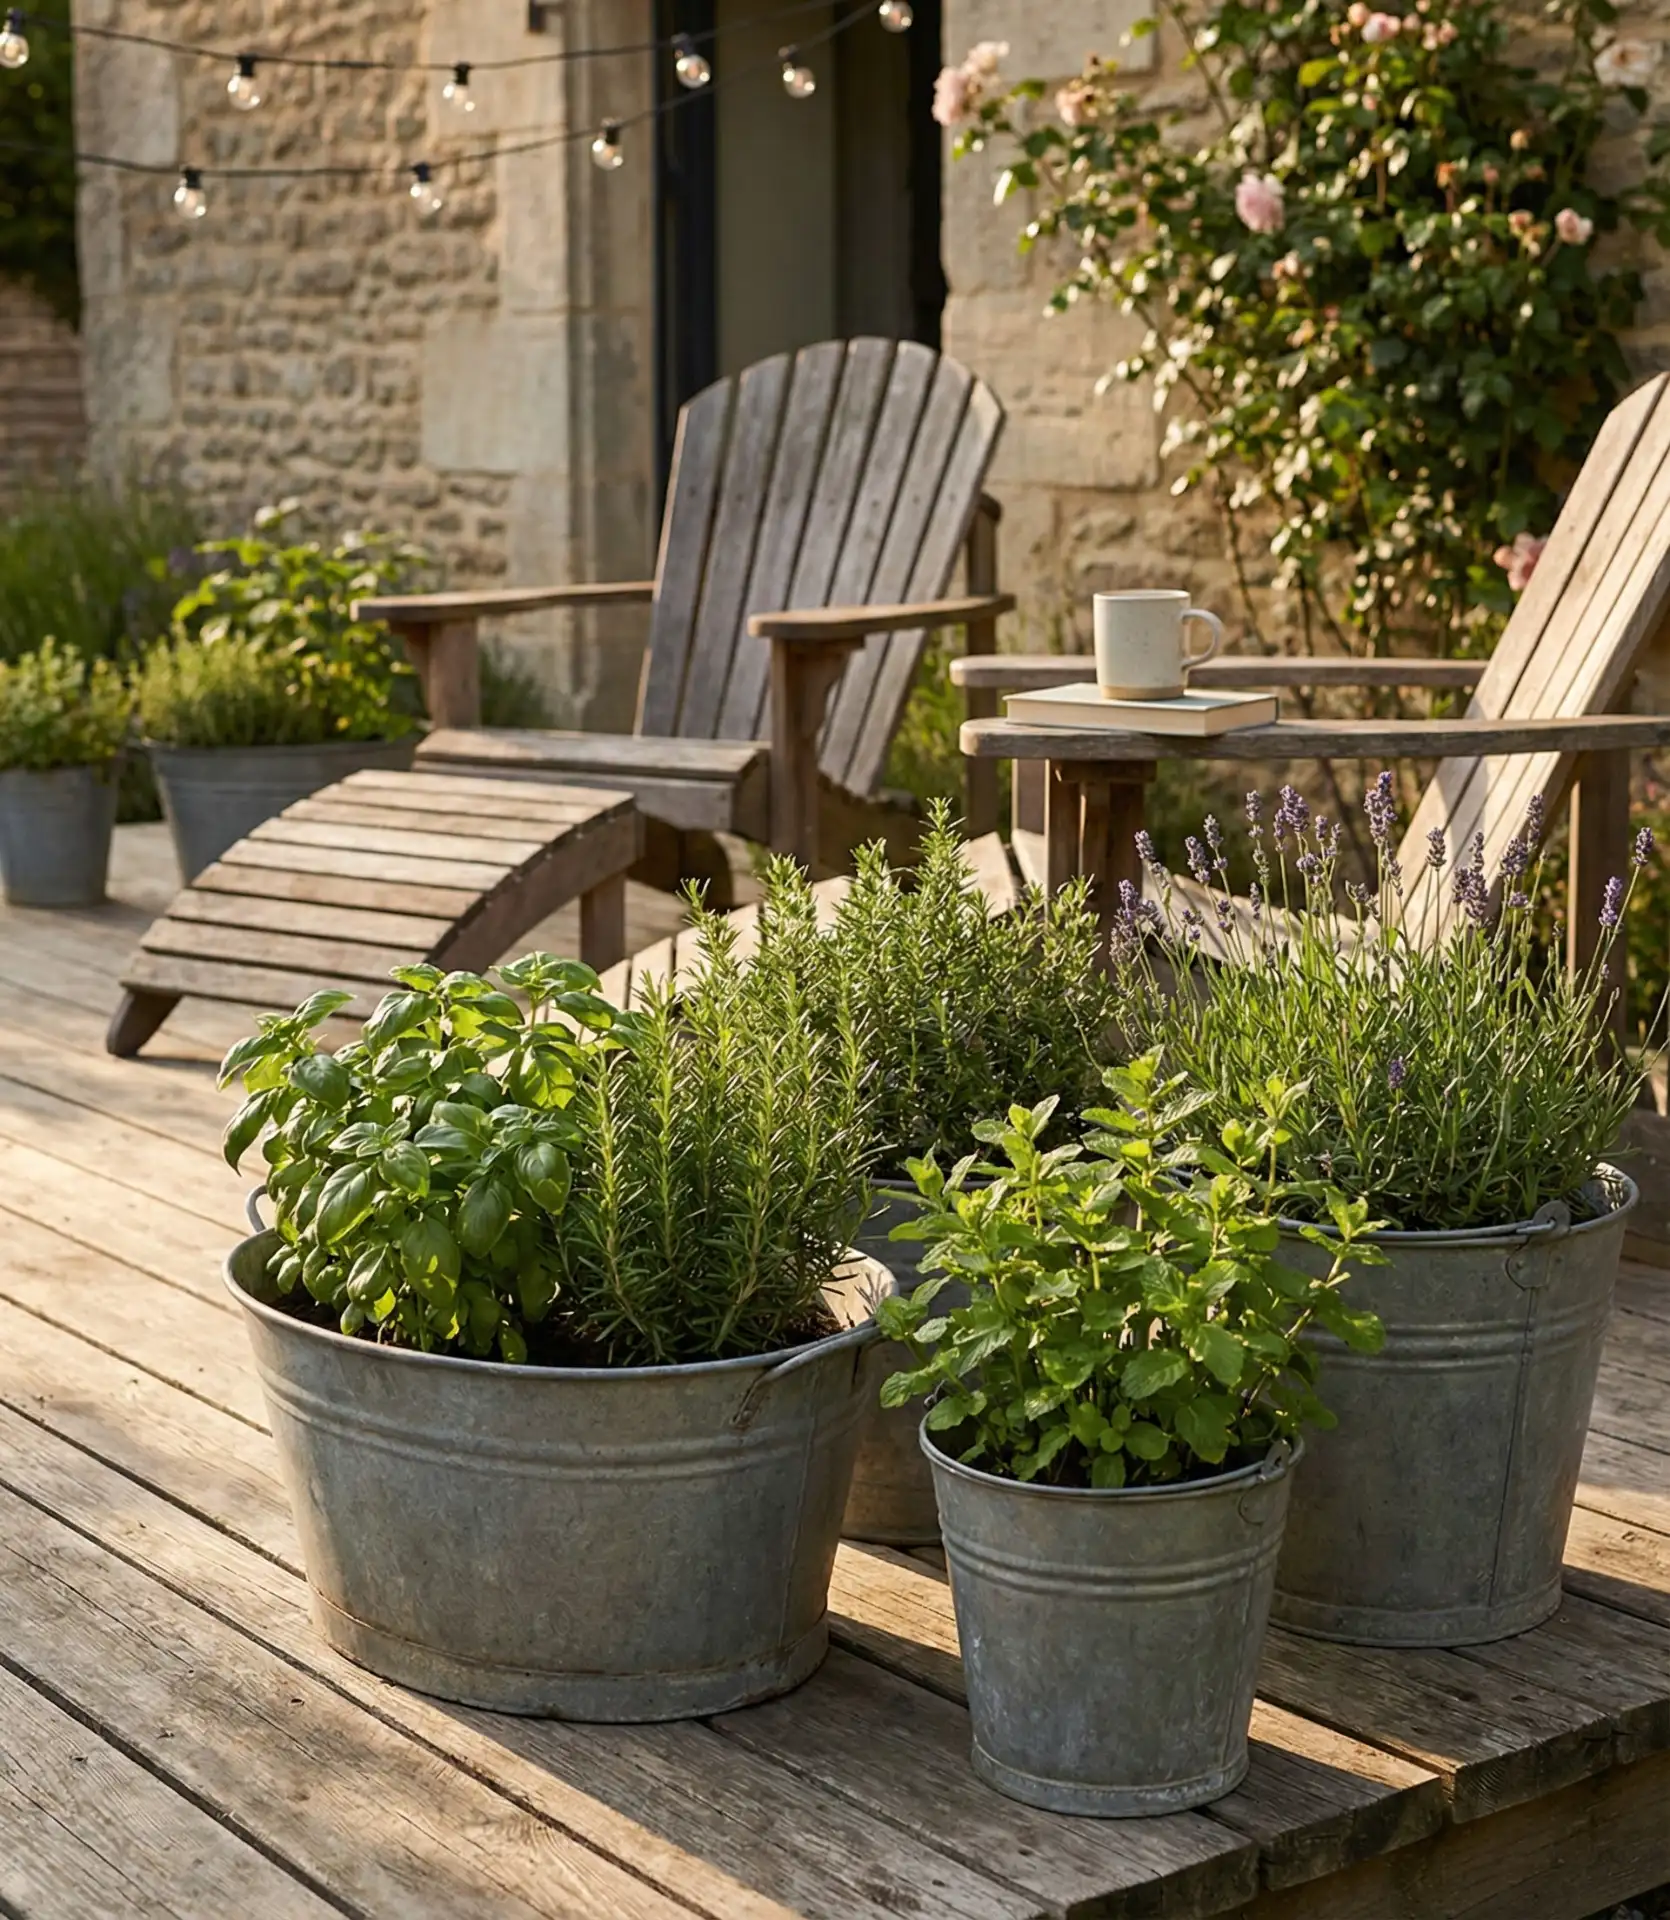
In regions with unpredictable weather, this moveable garden excels: During long droughts, simply shuffle buckets under eaves; during heat waves, hide tender basil in shade. And gardeners in Florida and Texas especially relish the flexibility, whether when under threat of hurricanes or on sizzling August afternoons. Scour the flea markets and estate sales for vintage buckets (they sell for $5–$15 apiece), which bring a lot more character than same-as-everyone-else store-bought planters, and whose weathered patina will only get better with time—exposure to outdoor elements will maximize this effect.
11. A wooden crate tower for apartment balcony corners
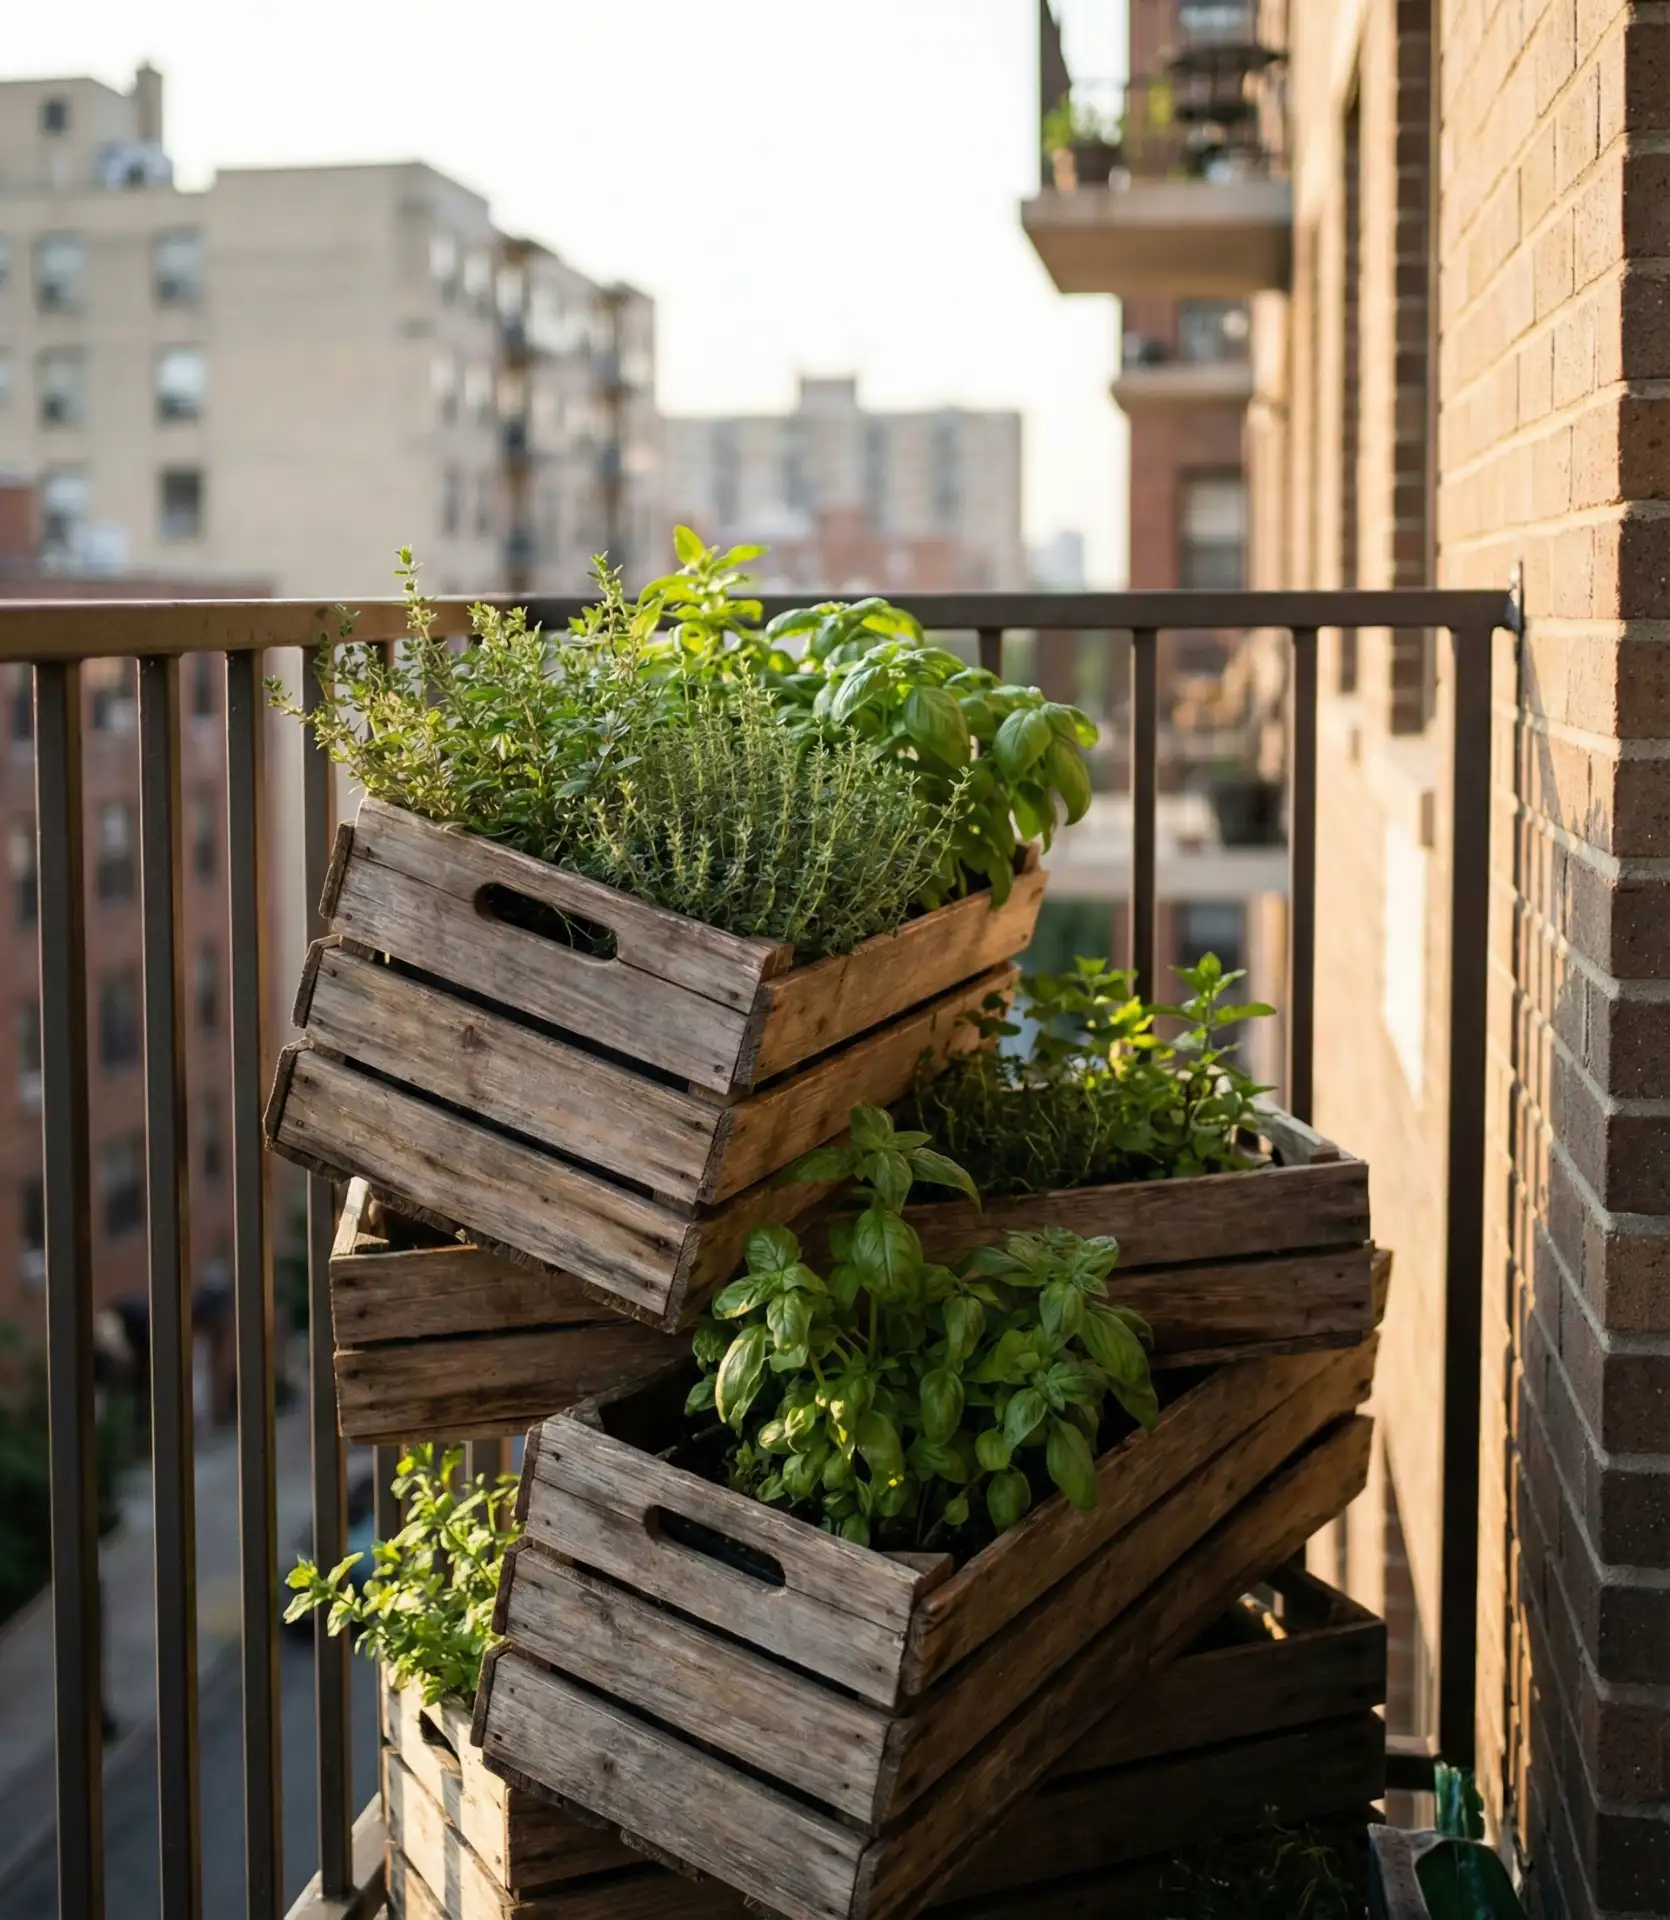
Stack three to four vintage wooden crates in a corner of your apartment balcony for immediate vertical growing space. Each crate turns into its own planting area—line them with landscape fabric, fill with potting mix, and plant different herbs in each crate. This container method uses the awkward corner space (a space that most often goes unused) to full advantage, and the open slats allow for excellent drainage and air circulation. If you rent or have a balcony and need to take your gardening on the go, this technique is an especially genius move. 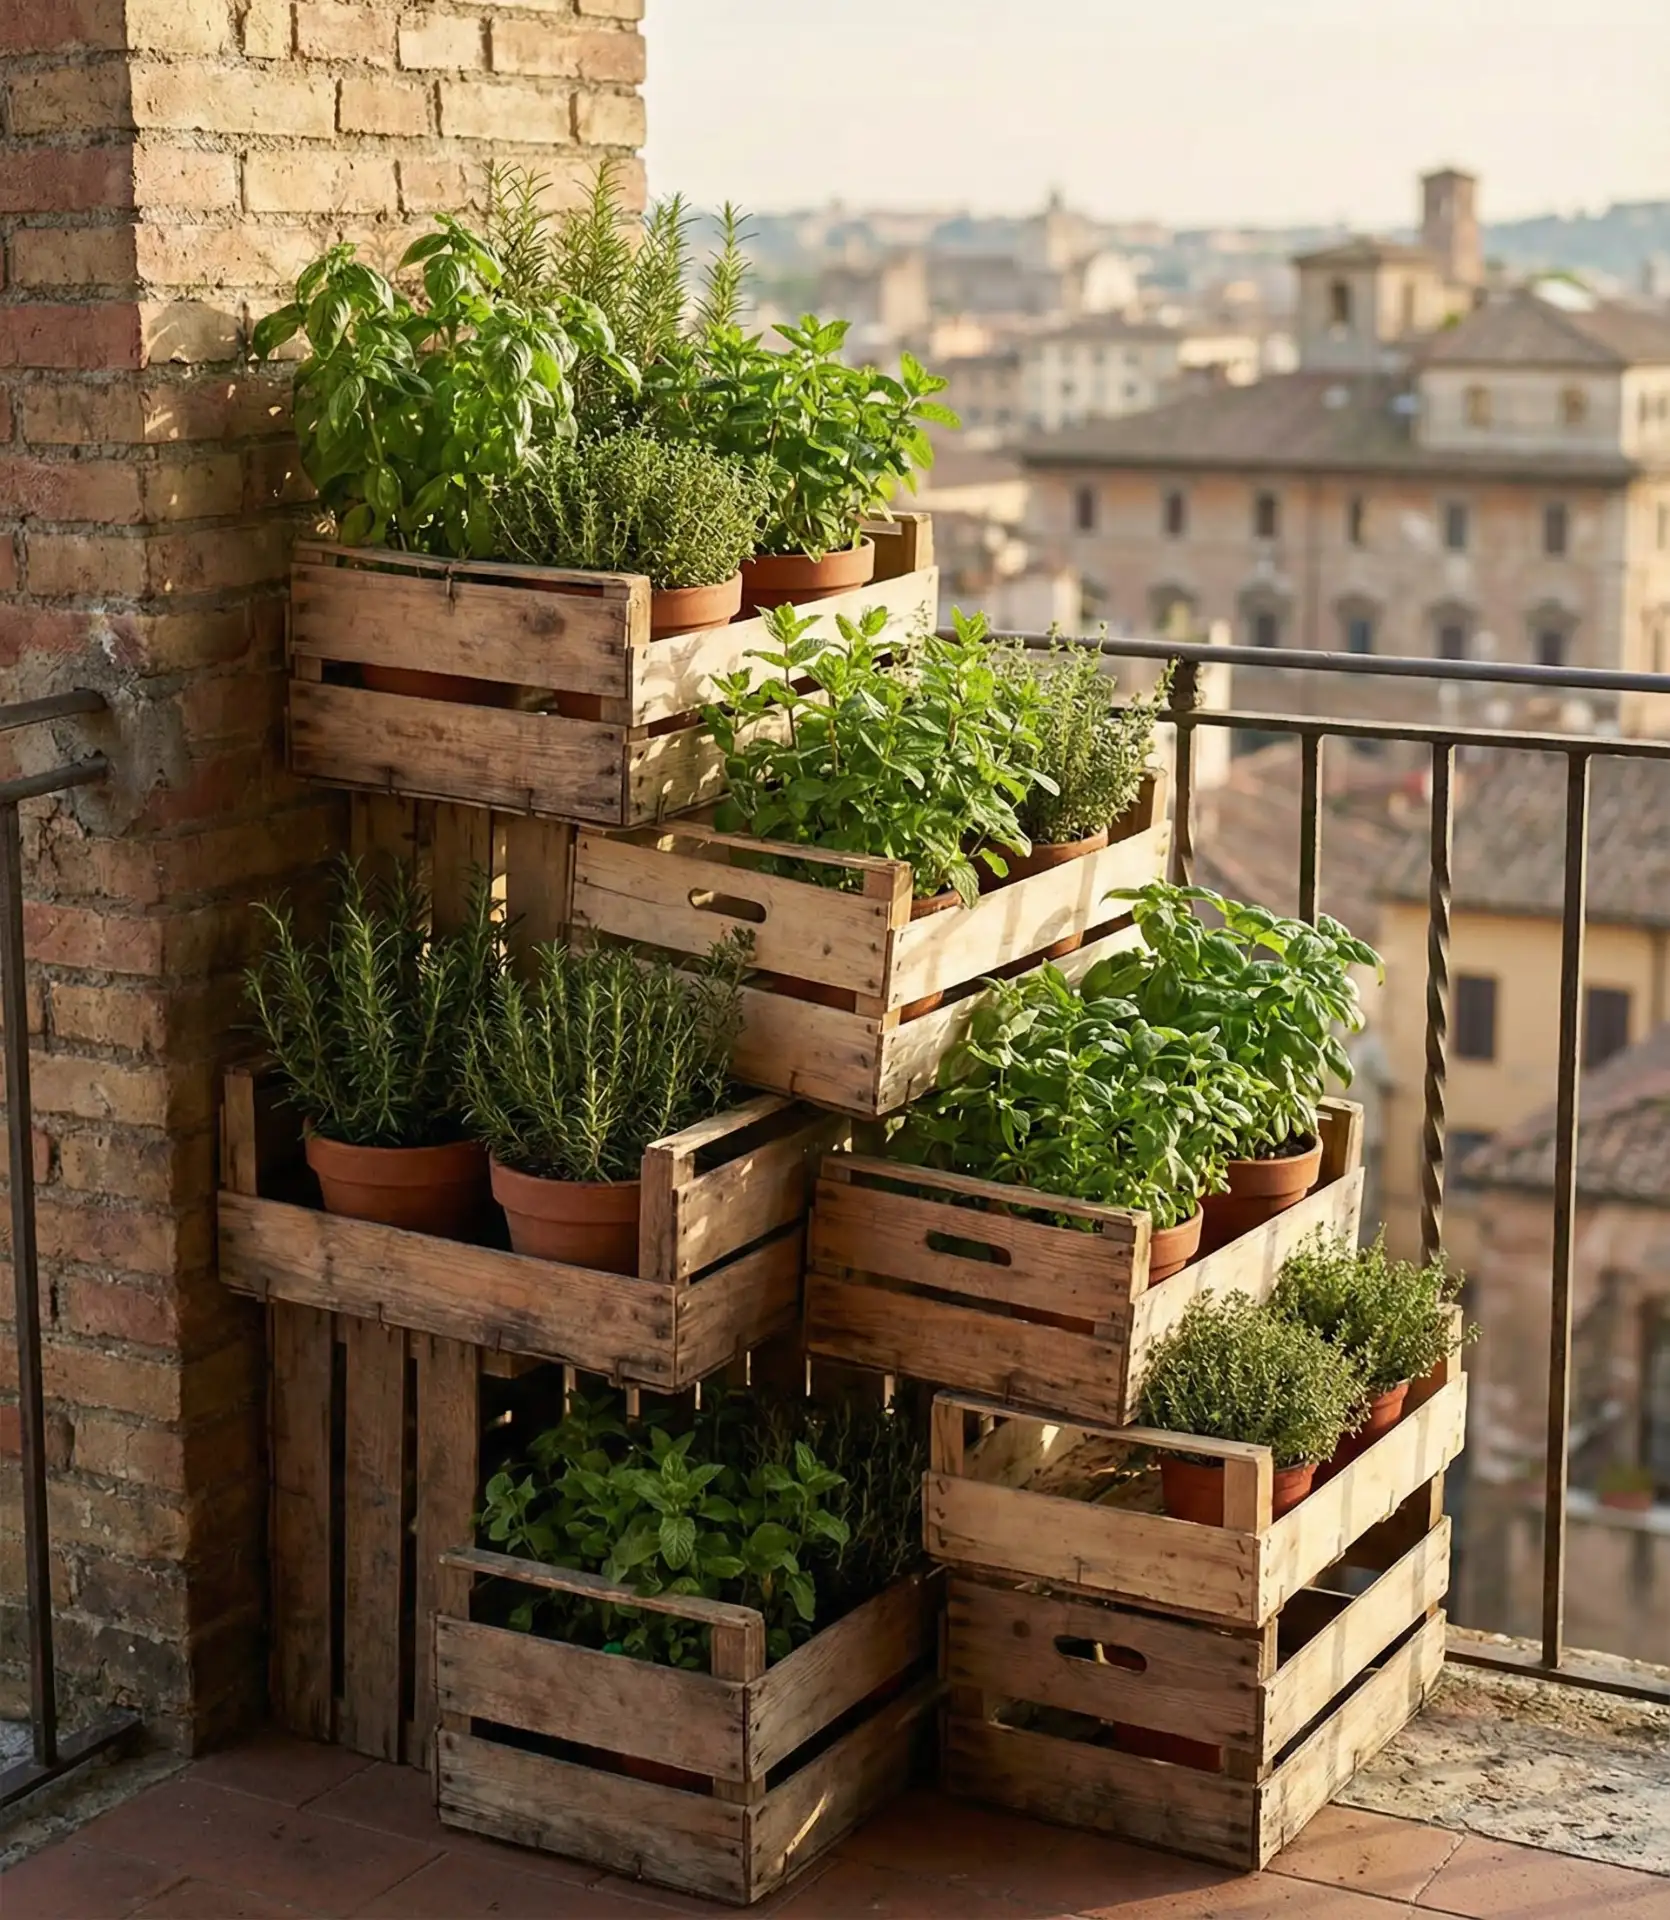
A Chicago apartment dweller shared that her crate tower survived two winters on her covered balcony by moving it against the building wall and wrapping the whole structure in burlap during deep freezes. The key is choosing crates made from untreated wood—old wine boxes work beautifully—and securing the stack with metal brackets or zip ties so wind doesn’t topple your tower. Plant hardier herbs like sage and thyme in lower crates where they’re more protected, saving the top spot for sun-loving basil you’ll replant each spring.
12. Repurposed Dresser Drawers for the Porch
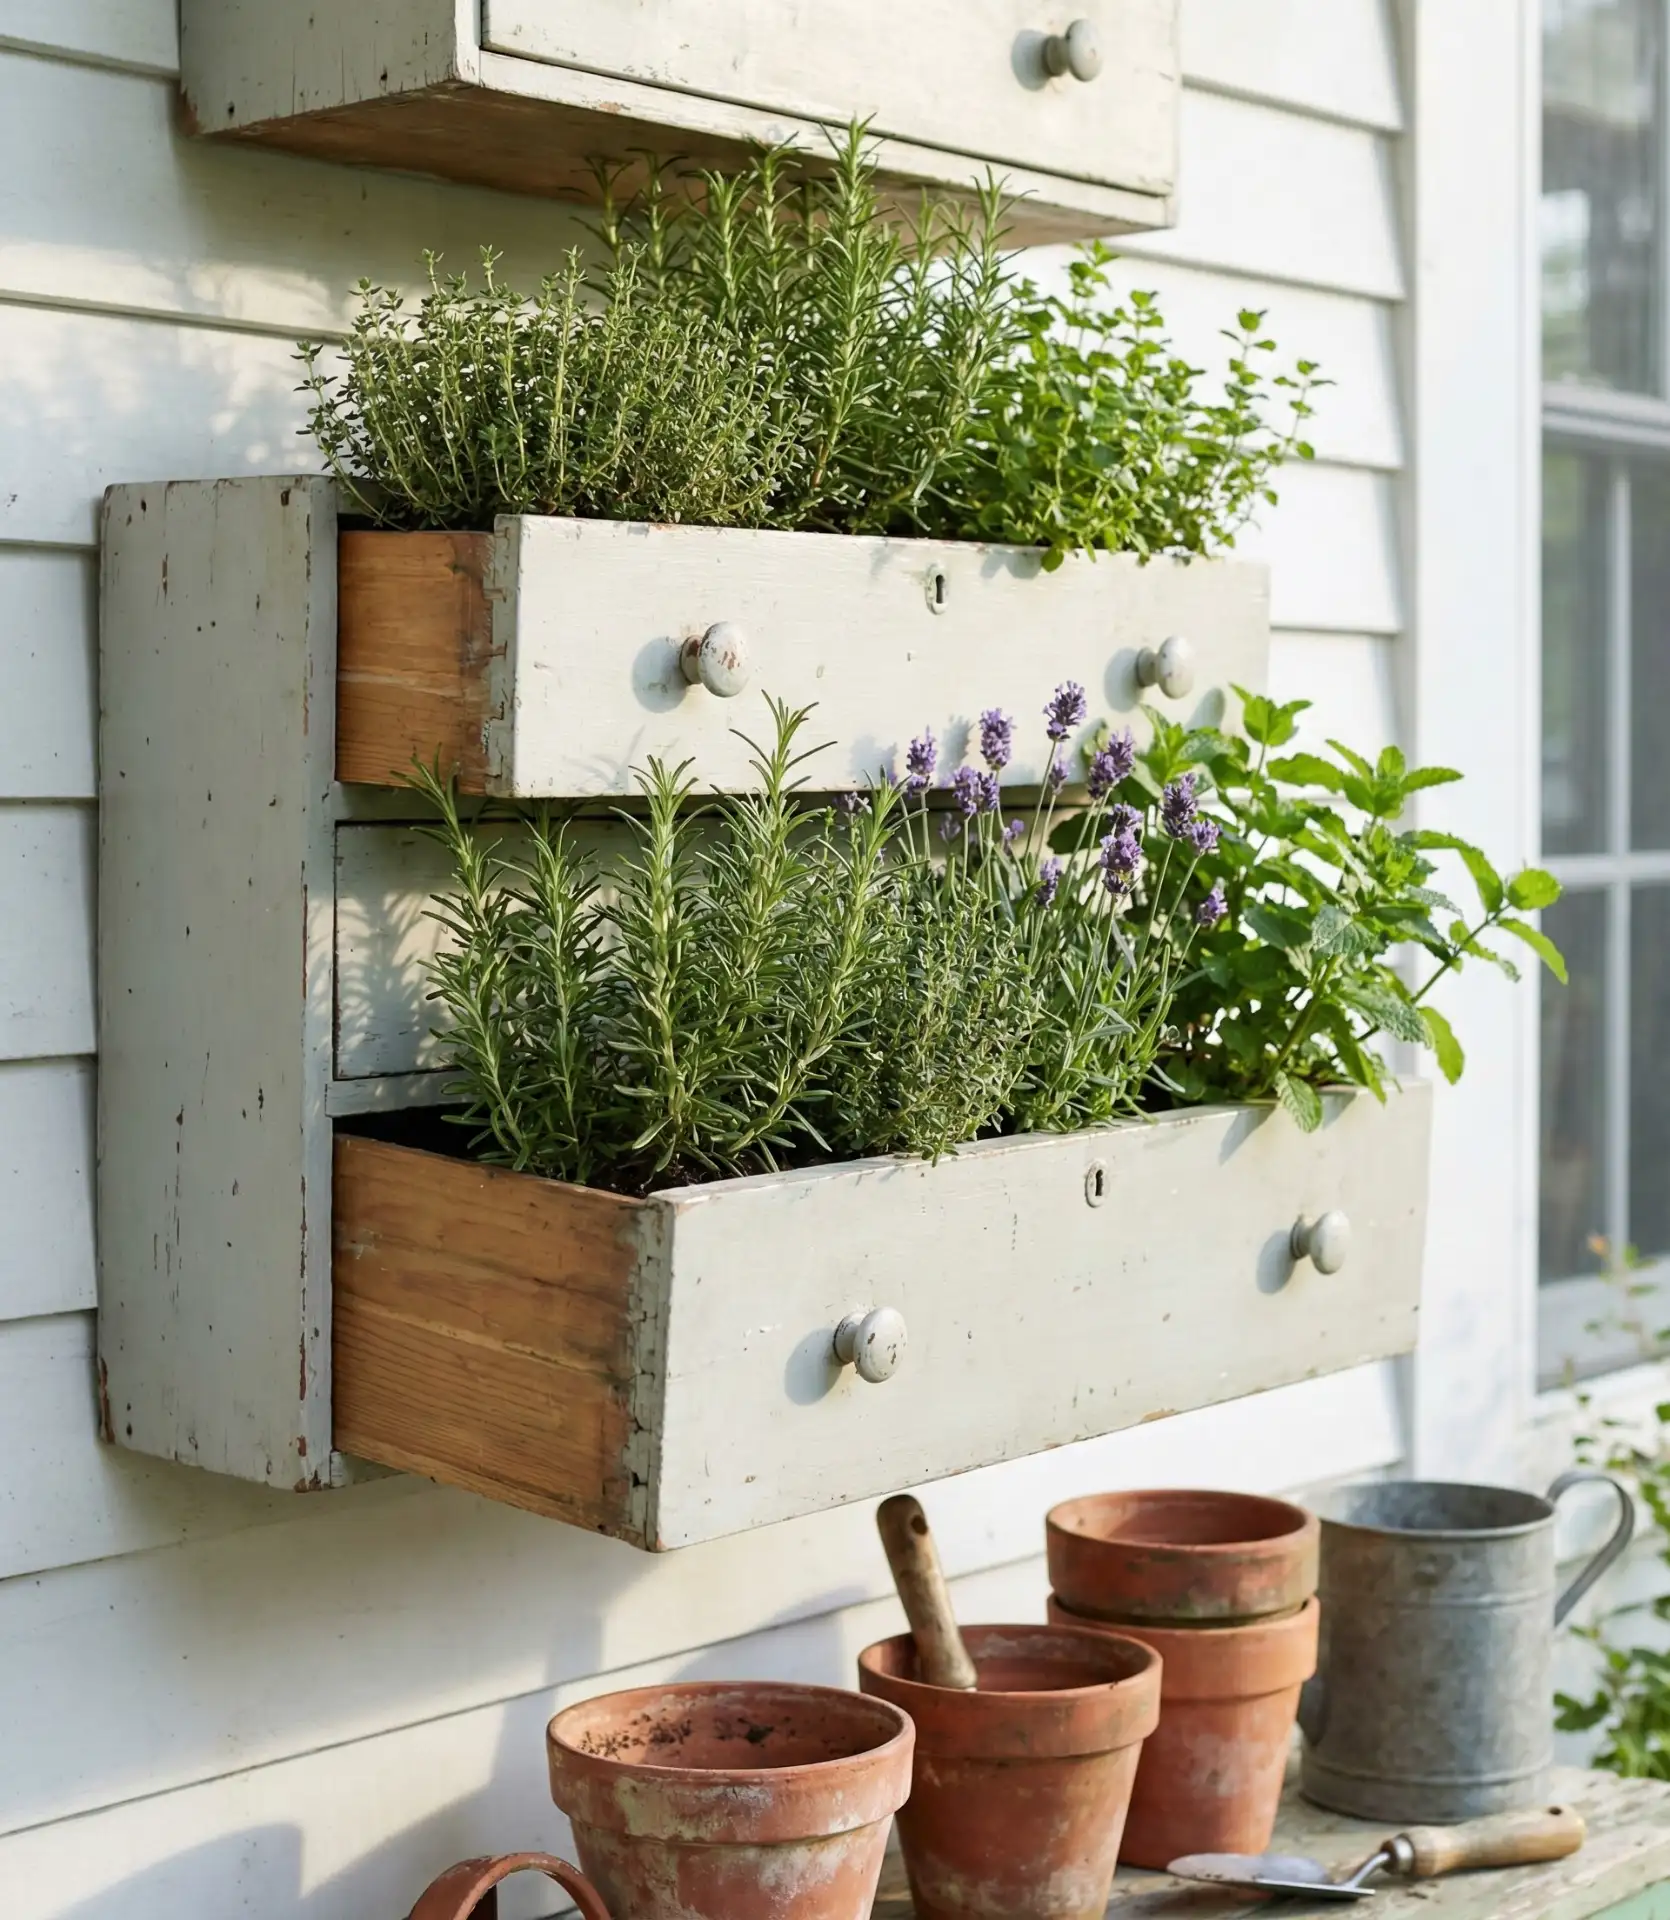
Pull out some old dresser drawers, drill holes for draining, and install them at staggered heights on the walls of your porch to make a vertical container garden. There are two drawers, and you can place potted herbs in each or line them and fill them with soil directly for a more permanent display. Their diverse depths are designed for various root systems—shallow ones for thyme and oregano, deeper drawers for basil and parsley. This upcycled technique won’t cost you anything (if you’re curb-rescuing your furniture); the mismatched vintage look is so charming. 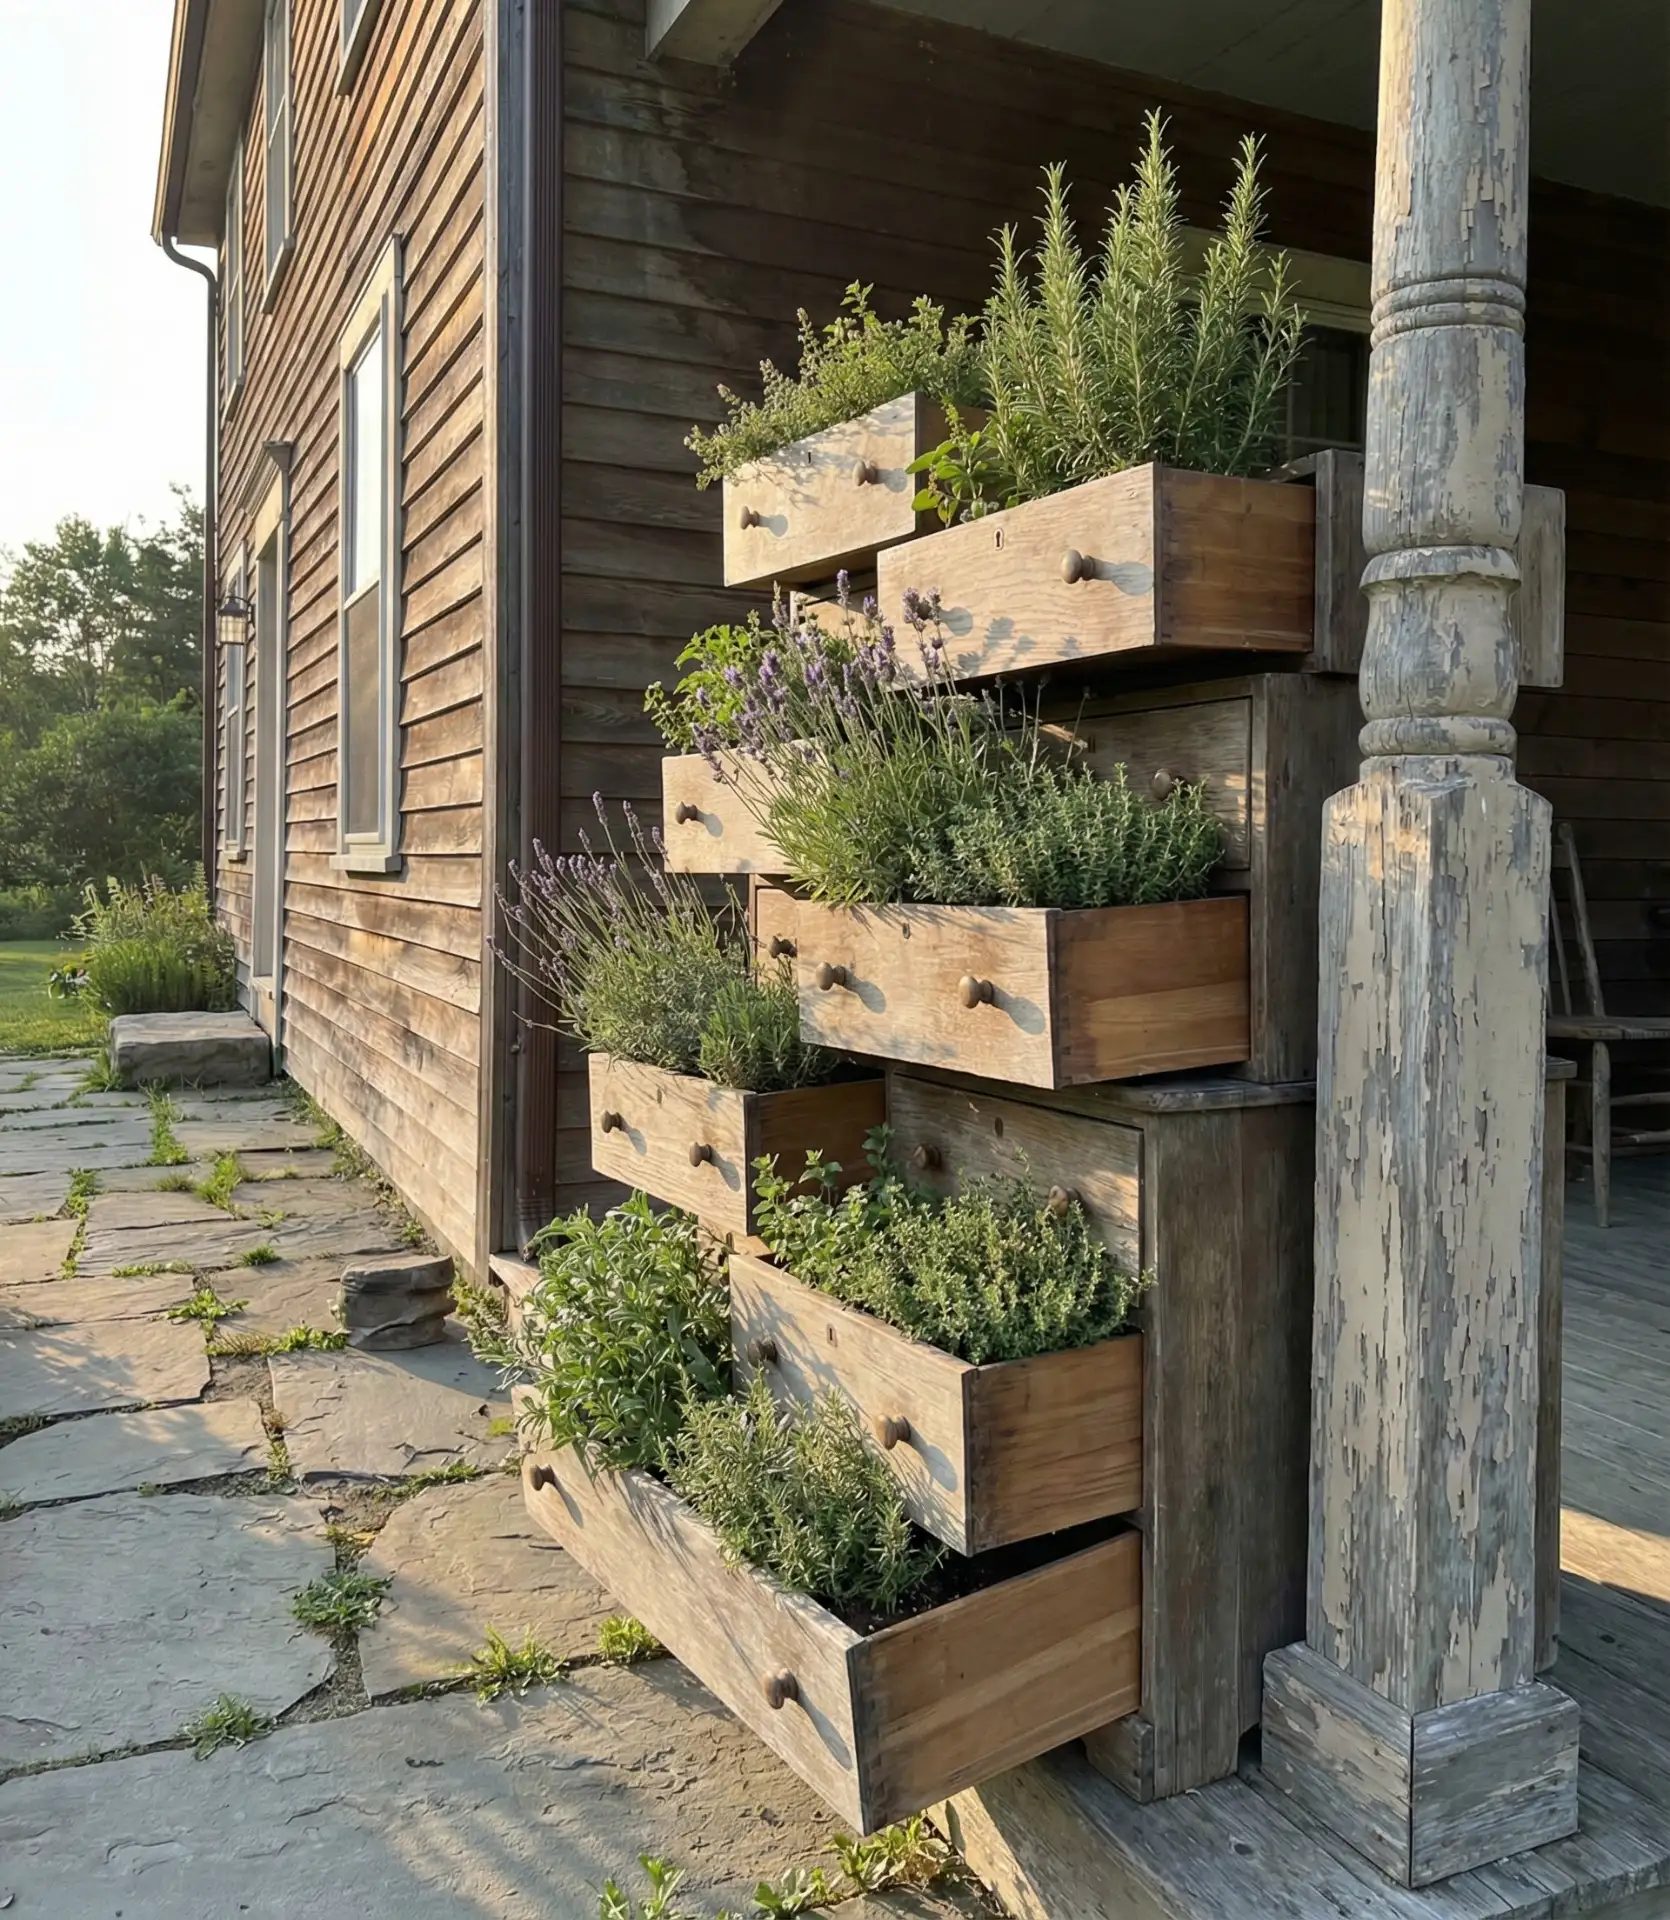
Where it works best: Covered porches, particularly those with partial shade, where tendril-like herbs such as cilantro and dill won’t bolt immediately under a hot summer sun. East-facing porches receive that lovely morning sun but avoid the blistering rays of the afternoon, making it possible to cultivate a larger mix of herbs. Ensure that your drawers are secured by heavy-duty screws into wall studs—once you fill them with wet soil, they’re heavier than we anticipate, and nobody wants a drawer full of dirt crashing down mid-season.
13. A terracotta strawberry pot for kitchen countertops
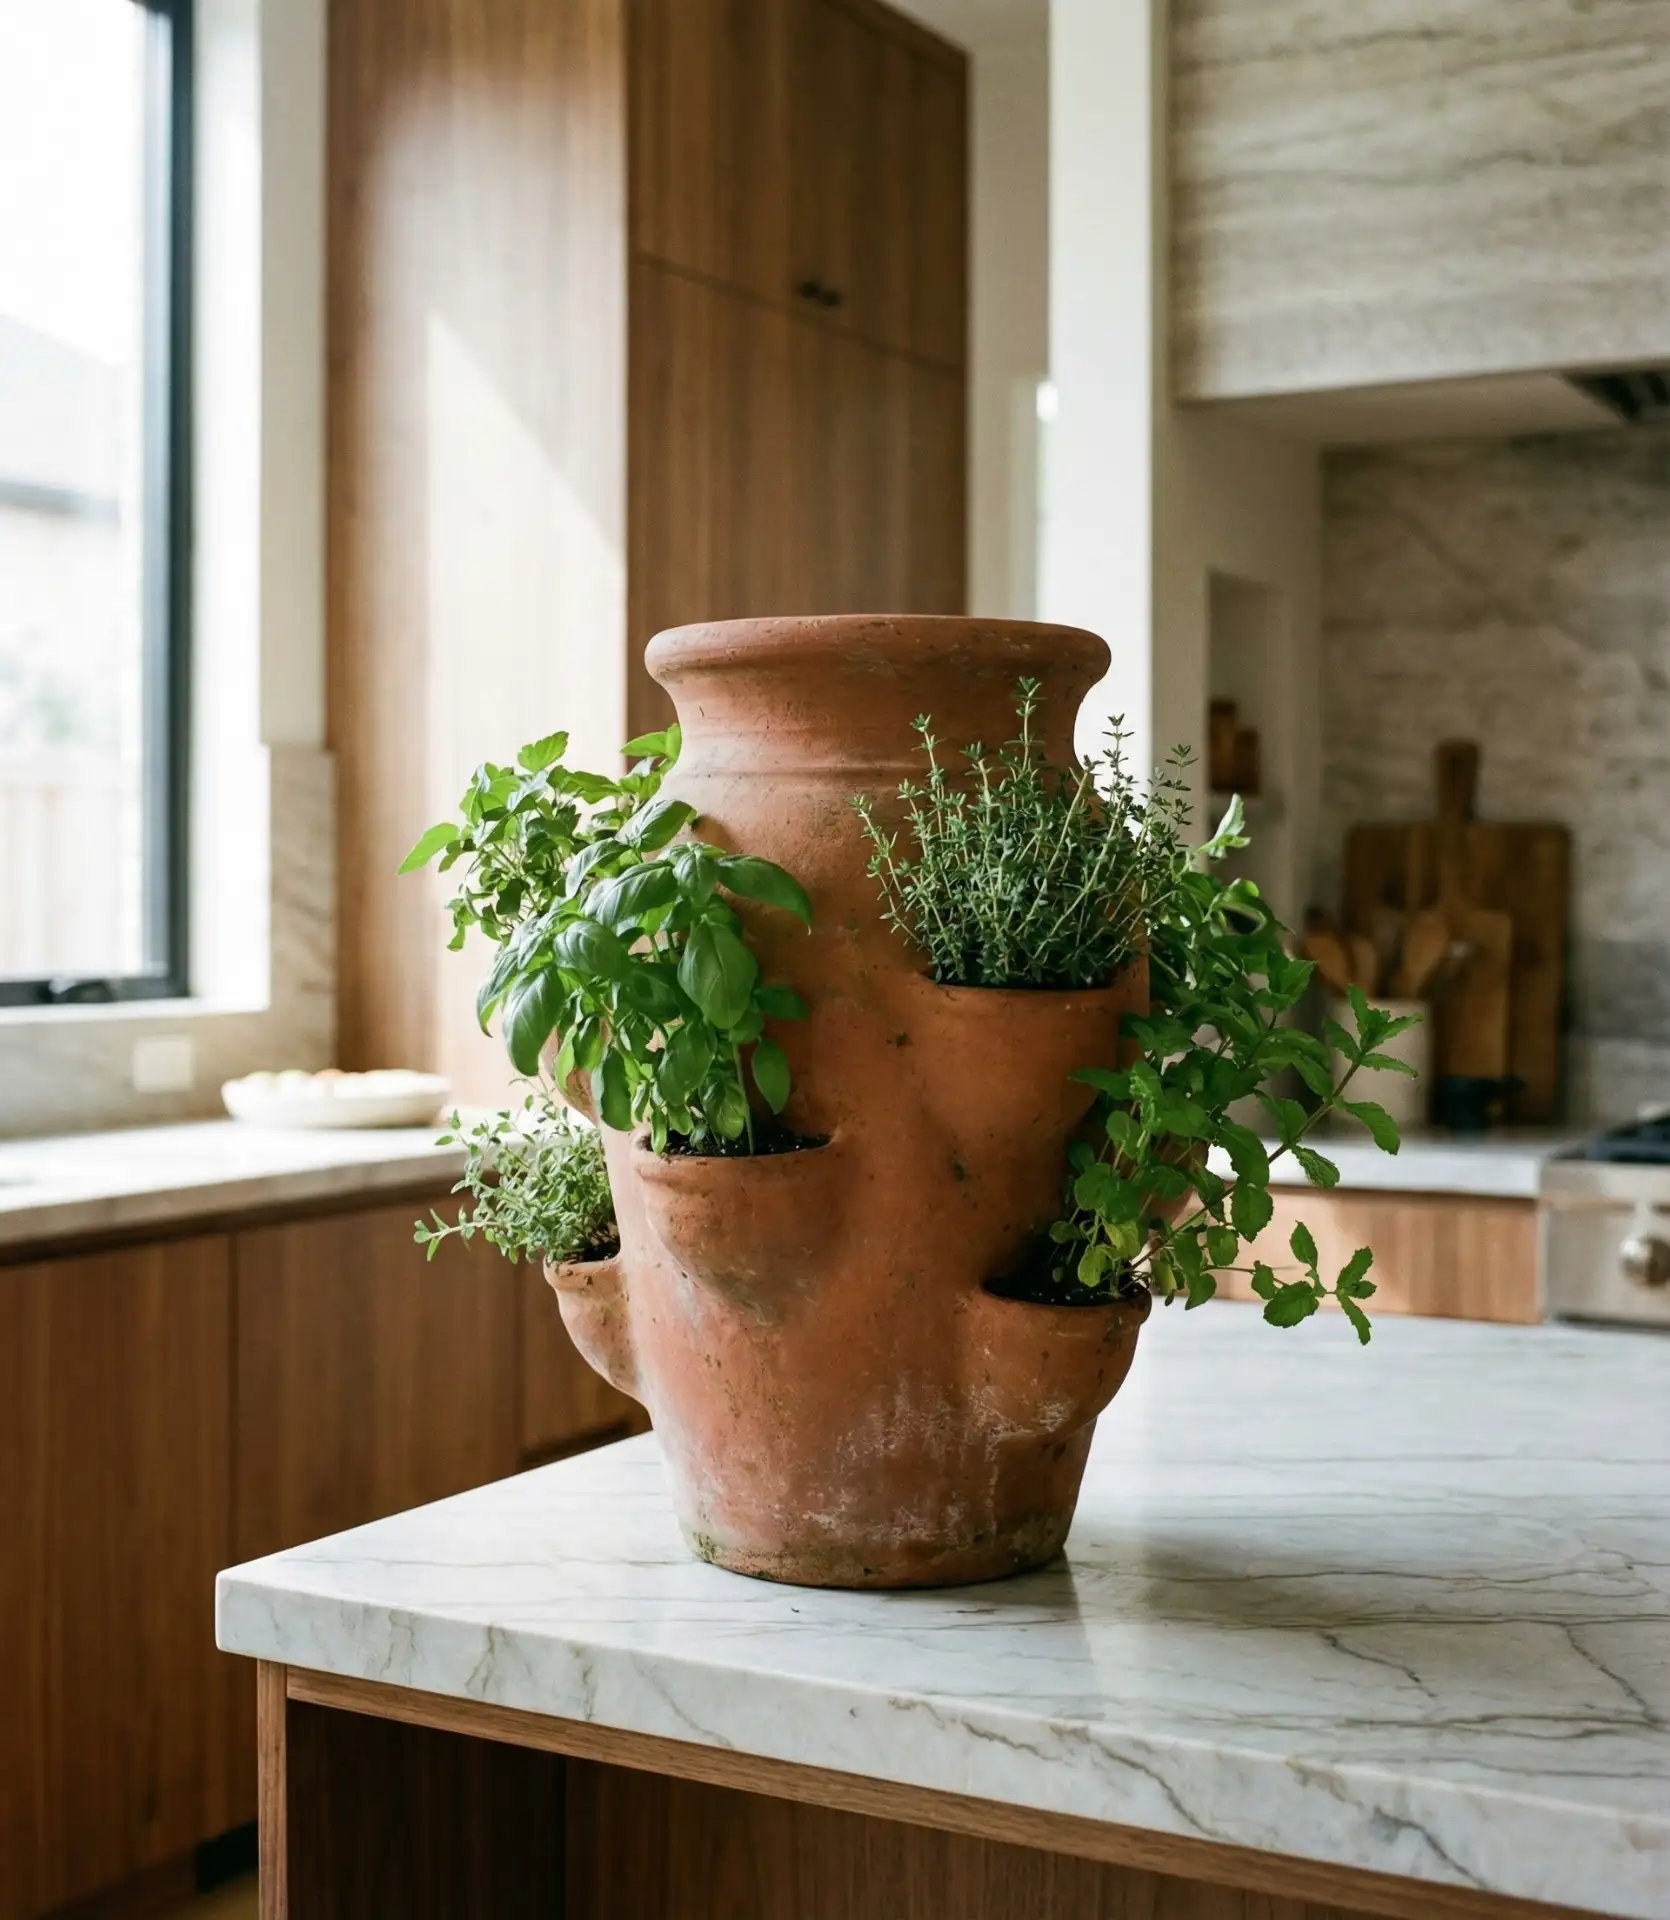
Those long, tall terracotta pots with several side pockets aren’t just for strawberries; you can make a tiny herb tower for your kitchen. Plant a separate kind of herb in each pocket opening, with the tallest at the top (basil, for example). This indoor model lets you keep fresh herbs at hand in the kitchen, and its vertical design takes up even the smallest counter space adjacent to a sunny window. It’s perfect for kitchen windows where space is at a premium, but you want plenty of variety. 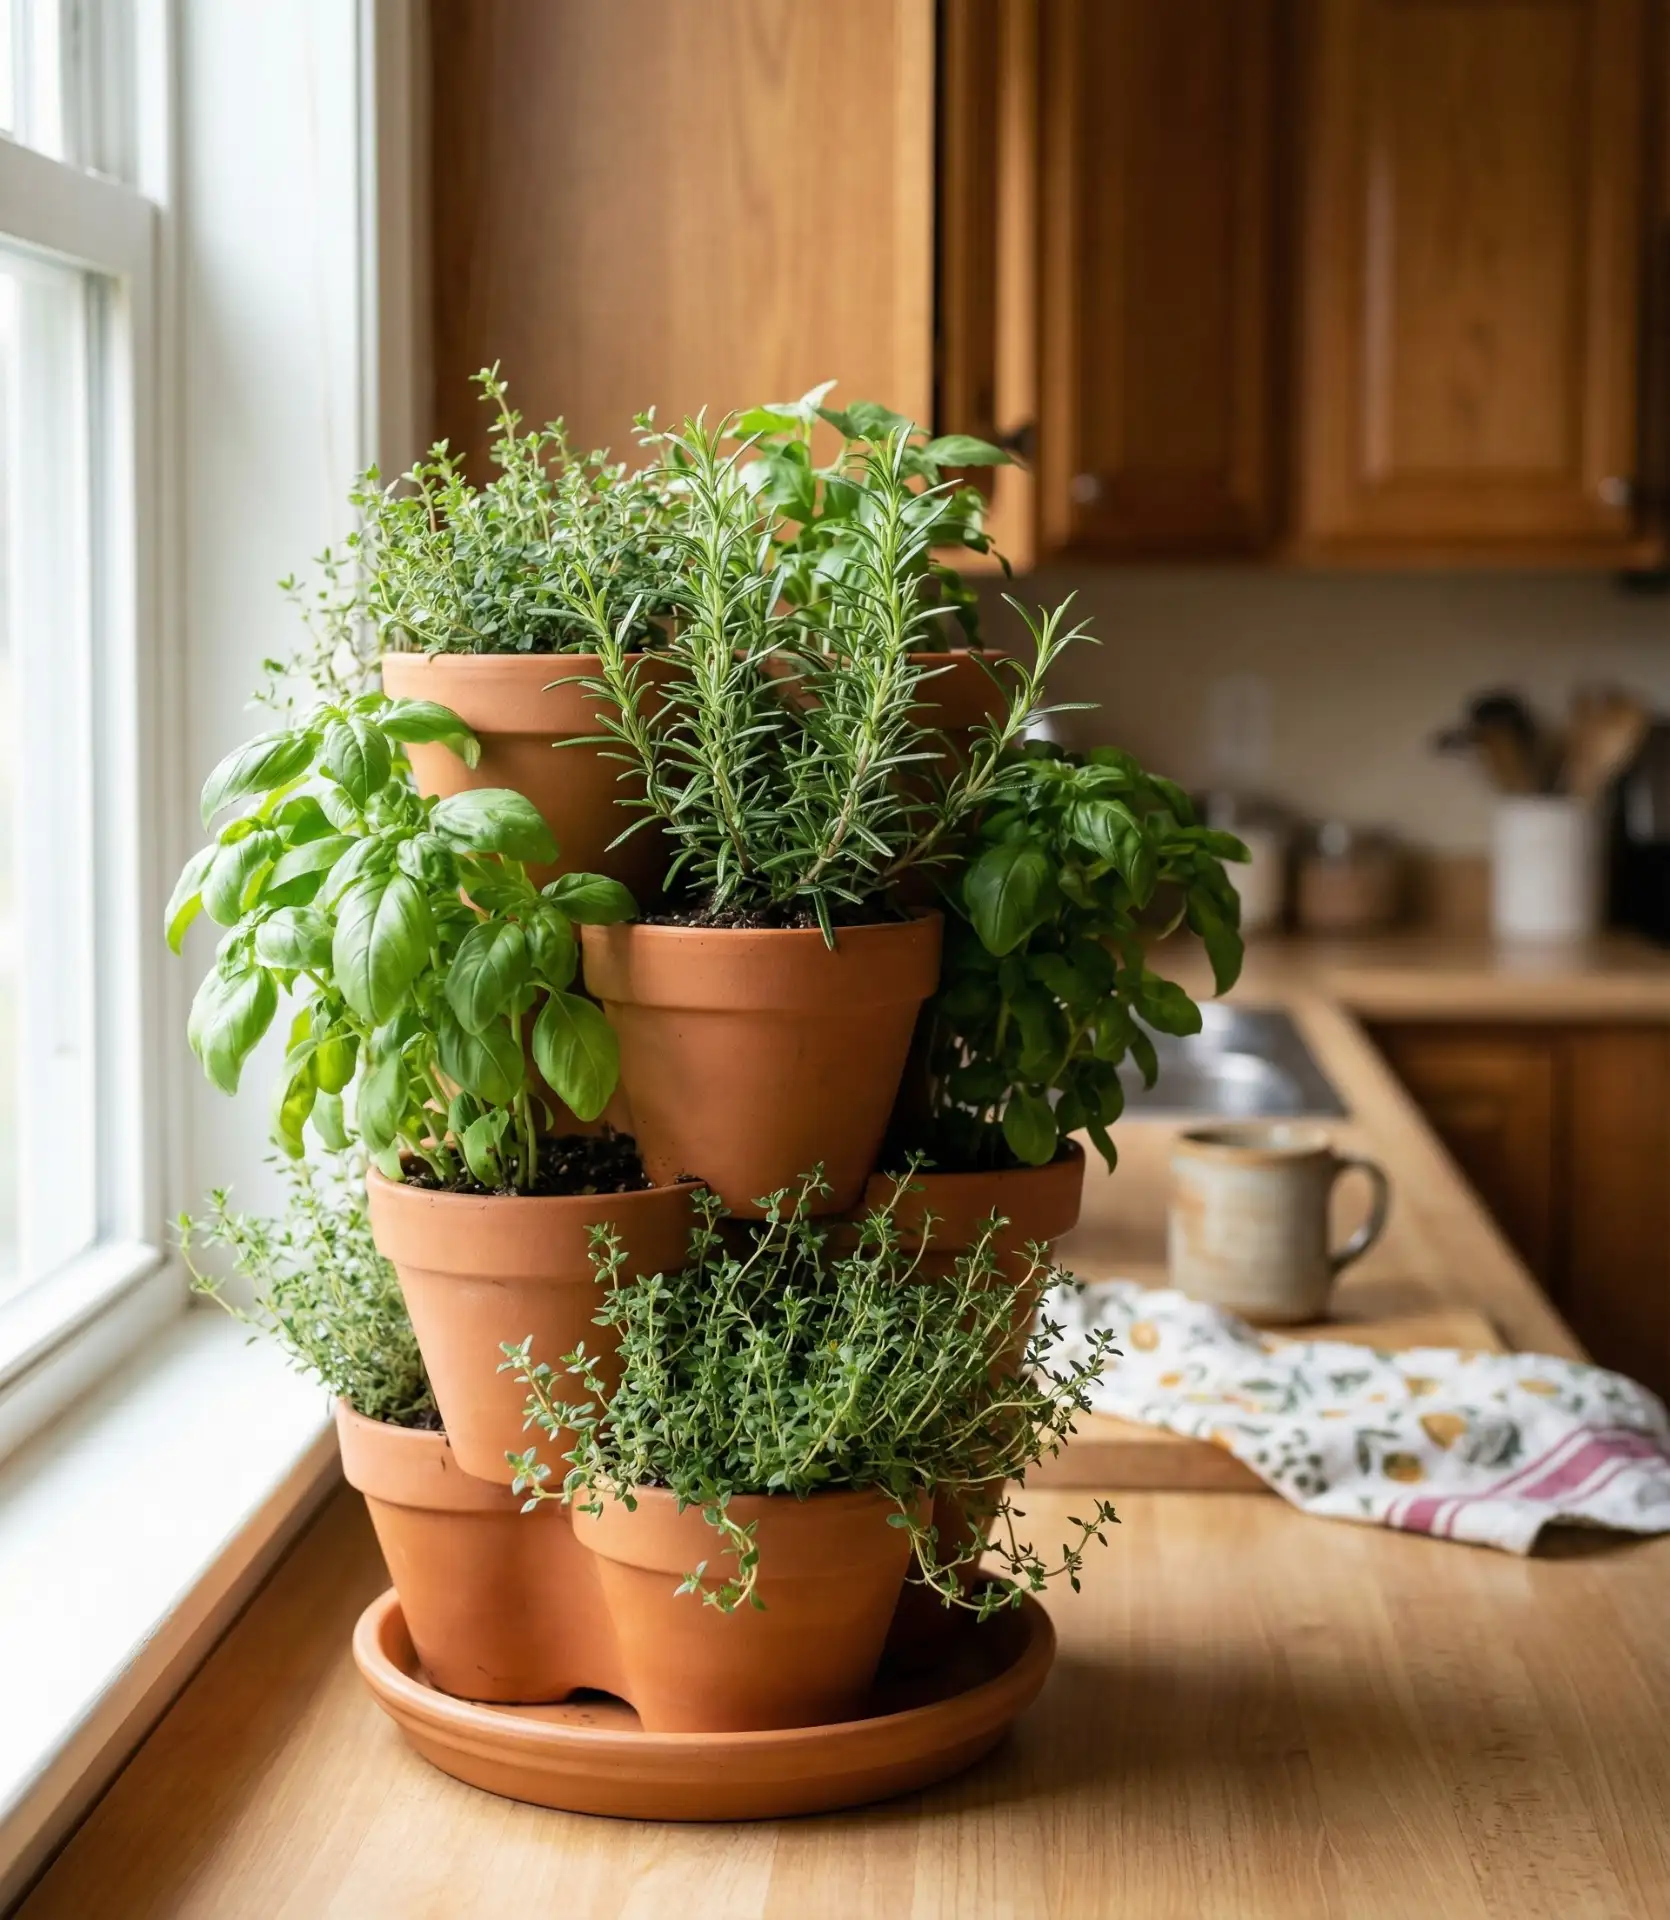
In fact, seasoned growers say you shouldn’t fill the pot in one go—it’s best to do it in stages, adding soil to the first pocket level before planting and so on. This technique allows soil to not settle and air pockets to not form around the roots. Backpackers can replenish the soil while on the move; however, they must ensure that the lower pockets do not stay wet. They normally cost between $25 and $45, depending on size, but last for decades if you bring them indoors before hard freezes crack the clay.
14. Copper-pipe trellis for outdoor raised beds

Install a simple copper pipe frame at the back of your outdoor raised beds to support climbing herbs like hops and certain varieties of oregano that vine. The copper develops a gorgeous green patina over time, adding architectural interest to your raised bed setup while providing structure for plants. This idea works beautifully in backyard gardens where you want both function and visual appeal—the metal framework stays attractive even in winter when plants die back. 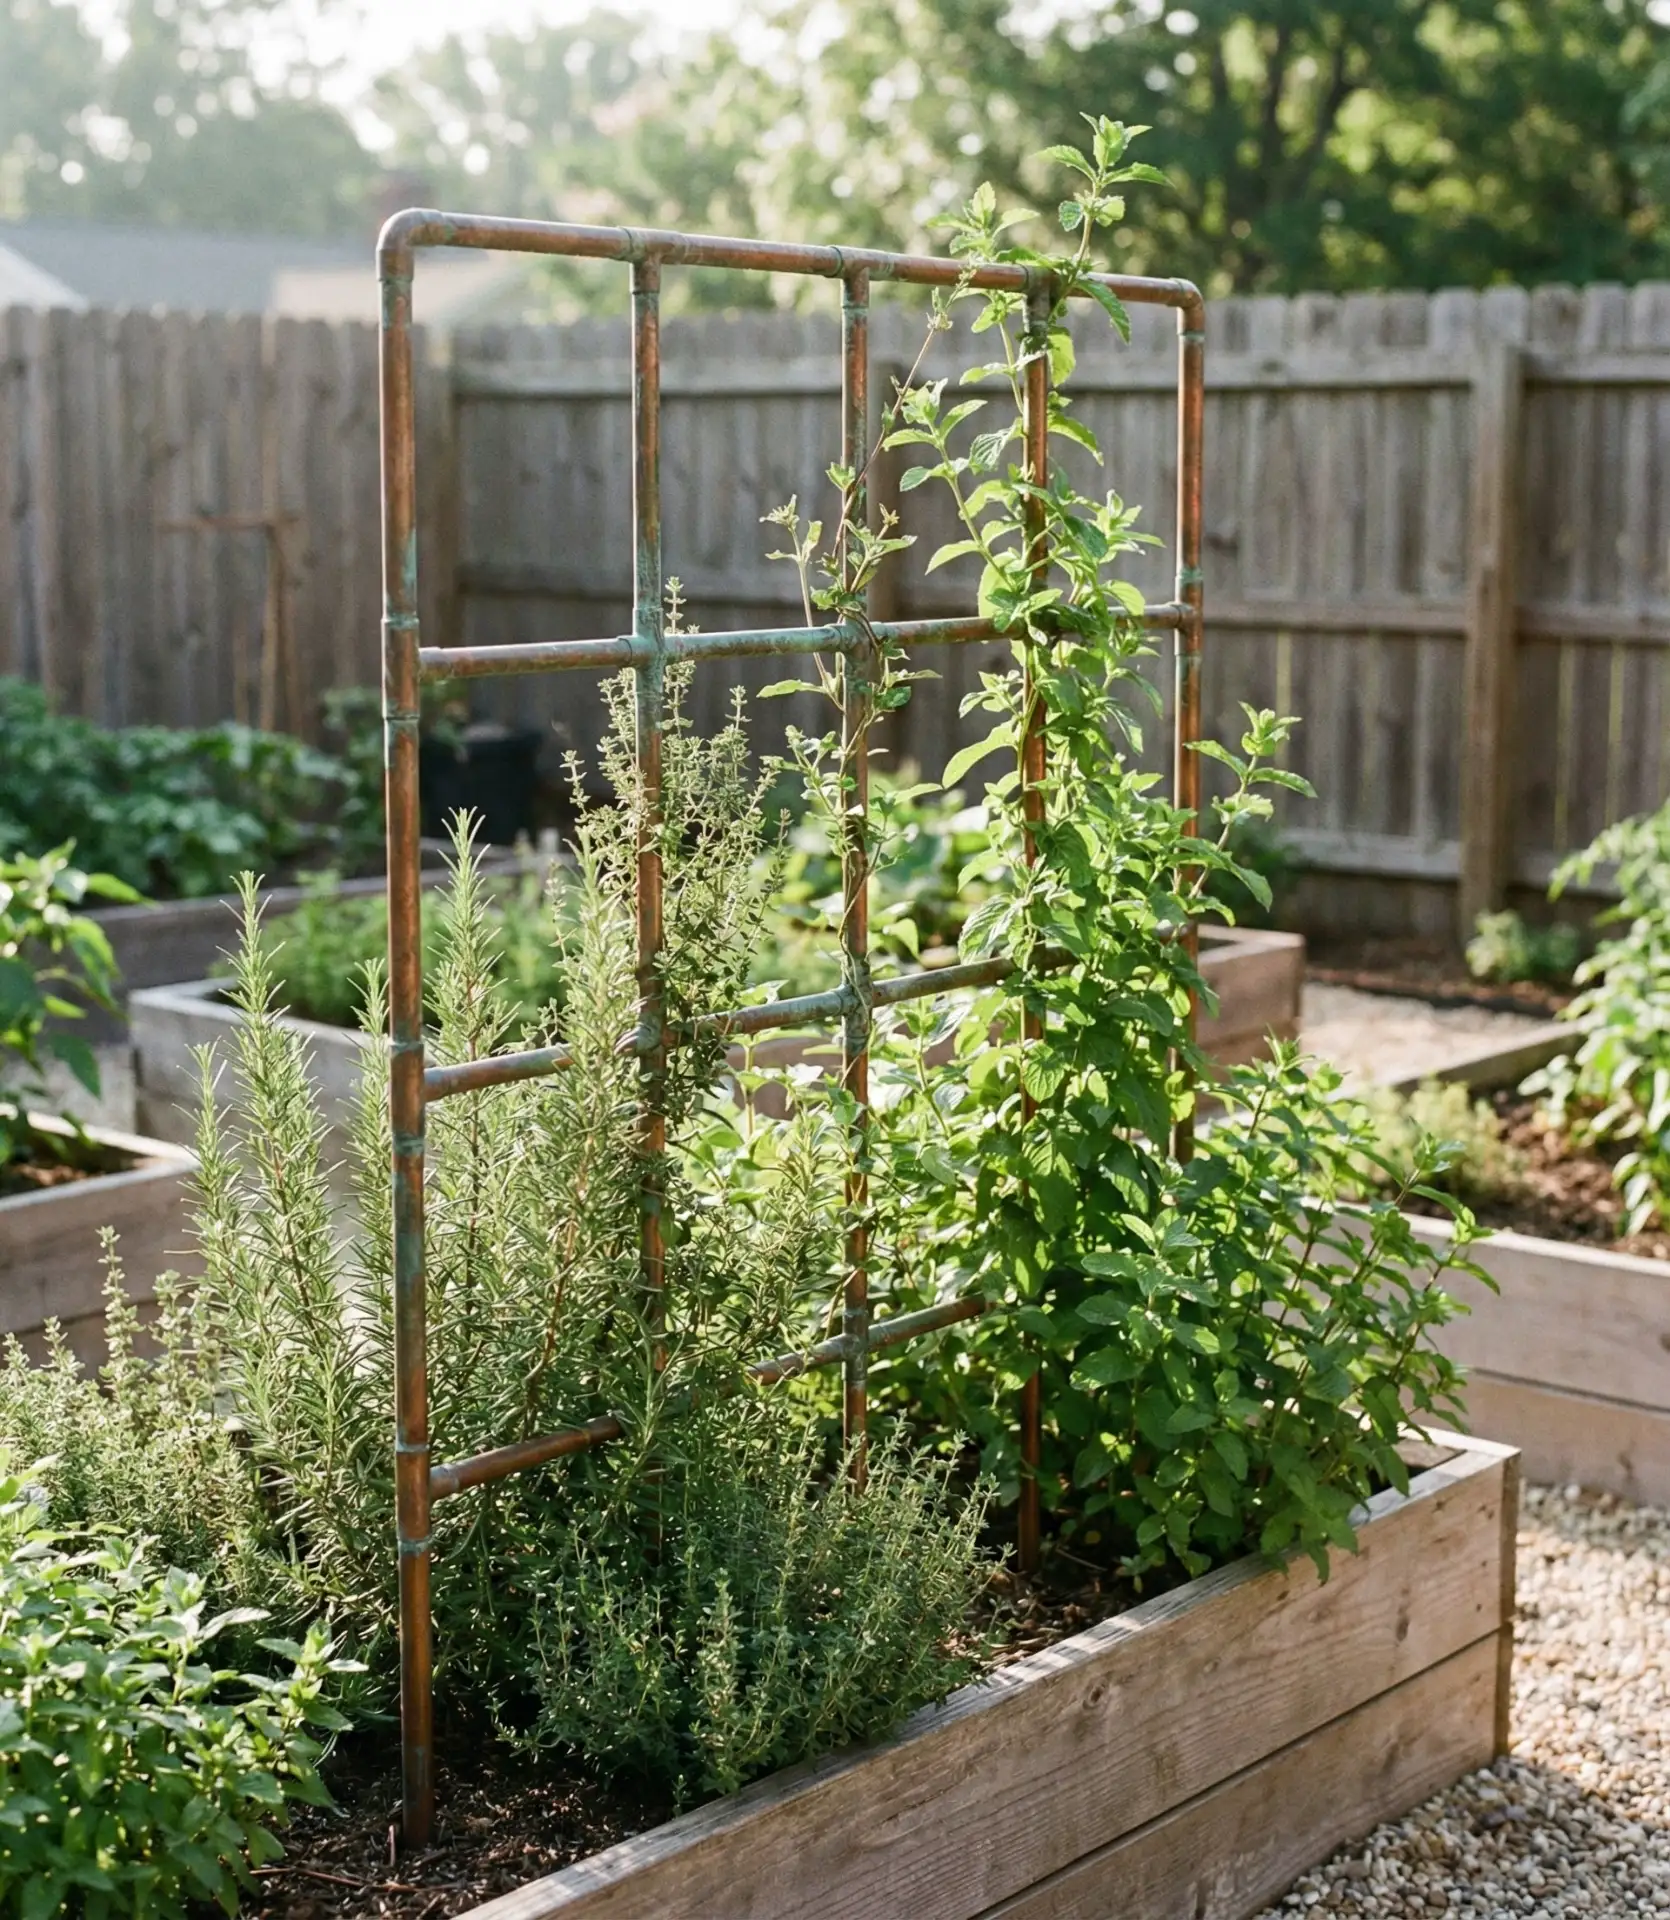
Real homeowner feedback shows that most people underestimate how much vertical space climbing herbs need—plan for at least 4–6 feet of height to let vigorous growers really perform. The copper pipe DIY costs around $40–$60 in materials from the hardware store, and you’ll need basic plumbing connectors to create the frame structure. Unlike wood that rots or cheap metal that rusts, copper handles weather beautifully and actually improve aesthetically as they age, making the pipes a genuine long-term investment piece for your garden.
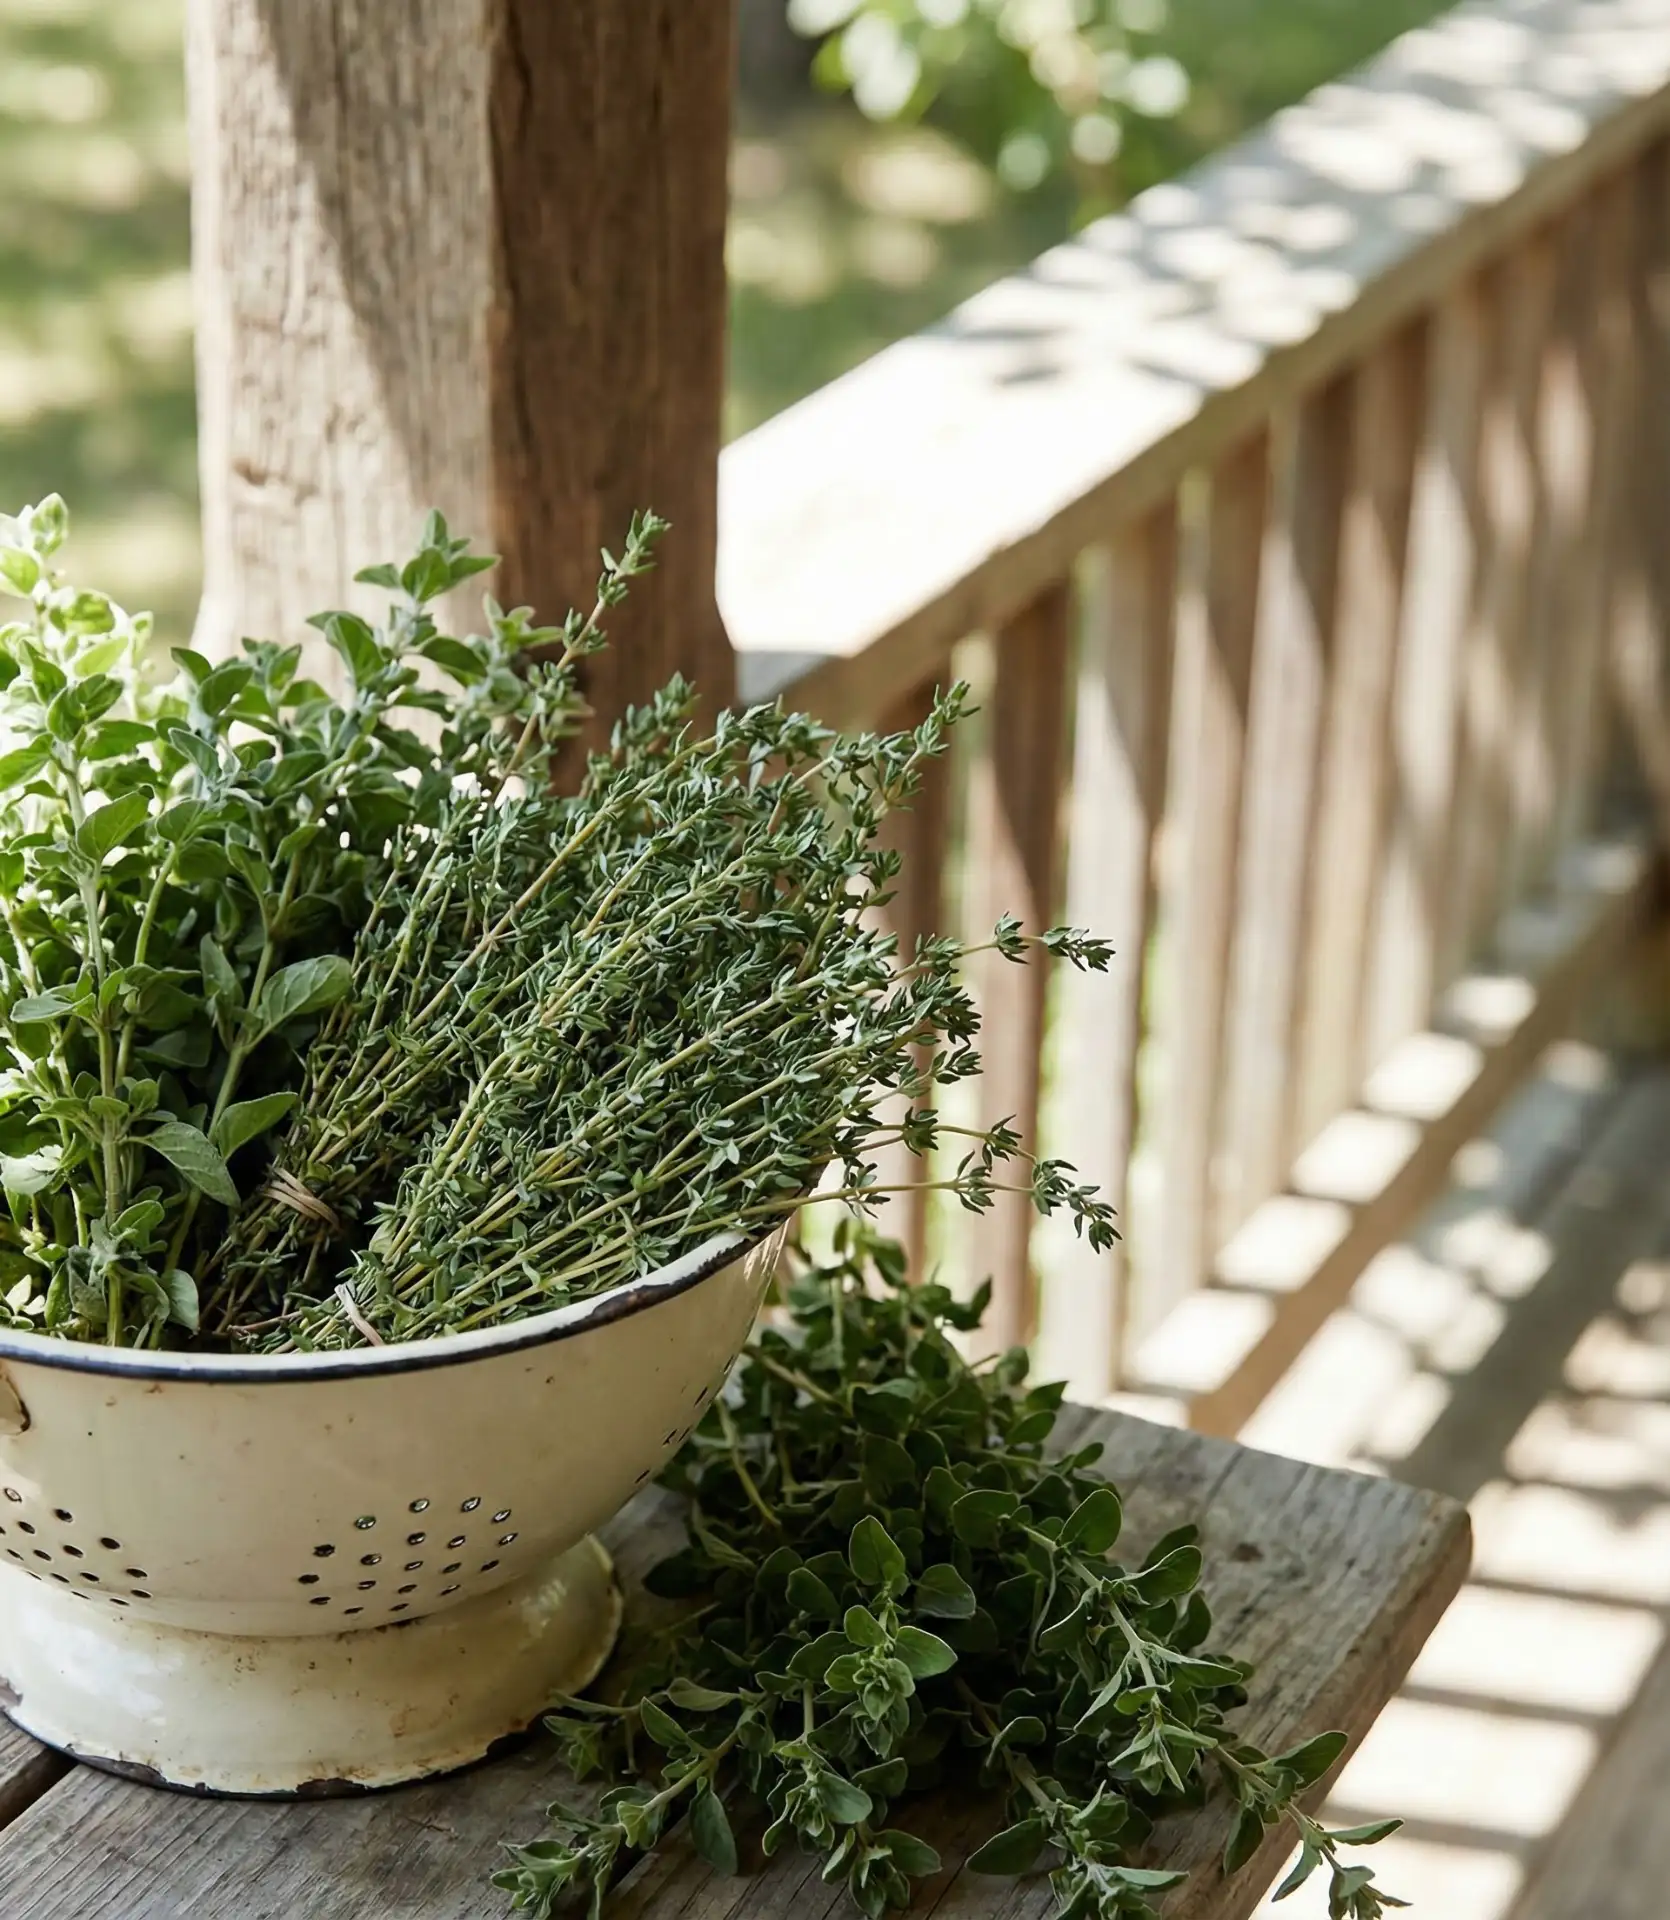
15. Enamelware Basin Cluster for Small Decks
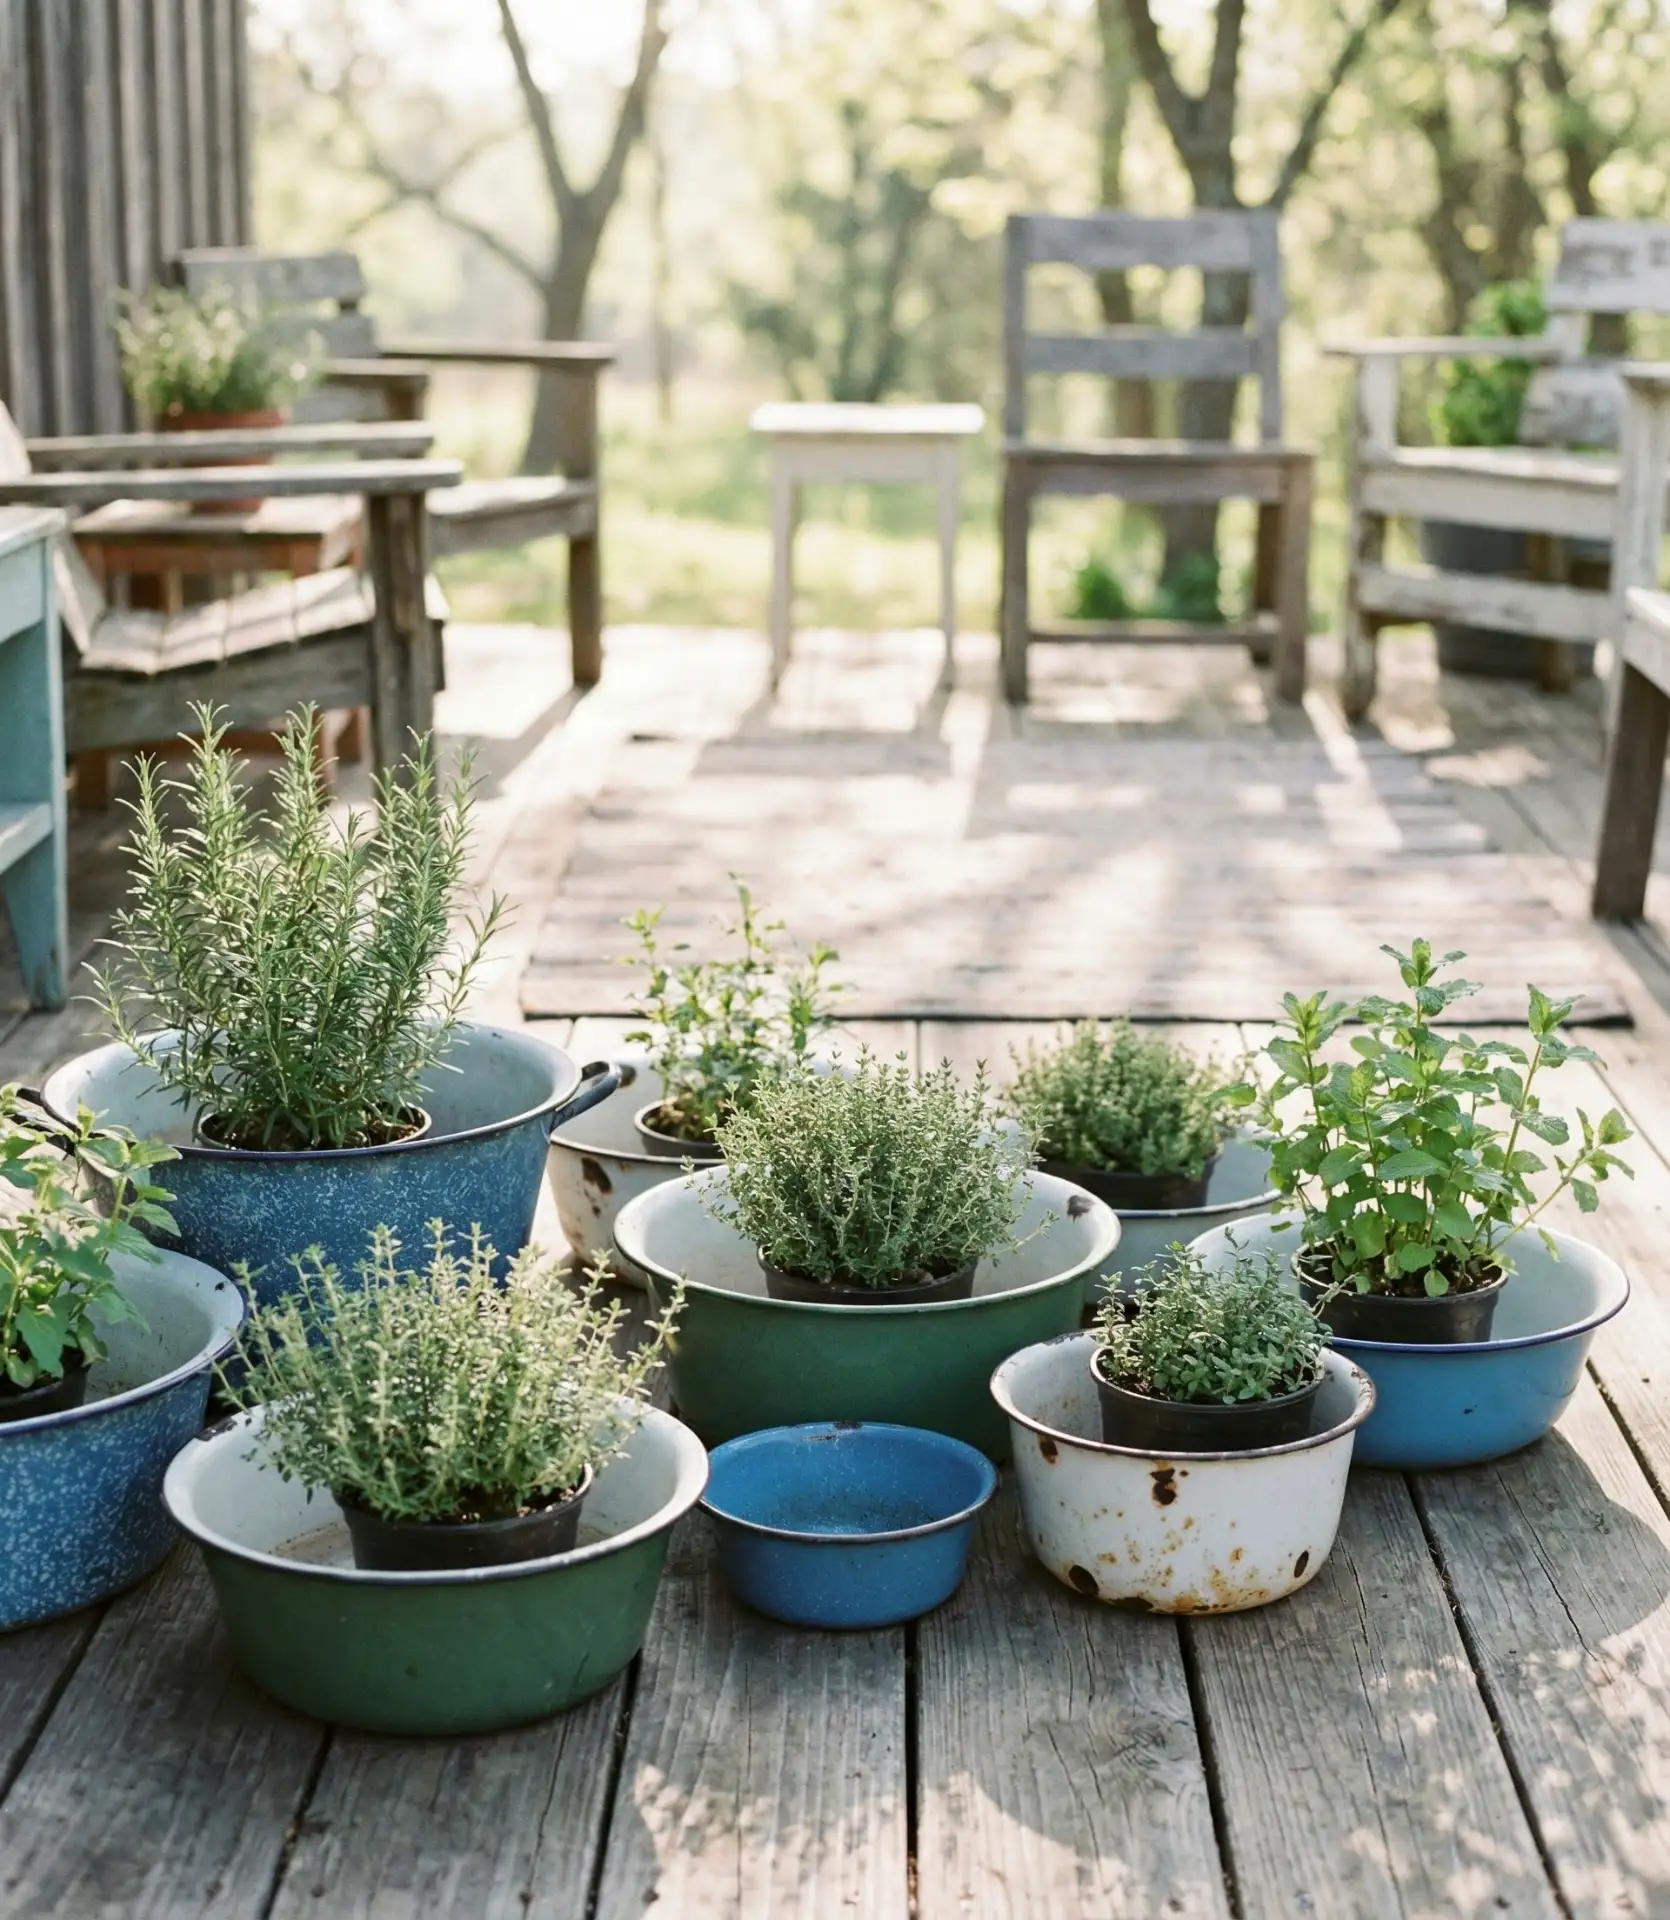
Cluster vintage enamelware basins, bowls, and colanders around your small deck, planting each one with a different variety of herb. Speckled enamel gives it nostalgic charm, and shallow depth makes them ideal for herbs with small root systems like thyme, chives, and baby basil. This container strategy allows you to reconfigure your garden as the spirit moves you: you can move sun lovers into sunnier spots, for example, or congregate thirsty herbs together for efficient watering. It’s ideal for patios where you crave a degree of versatility and just the right amount of vintage look. 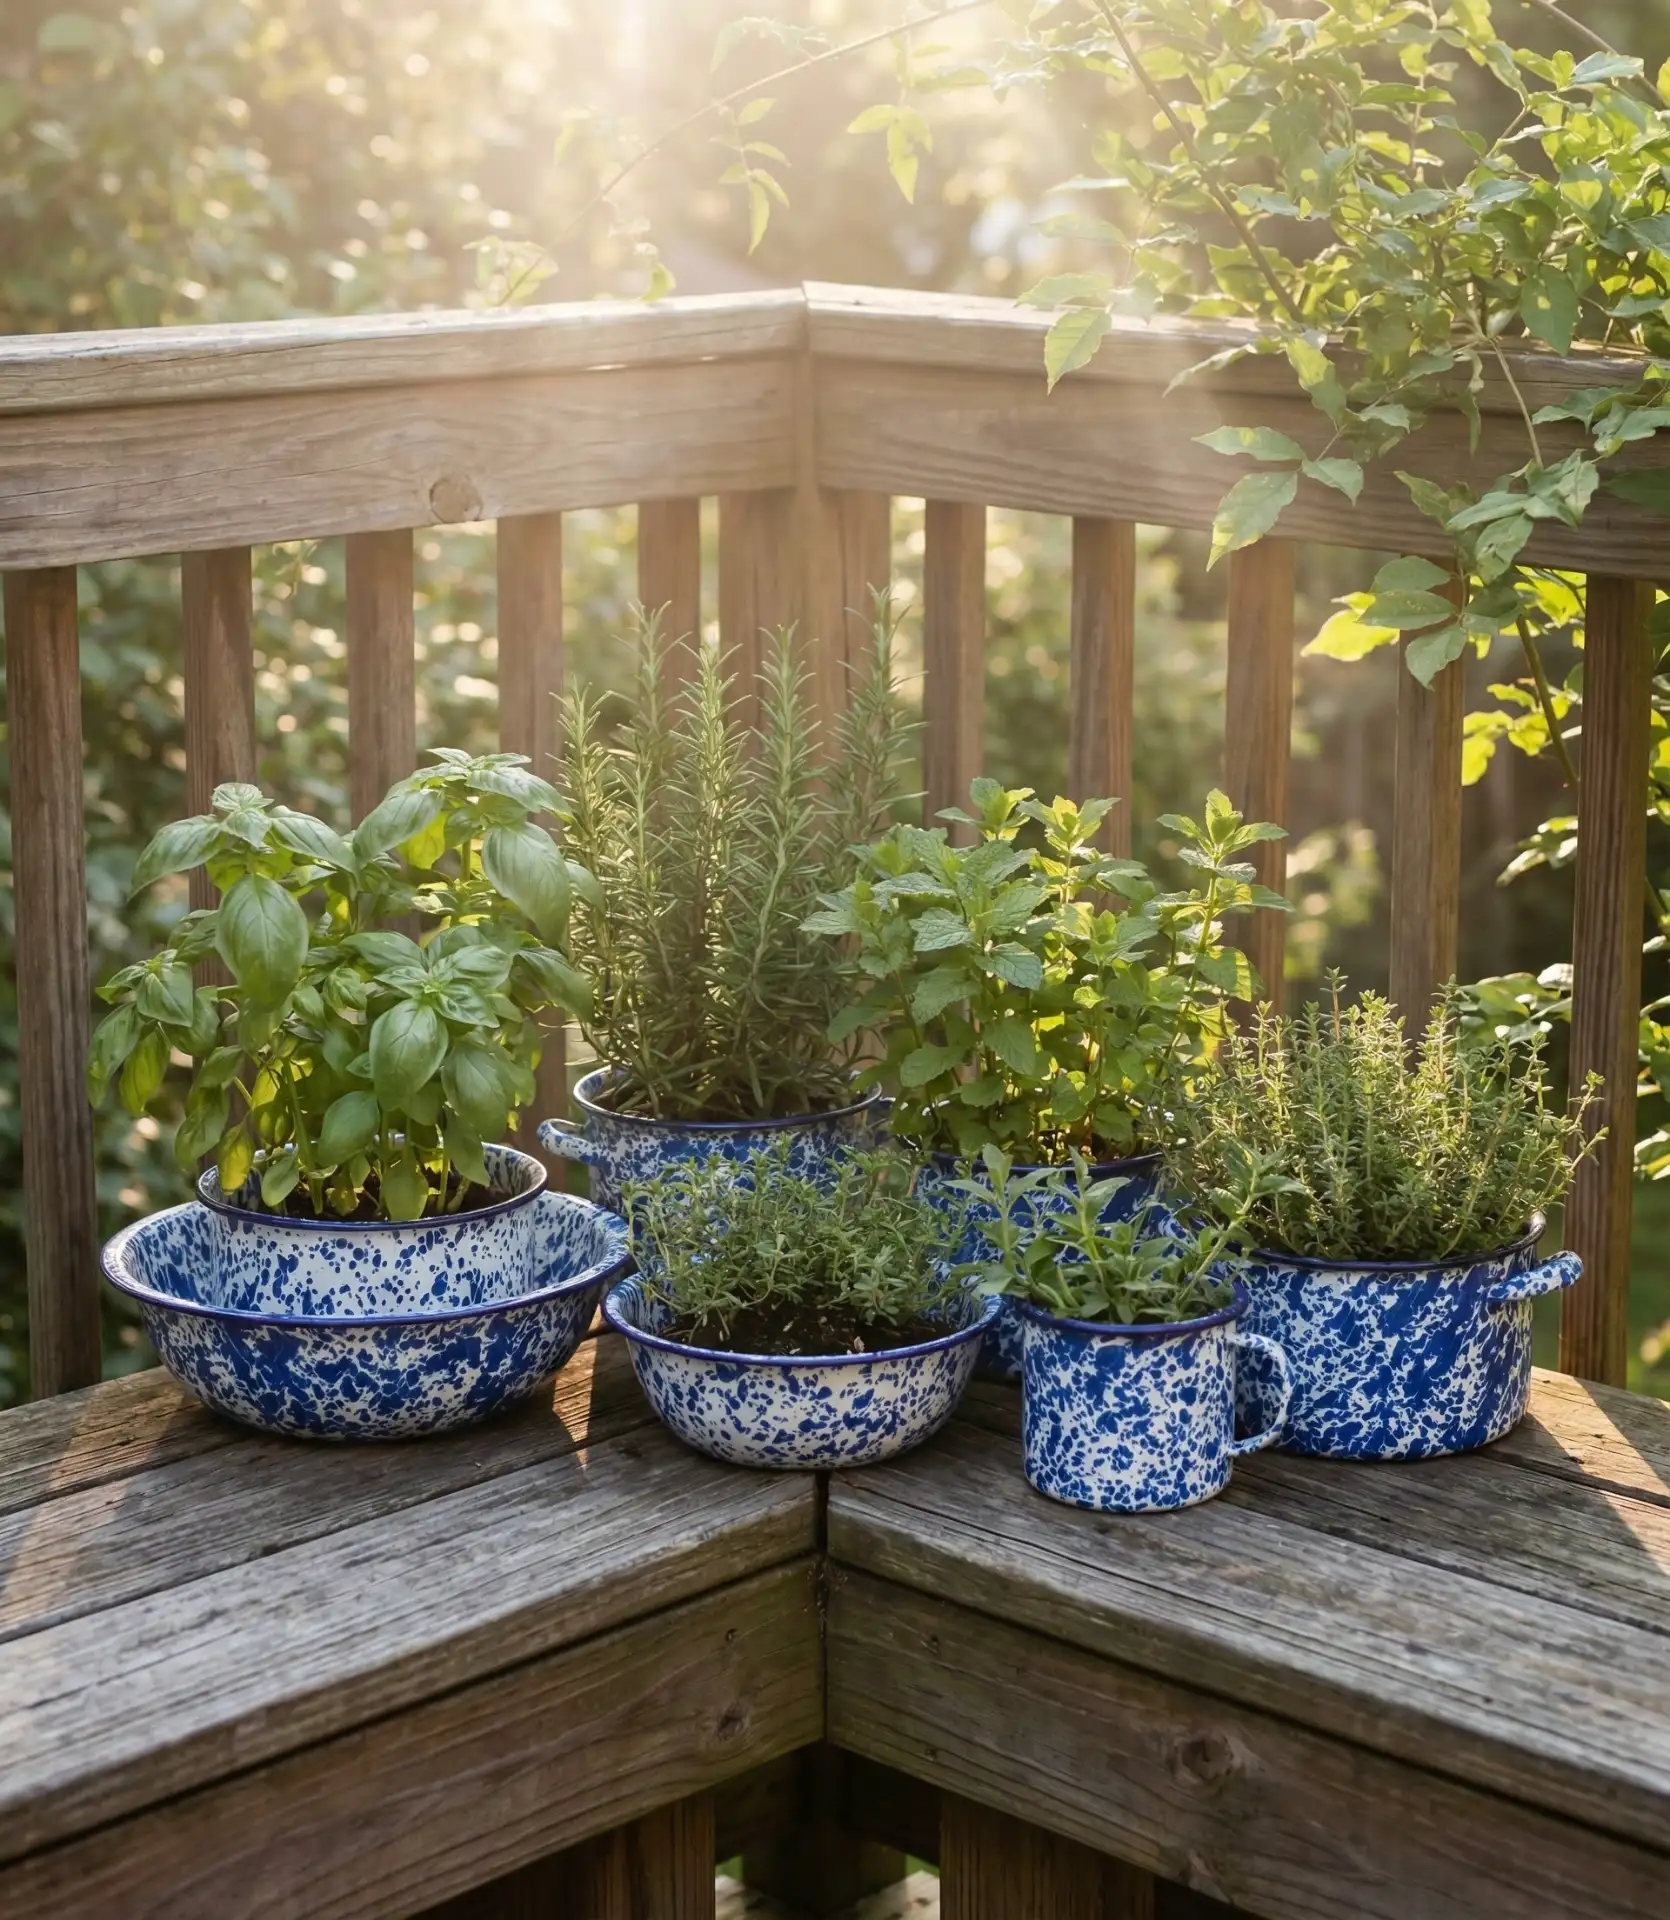
The most common mistake is failing to drill drainage holes in the bottom of enamelware, which leads to water pooling and roots rotting within days. Punch 3–4 holes in each piece with a carbide drill bit, taking special care to go slowly so the enamel coating doesn’t crack. Antique shops and flea markets charge $8–$20 a piece for vintage enamelware, but if you don’t like the mix-and-match look (and you’re on a wallet-friendly budget), reproductions from home goods stores will give you that same style at more affordable price points.
16. Built-In Gutter Gardens for Fence Lines
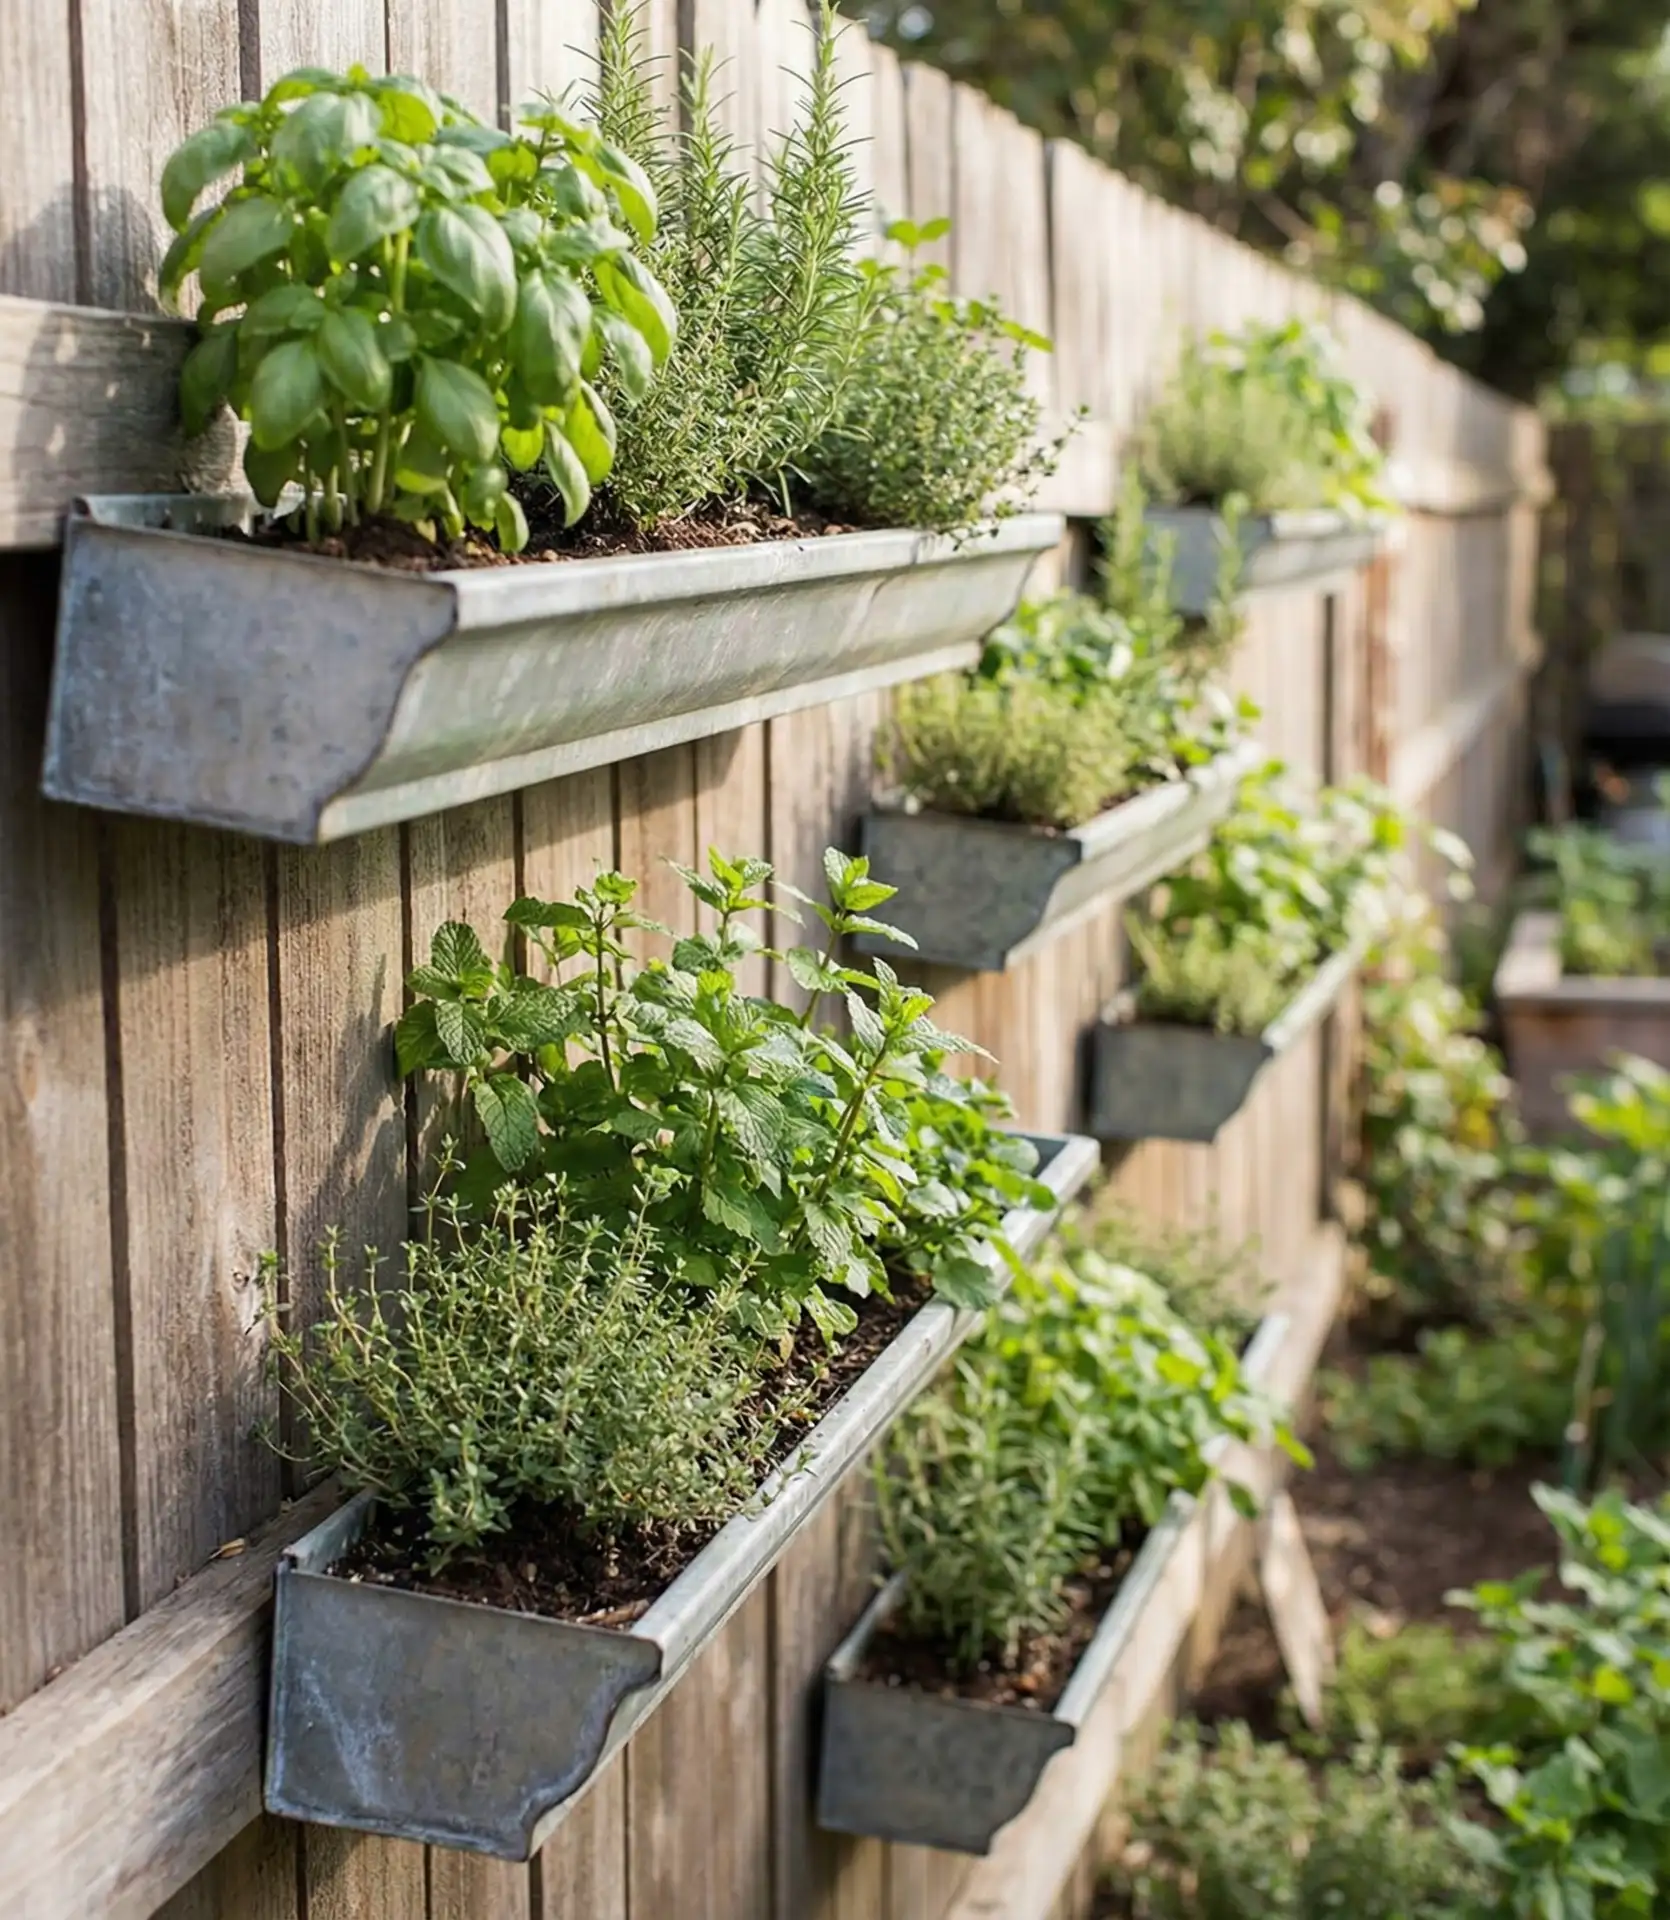
Mount vinyl rain gutters horizontally along your fence, cap the ends, drill drainage holes, and fill them with soil to create linear outdoor planters for shallow-rooted herbs. This space-efficient system works brilliantly for lettuce-leaf basil, cilantro, and chives that don’t need deep root zones. The long, narrow format maximizes fence real estate that would otherwise sit empty, and you can install multiple rows at different heights for a living wall effect that’s both productive and beautiful. 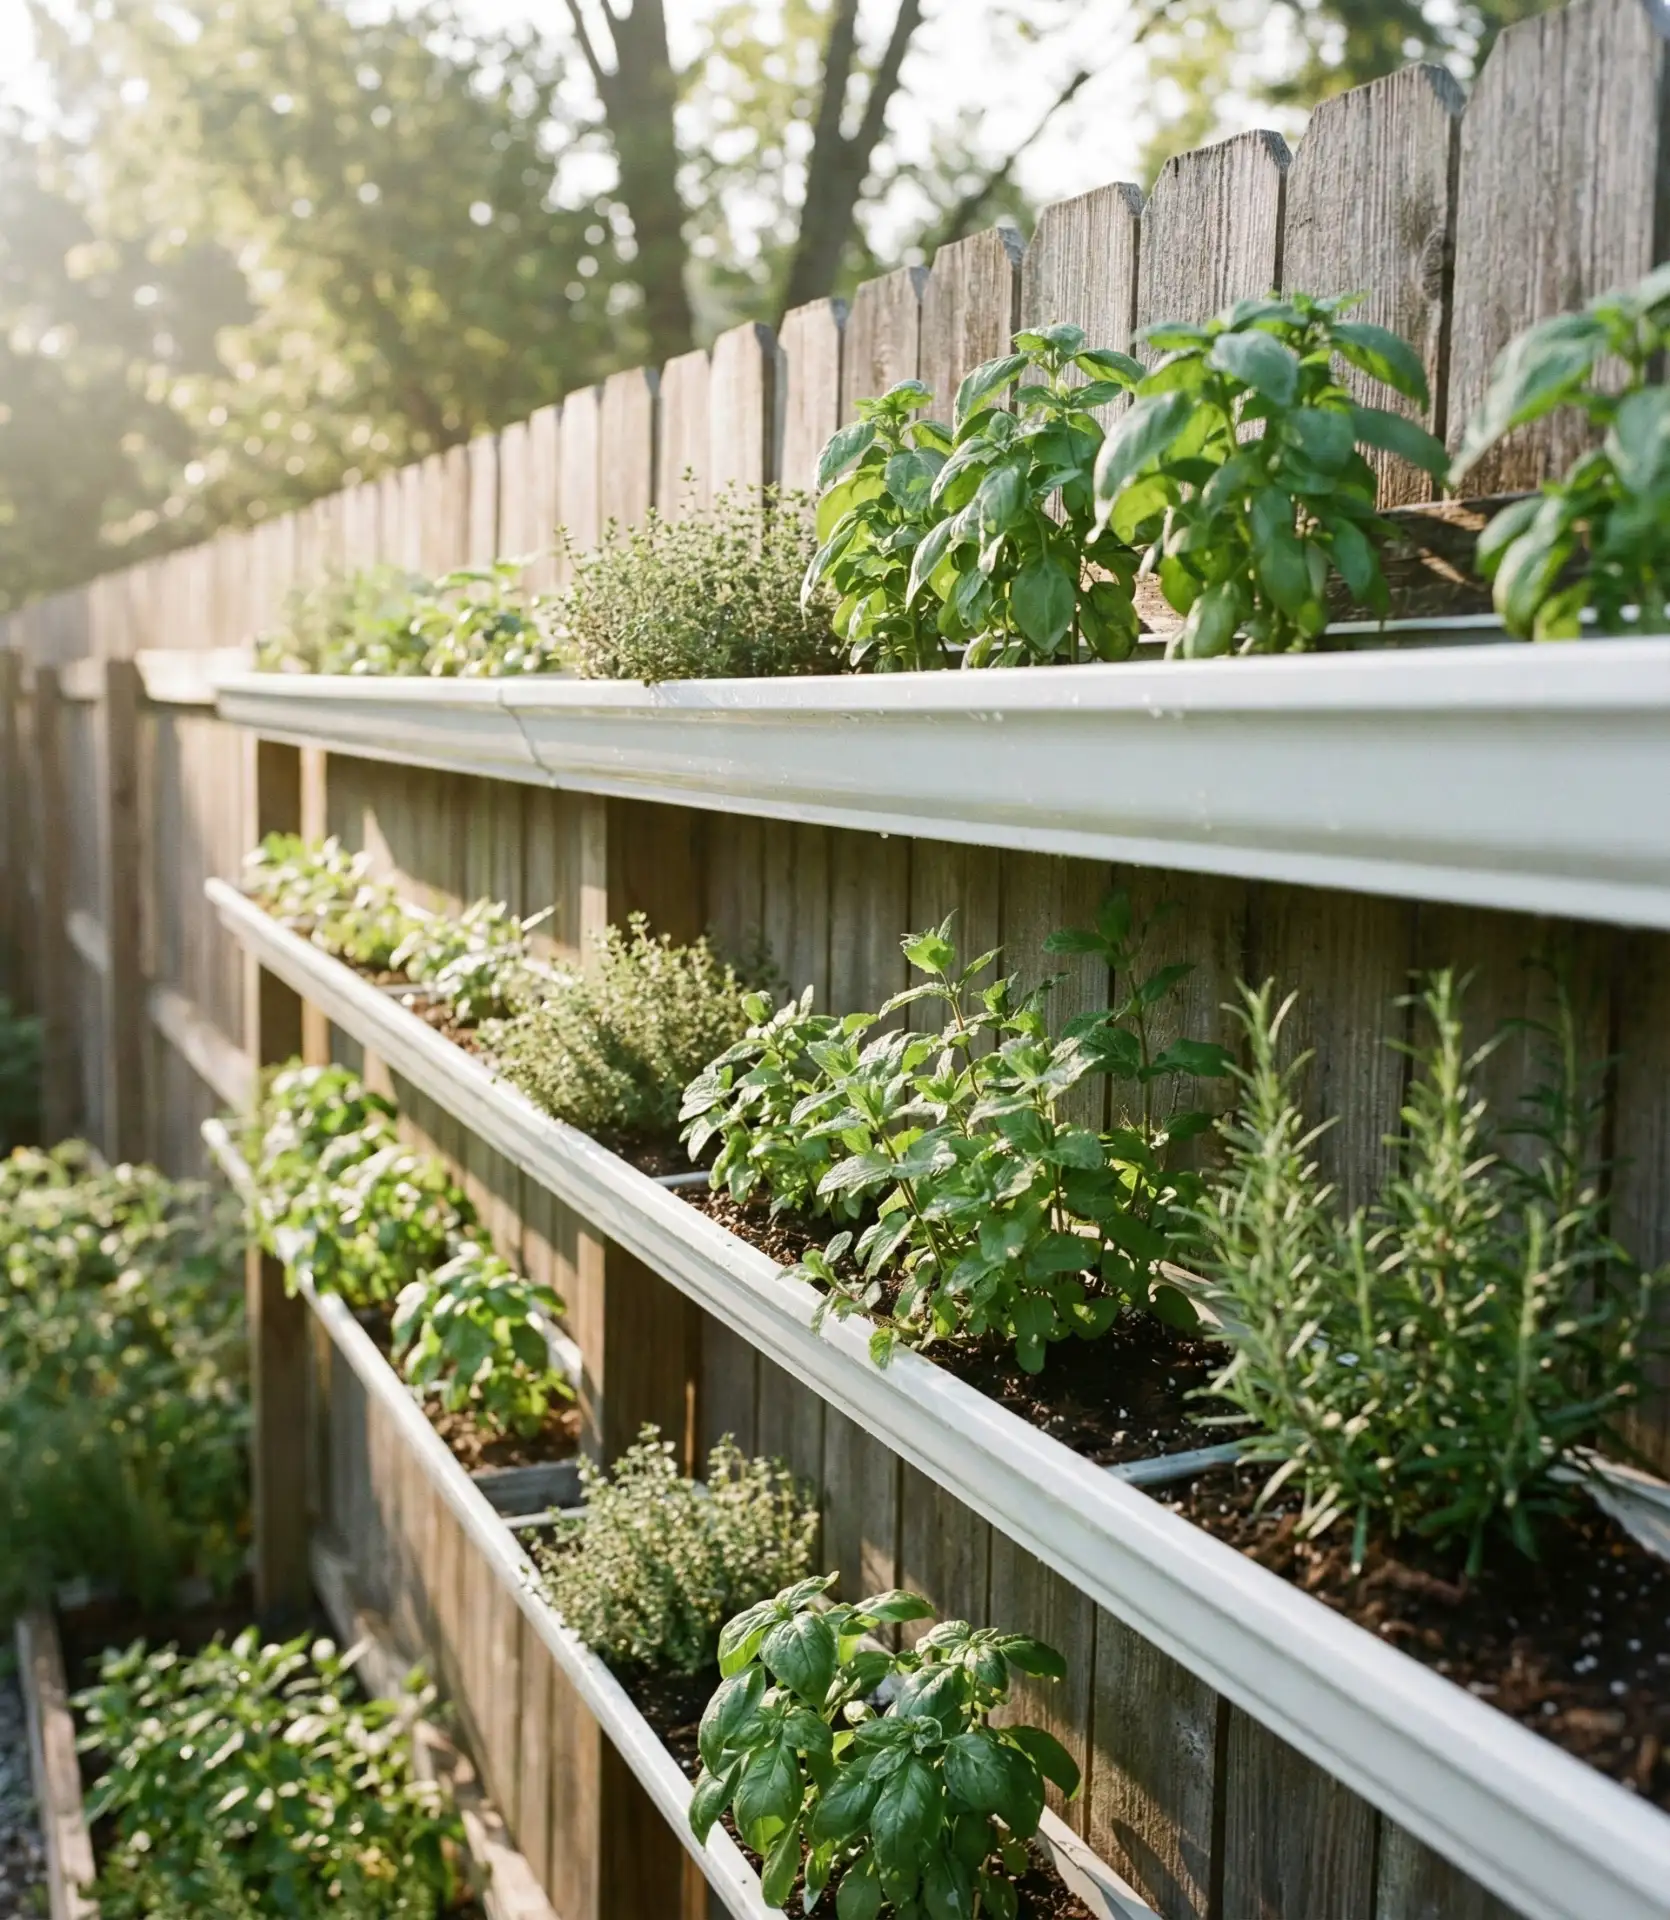
This setup thrives in regions with consistent rainfall like the Pacific Northwest, where gutters naturally collect moisture and herbs stay hydrated. In drier climates like Arizona or Nevada, you’ll need to water daily or install a drip irrigation system along the gutter length. The budget runs about $30–$50 for a 10-foot section, including mounting brackets, making this one of the most affordable ways to add serious growing capacity to a small yard without sacrificing ground space.
17. Wicker Basket Garden for the Front Yard

Arrange a collection of wicker baskets in various sizes throughout your front yard beds, each lined with plastic and planted with herbs. The natural texture blends beautifully with ornamental landscaping while adding edible elements to your curb appeal. This works particularly well when you tuck baskets among flowers—purple basil next to pink petunias, or silver thyme beside dusty miller. It’s a softer, more integrated approach than stark rows of potted herbs lined up like soldiers. 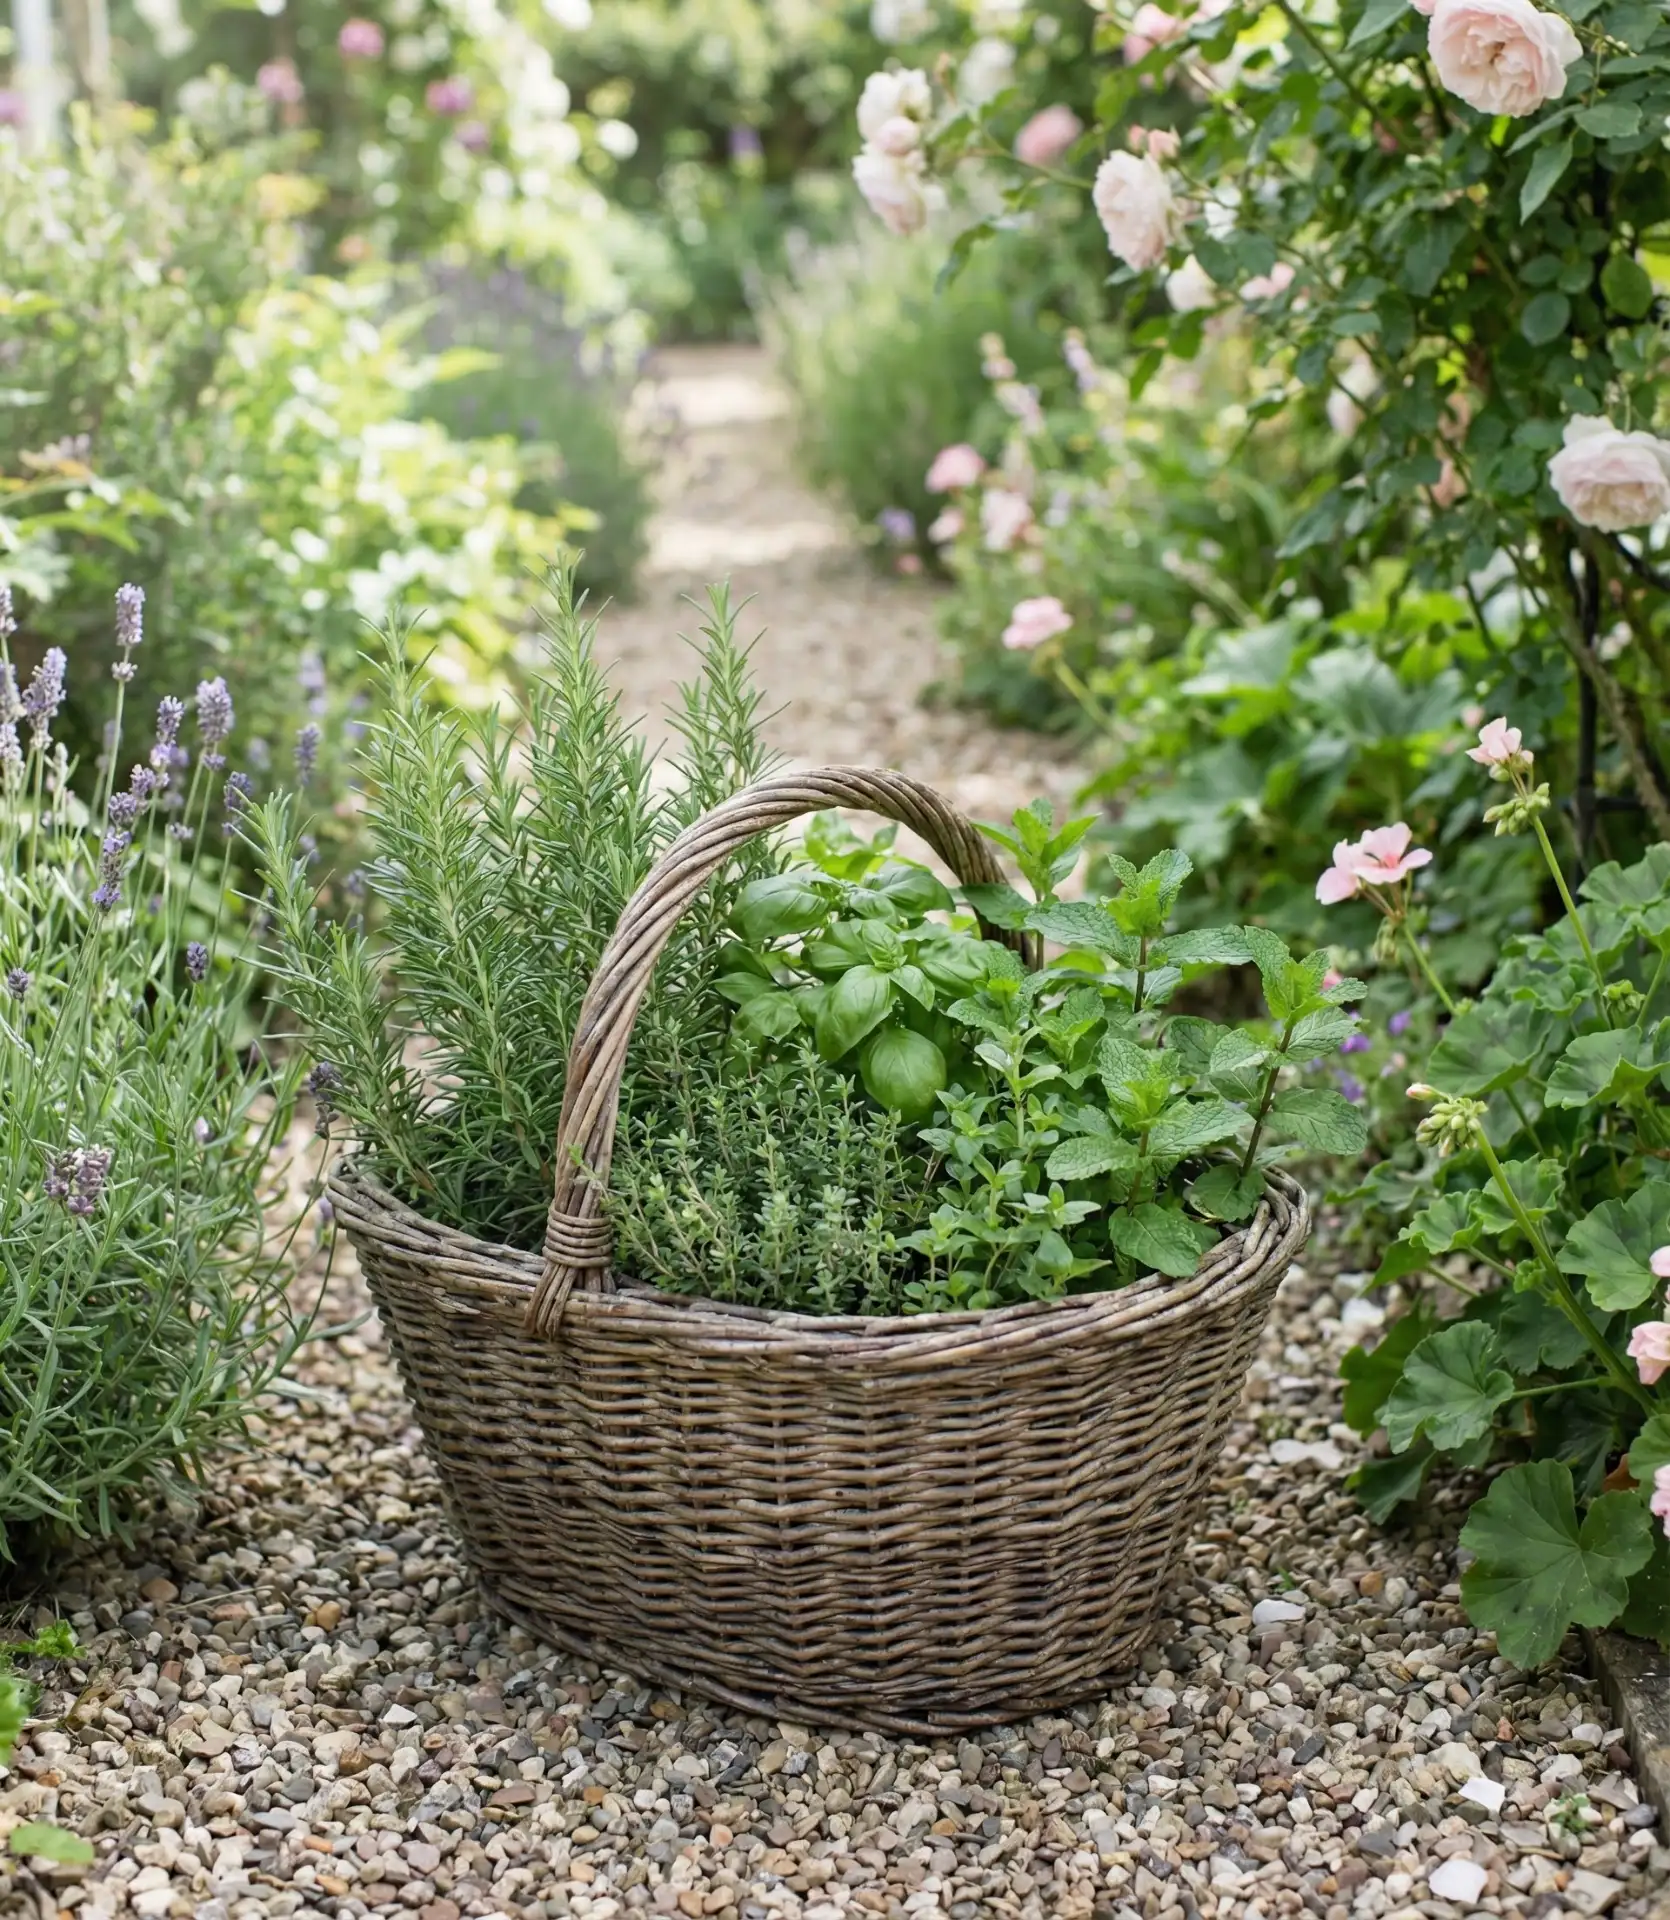
Practical insight reveals that wicker breaks down over 2–3 seasons when exposed to weather, but that’s part of its charm—it develops character as it ages, and replacement baskets are inexpensive. Line each basket with heavy plastic punctured with drainage holes, or use coconut coir liners designed for hanging baskets. The key is elevating baskets slightly on bricks or pot feet so water can drain freely underneath, preventing the bottom from sitting in soggy soil and rotting prematurely.
18. Concrete Block Modular System for Patios
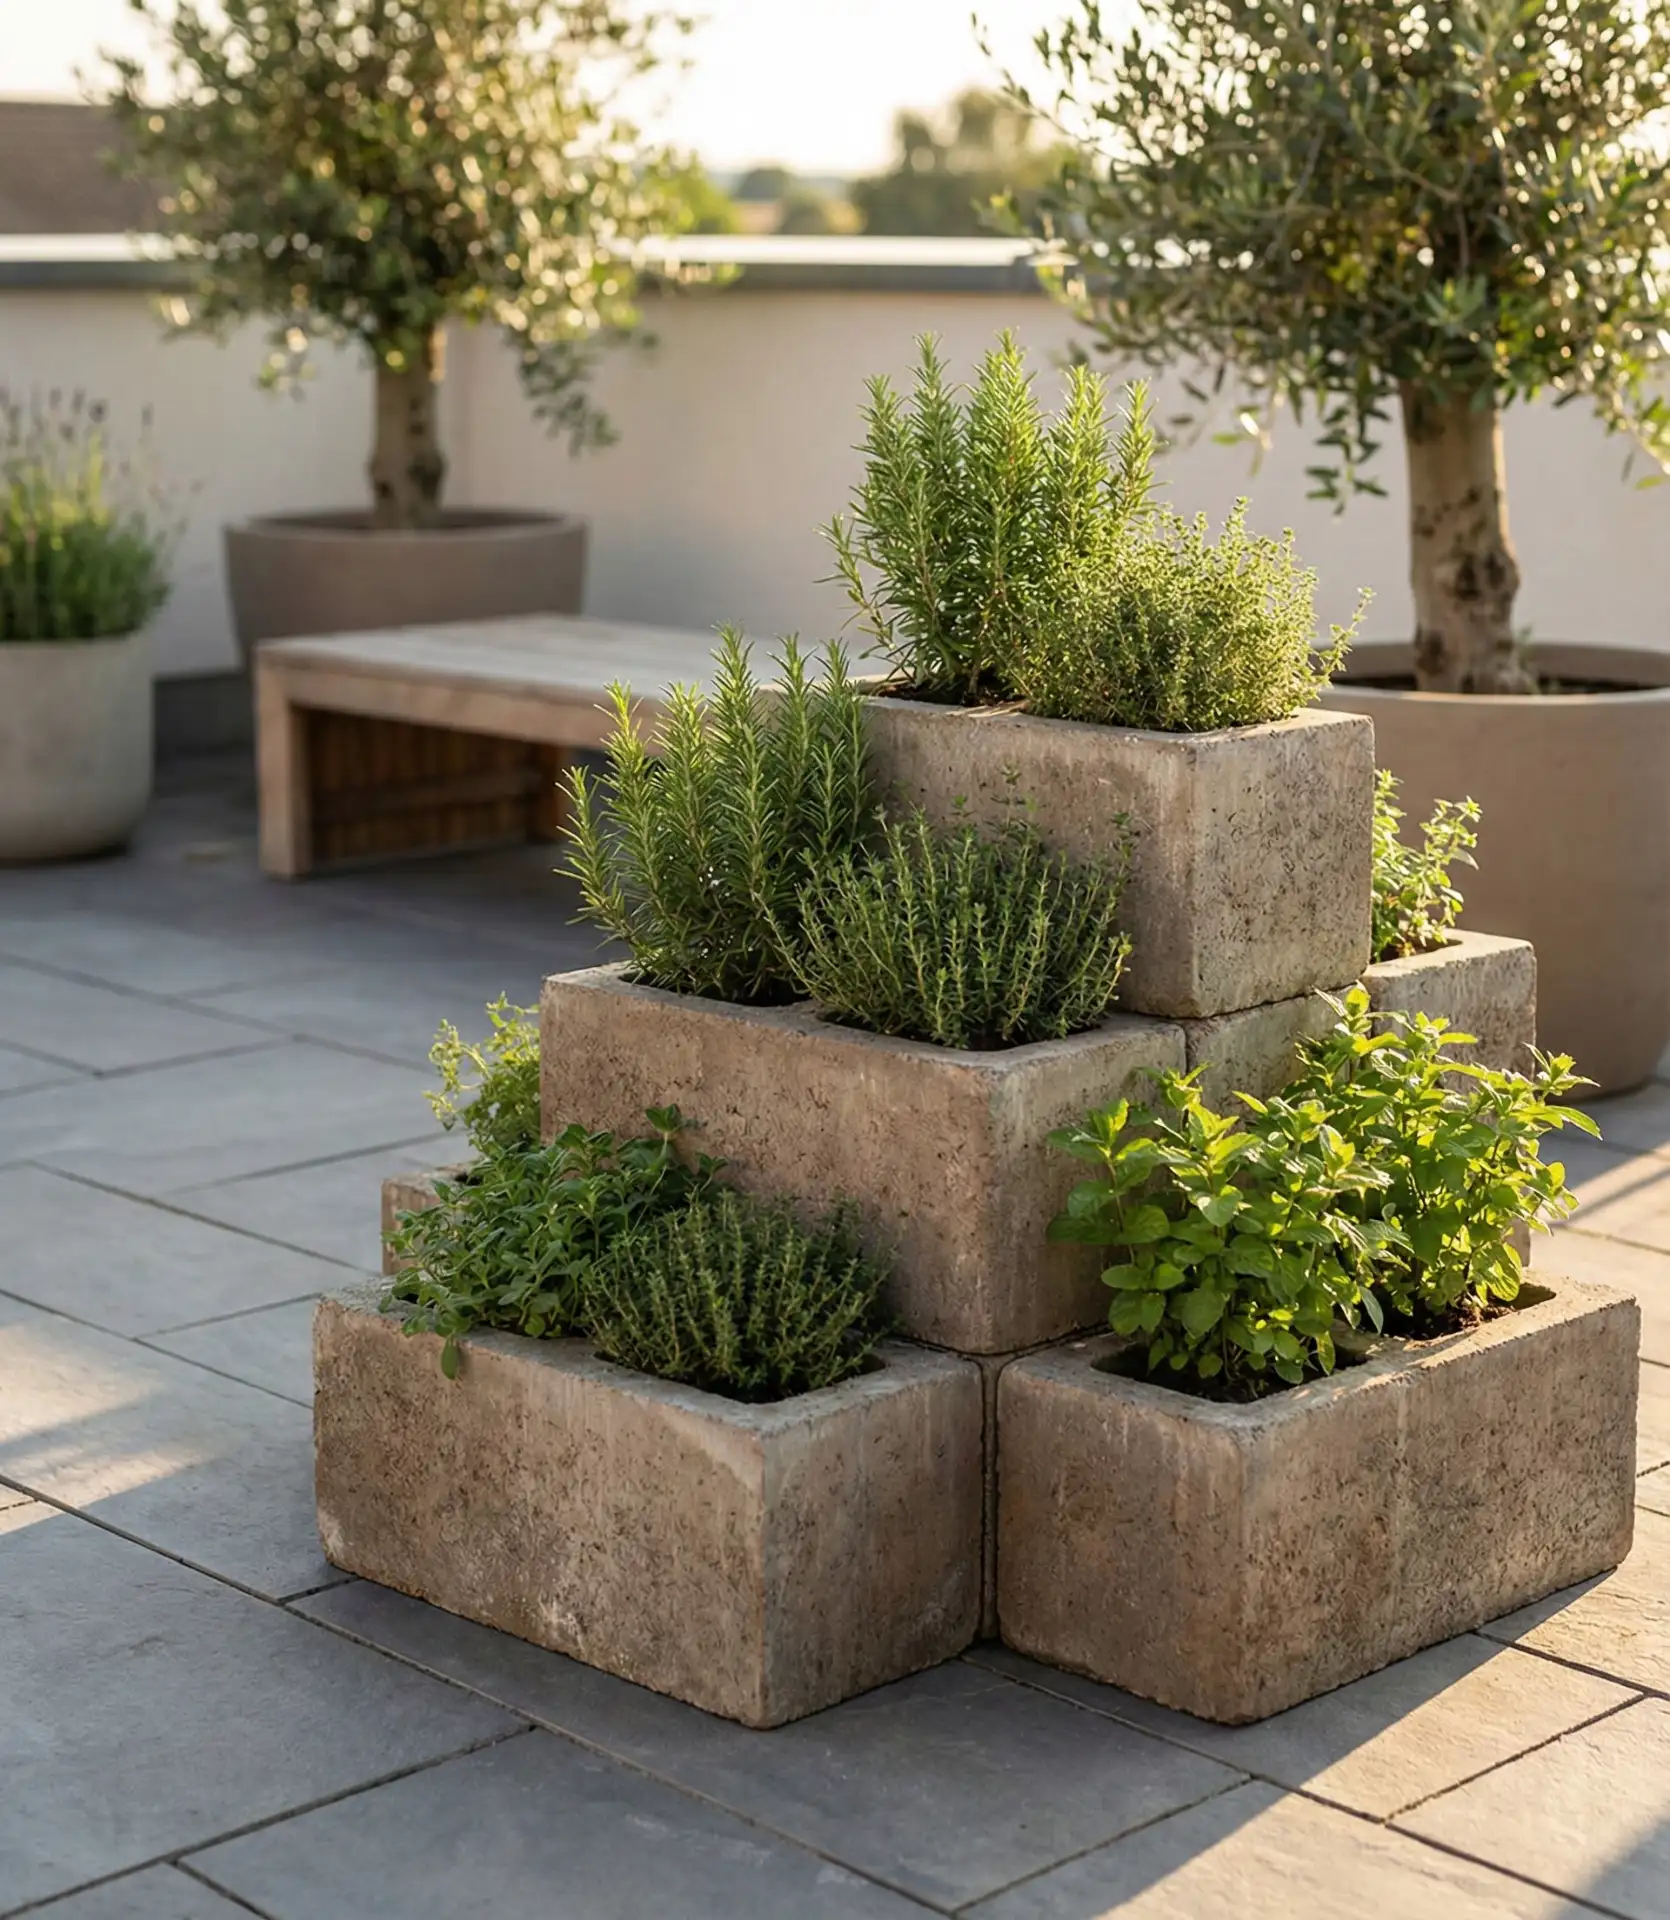
Stack concrete cinder blocks in creative configurations on your patio, filling the hollow centers with soil and herbs. The blocks’ geometric shape lets you build custom formations—L-shaped corners, straight walls, or even tiered pyramids—all while creating perfect individual container pockets for each plant. This industrial-modern look appeals to minimalist design lovers, and the thermal mass of concrete helps moderate soil temperature swings between hot days and cool nights in outdoor settings. 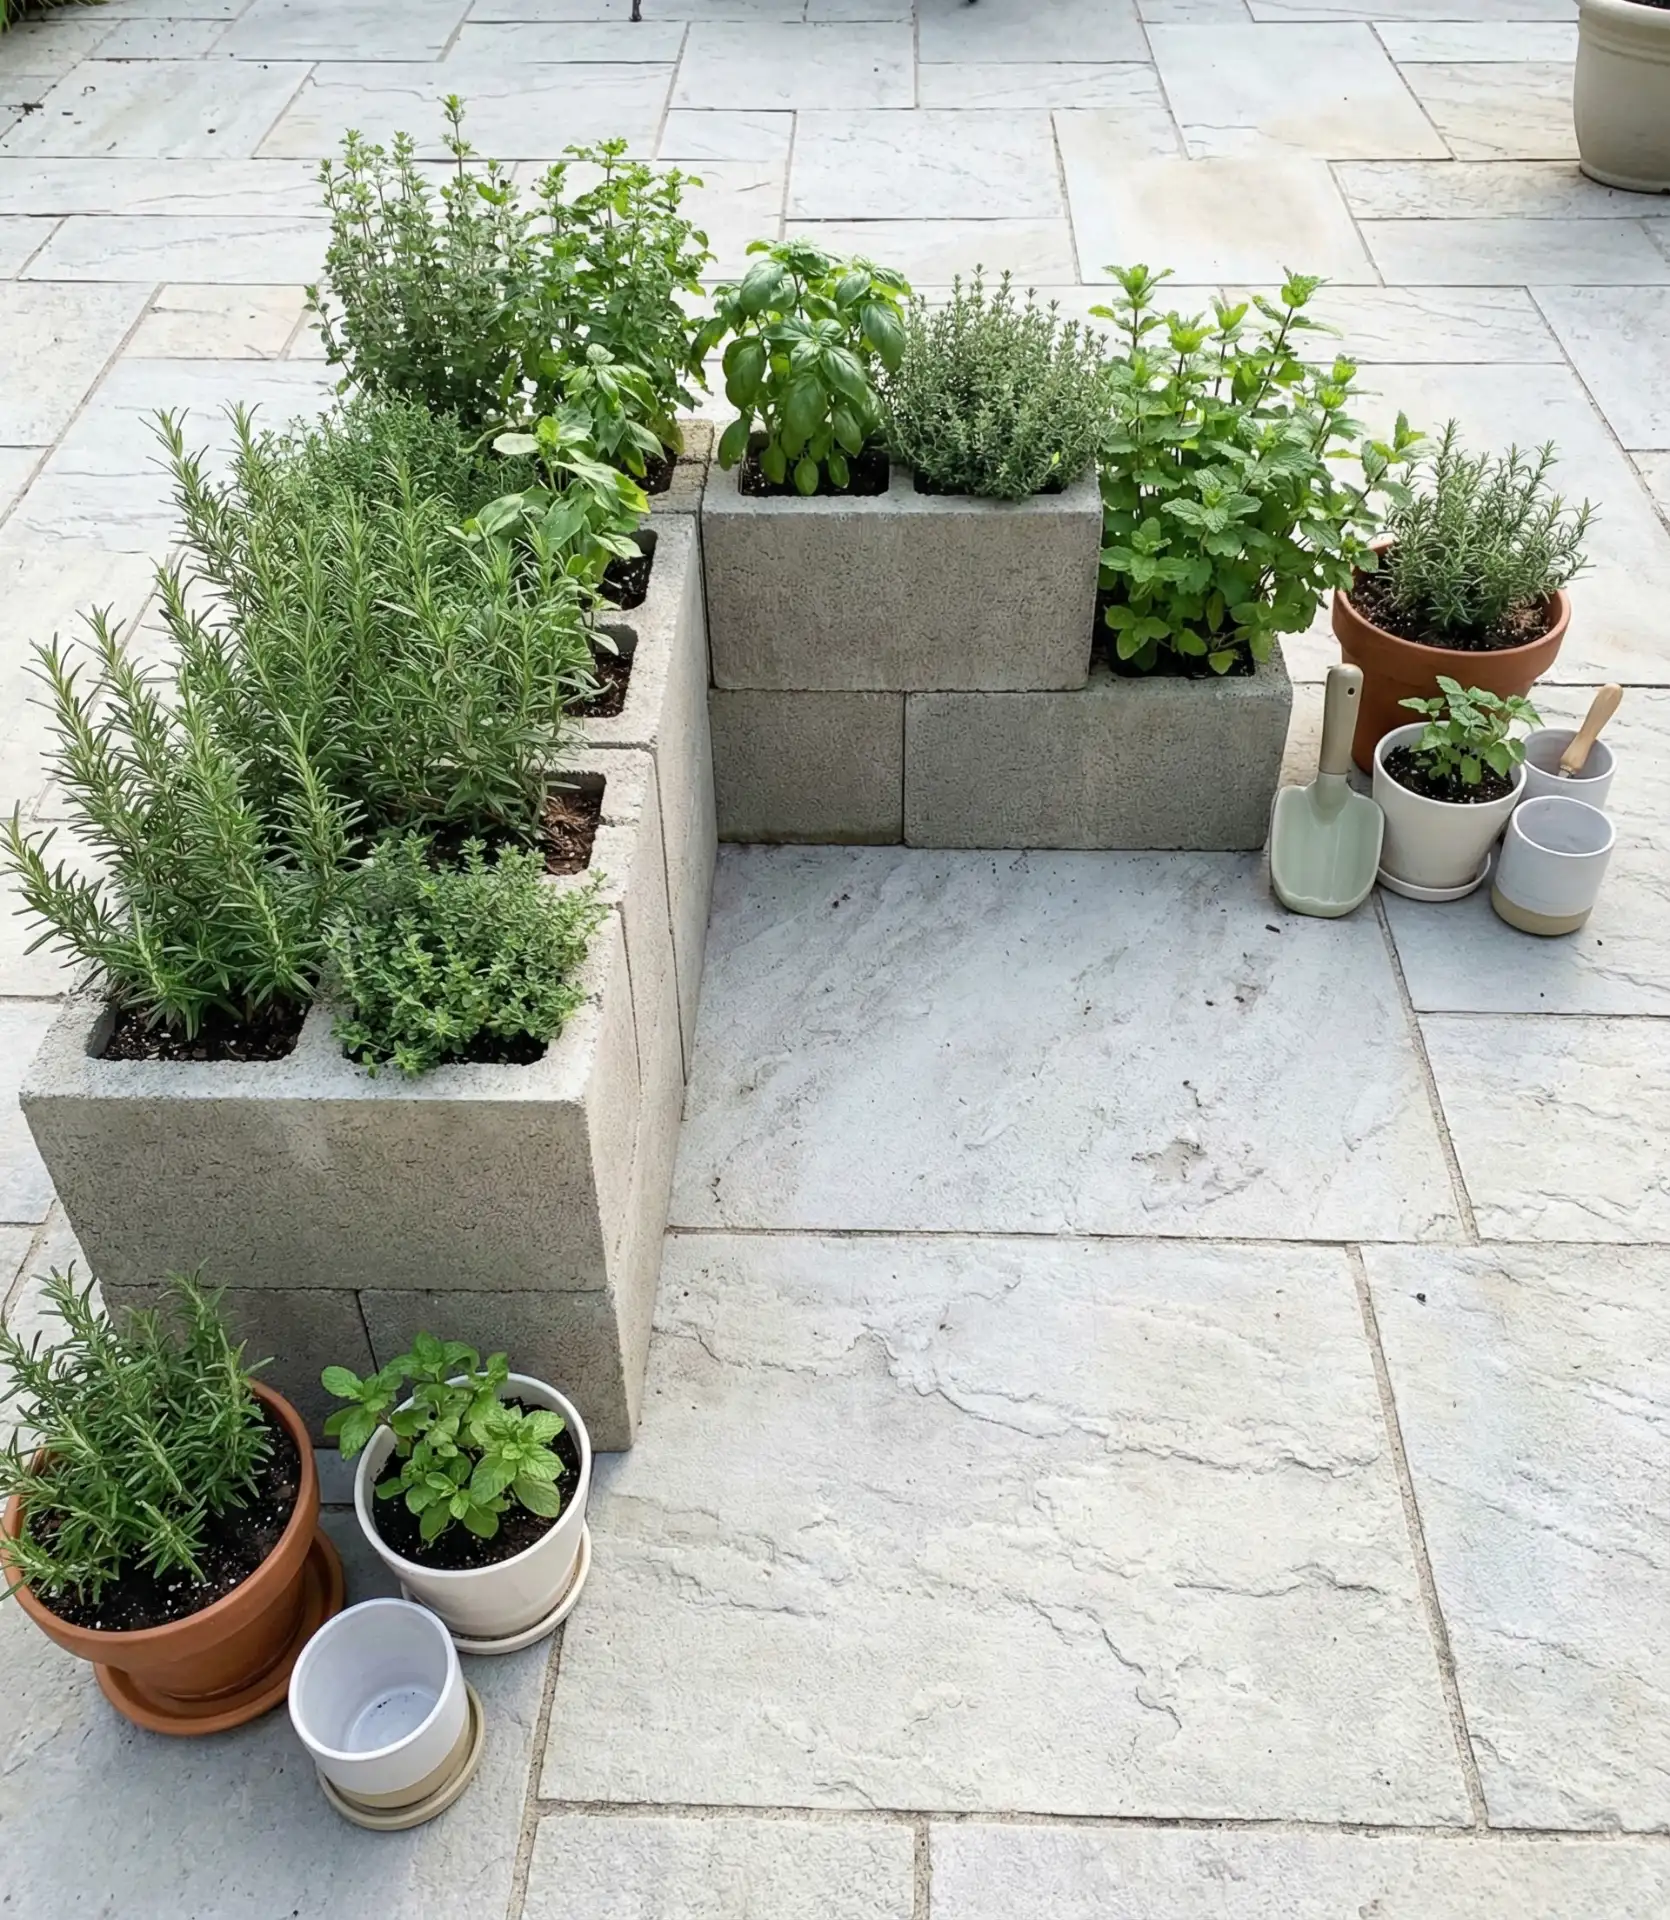
Where this thrives is in Southwestern and Southern states, where the concrete’s heat retention extends the growing season and herbs love the extra warmth radiating from the blocks. In northern climates, the opposite happens—blocks stay cold in spring, delaying soil warming and slowing early growth. Some Colorado gardeners paint their blocks black to absorb more heat, while Florida folks stick to light colors to prevent soil from overheating. Blocks cost about $2–$3 each, making this perhaps the cheapest permanent garden structure you can build.
19. Repurposed Colander Hanging Garden for Porches
Hang vintage metal colanders from porch ceiling hooks, line them with coconut coir, and plant trailing herbs like oregano, thyme, or nasturtiums that cascade through the drainage holes. The built-in perforations provide perfect drainage, and the repurposed kitchen items add quirky personality to your outdoor space. This vertical solution keeps herbs elevated where air circulation prevents disease, and picking plants becomes as simple as reaching up while relaxing in your porch rocker. 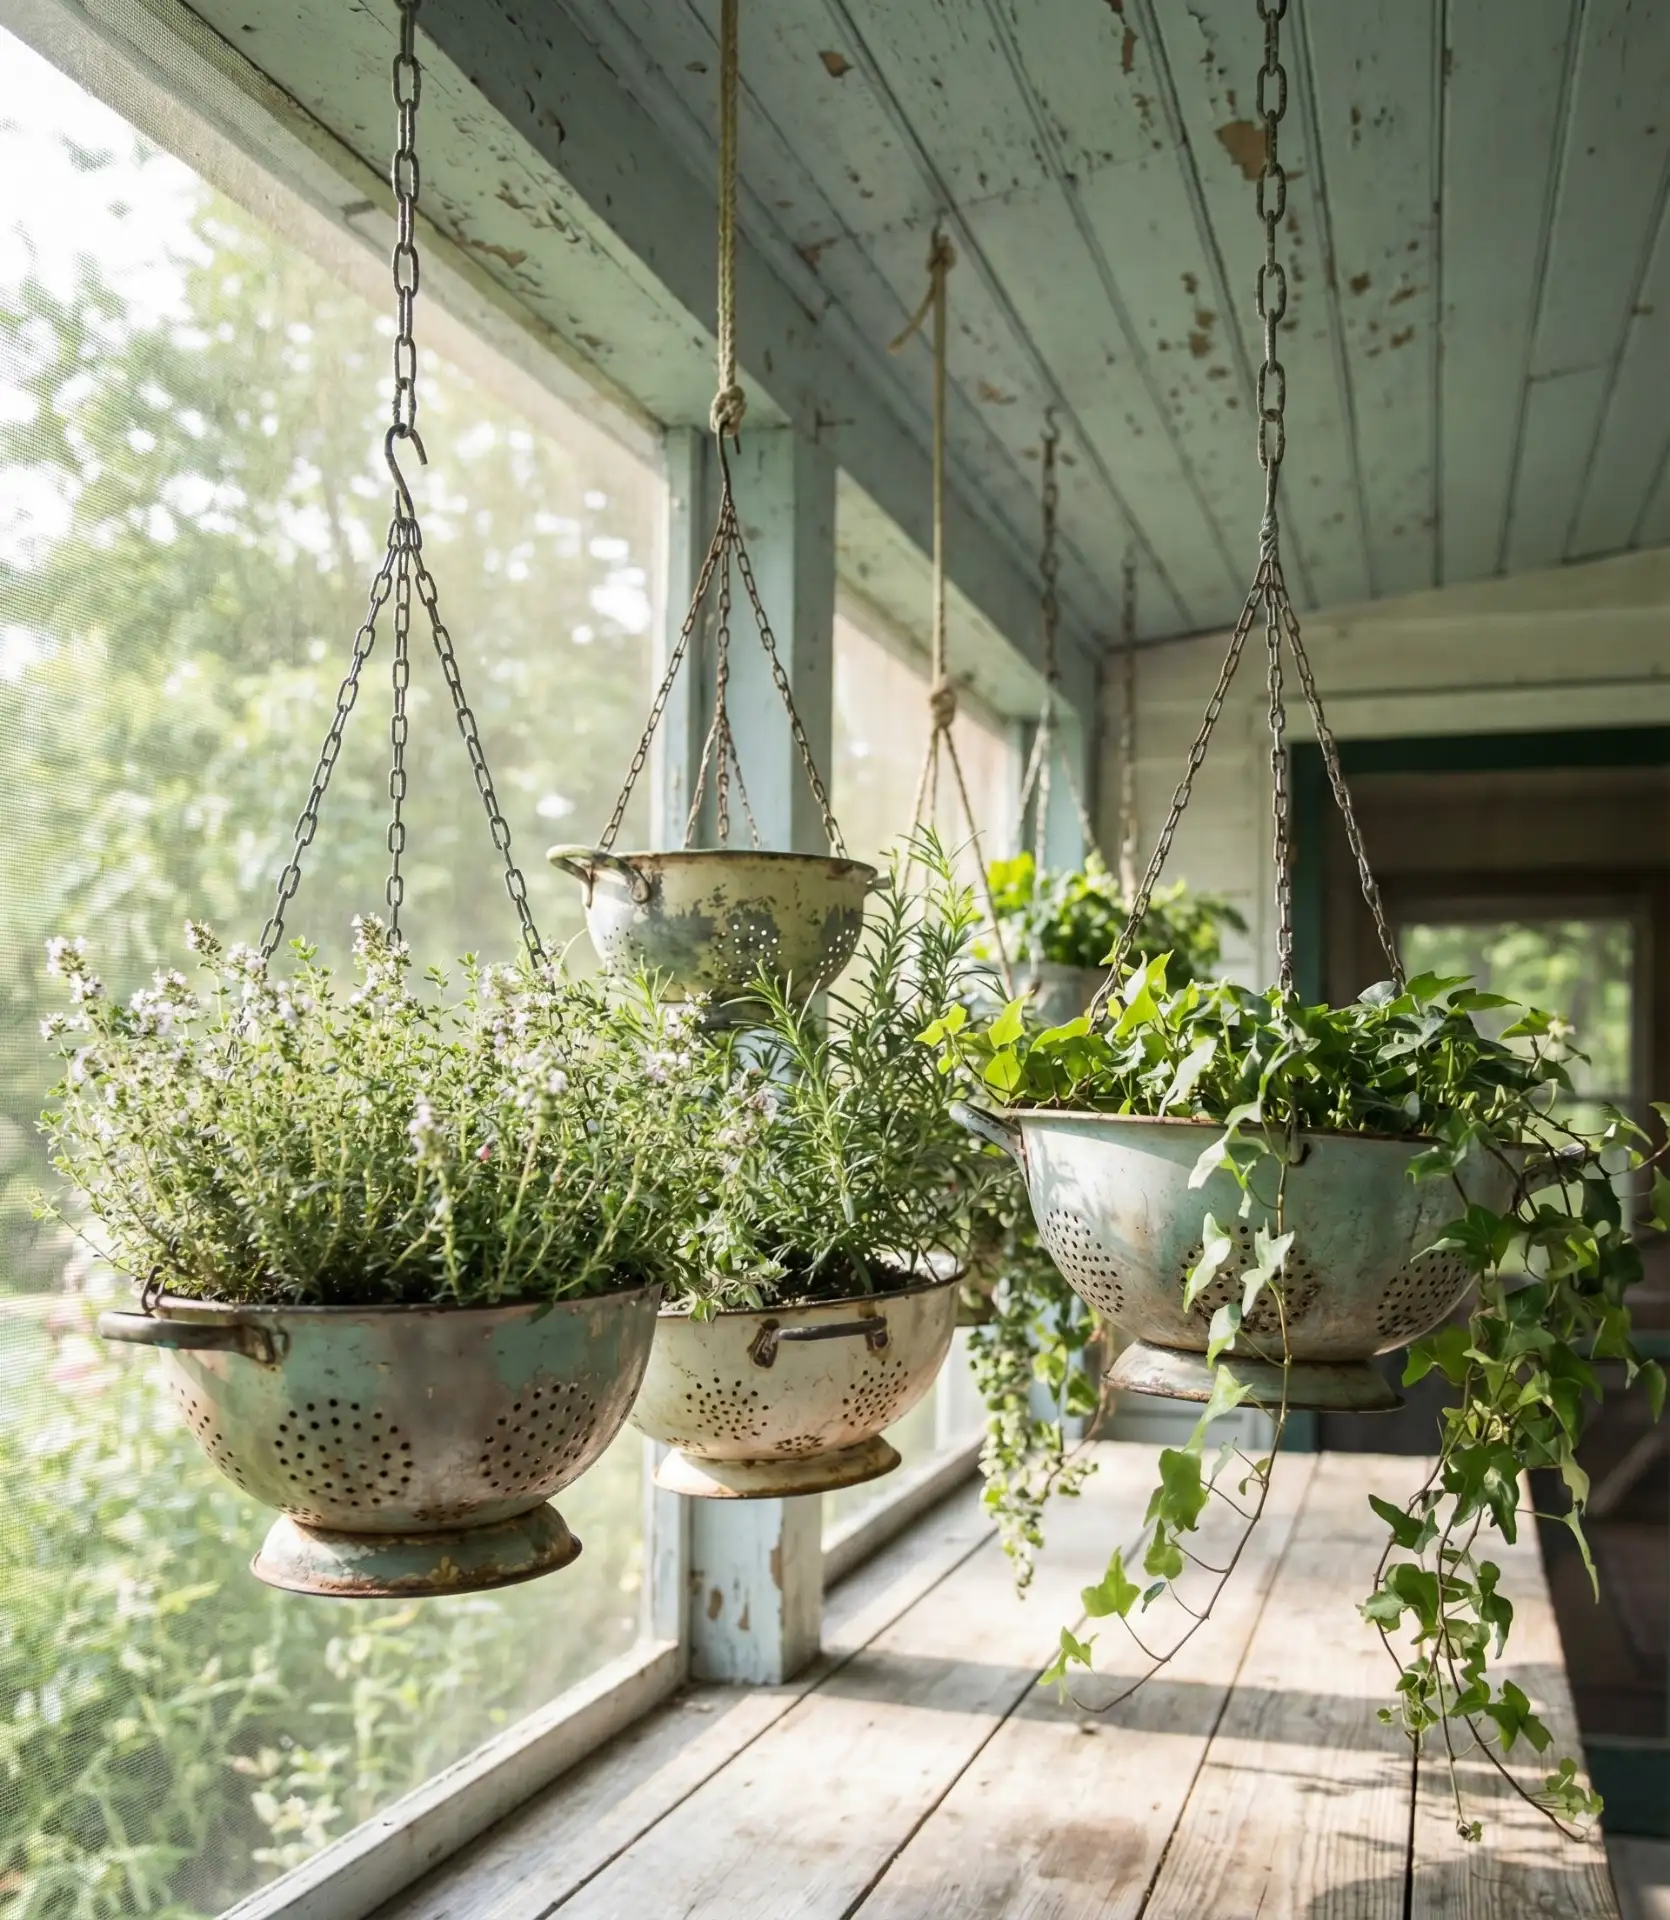
Common mistakes include hanging colanders in full blazing sun where soil dries out in hours—they work far better on porches with dappled light or morning sun only. The shallow depth means roots can’t reach deep for moisture, so you’re watering daily during summer heat. Hunt for colanders at thrift stores, where they’re usually $2–$5 each, or check your kitchen cabinets for that enamel colander you haven’t used since switching to a salad spinner.
20. Vintage Toolbox Planters for Windowsills
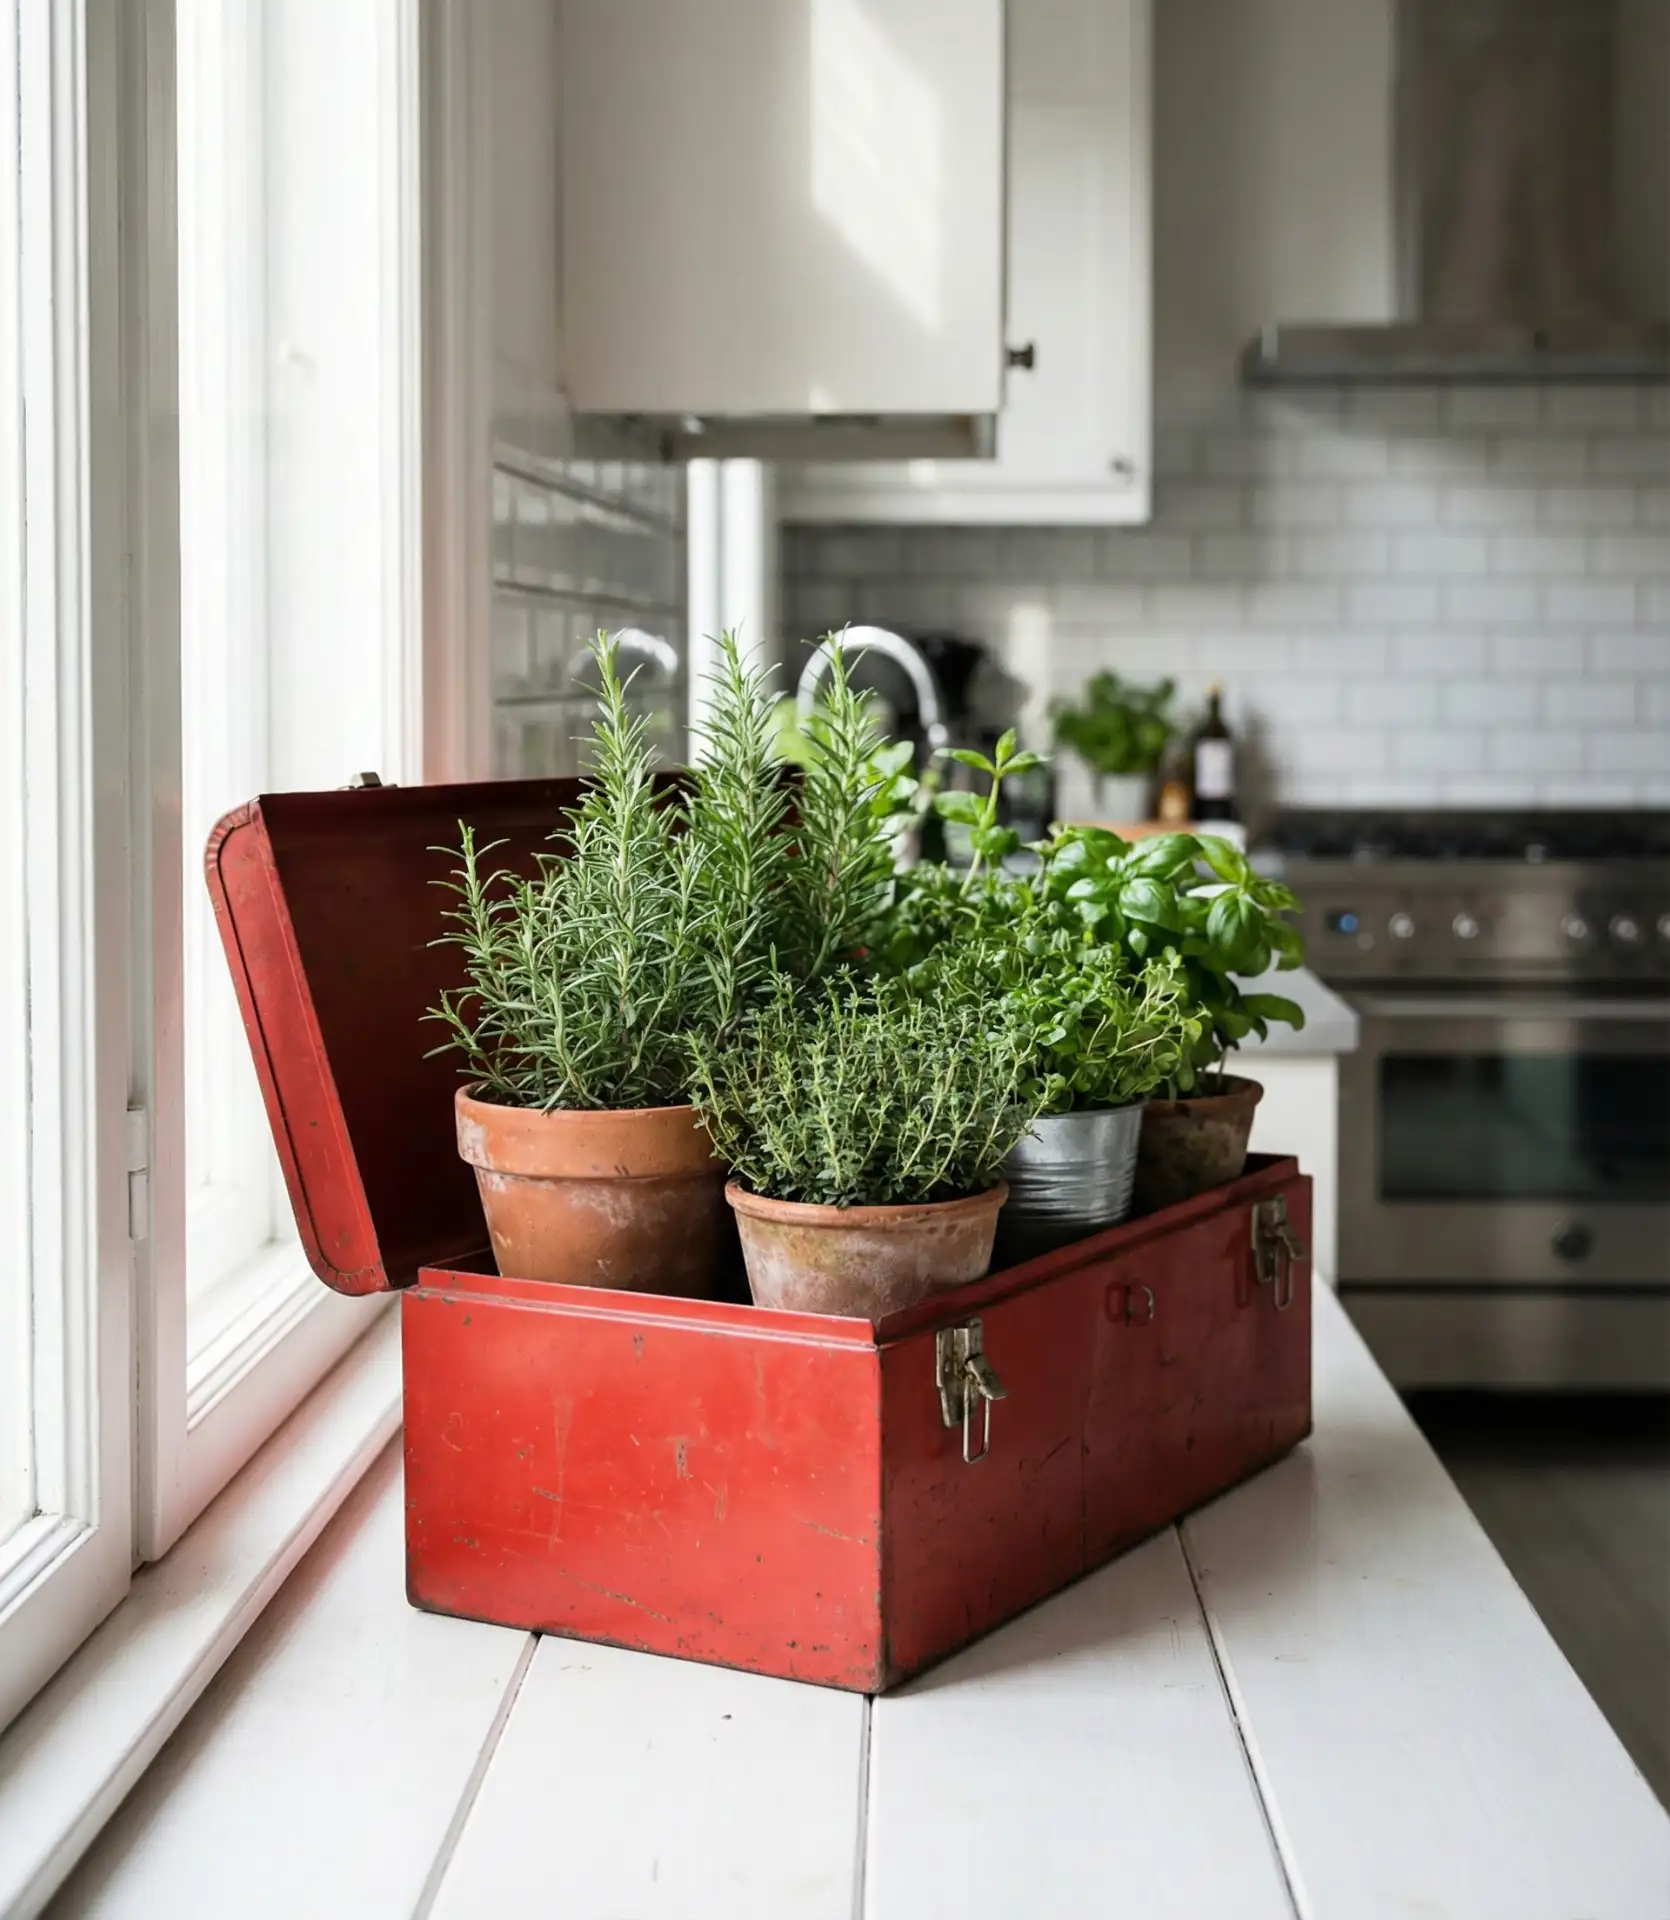
Convert old metal toolboxes into windowsill planters by drilling drainage holes and filling them with indoor potted herbs. The rectangular shape fits perfectly on standard window ledges, and some toolboxes have divided compartments that naturally separate different herb varieties. This industrial-vintage aesthetic works beautifully in loft apartments or modern farmhouse kitchen designs where you want character pieces that tell a story while serving practical purposes. 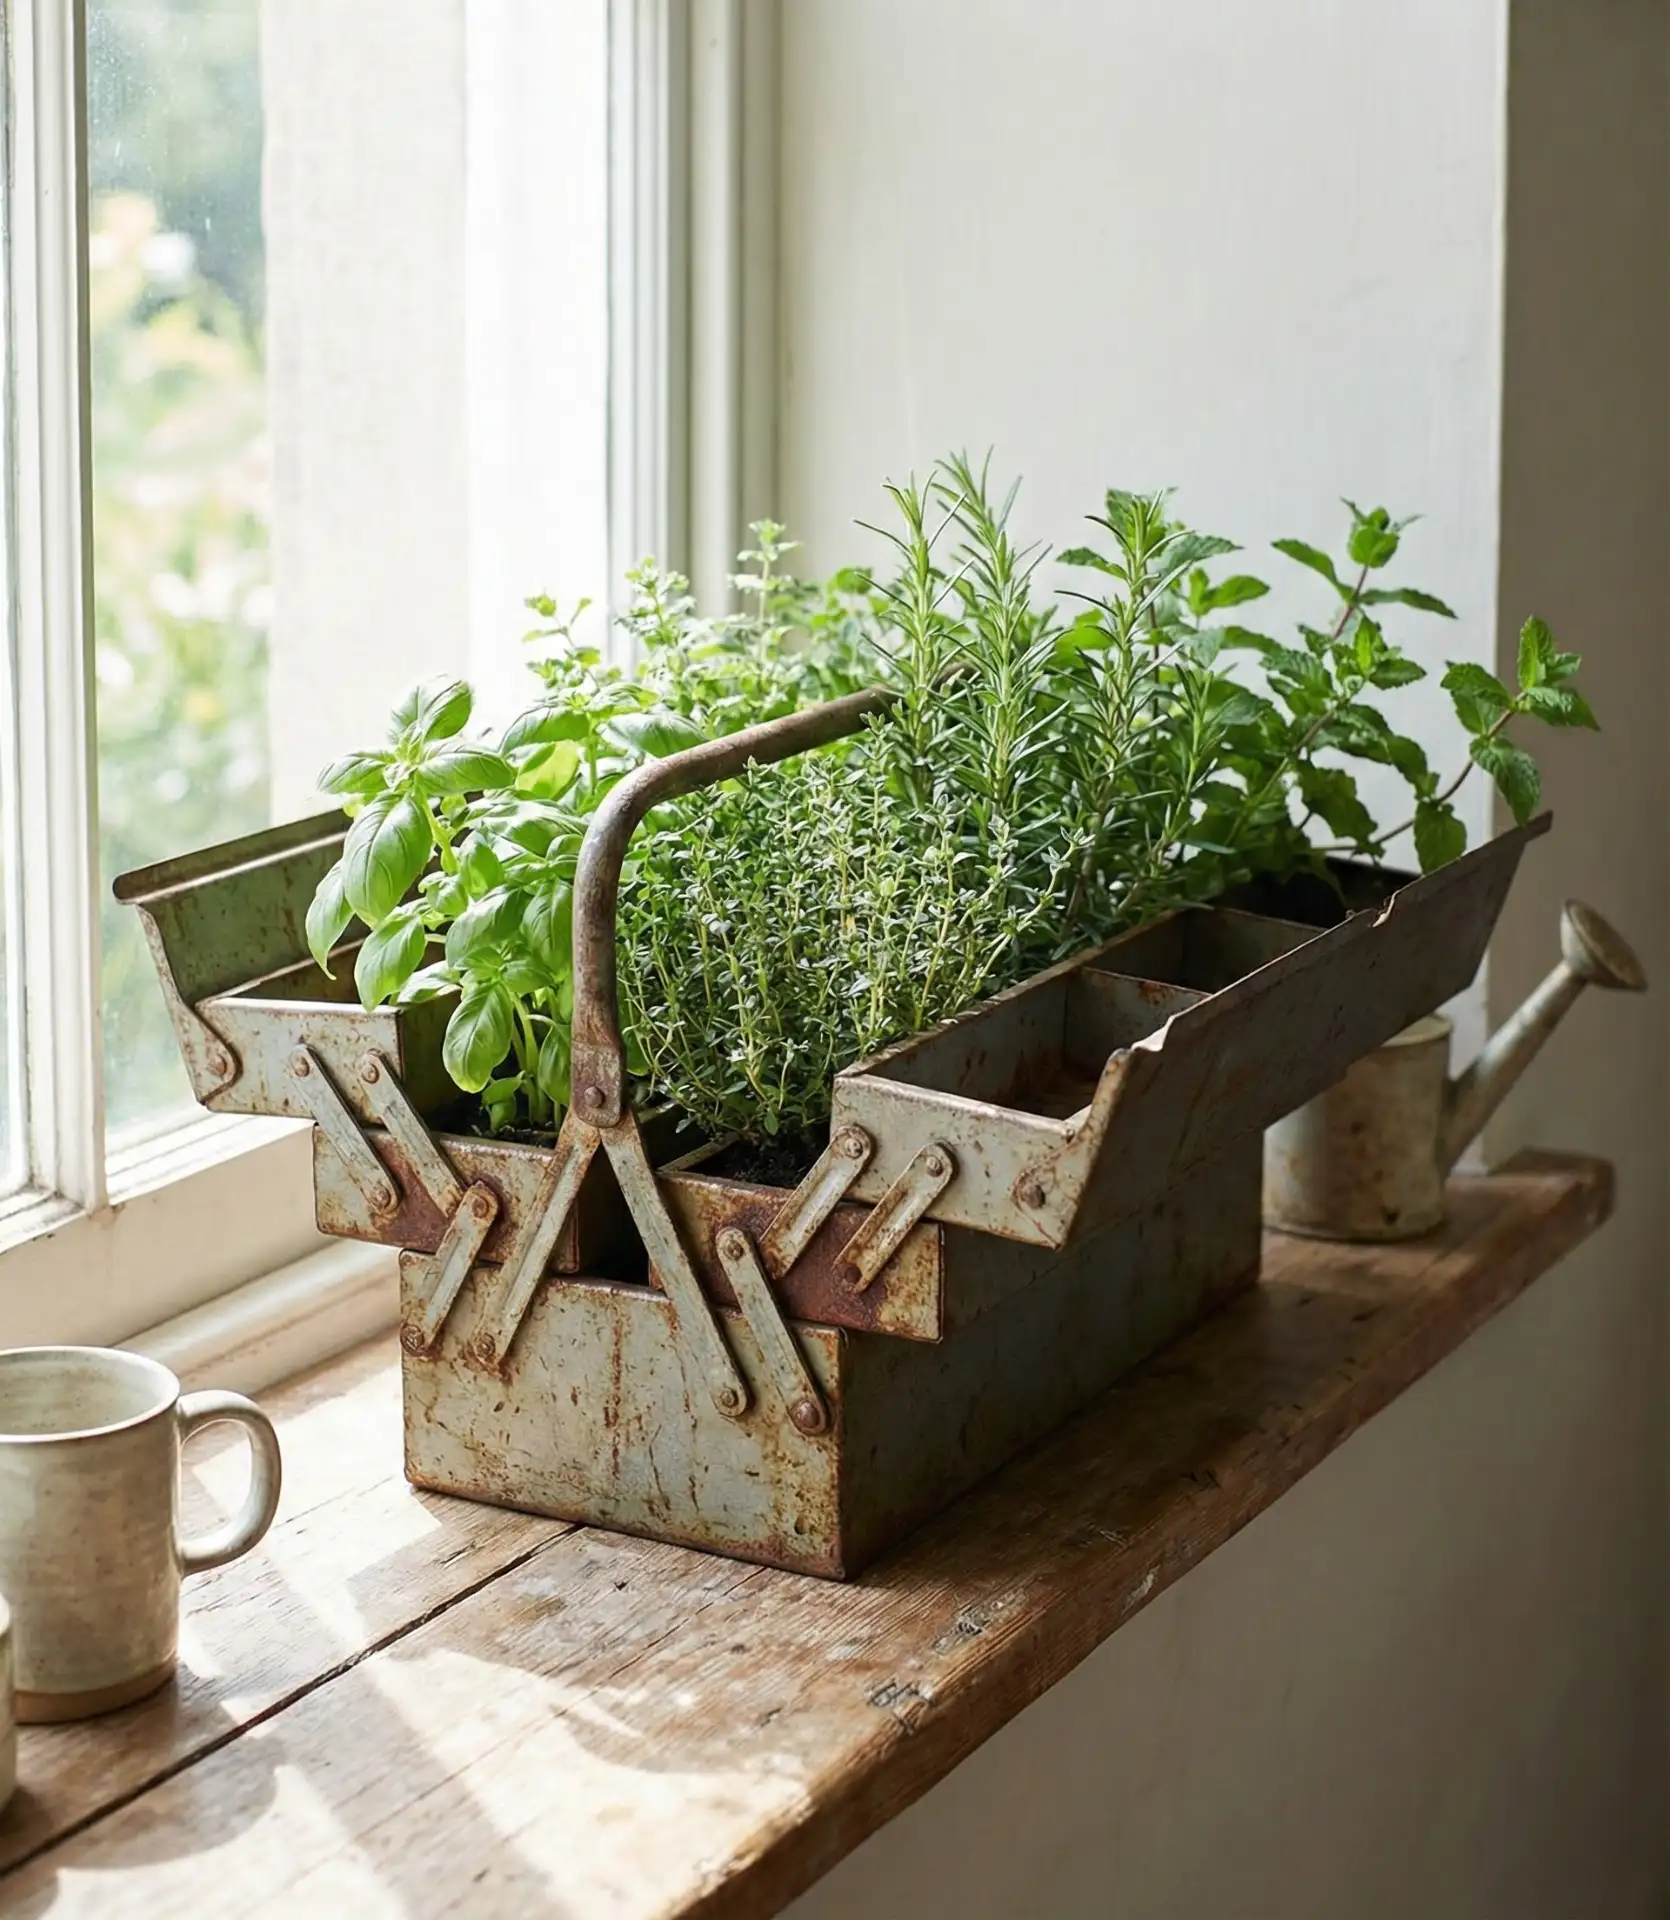
American lifestyle note: This approach resonates particularly with DIYers and makers who appreciate the meta-humor of using tool storage for gardening tools’ raw materials. Toolboxes from estate sales run $10–$25 depending on condition, and the weathered paint and rust spots add authenticity you can’t fake with new products. Choose boxes with handles intact so you can easily move them off the sill for window cleaning or when rotating plants for even sun exposure.
21. A tiered plant stand for indoor corners
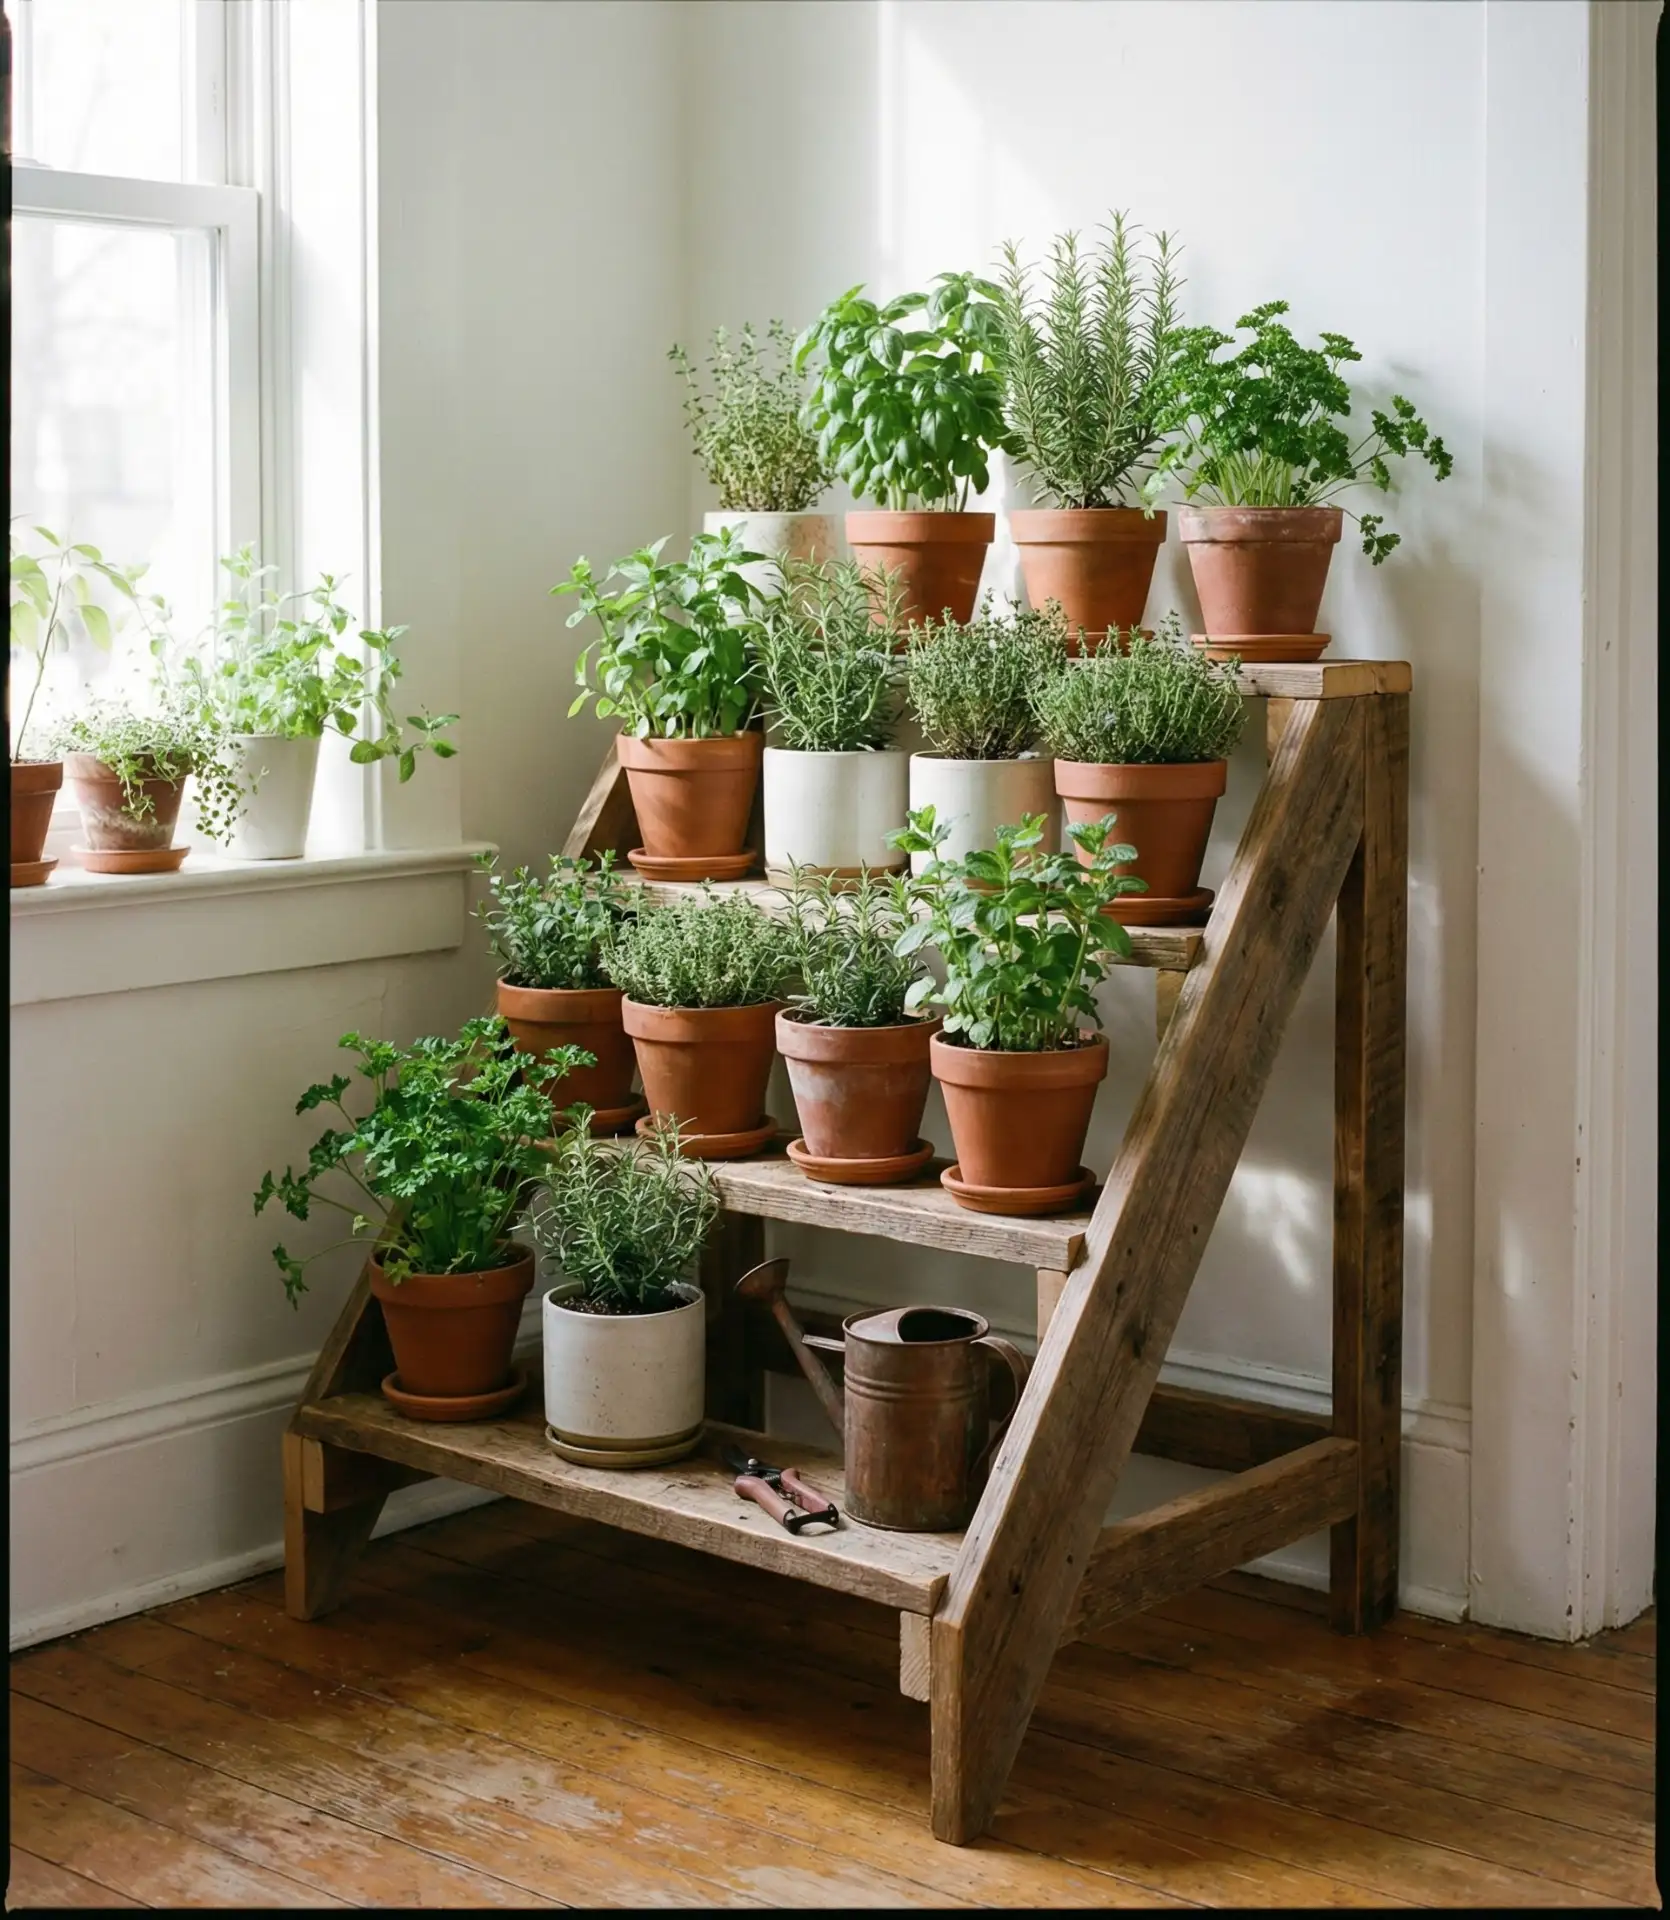
A corner plant stand with three or four shelves transforms unused indoor corner space into a productive herb station. Each level holds several small potted herbs, creating a vertical garden that doesn’t sacrifice floor space. This works exceptionally well in kitchen corners near windows where natural light hits but counter space is precious. The tiered arrangement also creates visual interest—tall basil on top, medium parsley mid-level, and trailing thyme cascading from the bottom shelf. 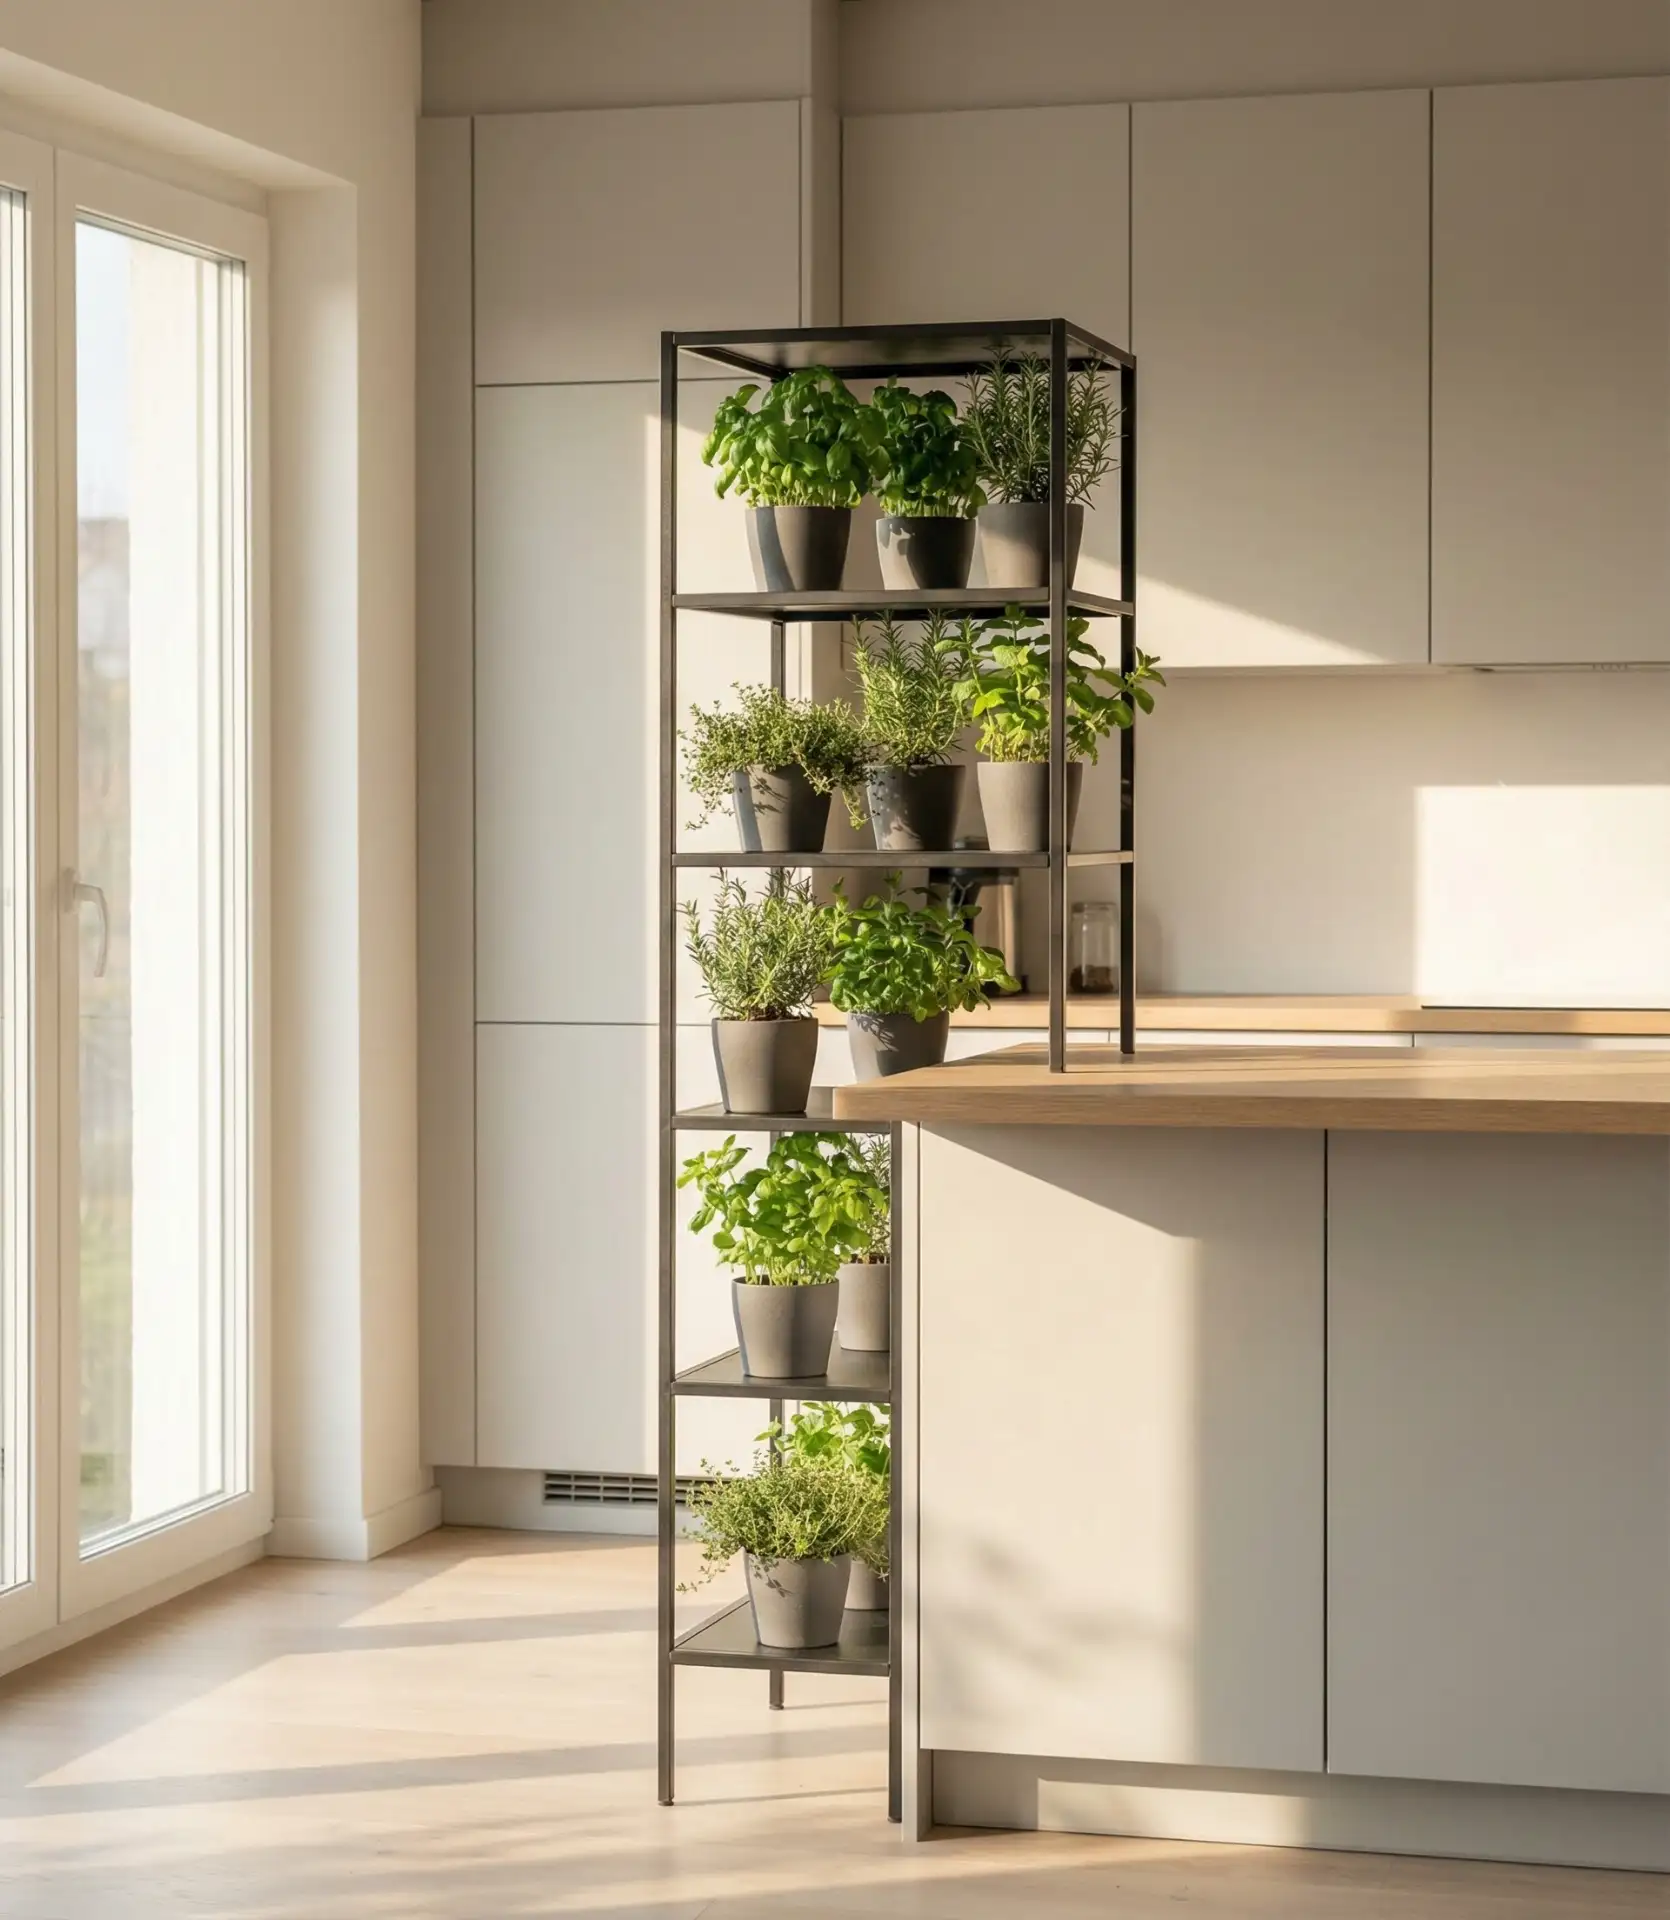
Expert commentary suggests choosing stands with slatted or wire shelves rather than solid wood, allowing water to drain through without creating puddles that damage floors or lower plants. Quality bamboo or metal stands run $35–$75, while budget options from discount stores start around $20 but may need reinforcement if you’re loading them with heavy terracotta pots. Position the stand perpendicular to windows so all shelves receive light, rotating the whole unit weekly so each side receives equal exposure.
22. Wine Box Vertical Wall for Apartment Balconies
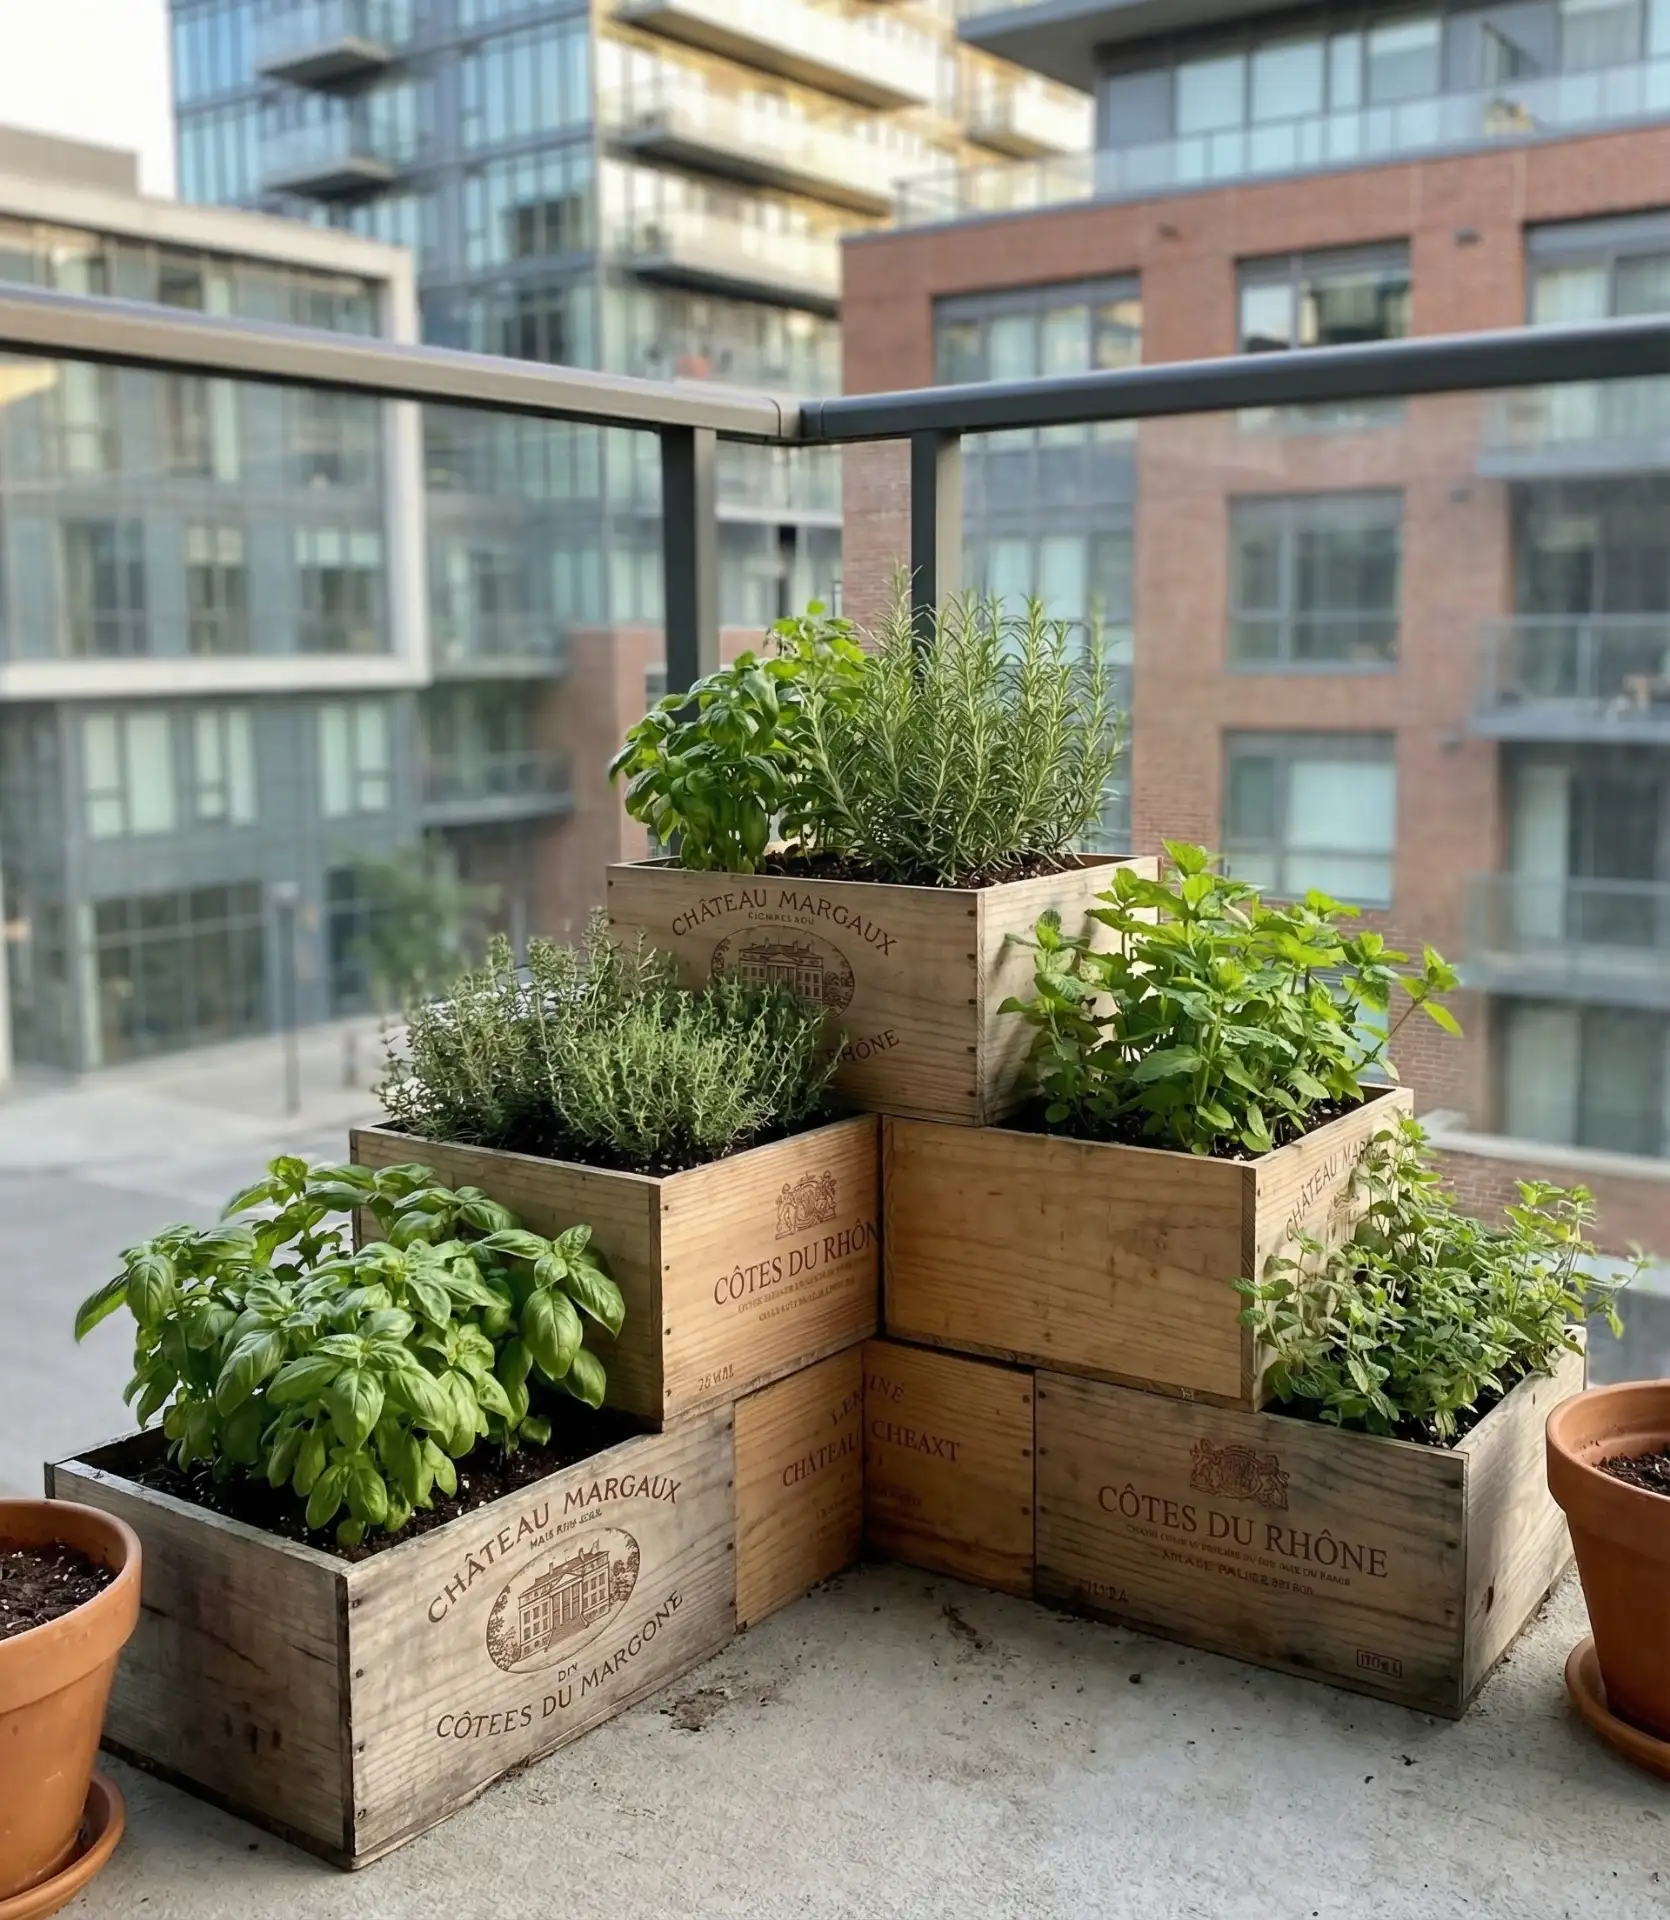
Mount wooden wine boxes on your apartment balcony wall in a staggered pattern, creating an instant vertical garden that’s both functional and artistic. The authentic wine branding adds European charm, and the box depth accommodates herbs with medium root systems like basil, cilantro, and parsley. This container solution appeals to urban gardeners who want maximum visual impact with minimal floor space consumption—especially important on narrow balconies where every inch counts. 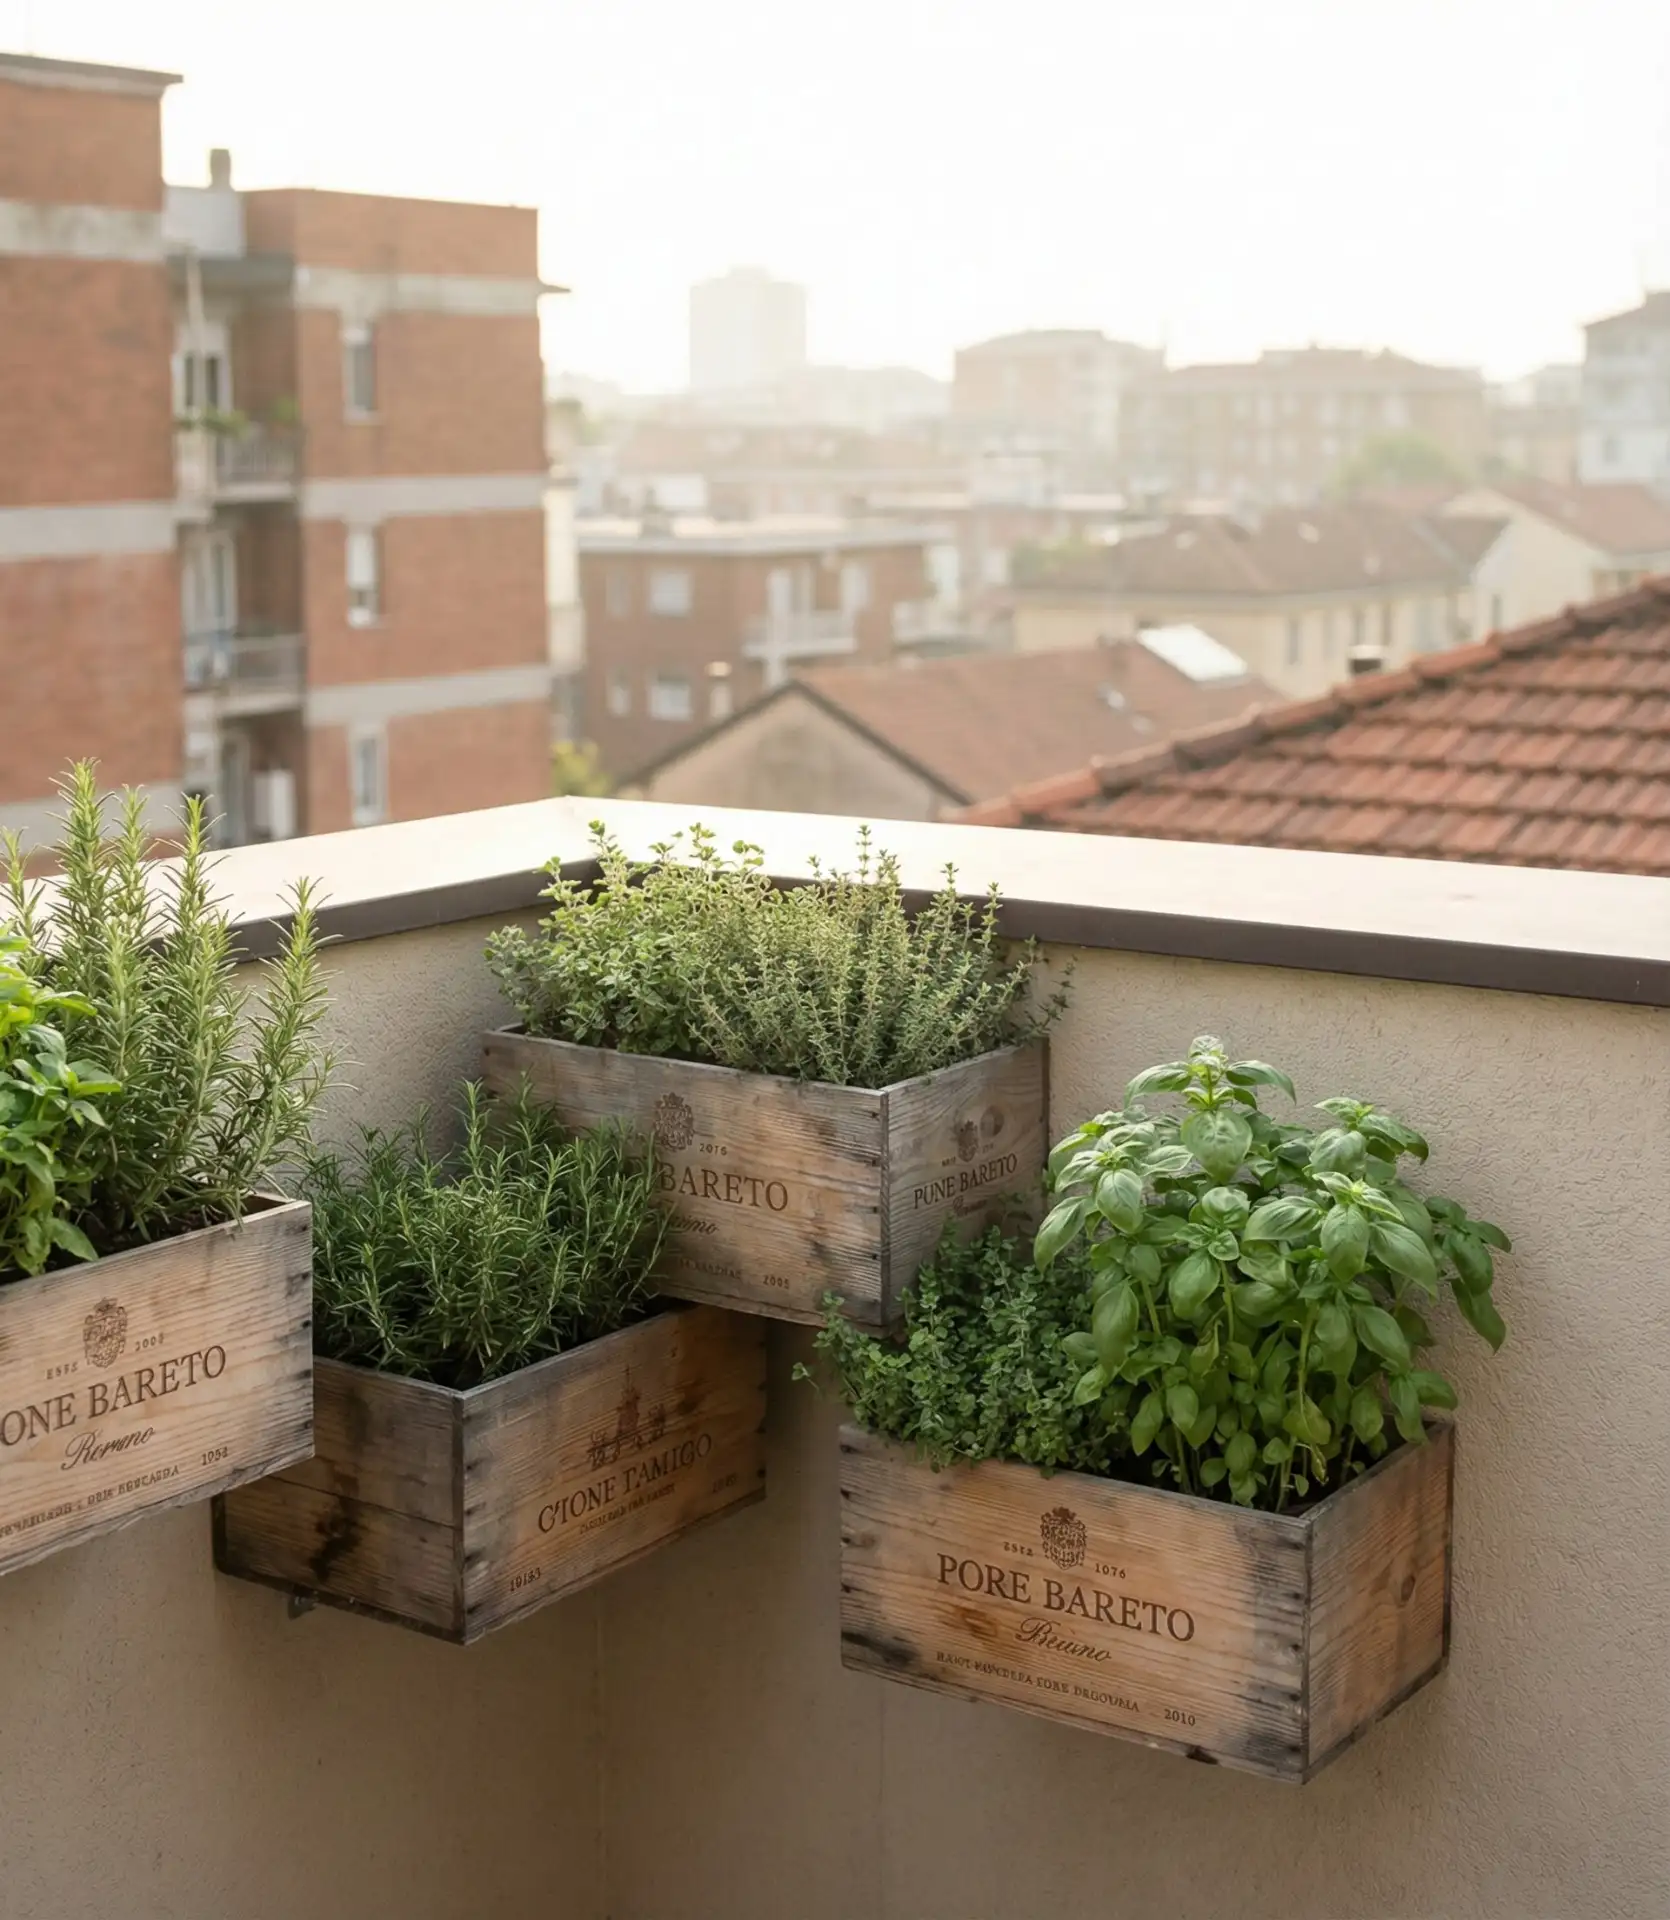
Real urban gardeners report that wine shops and liquor stores often give away empty wooden boxes for free—just ask the manager. Secure boxes to walls with heavy-duty screws into the back panel, not just corner mounting, because soil weight can pull poorly secured boxes down. Line each box with heavy plastic punctured for drainage before adding soil, protecting the wood and extending its life. This project costs essentially nothing beyond screws and soil, making it perfect for budget-conscious city dwellers.
From repurposed vintage finds to modern minimalist designs, these additional herb garden ideas prove there’s truly no wrong way to grow your seasonings. The best setup is always the one you’ll actually maintain and harvest from regularly—whether that’s a simple windowsill arrangement or an elaborate outdoor system. What’s your current herb garden setup, and what challenges are you trying to solve? Share your experiences below, especially those creative solutions that worked better than expected.