Have you ever opened your garage door and been totally overwhelmed? That was me a year ago. My garage was a holiday decoration grave yard, partly used cans of paint, and tools that I had not used in years. It wasn’t just cluttered—it was unusable. I would not even go in there, parking and storage was a nightmare before.
I was fed up with feeling upset, so I reclaimed the space and it made all the difference. And if you are the one who has been neglecting your own garage makeover, this post is full of ideas, which really do work. And I am telling you all the details, the messes, the mistakes, the aha moments of the way.
Who This Is For:
- Females that are fed up with the garage of doom and desire genuine organization
- Anyone who’s downsizing or repurposing space post-kids
- DIY lovers looking for weekend projects with big impact
So, Garage makeover ideas, let us take a plunge into the ideas that created the most effective changes in my house.
1. Clear the Chaos with a Full Declutter
The first thing I did before anything else was to give myself one weekend to get all the items out of the garage. I sorted everything into “keep,” “donate,” and “trash.” Yes, that was tiresome, however, it also allowed me to see clearly the space that I was dealing with. The hardest part? Letting go of “just in case” clutter. But man, the room it created was worth every difficult choice.
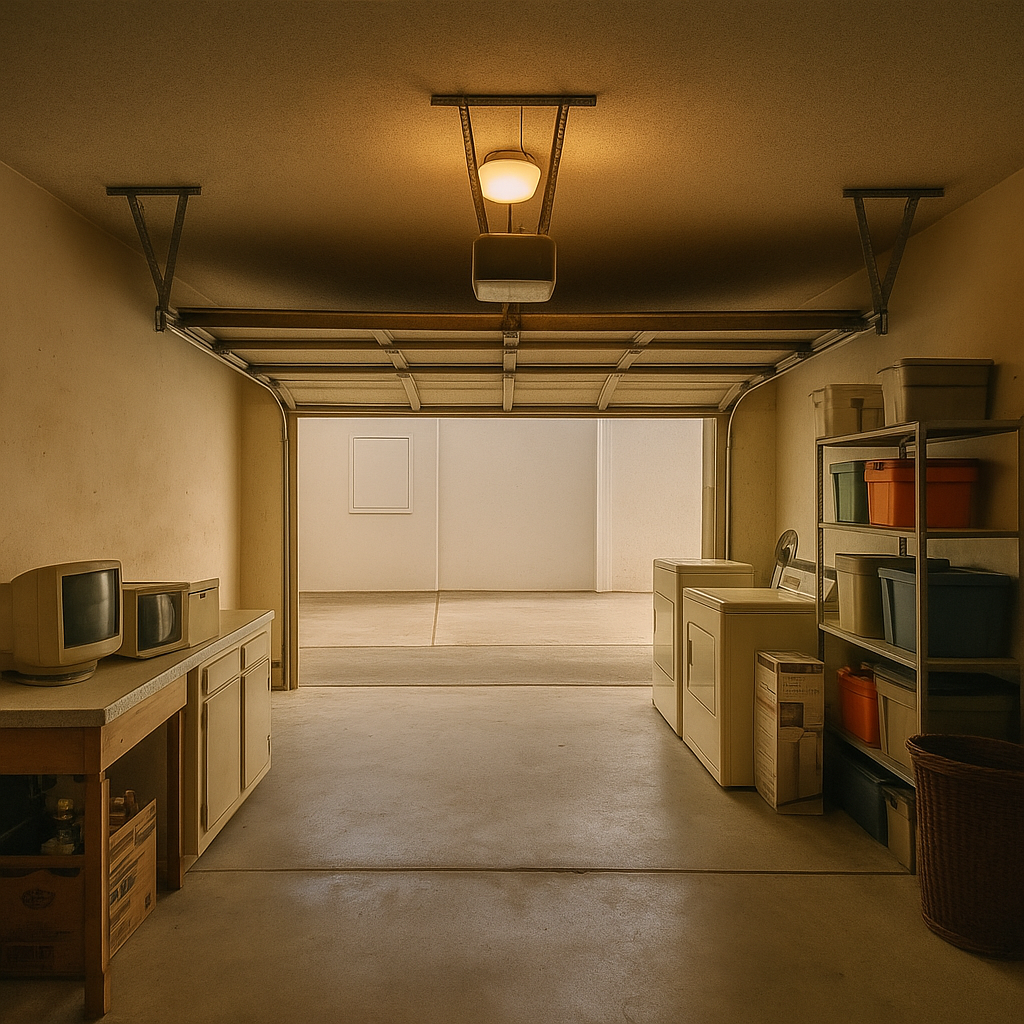 Before
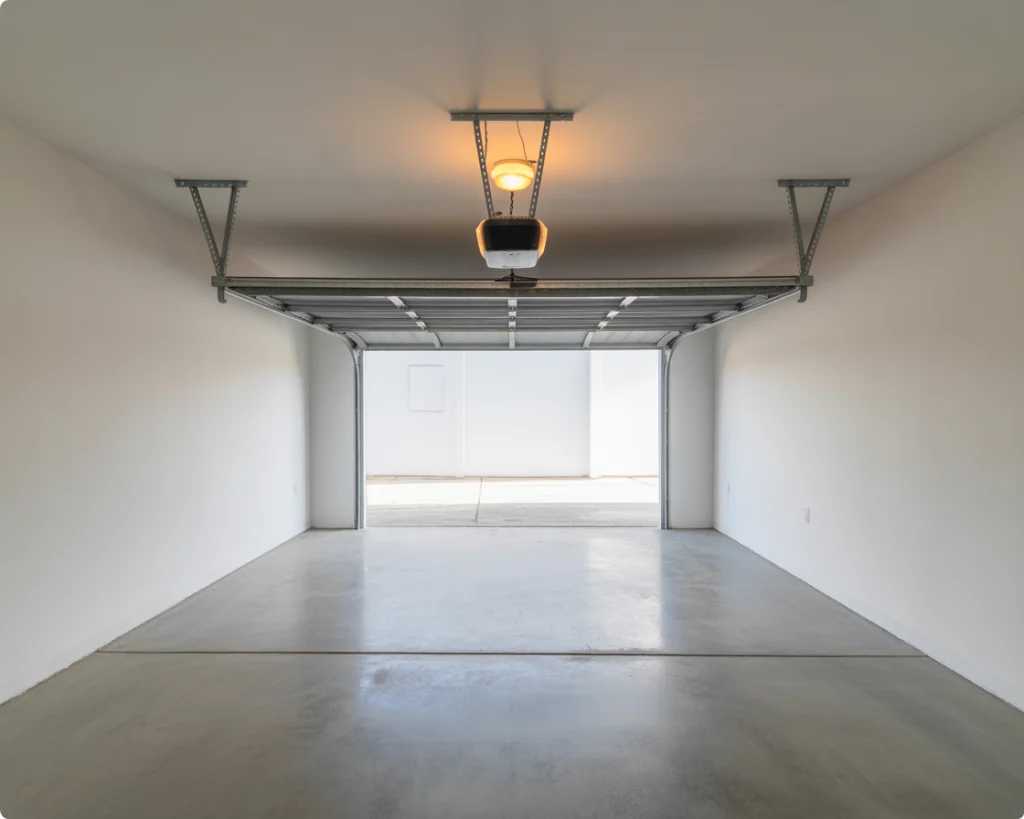 After
After
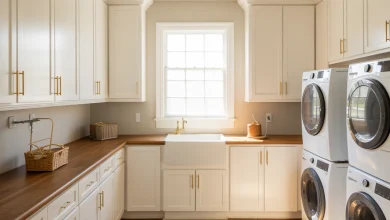
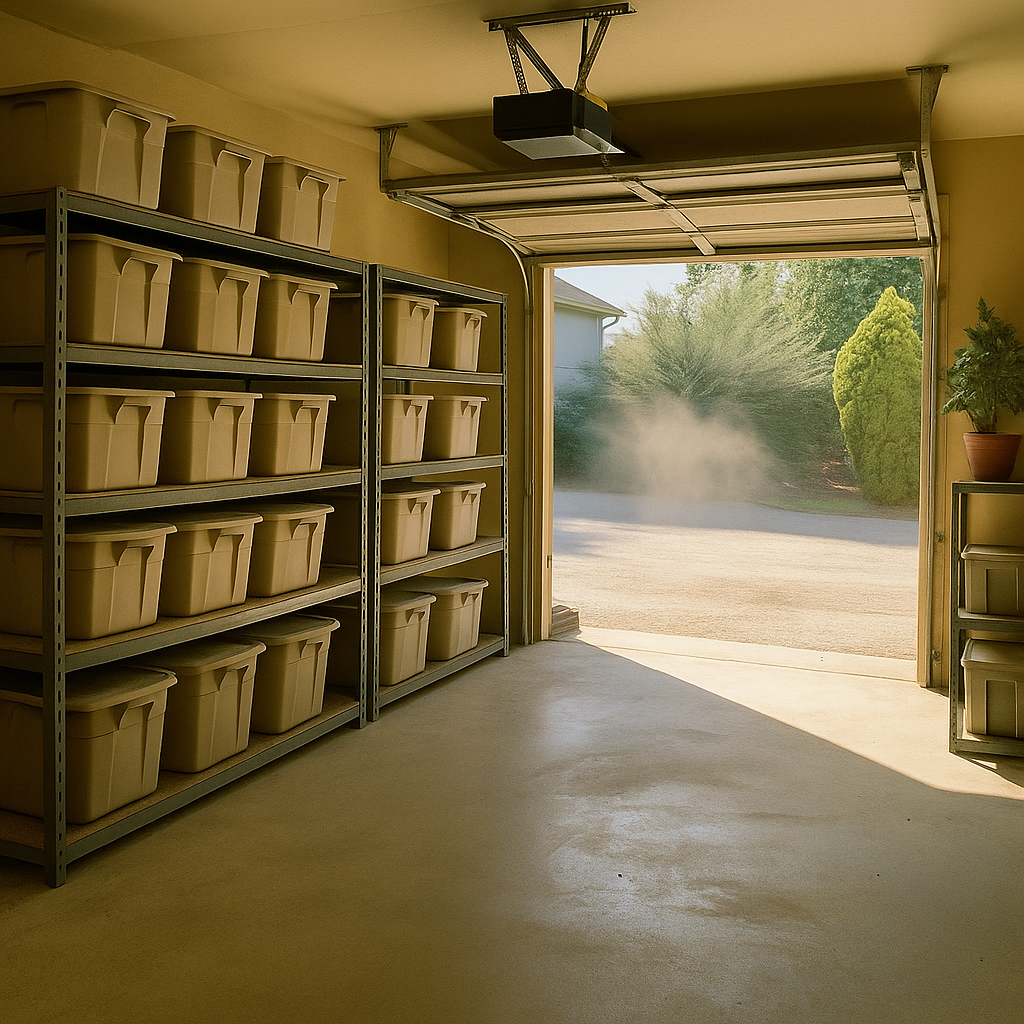
2. Create Zones for Functionality
After emptying it, I planned four areas: tools, sports equipment, gardening, and seasonal storage. This assisted me in being able to plan shelving and workbenches more purposefully rather than just chucking things up against walls at random. Zoning visualization made my garage a system, rather than a dump.
 Before
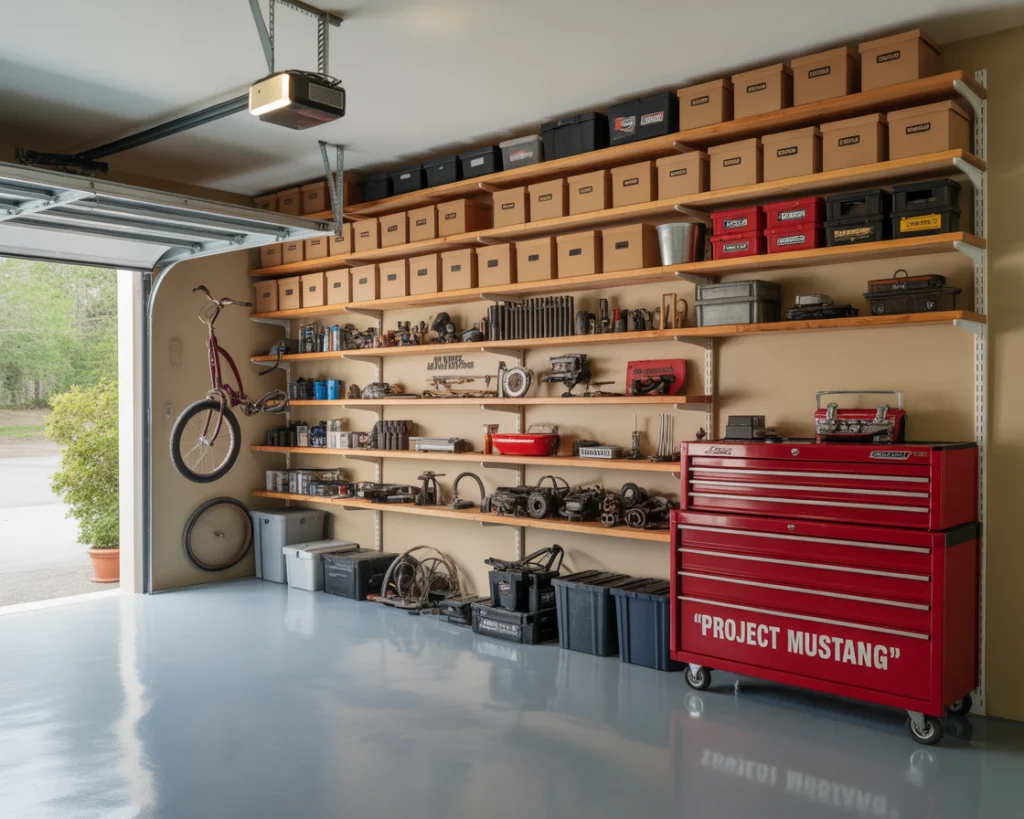 After
After
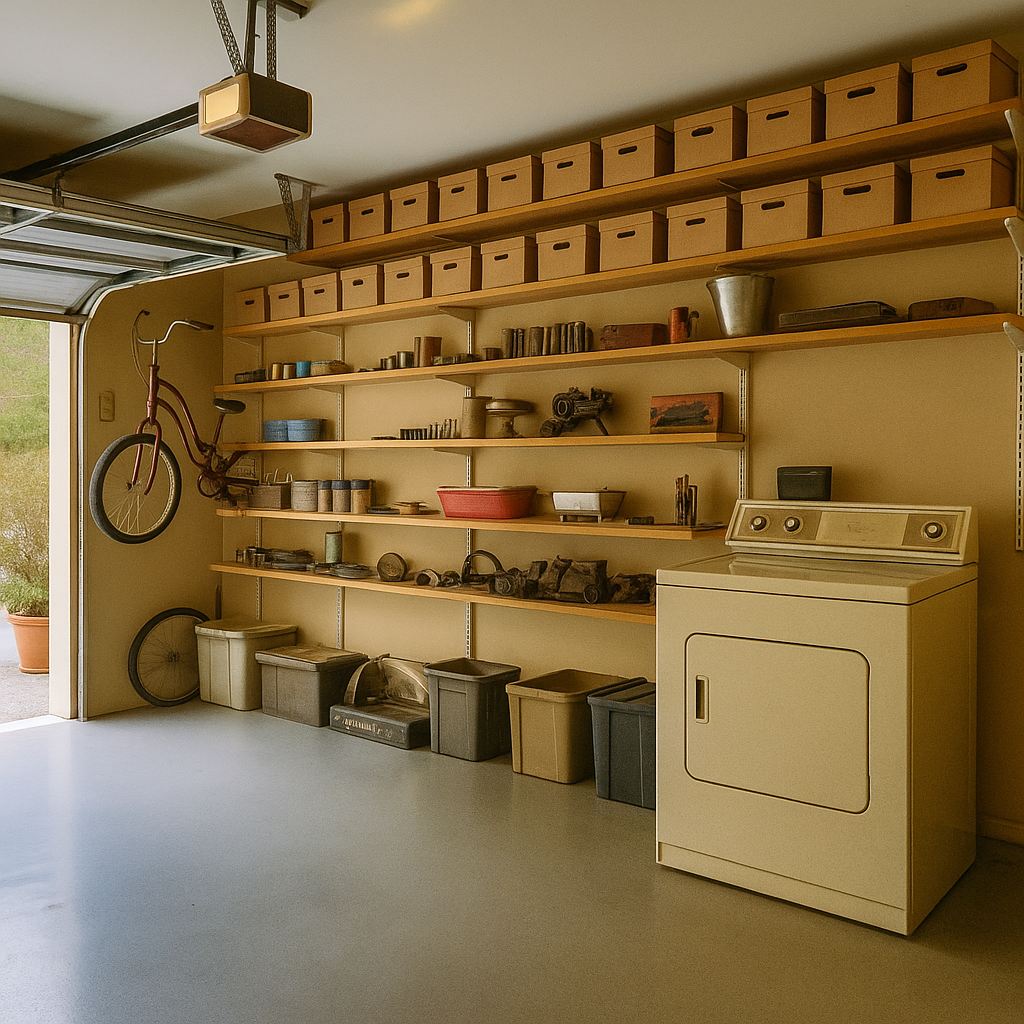
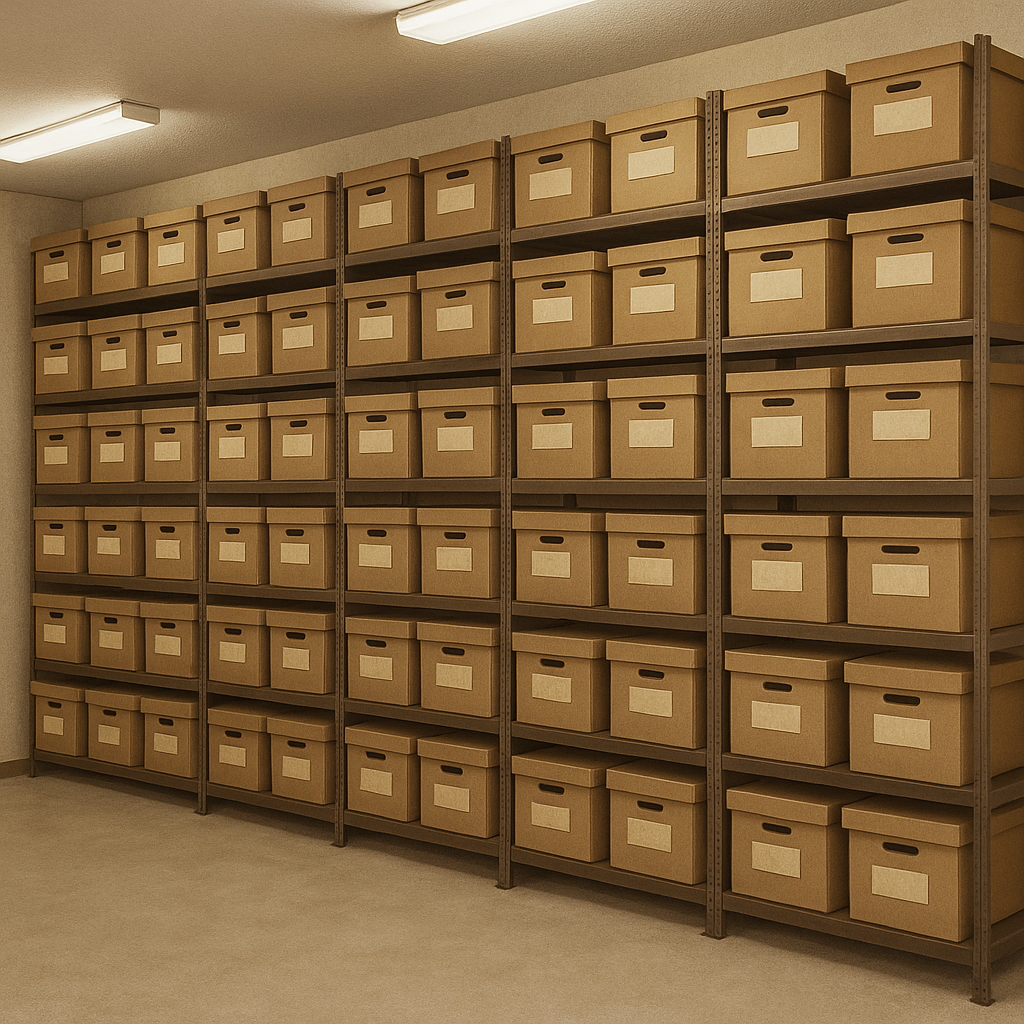
3. Install Sturdy Wall Shelving
I have made investments in sturdy wall-mounted shelves and they have stored power tools, car wax among other things. The process of picking items off the floor got the garage immediately neater. I measured and leveled (had to learn that the hard way). Highly recommend this as the first “real” upgrade post-declutter.
 Before
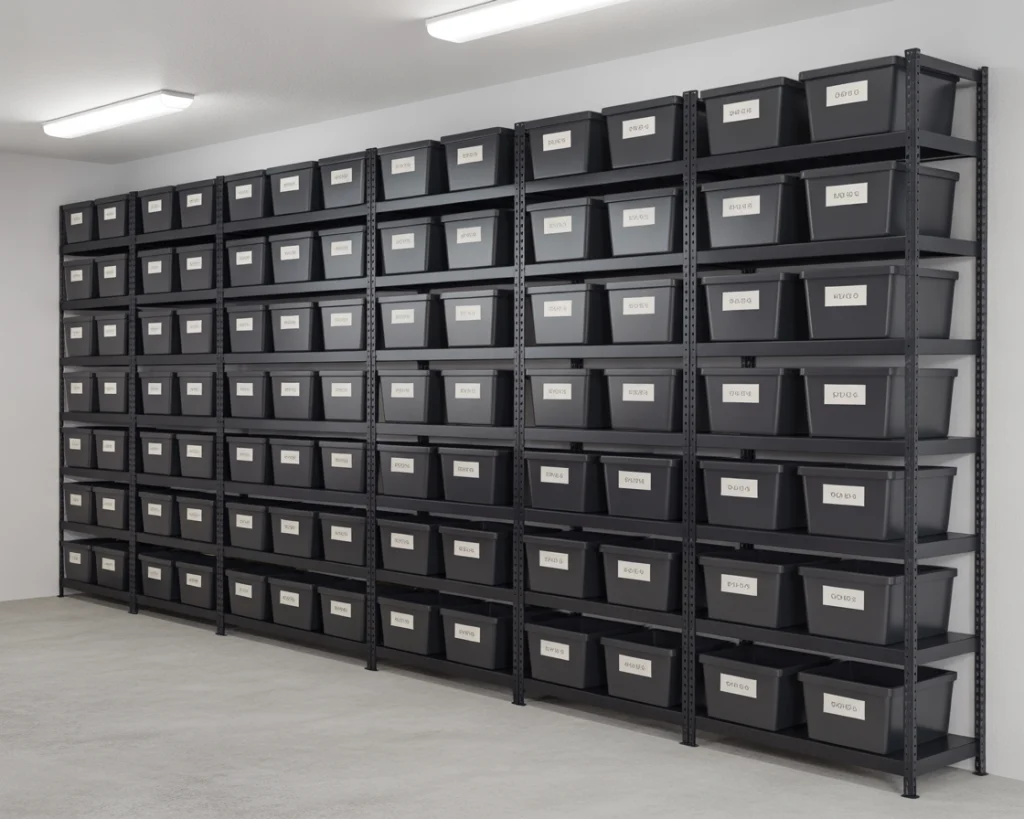 After
After
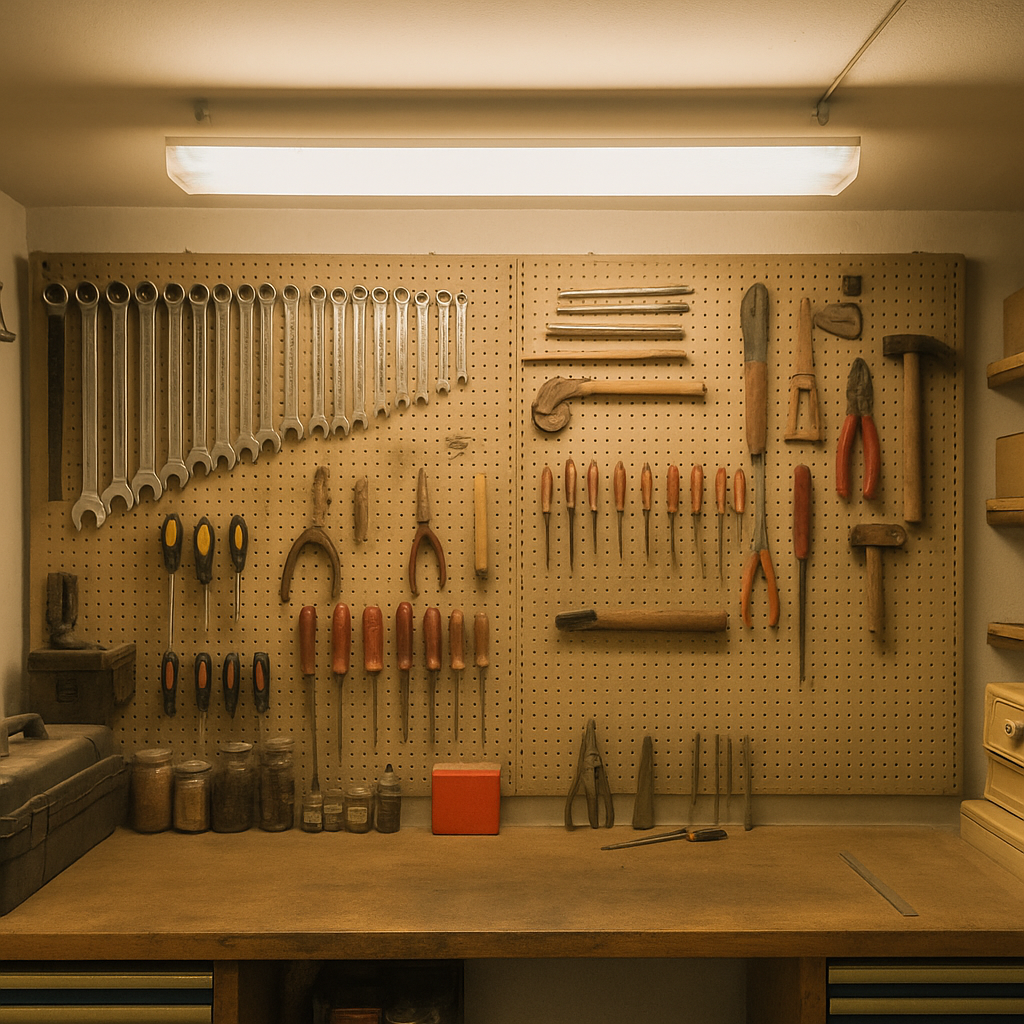
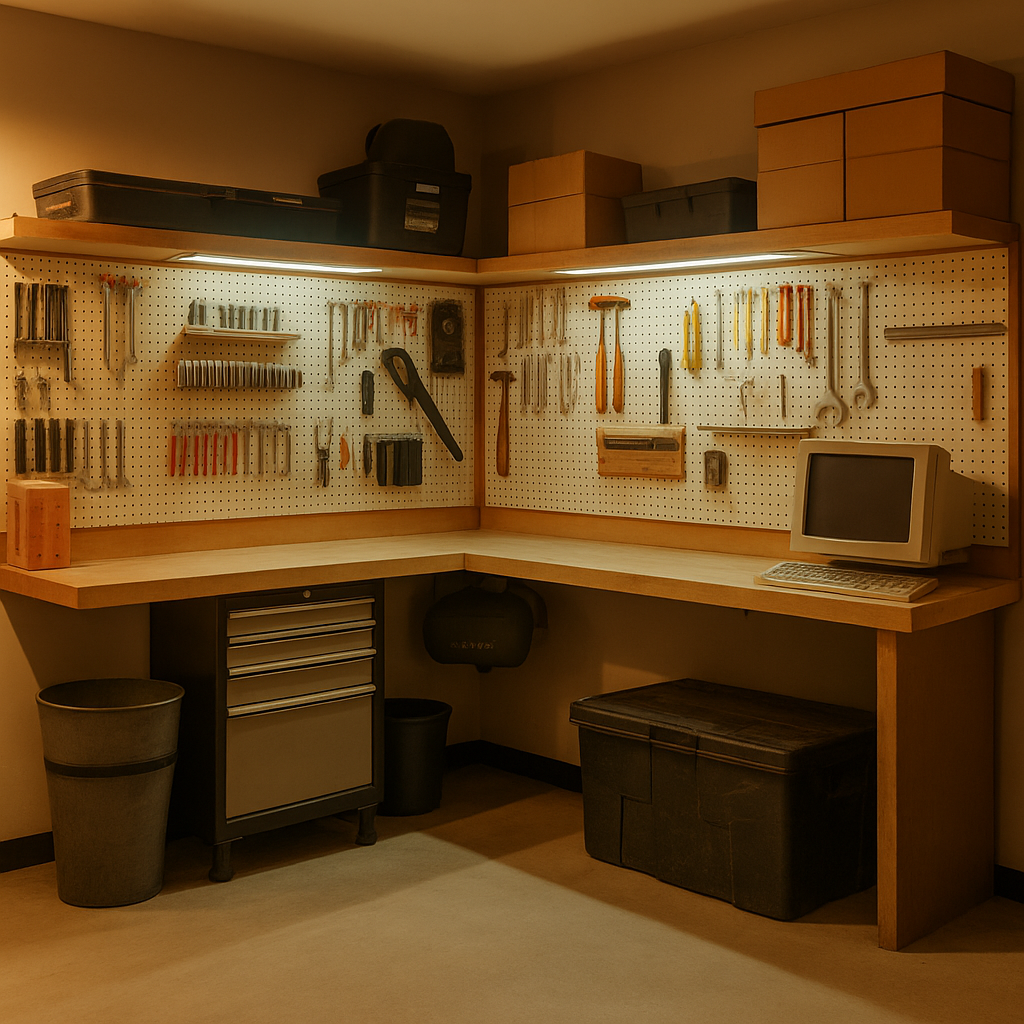
4. Build a Pegboard Tool Wall
I’d never considered having a Pinterest pegboard as I didn’t feel I had the room. Turns out, one wall near the door was perfect. I painted a pegboard white and hung black hooks on it and then put my tools in categories. Now I can find everything in seconds. It’s functional and satisfying to look at.
 Before
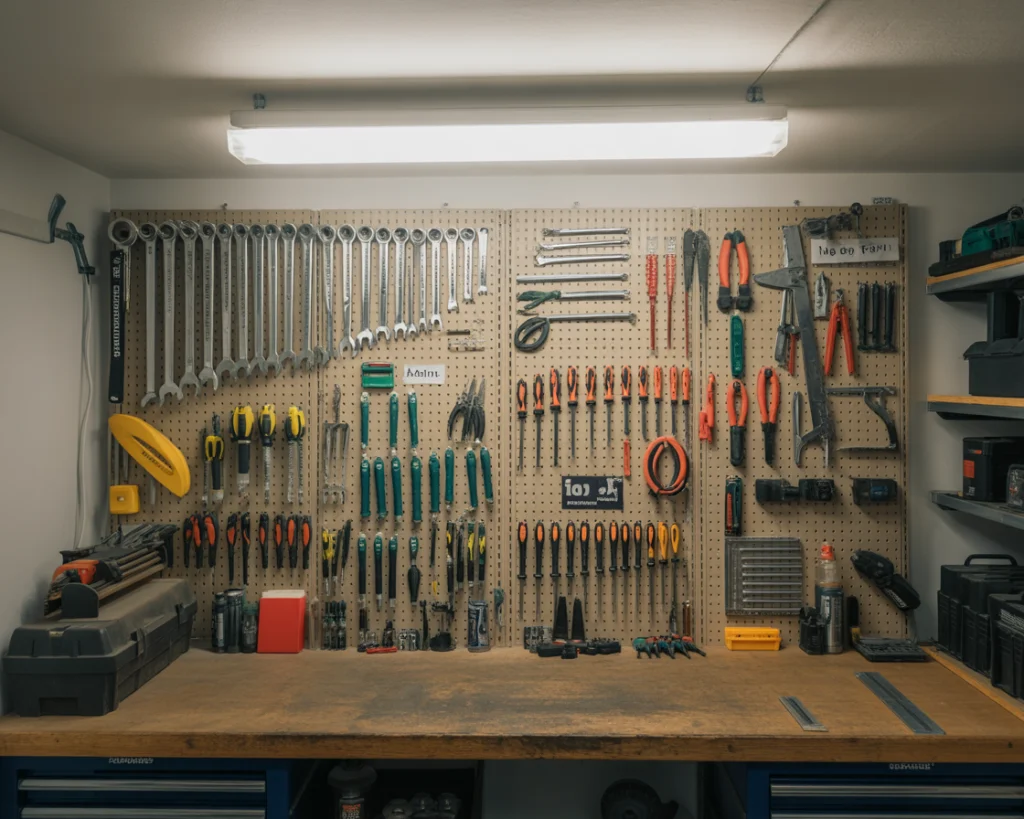 After
After
5. Add Overhead Storage for Seasonal Items
This was a game changer. I put ceiling-mounted racks to store those things I use once a year-holiday bins, camping equipment, and our inflatable kayak. It reduced clutter on the floor and made me feel good that items were in a place. Just double-check your ceiling joists before drilling!
 Before
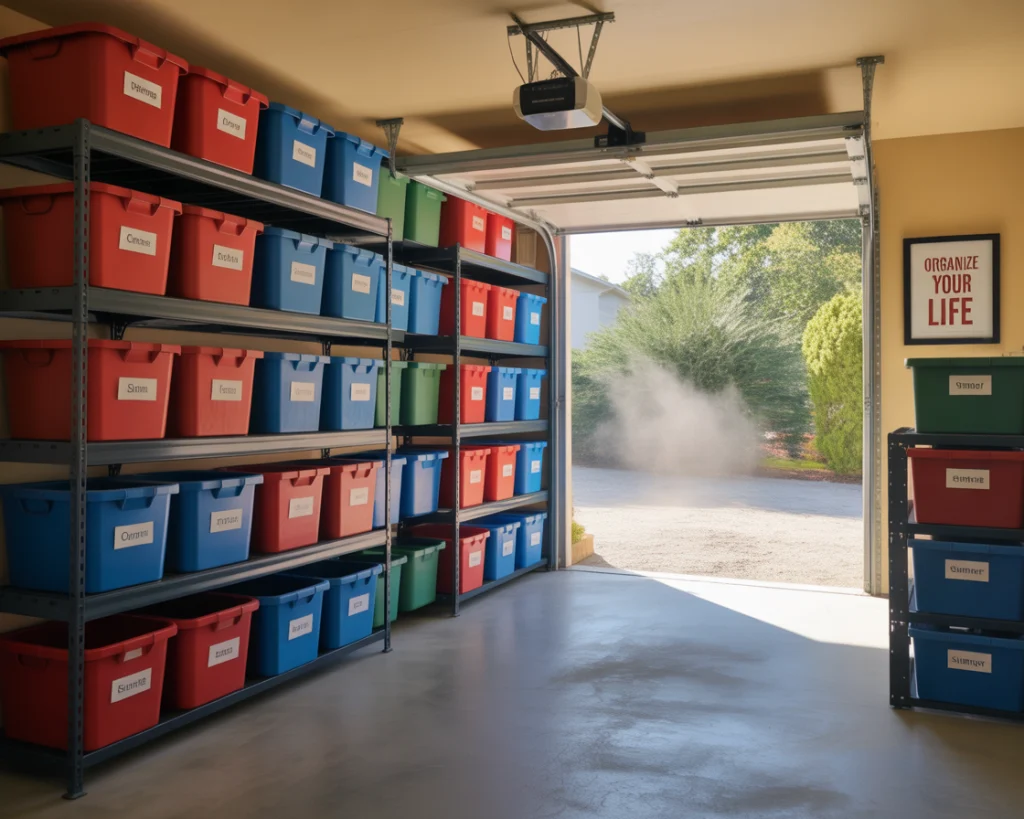 After
After
6. Upgrade the Lighting
The old flickering fluorescent bulbs had to go. I replaced them with bright, daylight-style LED panels. Suddenly, the garage didn’t feel like a dungeon anymore. It’s one of the cheapest but most transformative changes. It all appears tidier and more inviting to work on, particularly during the night.
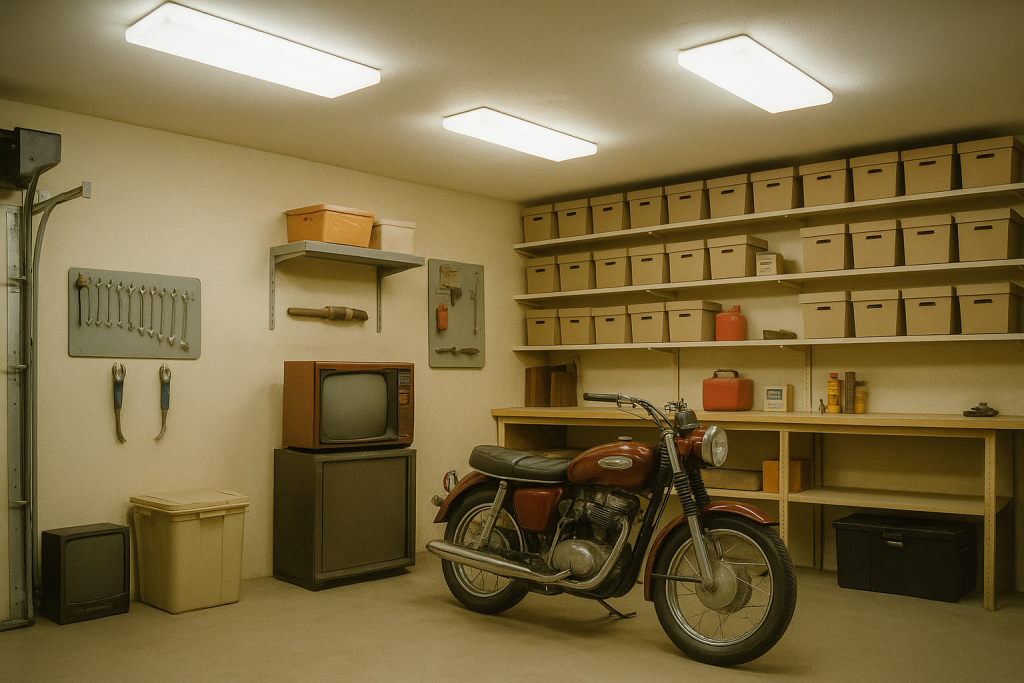 Before
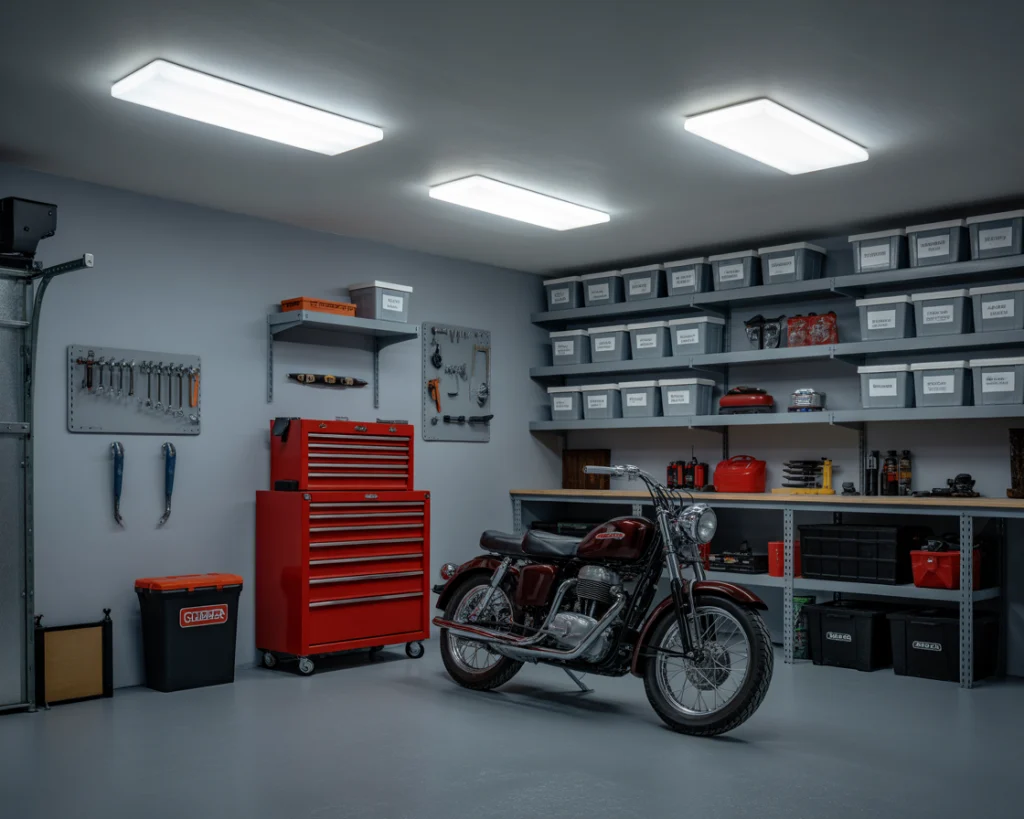 After
After
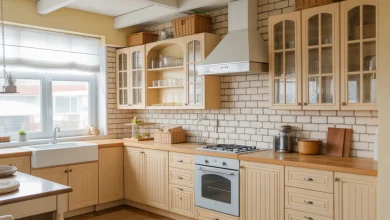
7. Create a DIY Workbench Corner
I carved out one corner for a mini workshop. I took an old kitchen counter, put two strong legs on it and some storage drawers below. That is where I now sand and paint and fiddle with little projects. It does not occupy too much space, yet it seems like my own creative area.
 Before
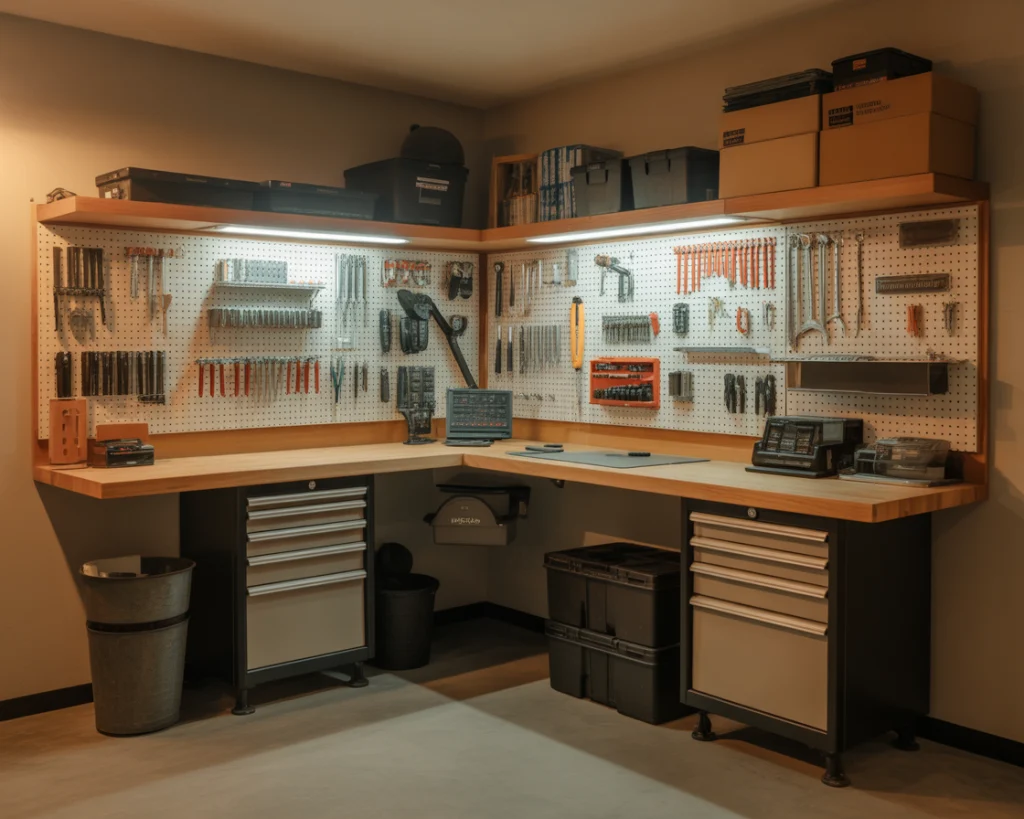 After
After
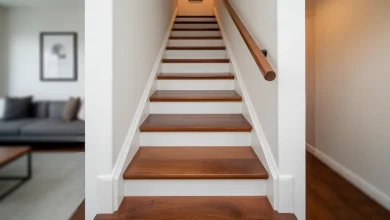
8. Upgrade the Garage Floor
Honestly speaking, I did not intend to paint the floor but I tried it when I noticed some oil stains and some cracks on the floor. I applied gray epoxy kit having light speckles, and it gave the entire room a completed look. It also made it easier to sweep and clean. Unexpectedly, it’s one of my favorite upgrades.
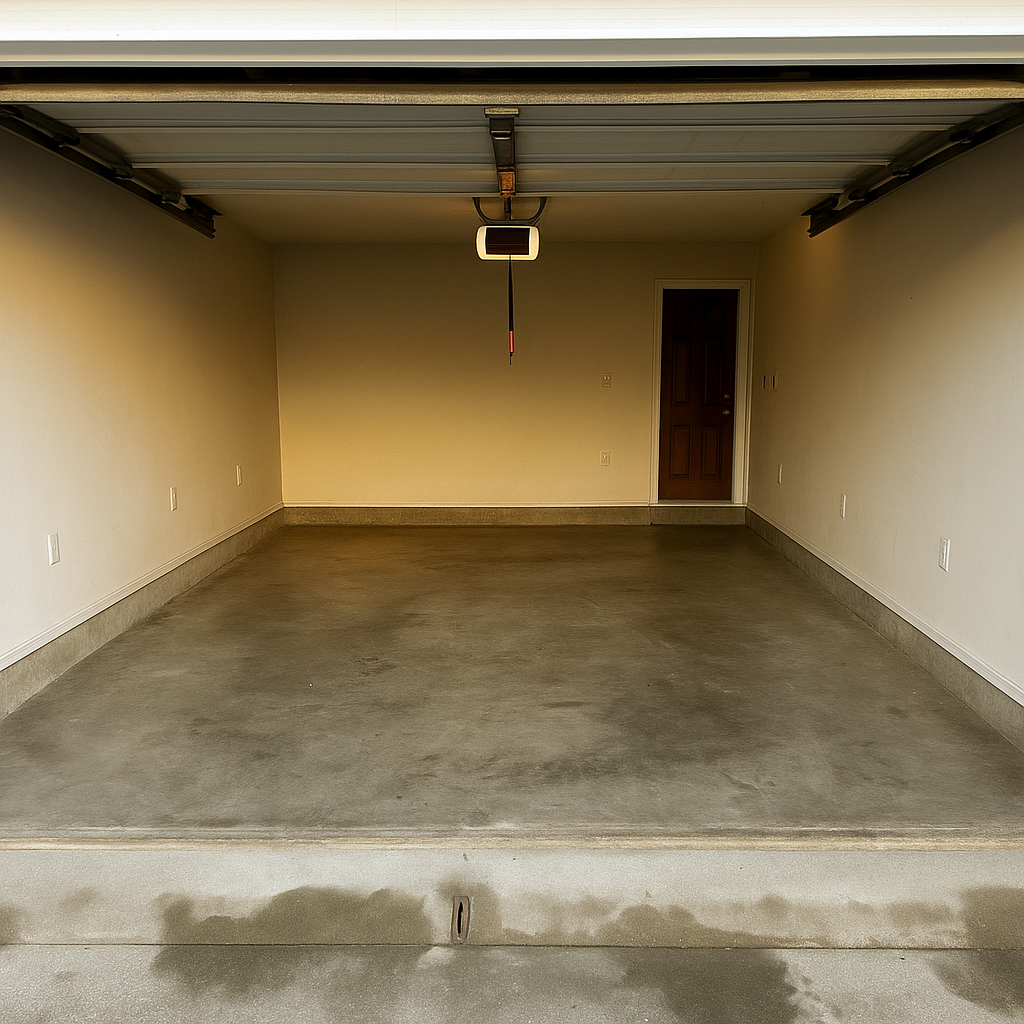 Before
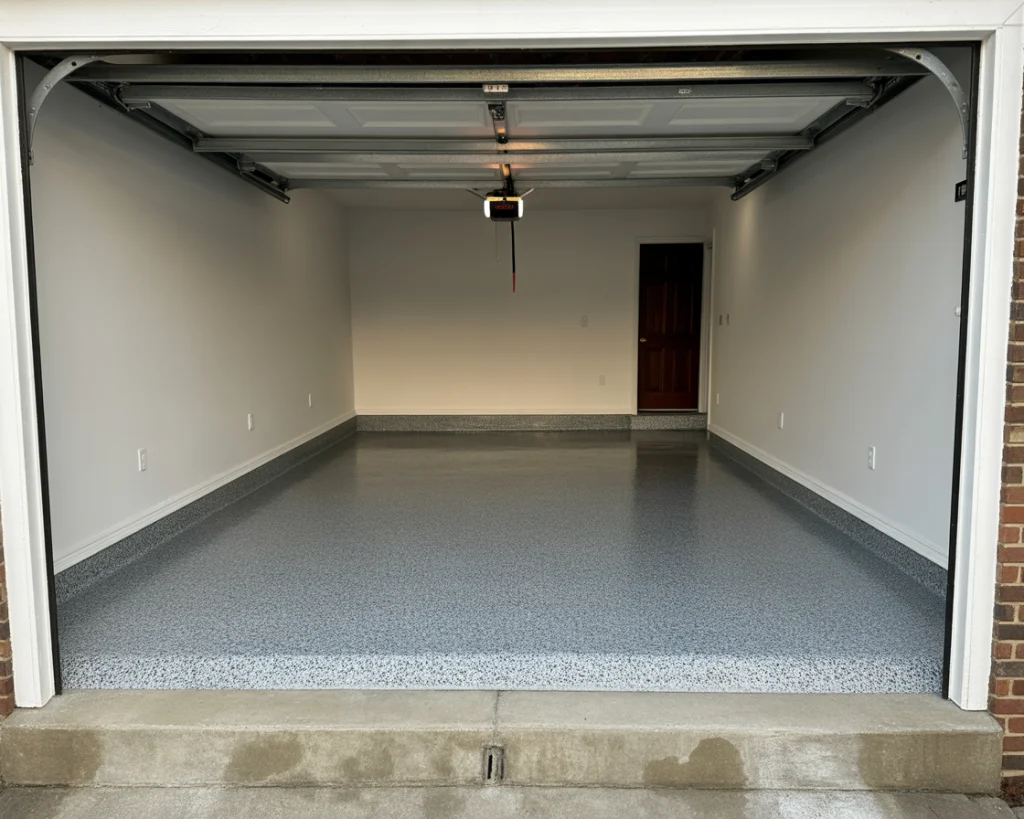 After
After
9. Hide the Ugly with Storage Curtains
Some things I simply could not make Pinterest-pretty- such as the corner of the lawn equipment that is dominated by my husband. so I put up a plain curtain rod with neutral panels and concealed it. Instant visual calm. Bonus: I could switch out the fabric of the curtains by season just because it is fun.
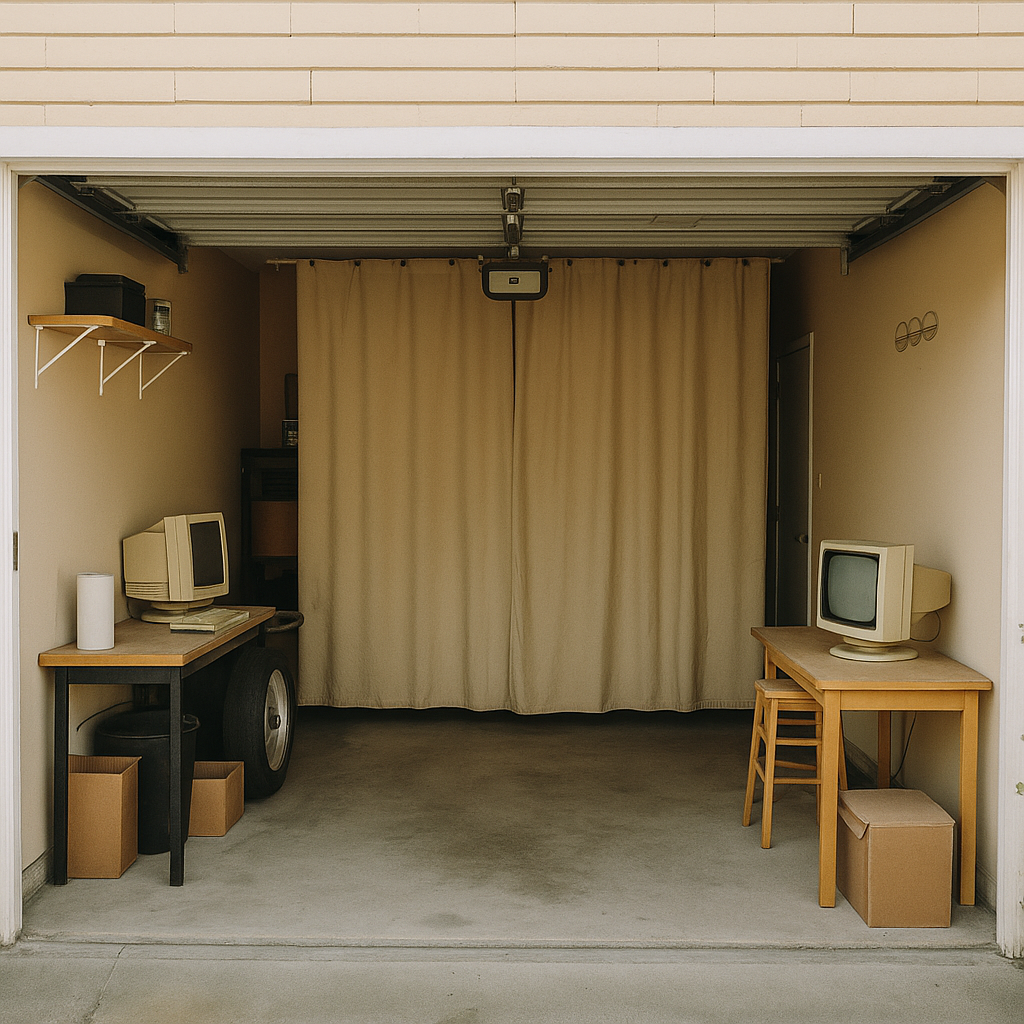 Before
 After
After
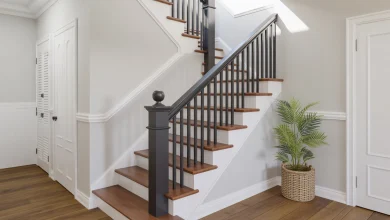
10. Style It Like a Real Room
This may seem stupid, but I threw in a rug, a plant and a print on the wall. In an instant, my garage ceased to be a utility area and more of a bona fide room. Now it is someplace I look forward to being in. Aesthetic touches are not to be underestimated, even in your garage.
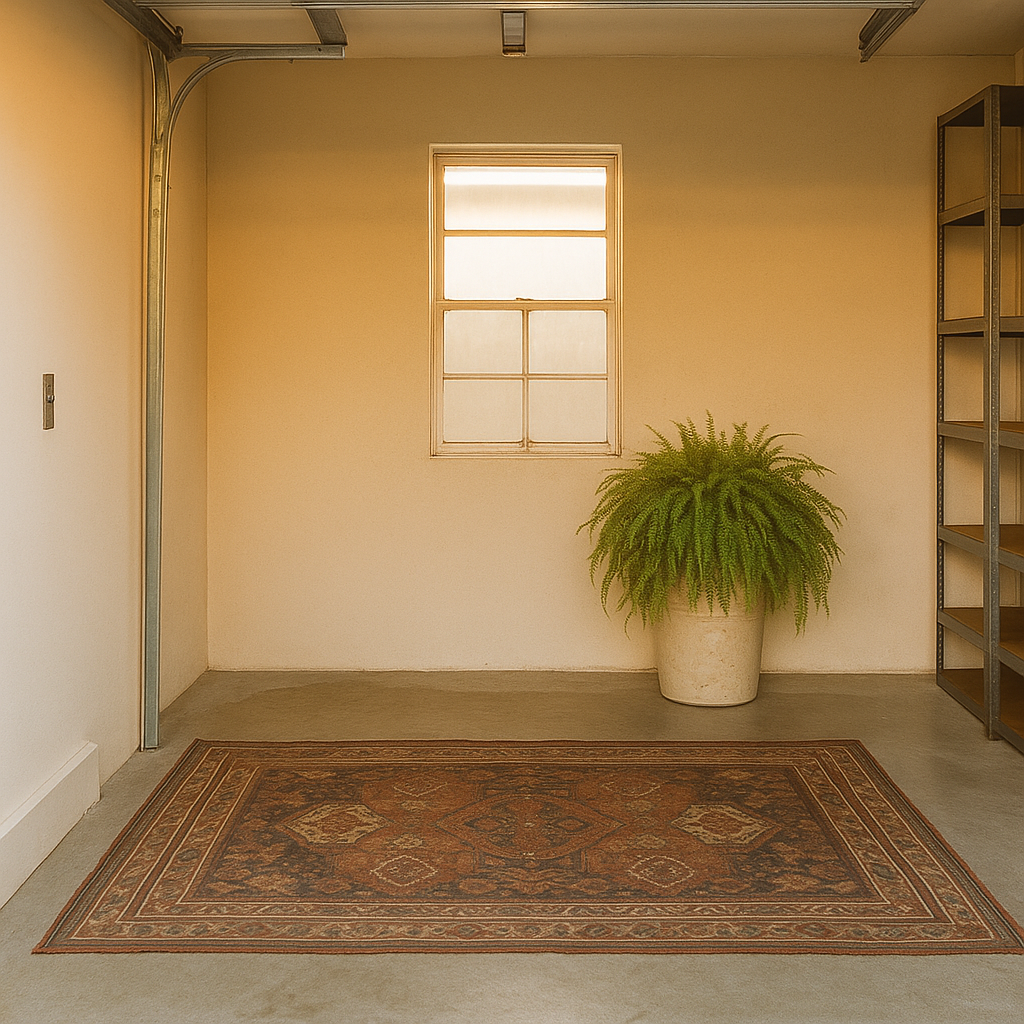 Before
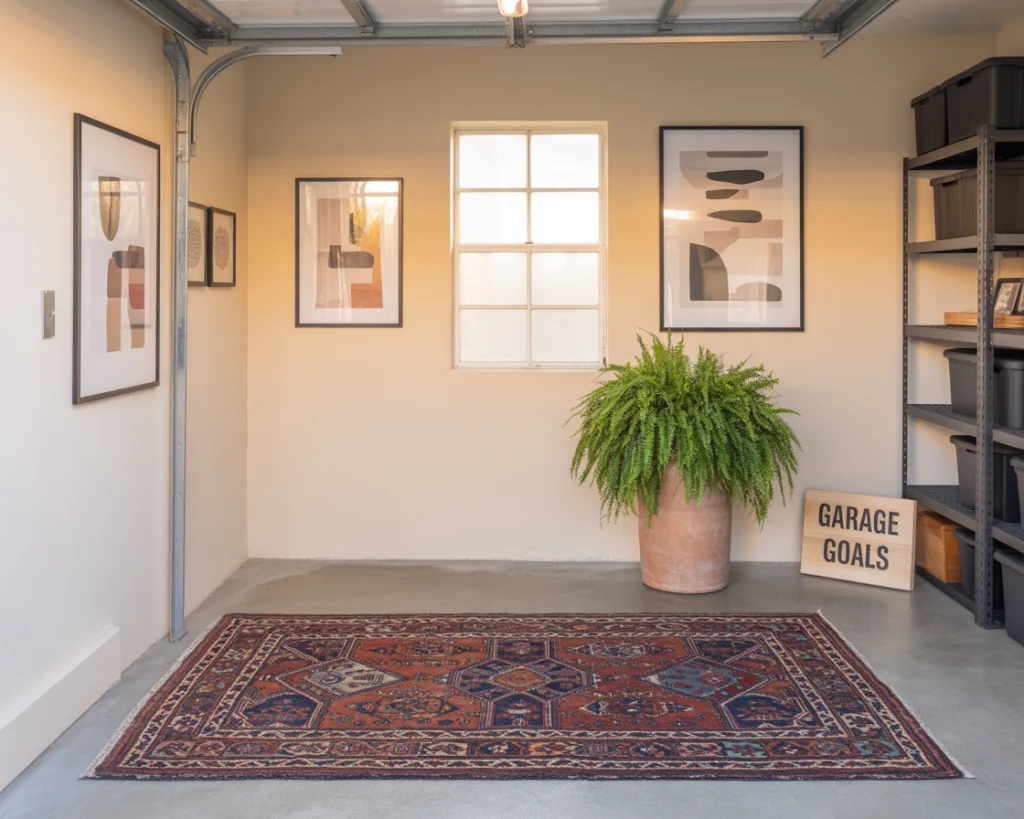 After
After
Bonus Tips That Helped Me Along the Way
- Measure your walls before buying anything.
- Label every bin. You will forget what’s inside otherwise.
These two stuff came to my rescue a number of times in the process. Don’t skip them!
Final Thoughts
- Begin with the clutter- decluttering is the most difficult, yet significant step
- Think in zones—it helps you stay organized long term
- Don’t be afraid to make your garage feel “pretty”
You will be surprised at the amount of stress that a clean garage will eliminate in everyday life
What is that corner of your garage you would love to change?